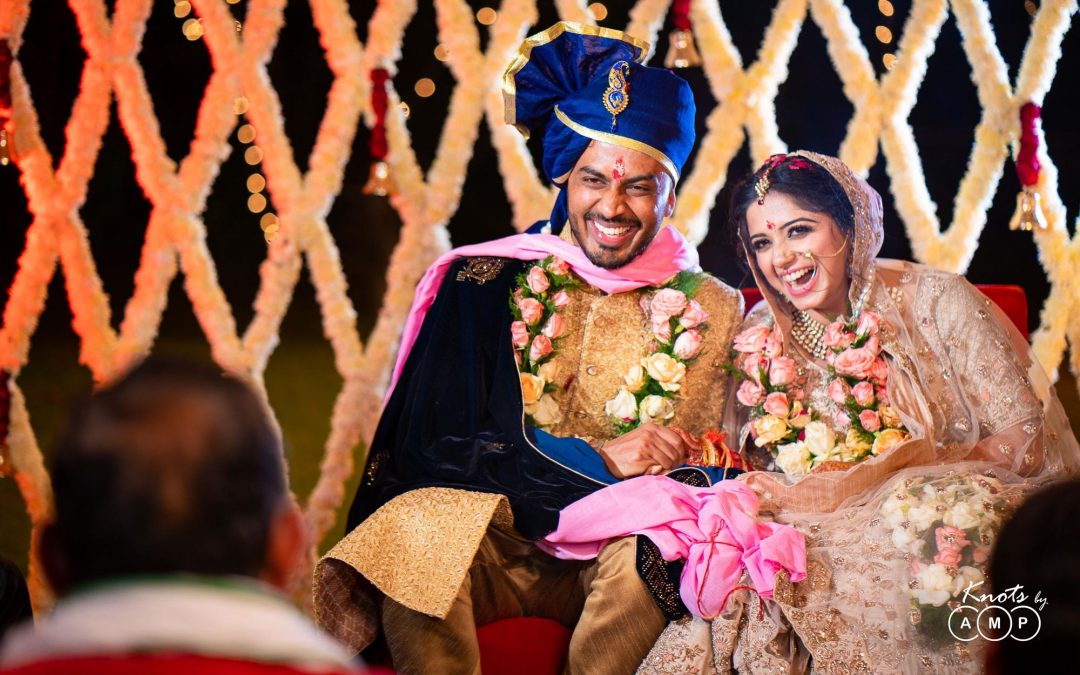
Lighting the wedding venue
Lighting is the crux and heart of good photography and I don’t need to go on any further how it effects the ambience and the mood of any venue. What makes a venue beautiful or bad is simply the way you light a place and the quality of light. People spend huge amount of money in good locations for their wedding and yet unfortunately end up with badly lit up venues with bad lights (LED lights) which may look pleasing to the eye, but are just plain bad for photography or videography. Just so if you think we professionals should have our own lights to deal with the situation, please pause and understand their are technical difficulties to deal with an existing bad light and it can’t always be dealt with even with additional lights. And just so if you happen to hire photographers who don’t know how to deal with lights – for there is a entire school of photographers who shoot and work only with ambient light and have very less idea about using lights creatively in their work – You must have seen patch of pink, green and yellow lights on people’s faces on different photographers pages, haven’t you? While this is a topic for photographers to work on you can stay safe with following the tips for lighting as I will mention below. But since this post is not just aimed at customers but also fellow photographers and most importantly wedding decorators. Let me get into the technical details. There are few things you need to understand about lighting –
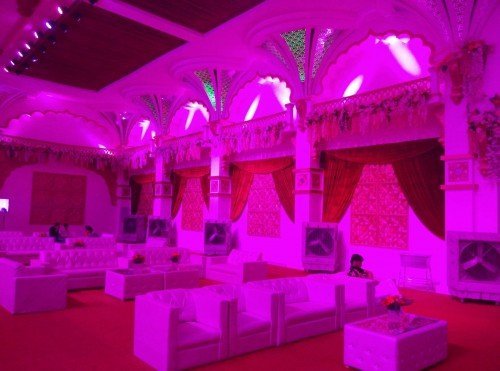
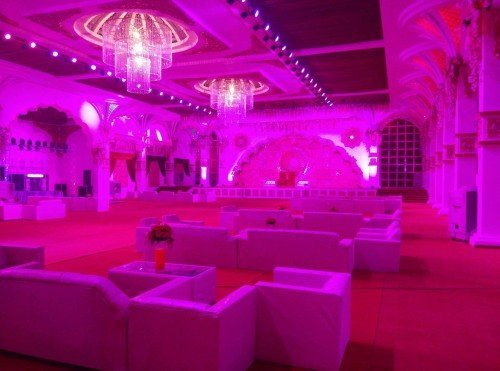
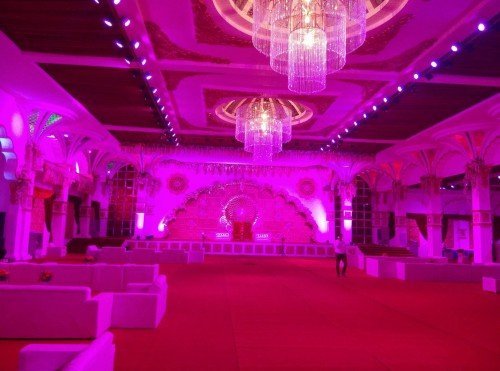
A very good eg. of bad lightiing of a venue is shown below – this happens to be a posch wedding venue in Delhi. The LED lights are put everywhere as ambient light! Even if you change it to some other color these cheap LED lights are not going to give you any color closer to true white.
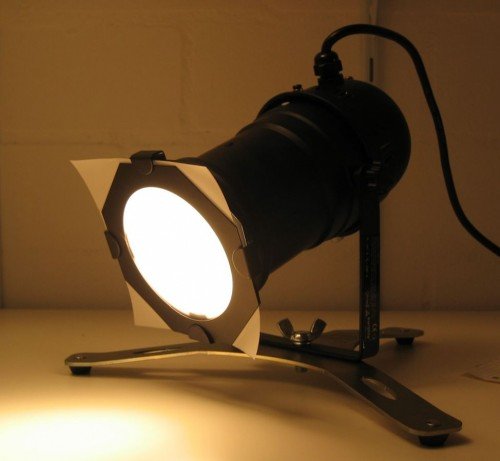
Ambient or direct source of light: This is the main source of light which is directly falling on the faces of people. You need to identify this light and there should be a distinction between the background light and direct light. Often when there is no distinct ambient light the background light can bounce off the ceiling and walls and form the ambient light -this is an easy scenario to work for photographers who work with lights and carry their own lighting. The ideal scenario, so that even you can get good images with your mobile cameras ( which your guest so proudly show off and get in our way of making great pictures for you 😛 More on this in a separate post ), is to have a direct source of light. One of the easily available and common lights are the Par Can lights – this is great to use for ambient light and has good amount of white content in it. Tungsten light bulbs ( yes since the time of Edison ) can be used for this purpose.
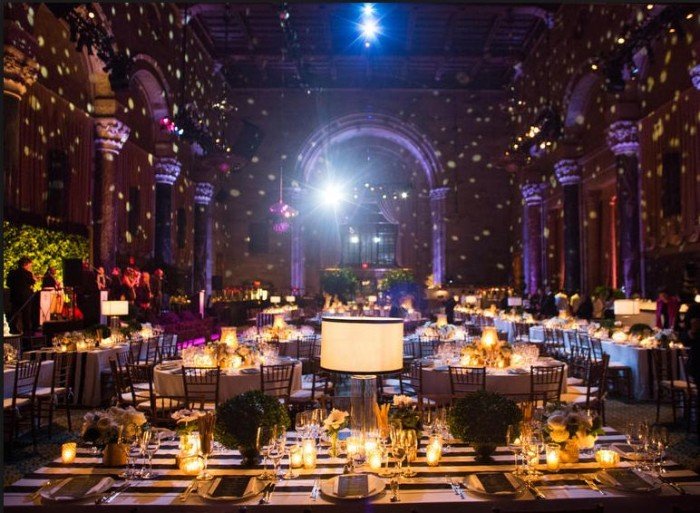
Background or decorative lights: These are the lights which fall on the art decorations, flower set up and stage and pointed at an angle to them so that they don’t fall of on other places and spill into ambient light directly. Most common light used for this purpose is LED lights. These can be set to change colours and intensity. Par Can’s are also widely used to give a royal warm yellow tone to the wedding setups. Tungsten bulbs can also be used creatively inside decorative elements. Fairy lights are the best decorative and background light and they give amazing backgrounds with beautiful bookeh which we all love so much!
Reflected light or bounce light: Light bounces from different surfaces it falls on all the time and it spreads after reflecting from a surface. Once the light falls on something it becomes the source of the reflected light and characteristics are governed by its shape and size. We wedding photographers use flash bounce light all the times and while shooting videos simultaneously can bounce Halogen lights directed at the ceiling to give a good working light ( word of caution: Halogen light bounced from the ceiling can completely change the ambience and also make it little warmer or hot )
So if your venue has a very high ceiling or even when it is not to high but not white or light colored try to have white, pink, orange cloth tents forming a false ceiling so that photographers can reflect the light from the surface. If you can’t either give your photographers budget to rent some heavy duty strobes 😛
Direction of light:
Top light : This falls directly from the top and causes shadow under the nose and eyes which doesn’t look great.
Light at an angle: An approximate 45 degree works great in all cases from a height.
Summary:
Par Cans: Also known as parabolic aluminized reflector light these have tungsten light inside them and are frequently used in decoration for background and ambient lighting. It is good to use them being reflected from the wall or a cloth because they are quite hard in nature if projected directly. This often happens on the reception stage lighting, it creates hard shadows on the faces of people when obstructed by someone next to you. If you are using them directly have them evenly distributed in an linear array so that they fall on all human beings. This is what is done in theaters.
You can see this link to know better about Par Cans – Link
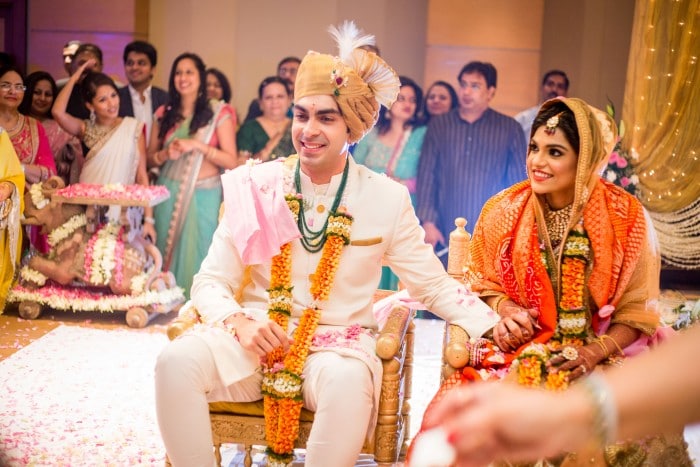
One good eg. of Par Cans used for ambient lighting, and then further enhanced with bounce flash.
Bulbs: When Thomas Alva Edison invented them he gave the mankind one of its biggest gift and that still holds true. There are many ways you can use them and they look very beautiful as direct part of decoration.
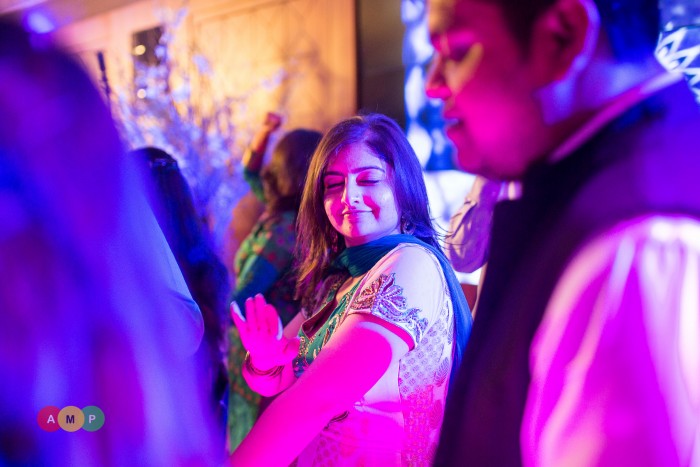
LEDs: Lot of photographers recently have been voicing their opinions against LEDs for some reasons asking customers to do away with them which I strongly feel is wrong on their part. LEDs while screw up photos when they are the only source of light or ambient light but are great when used in background decorations and during DJ night it gives amazing colored back light which is so much fun to shoot. A small tip – Either place the DJ console inside where there is a wall above so that light can be reflected from a flash or have decent ambient light from Par Cans or Halogen lights from one side atleast or people are going to come colored as hell in photographs and no amount of editing or Photoshop can save that photograph.
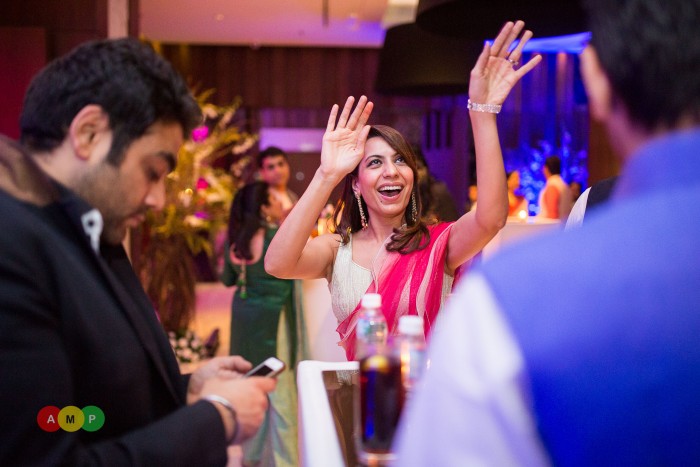
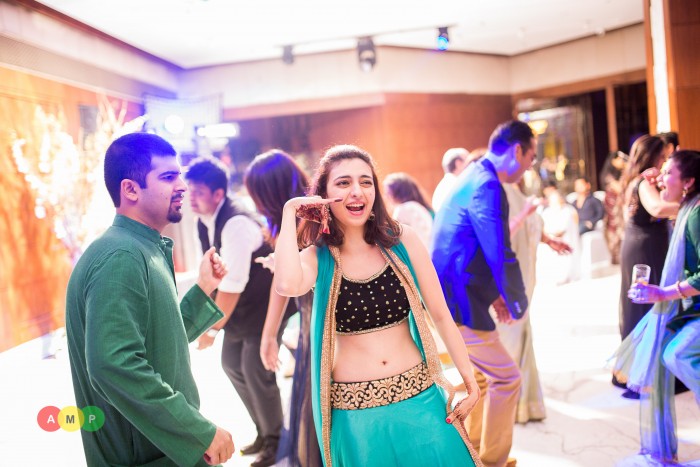
LED’s are the lights which are giving the pink and blue hues in the backgrounds while there is main bulb or true LED white bulb lights as the main source of light and a bounce flash.
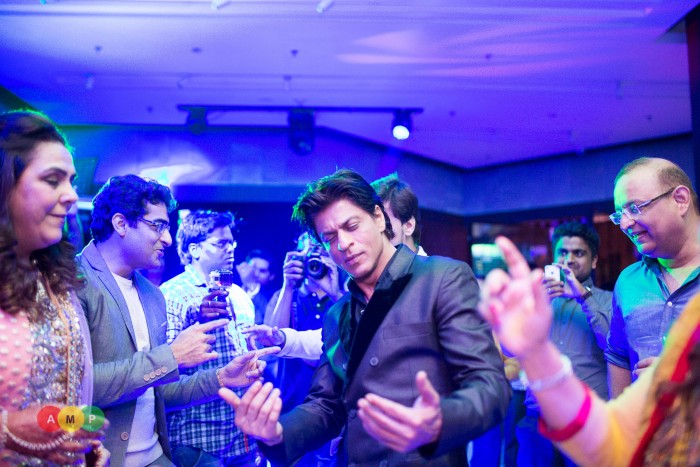
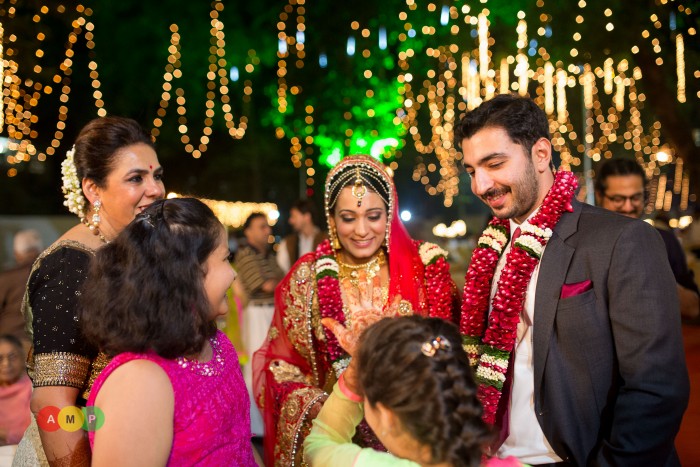
This photo is saved because there was a bounce flash and the LEDs were in the background. So le the LEDs give you moody colored backgrounds and let them be atleast in one direction don’t have them all over the place! Infact this photo is just the perfect eg how it can spoil a photo too. See the people apart from SRK who are in the fully basked with LED light and realize they don’t look anything short of a ghost 😛
Halogen: Halogens are not bad source of light, only problem with them is they cause heating and your venue may feel hot if a lot of them are used. Works well for cold night weddings 🙂
Sodium lights: Just throw these lights please! Run away from the decorator or venue which use these. They have very less white content and no amount of white balance correction doesn’t work well to save the photo. These are the very same lights which are used in the street lights often. Marine Drive in Mumbai is one good e.g.
Fairy lights : This is one of the greatest gift by the who ever is the inventor to us wedding photographers. So please use them as much in the background as possible. Create alleys decorated with them, have them hanging on the wall, the drapes lining the wall, the trees, the structures, poles, etc just use them!
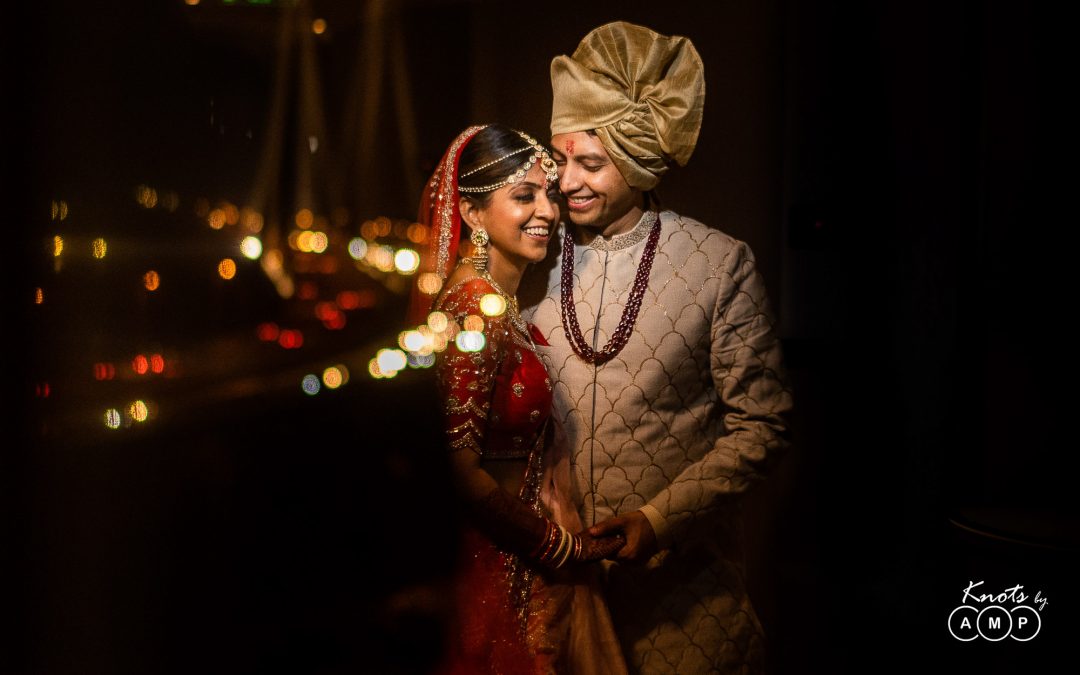
These give amazing bookeh in the background.
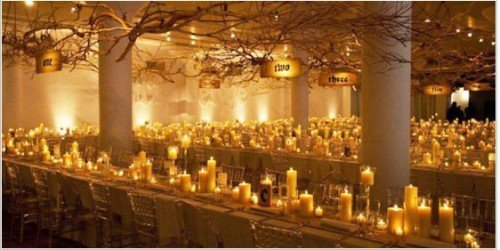
Candle Lights: These are brilliant soft light sources and we all know how beautiful and soft they are.
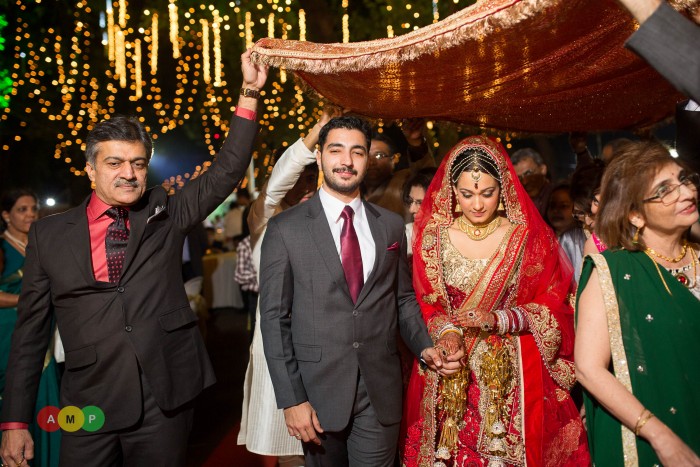
Hard light: Light which creates hard and dark shadows. This happens when Par Cans and all the light source mentioned above directly fall on faces.
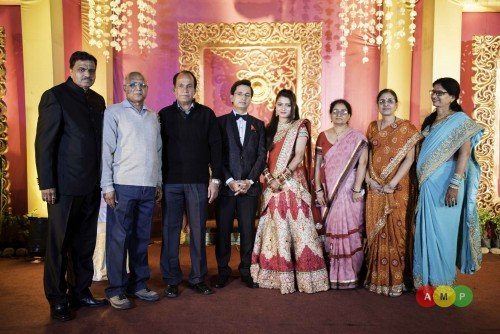
Notice the shadow on the face of the second person from the left. Result of direct Par Can projected from the sides at an angle. The light has been blocked by the person on extreme left.
Soft light: Light which is easy on features and gives soft and faint shadows behind. A simple rule to follow is to use big sources of lights. Array of lights coming through a cloth or plastic. To make any hard light soft just reflect it from a larger surface.
White content in the light: What makes a light good is the white content in it. White light has all the component of different colour light VIBGYOR. These light colours mix together to give different colours. When white light falls on any object it is the color of the reflected light that we see. So if the source of light lacks the basic colours it can’t give true range of colors. That is why morning or day weddings have such beautiful set of varied colors as the light from the sun is the perfect source of white light.
Lighting for venues is not like the lighting for cinema: This was an important point which came up while I was discussing lighting with my friend Aneesh Arora who is a professional cinematographer and works in Bollywood and wedding industry very regularly. Many photographers and cinematographers now try to light subjects with ugly cinema lights which give good results but often spoil the ambience and view for the guests. Imagine big rods blocking your way while you are trying to get a peek at the bride and groom. The lighting should be done the way theatre is lit for live performances and that should be a better inspiration along with fundamentals which people use in cinema.

