Silhouetting the Landscape
I sat down penning after a long time. I thought-” this time, I will write something legendary”. But, self realisation struck me really hard, wasn’t I trying to make my blog legendary, last time too. I failed miserably. I found so many glitches in my previous posts. One doesn’t make something great by will but it is the interplay of destiny and will. So, am I set to write a legendary blog this time, I would like to believe so. So I decided not to bother about the result. But then the thought of creating a masterpiece doesn’t really die off, it lingered on and made me ponder deep, but with no success.
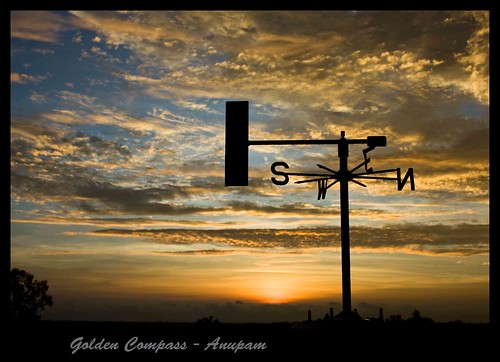
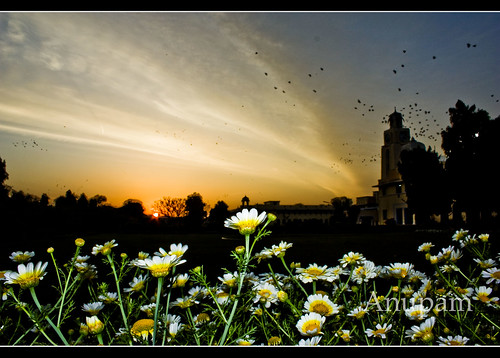
Then I had a brainwave, why not write about silhouettes? As some of my best shot are silhouettes. Silhouette is the easiest way to get an amazing photograph. Rather, I would advice every beginner to start with silhouettes. They are charecterized by a dark foreground or midground and bright background. They lend a surreal effect to every photograph and boy! they are always breathtaking!
Taken up on FD-3 terrace atop Staircase housing
How to take a Silhouette:
1: If you have a DSLR then switch to Matrix metering mode in Nikon Cameras and Evaluative mode for Canon.
2: Decide your subject and try to focus at one third of the frame so that you could focus at hyperfocal distance. This doesnt ensure you will be focussing at hyperfocal distance but you might get lucky.
In the photograph below image has been shot by focussing at hyperfocal distance to get maximum depth of field. I took this from the terrace of the institute building of my college Bits Pilani on a rainy day.
3: Always meter for the bright region in the background and underexpose it by one or two stop. This will make ur midground object dark and bring in more details in the background.
4: The best time to shoot Silhouettes is sunset, sunrise,dawn and twilight hours.
5: To add an element in the foreground you can use flash as demonstrated in one photograph. In the photograph below i use the ttl flash of my dslr.
6: Click in RAW mode so that you have more control in editing.Also look for leading lines which add value to the photograph and would visually appealing. The shimmering wall leads towards the clock tower
7: Keep your horizon at one third from the top or bottom in the frame. If the sky is very dramtic and you want to take more of sky then horizon should be placed at one third distance from the bottom and vice versa.
8: Look for reflection of the objects in the wet ground or water body. Try to take them by taking care of exposure and focus. In the following photograph I sat down on the wet ground wetting my pants to take the reflection on the wet surface of the terrace.
9: Don’t always look for inaminate object to silhouette them. Try out silhouettes with living beings. for eg :
 If you want to know anything more about silhouettes write to me.


the blog is informative with your amazing photographs
nice work ..
You are baap…
And hum aapke loyal follower
Hari that is an overstatement. anyways thanks a lot.
I don’t know If I said it already but …Great site…keep up the good work. 🙂 I read a lot of blogs on a daily basis and for the most part, people lack substance but, I just wanted to make a quick comment to say I’m glad I found your blog. Thanks, 🙂
A definite great read..Jim Bean
Sry Jim for late reply. Somehow ur comment got into the spam. Thanks anyways