Gujrati Wedding at Acres Club
Gujrati Wedding at Acres Club
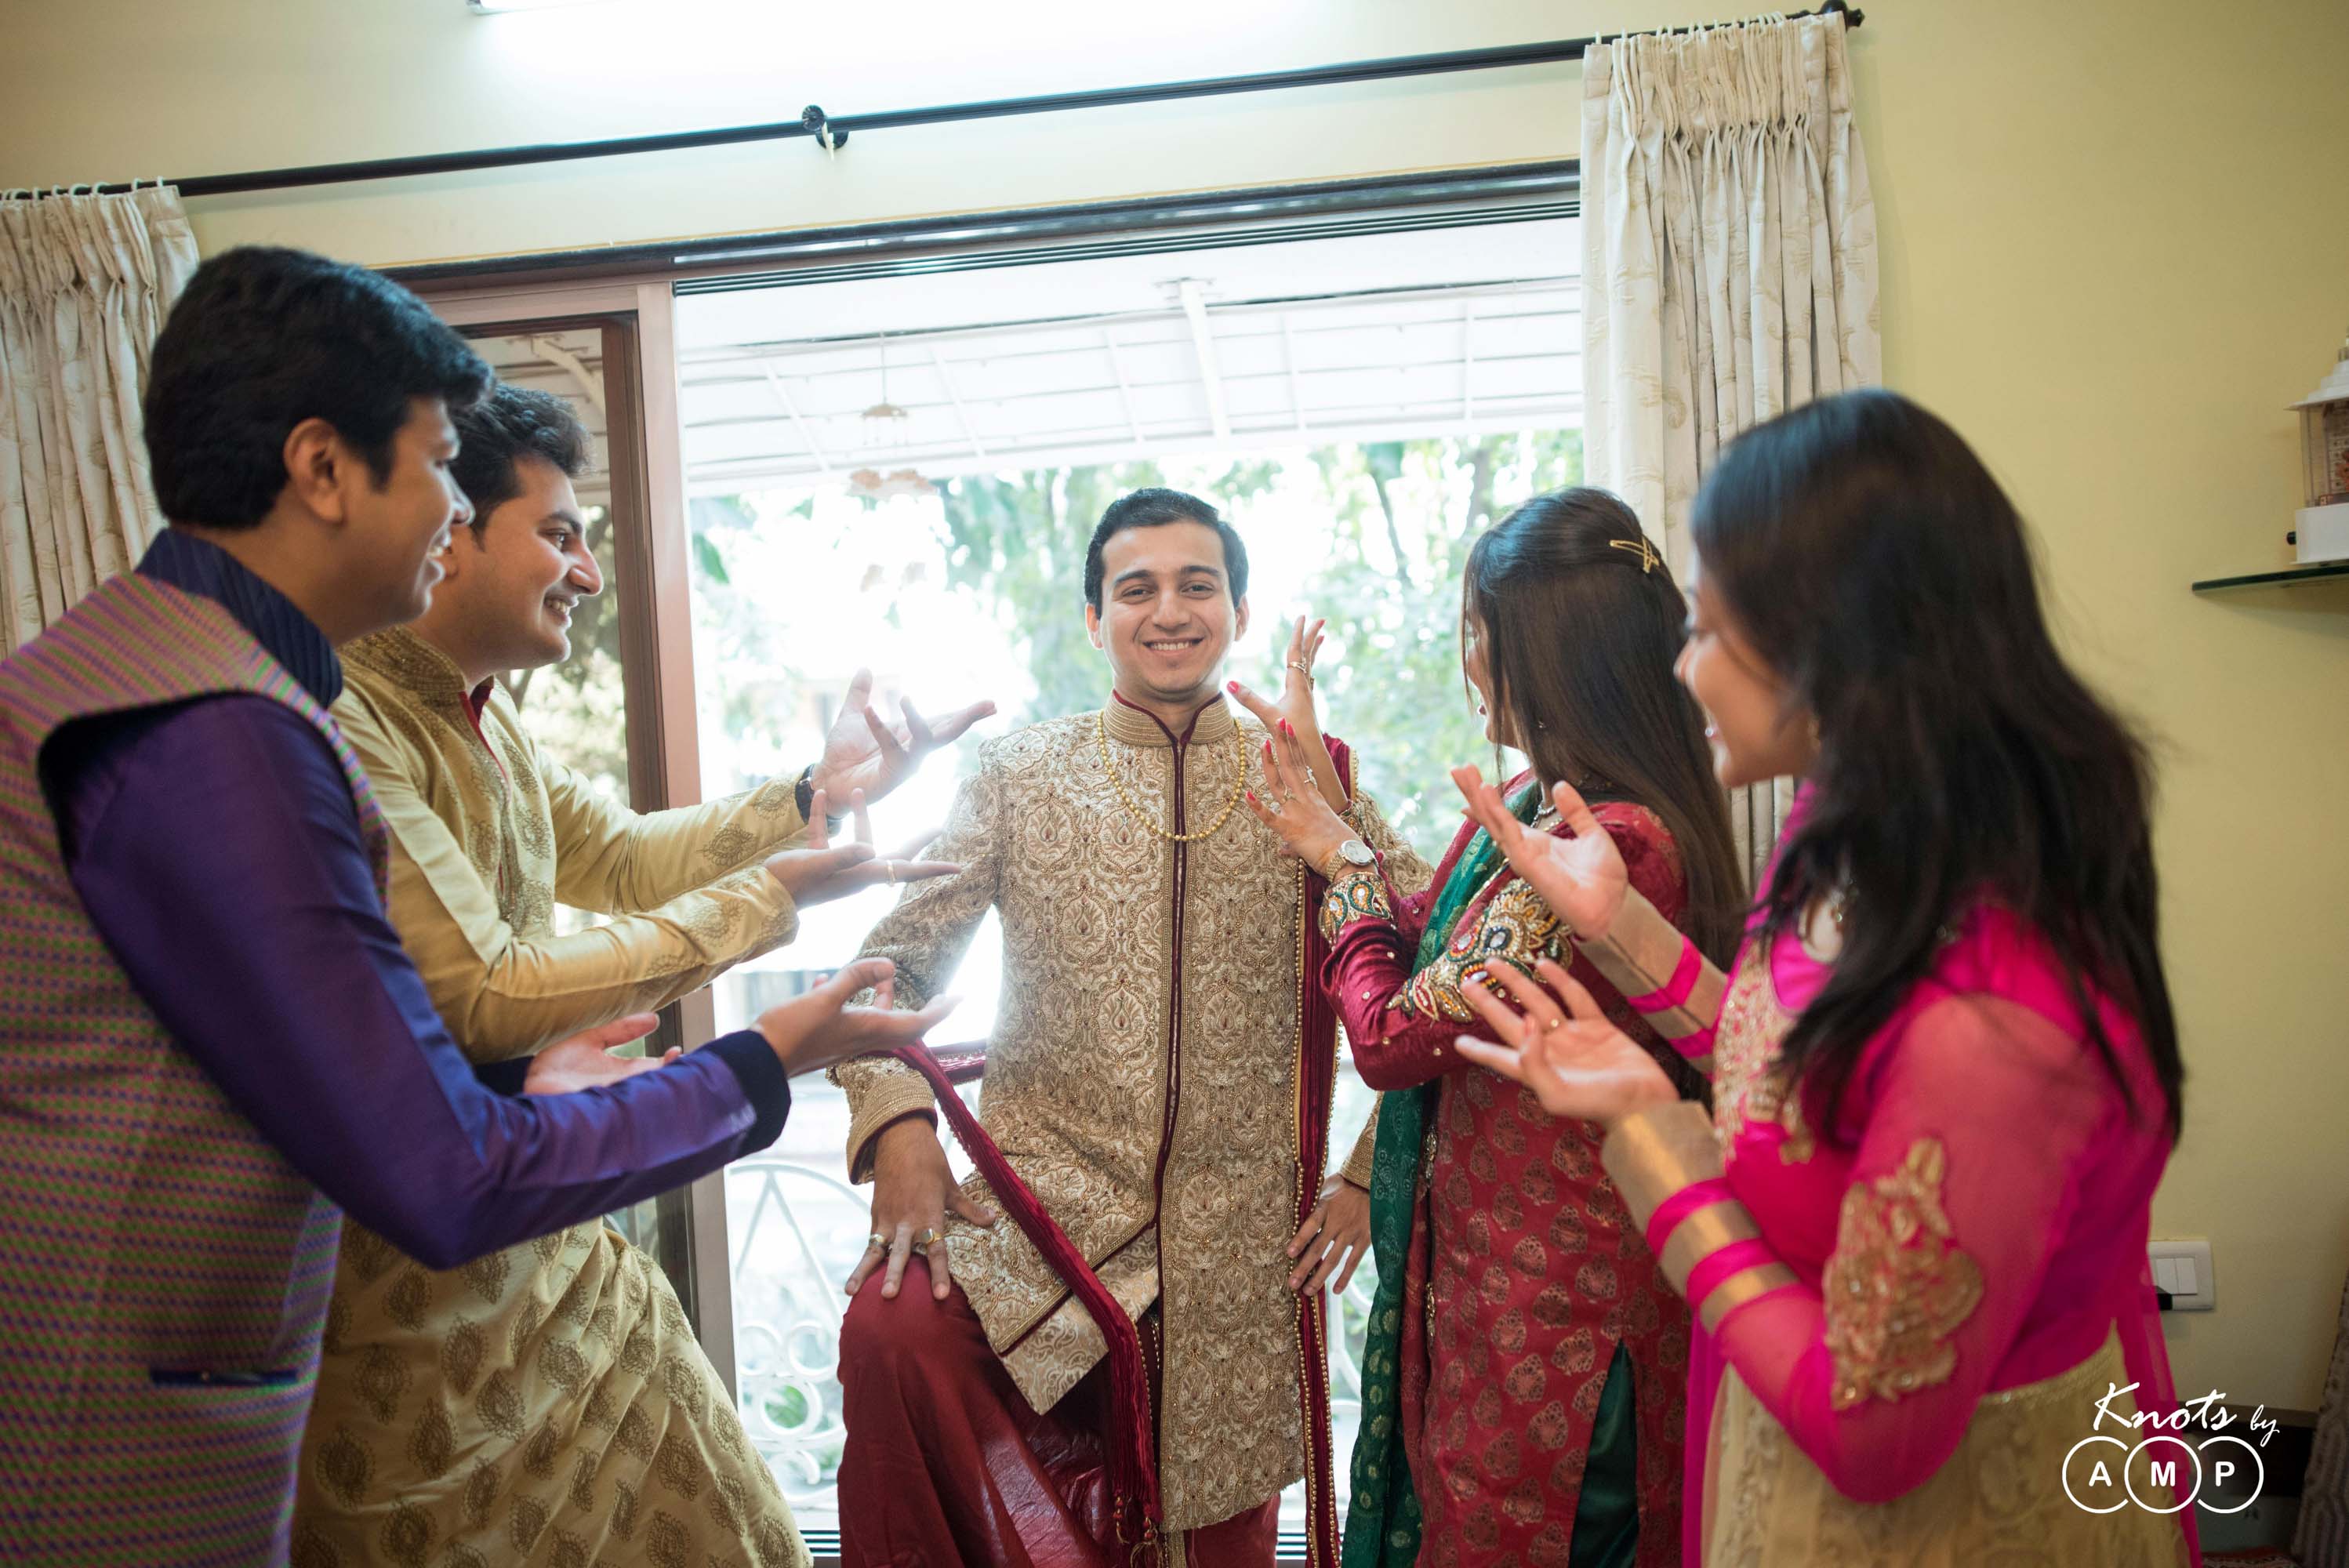
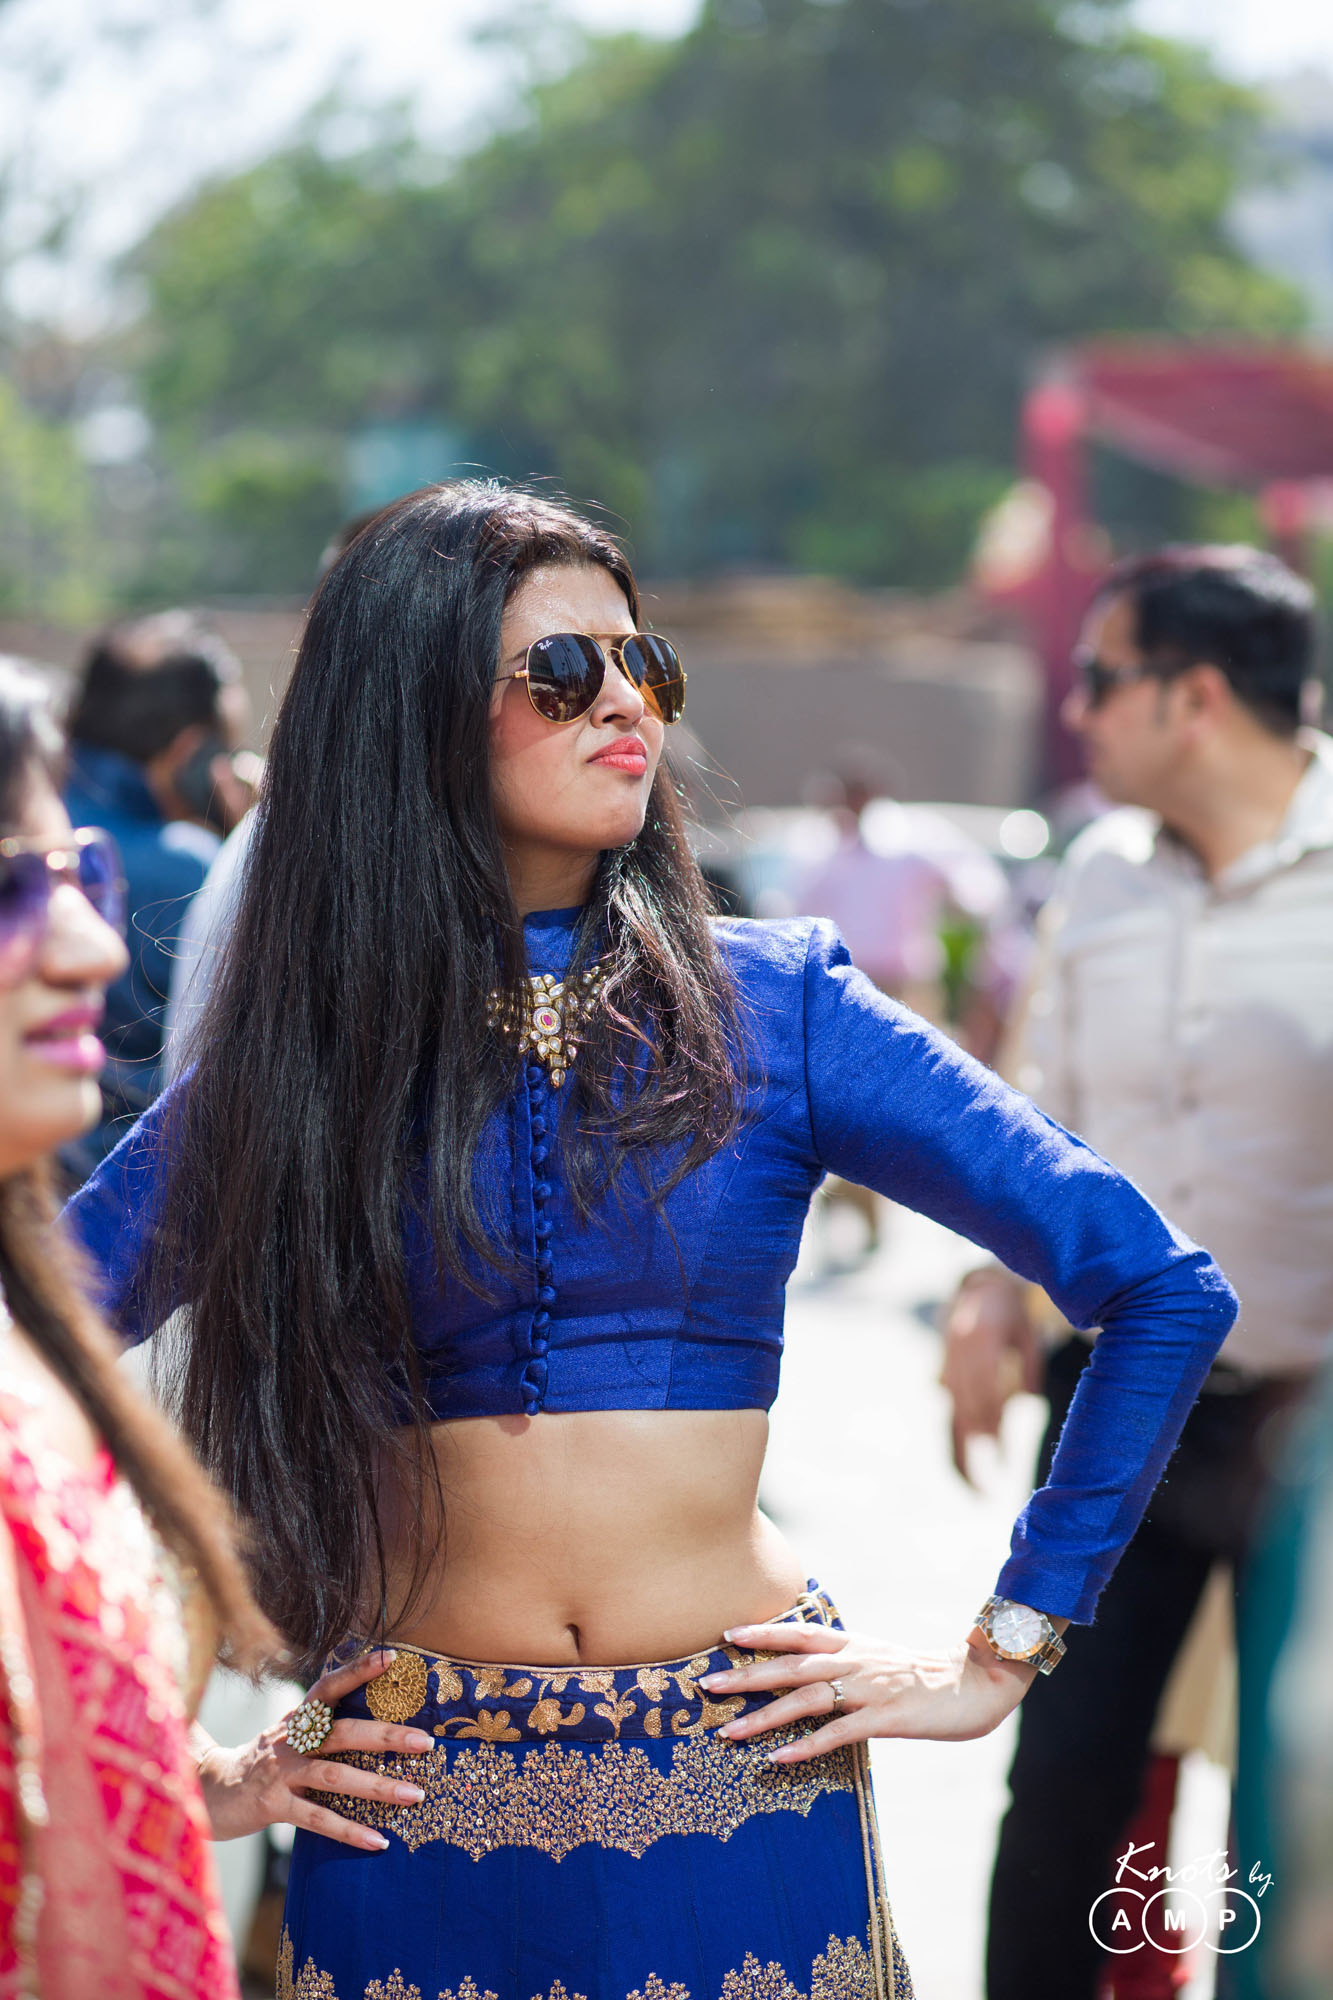
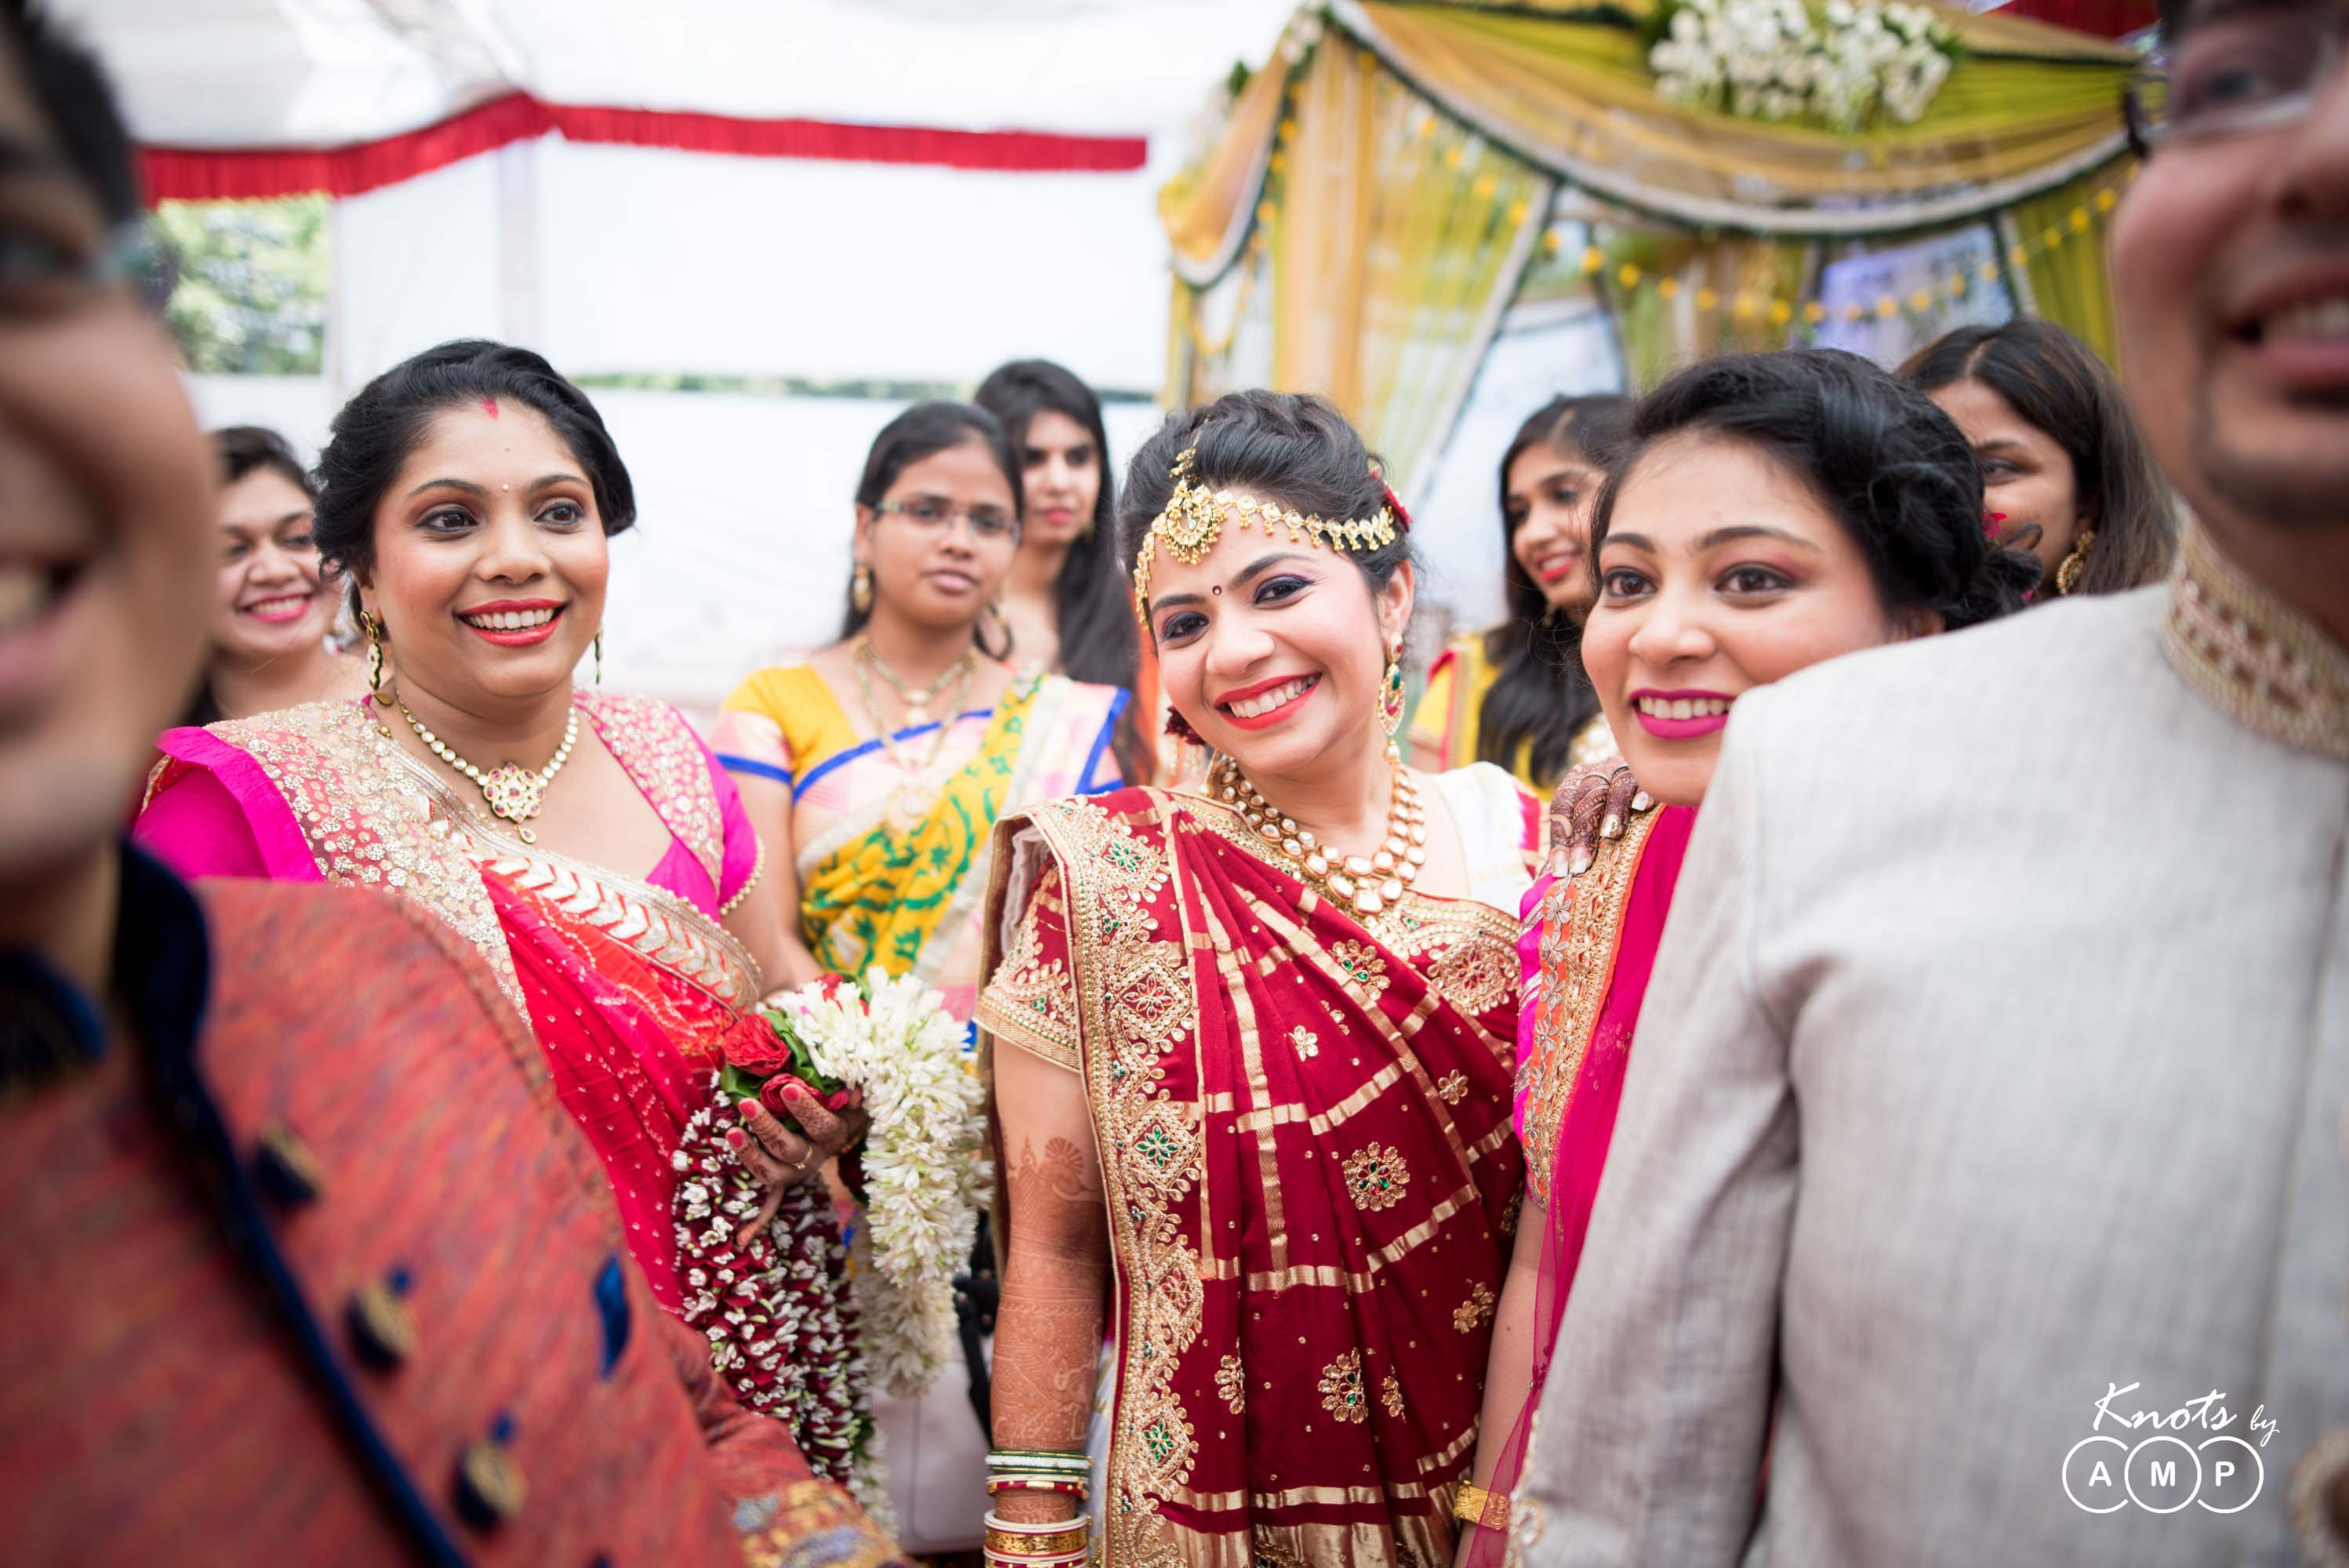
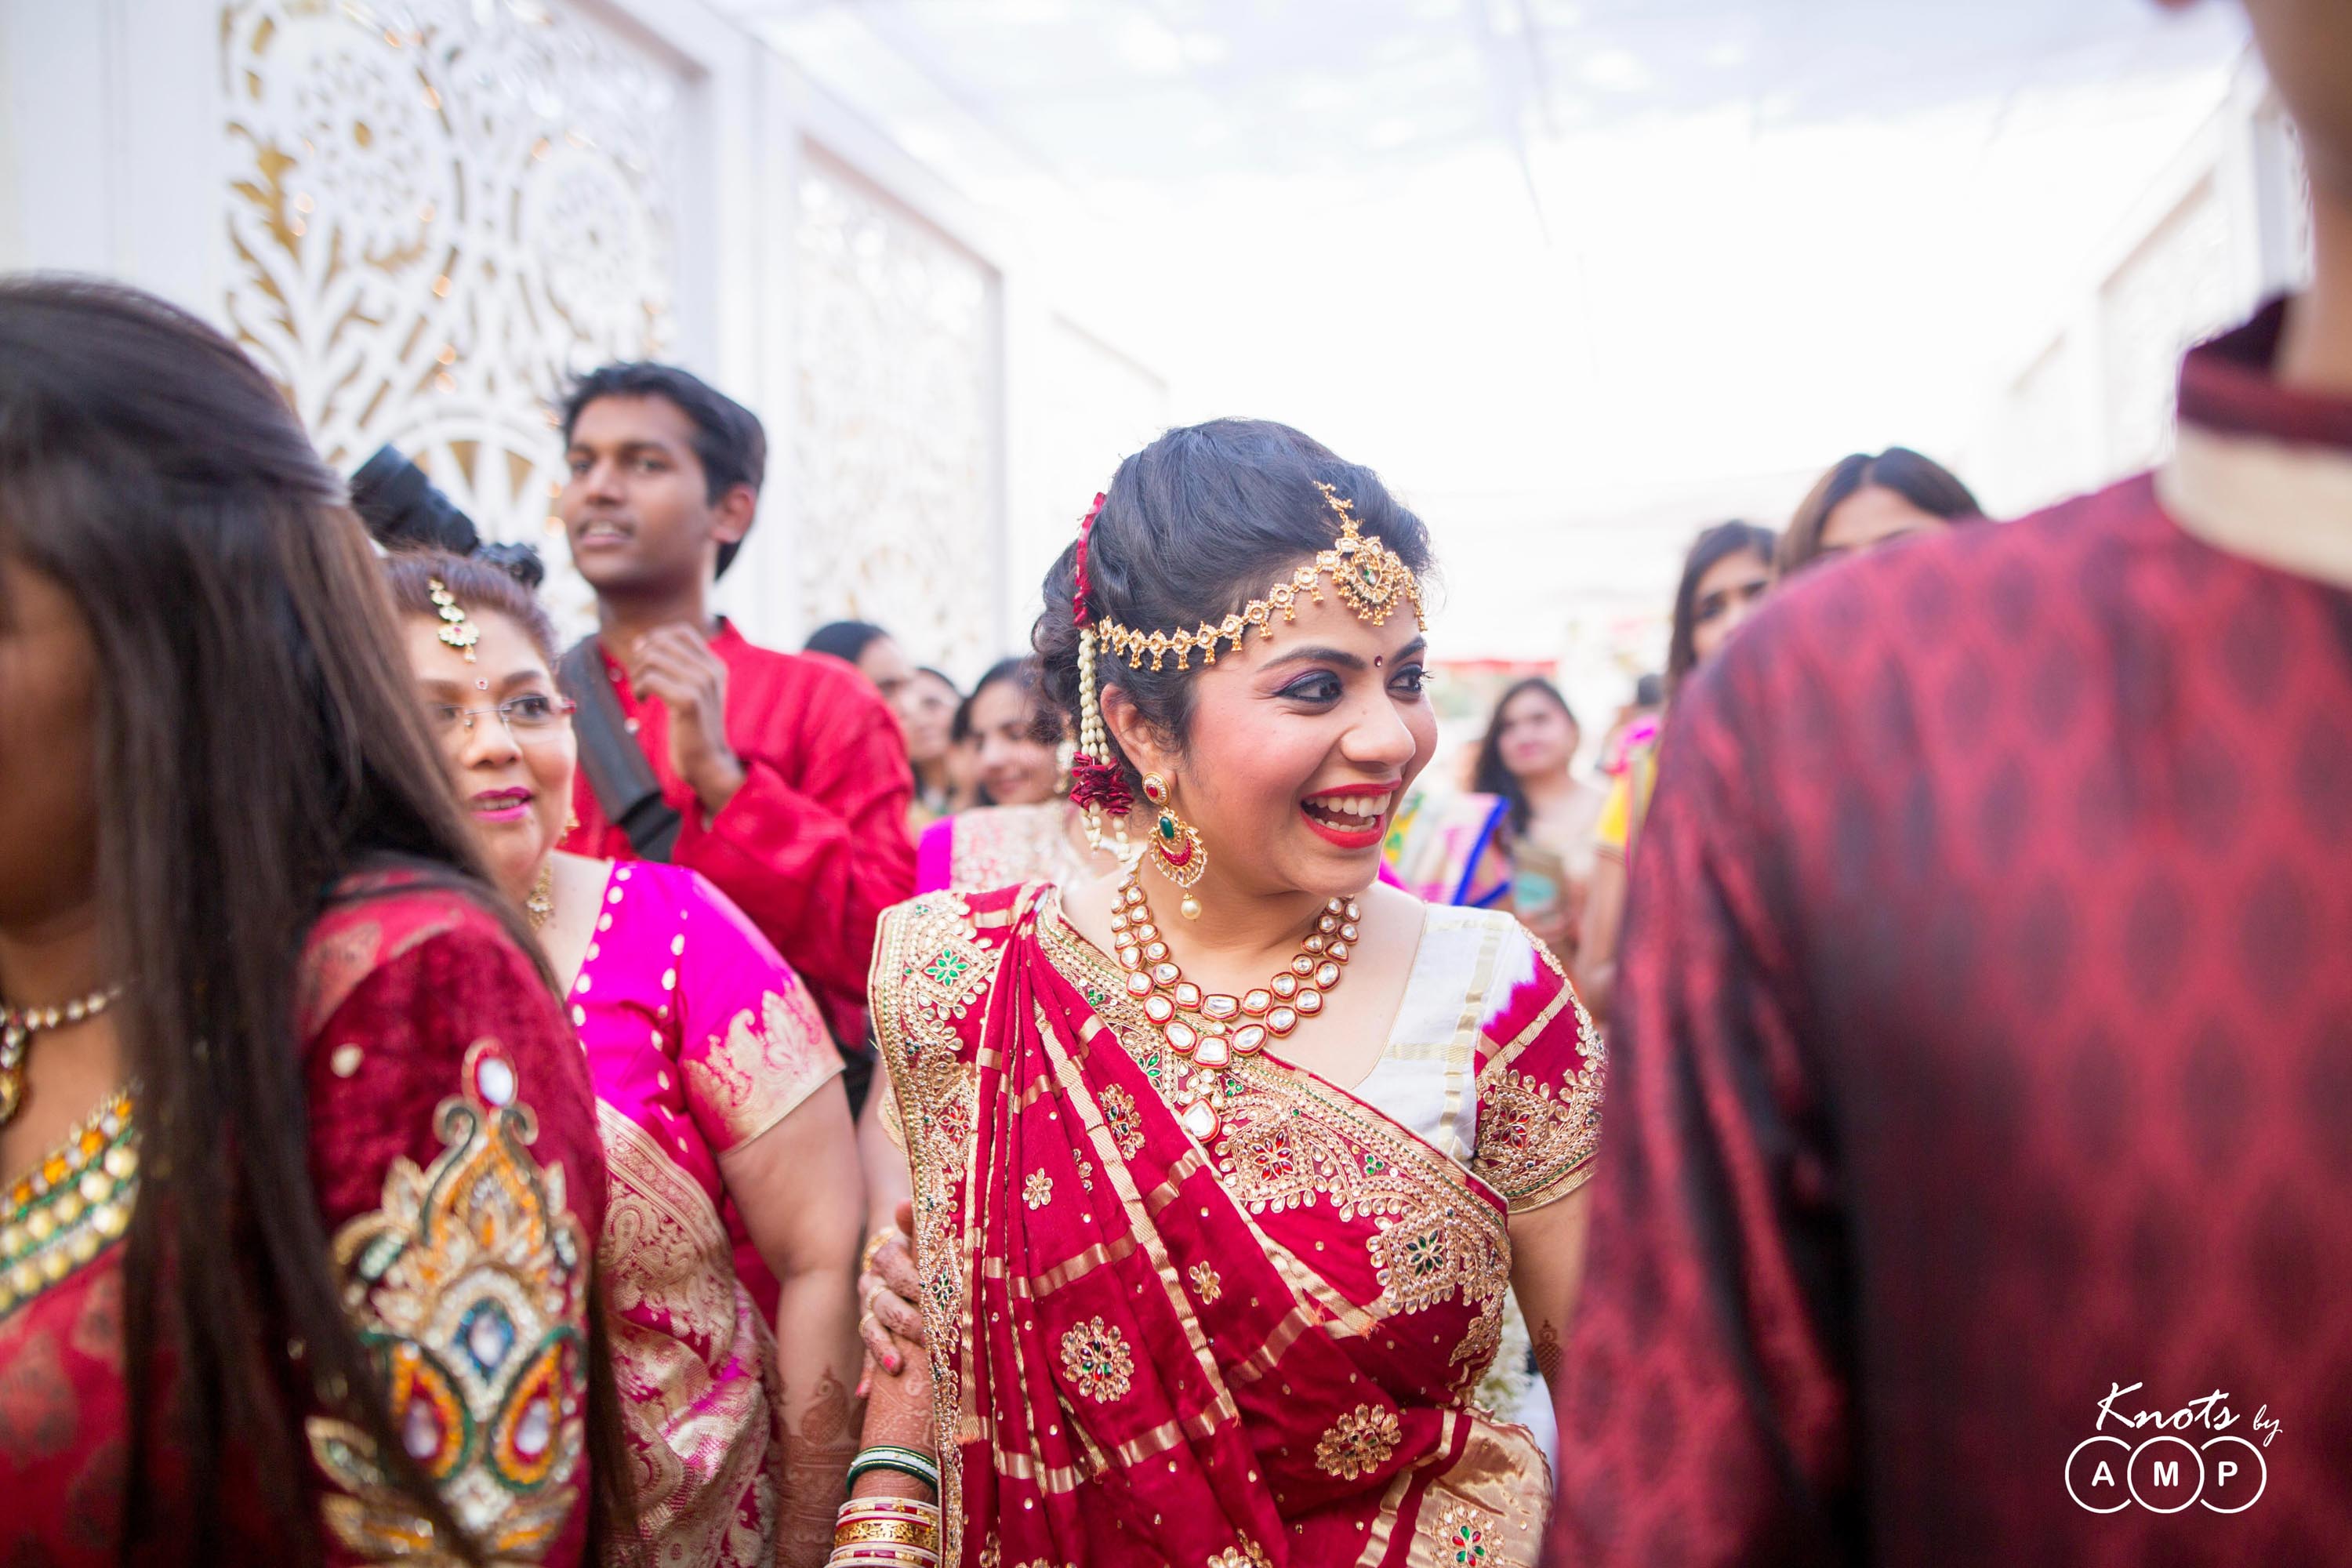
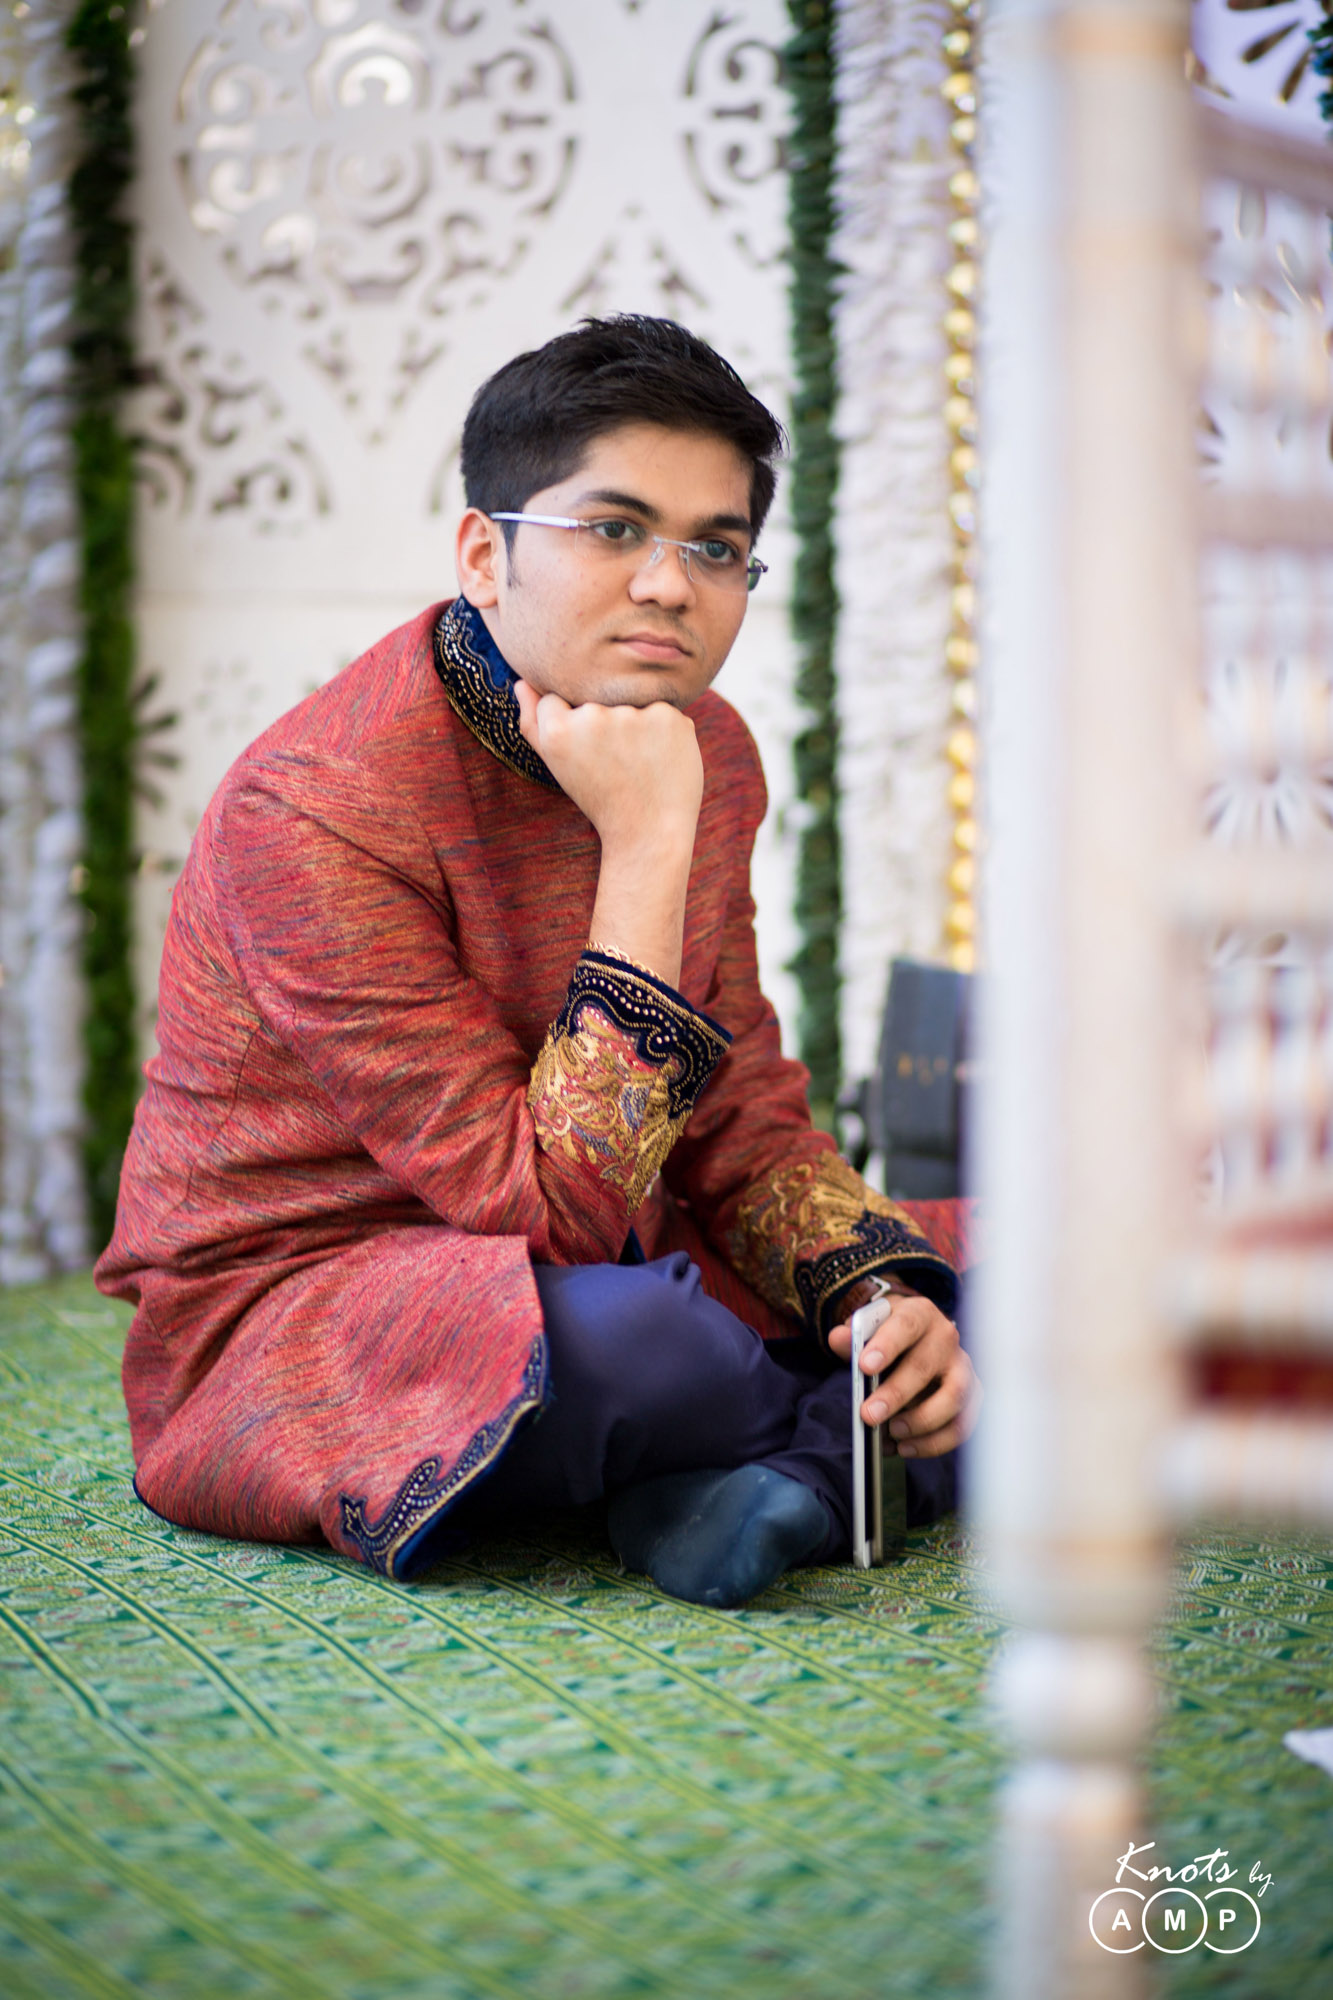
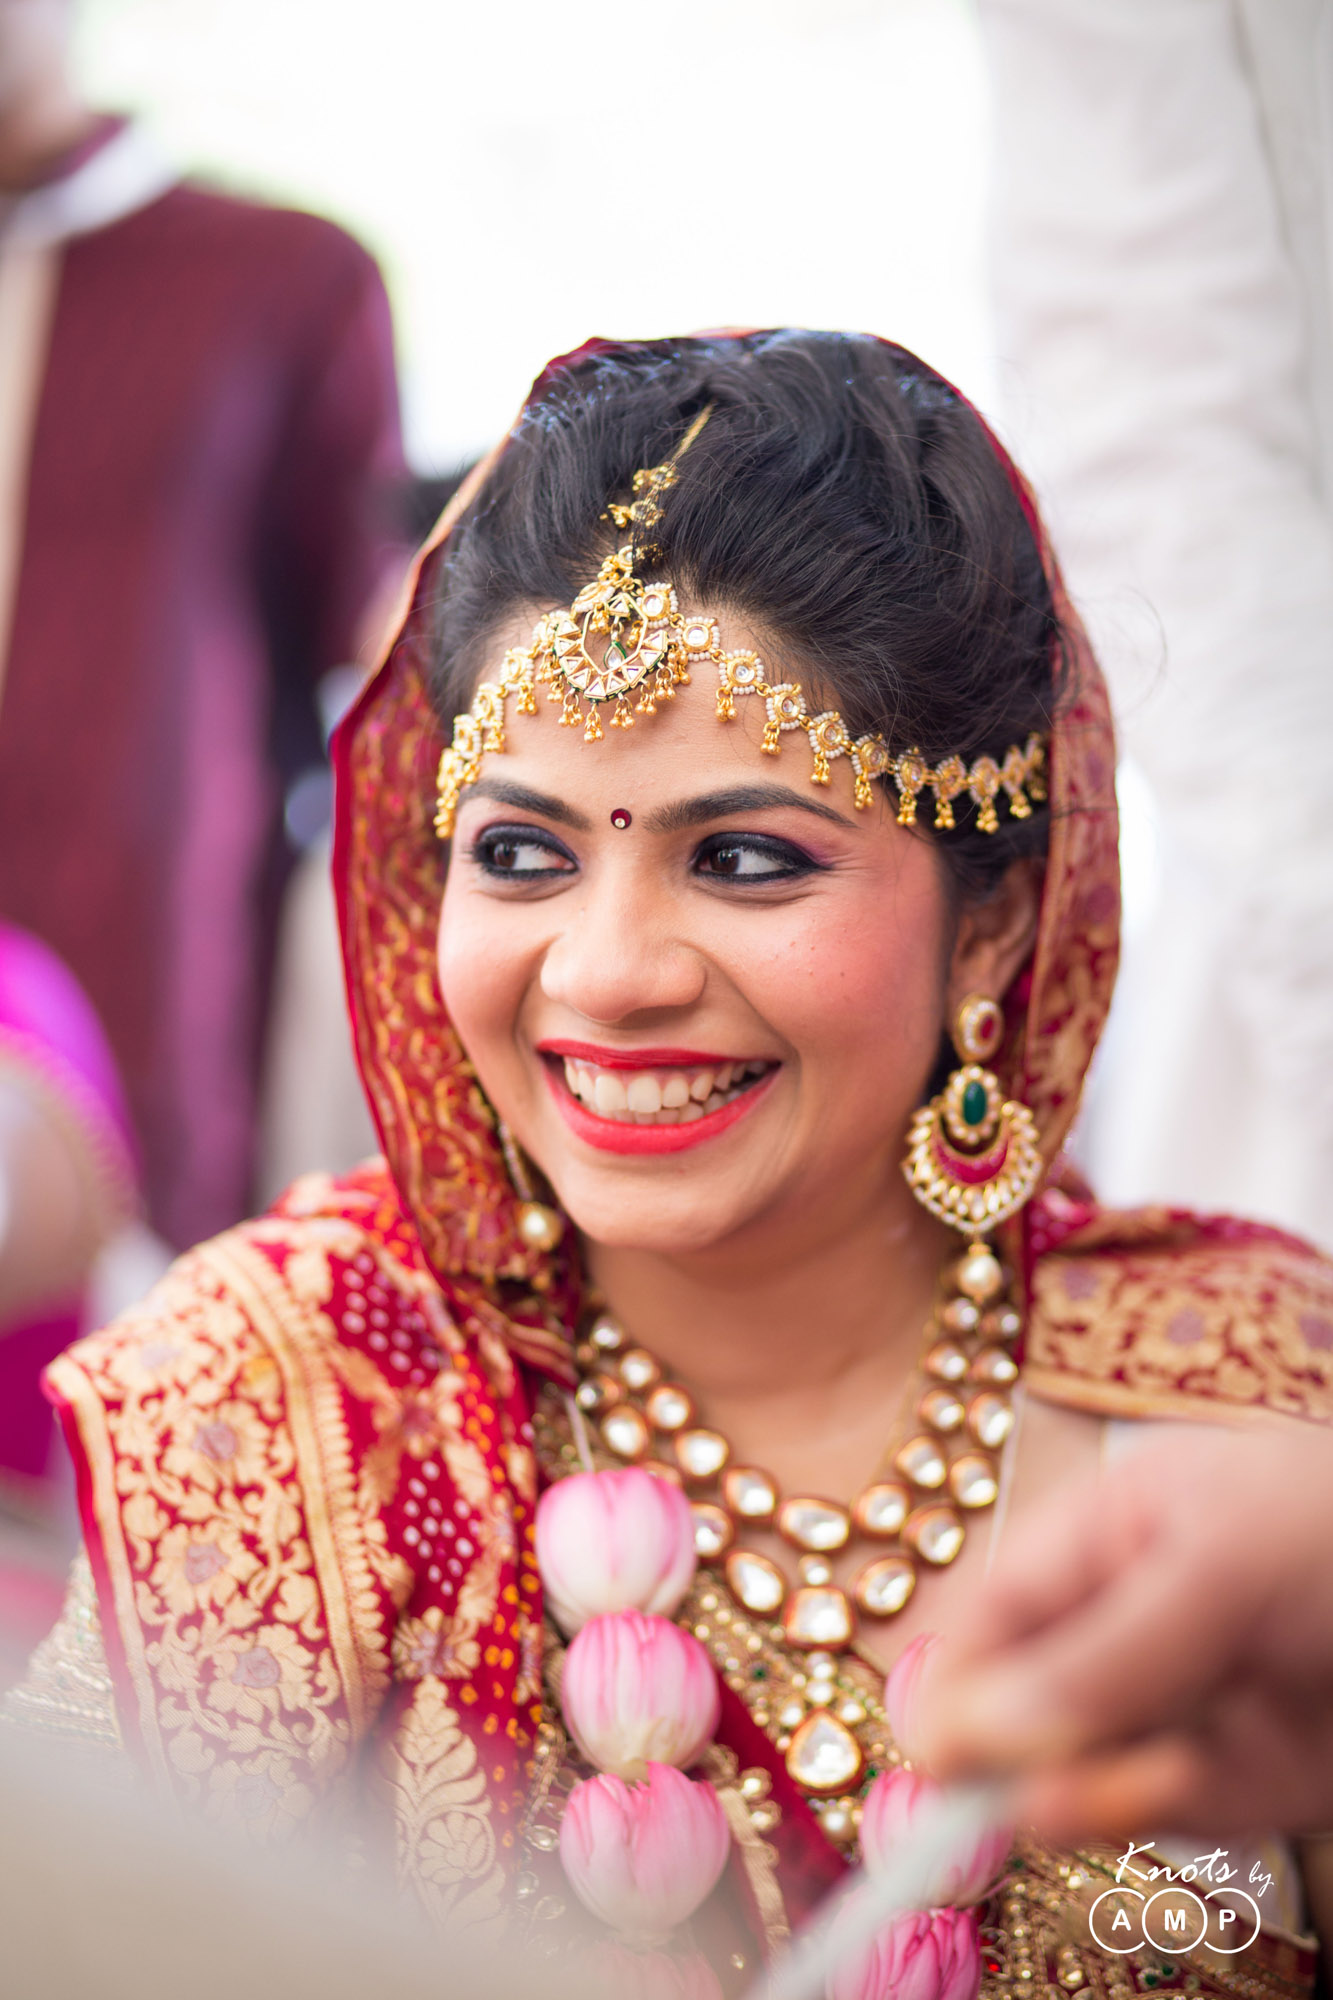
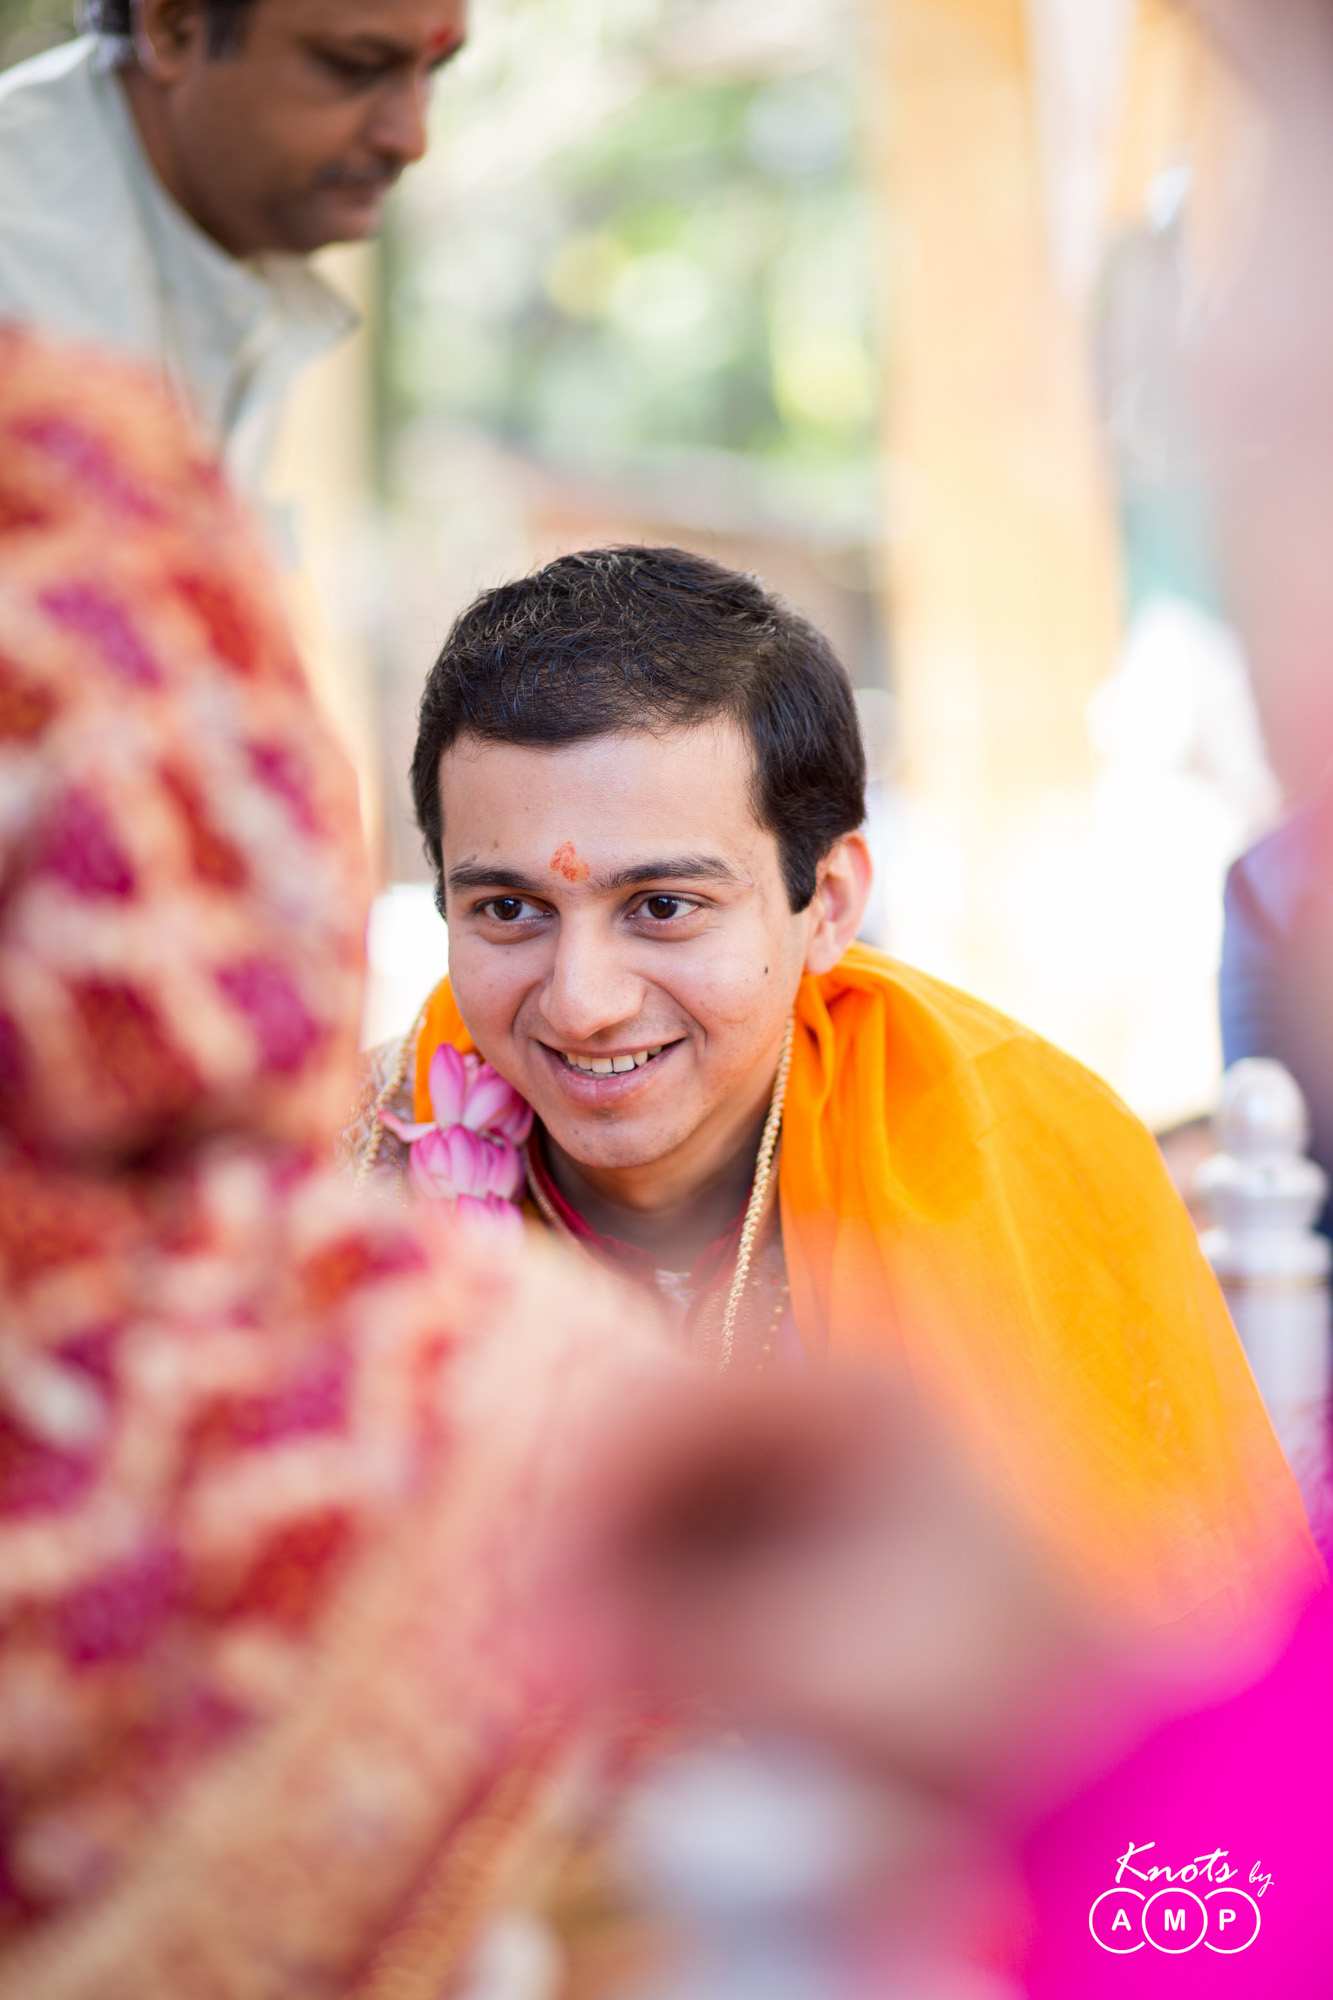
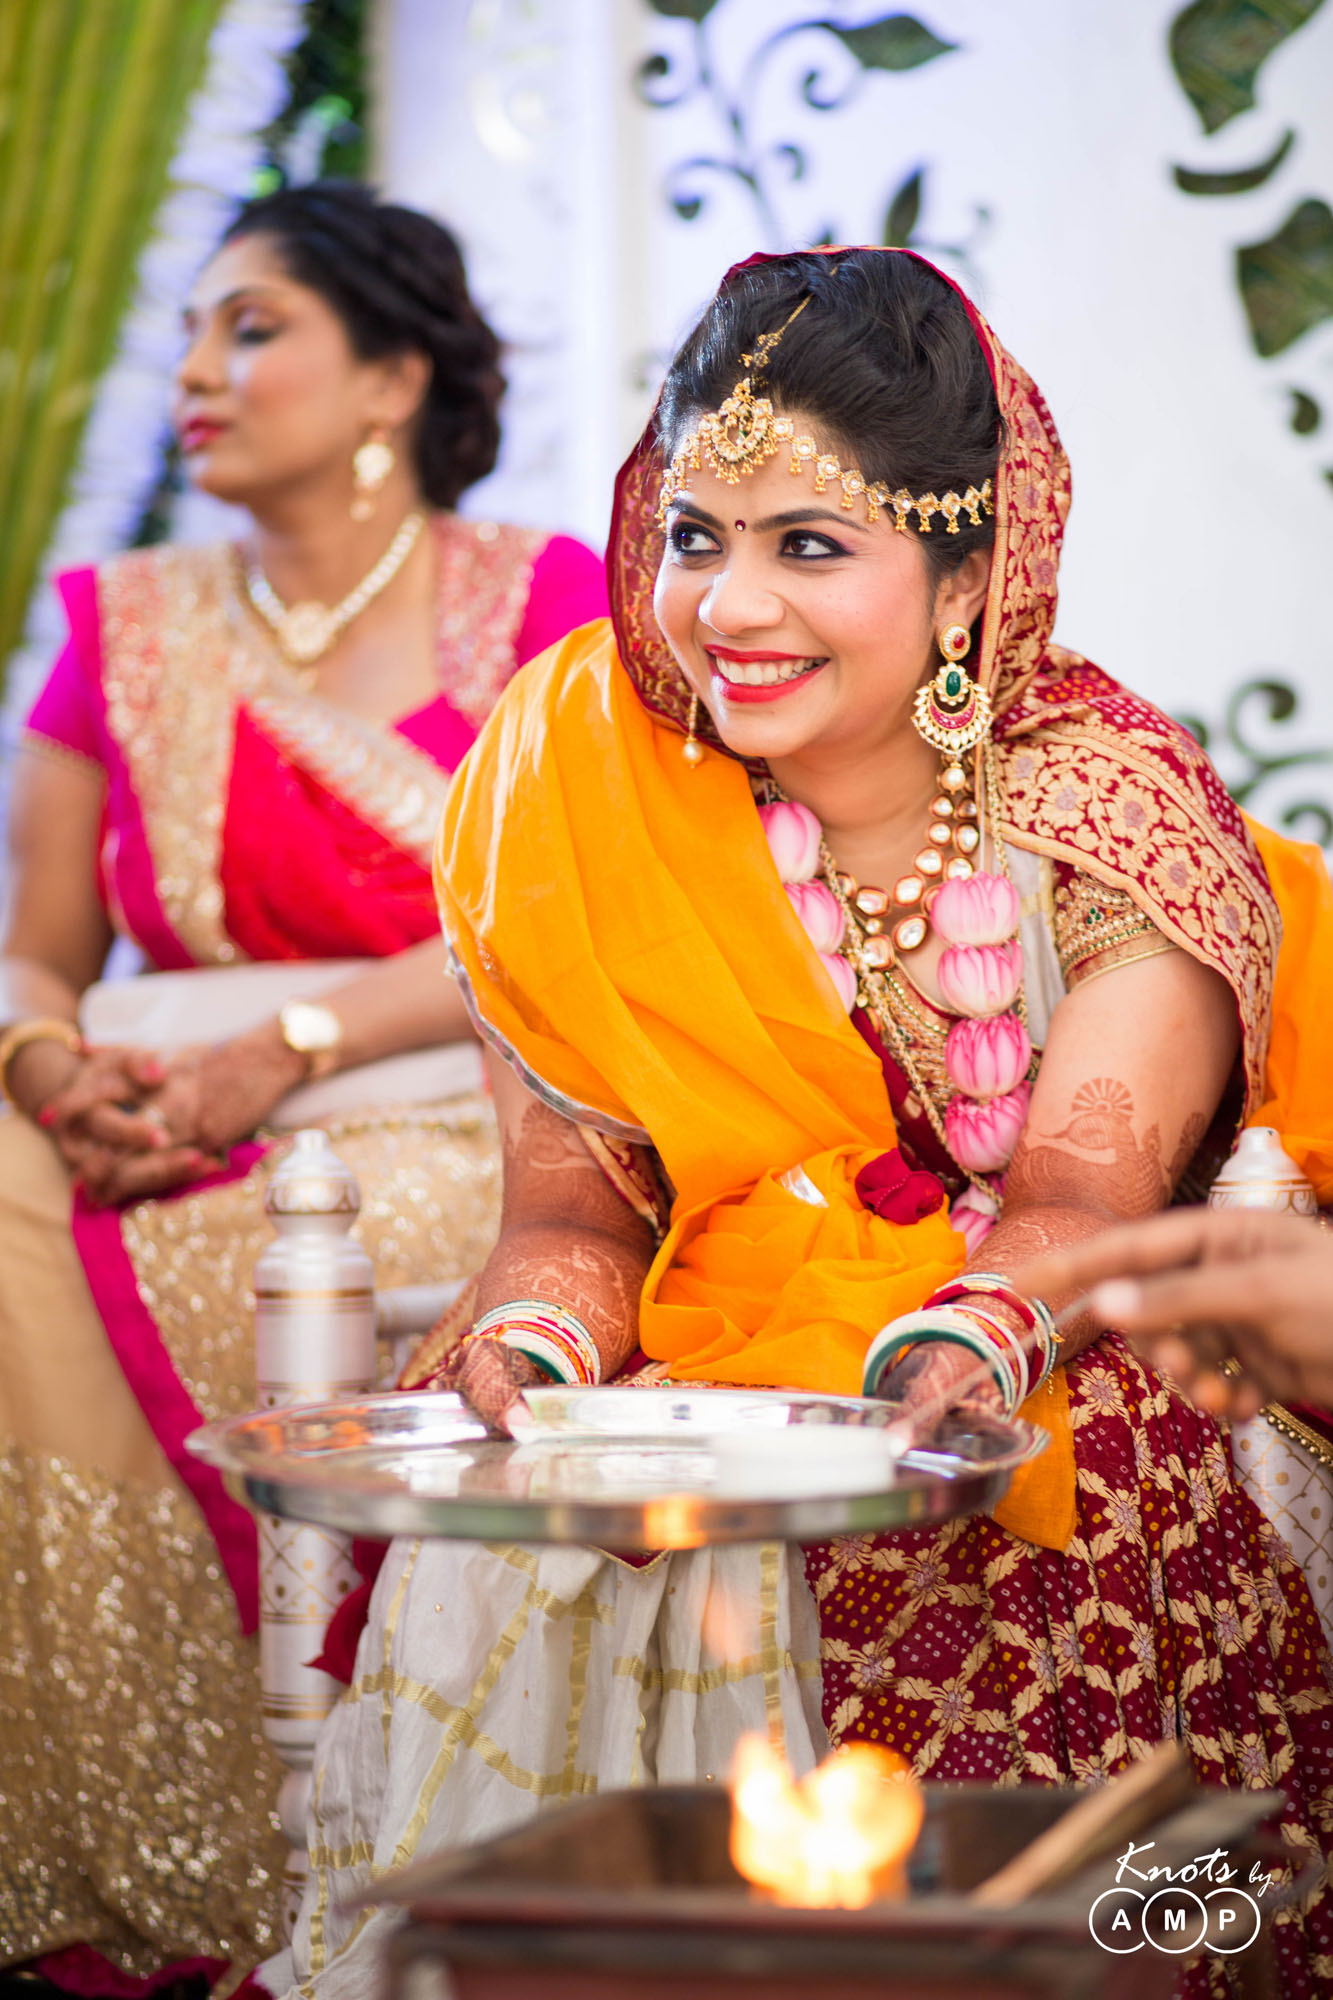
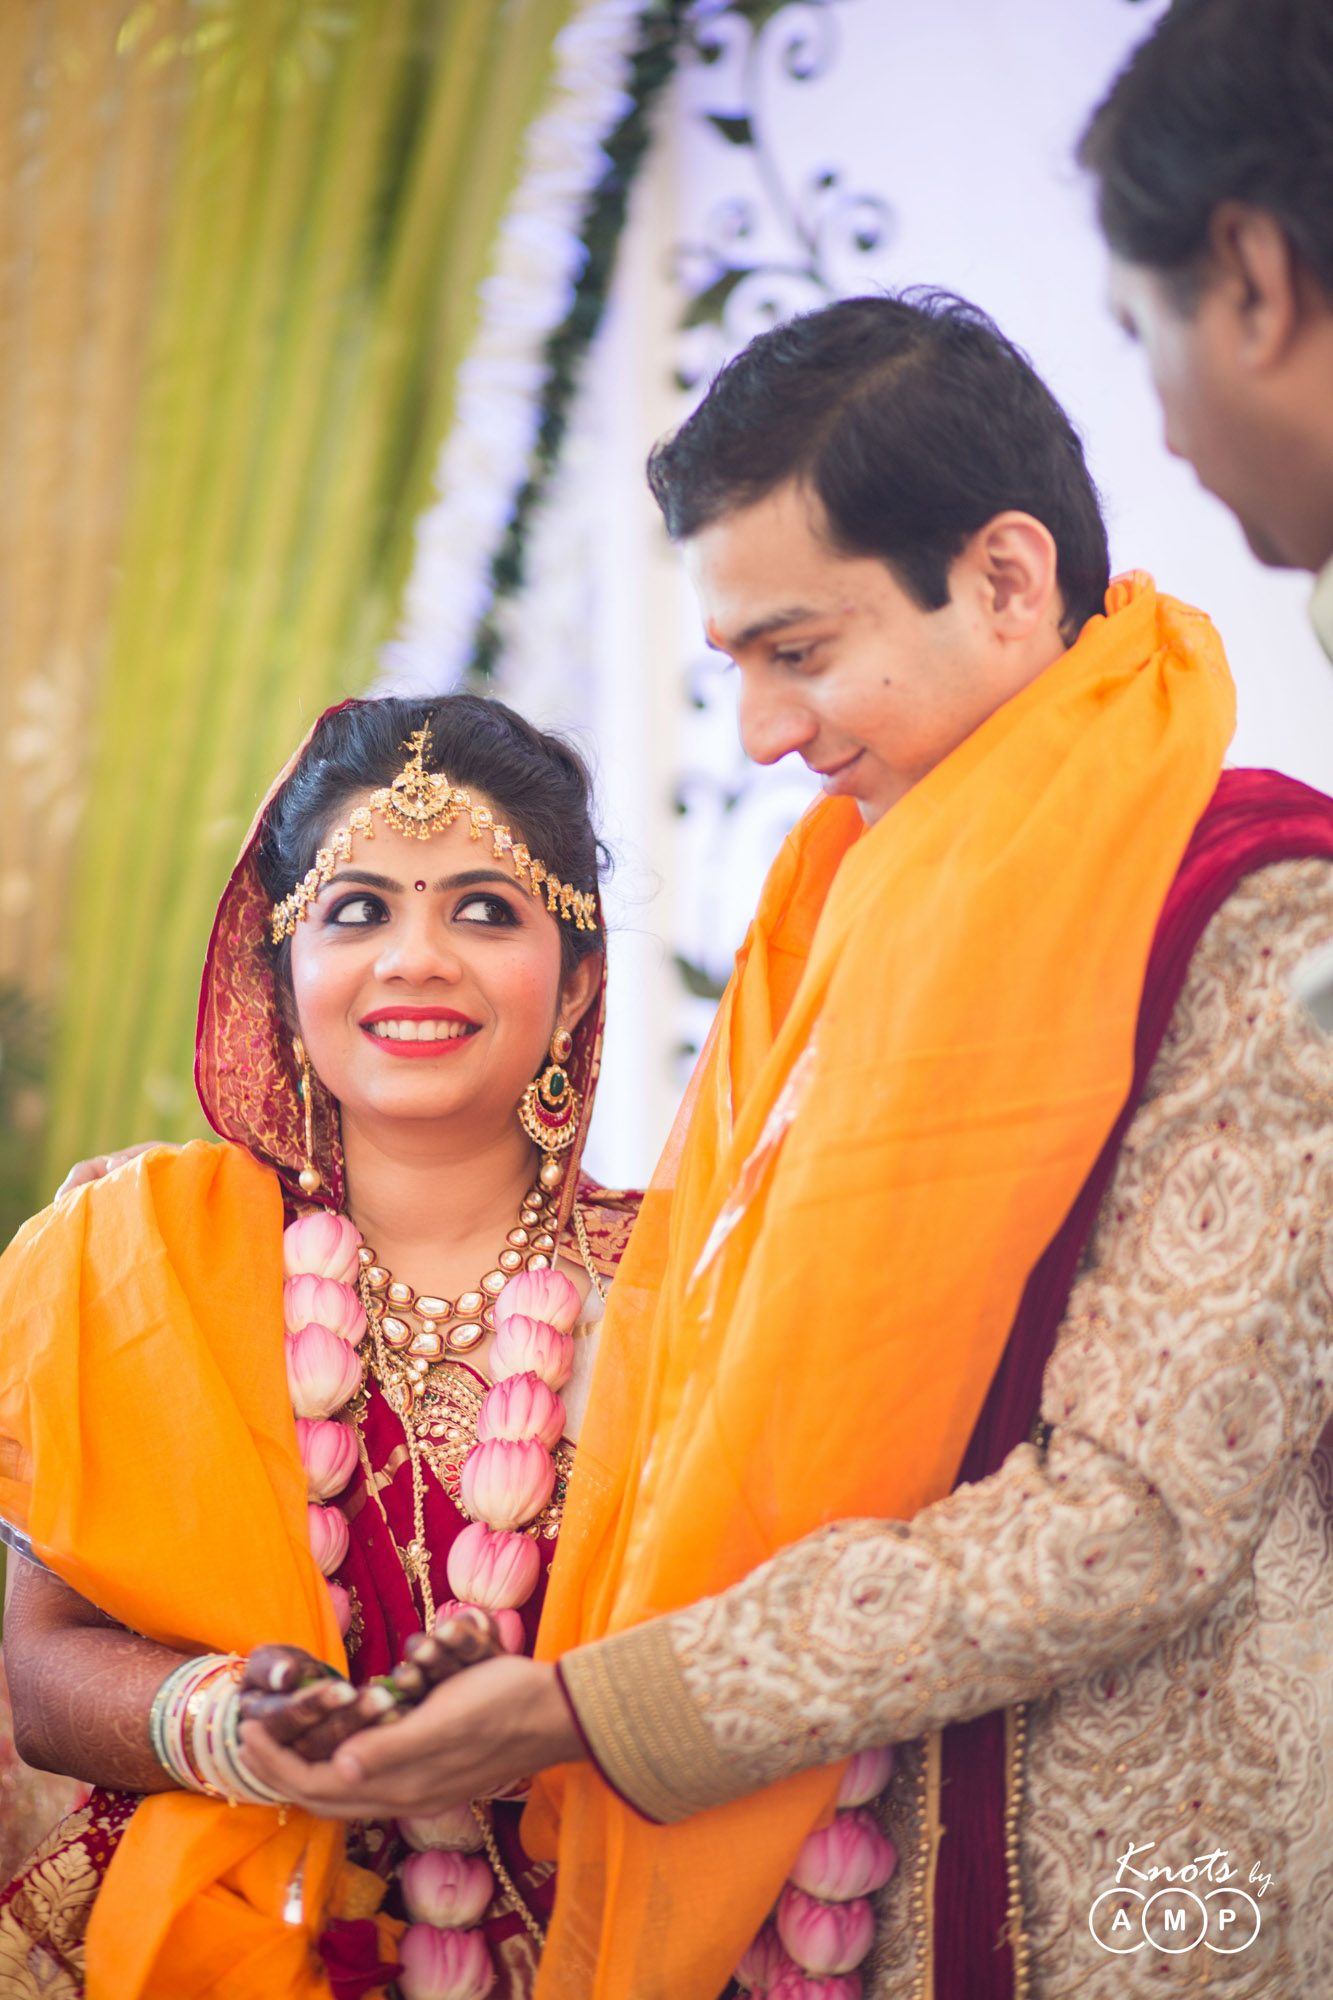
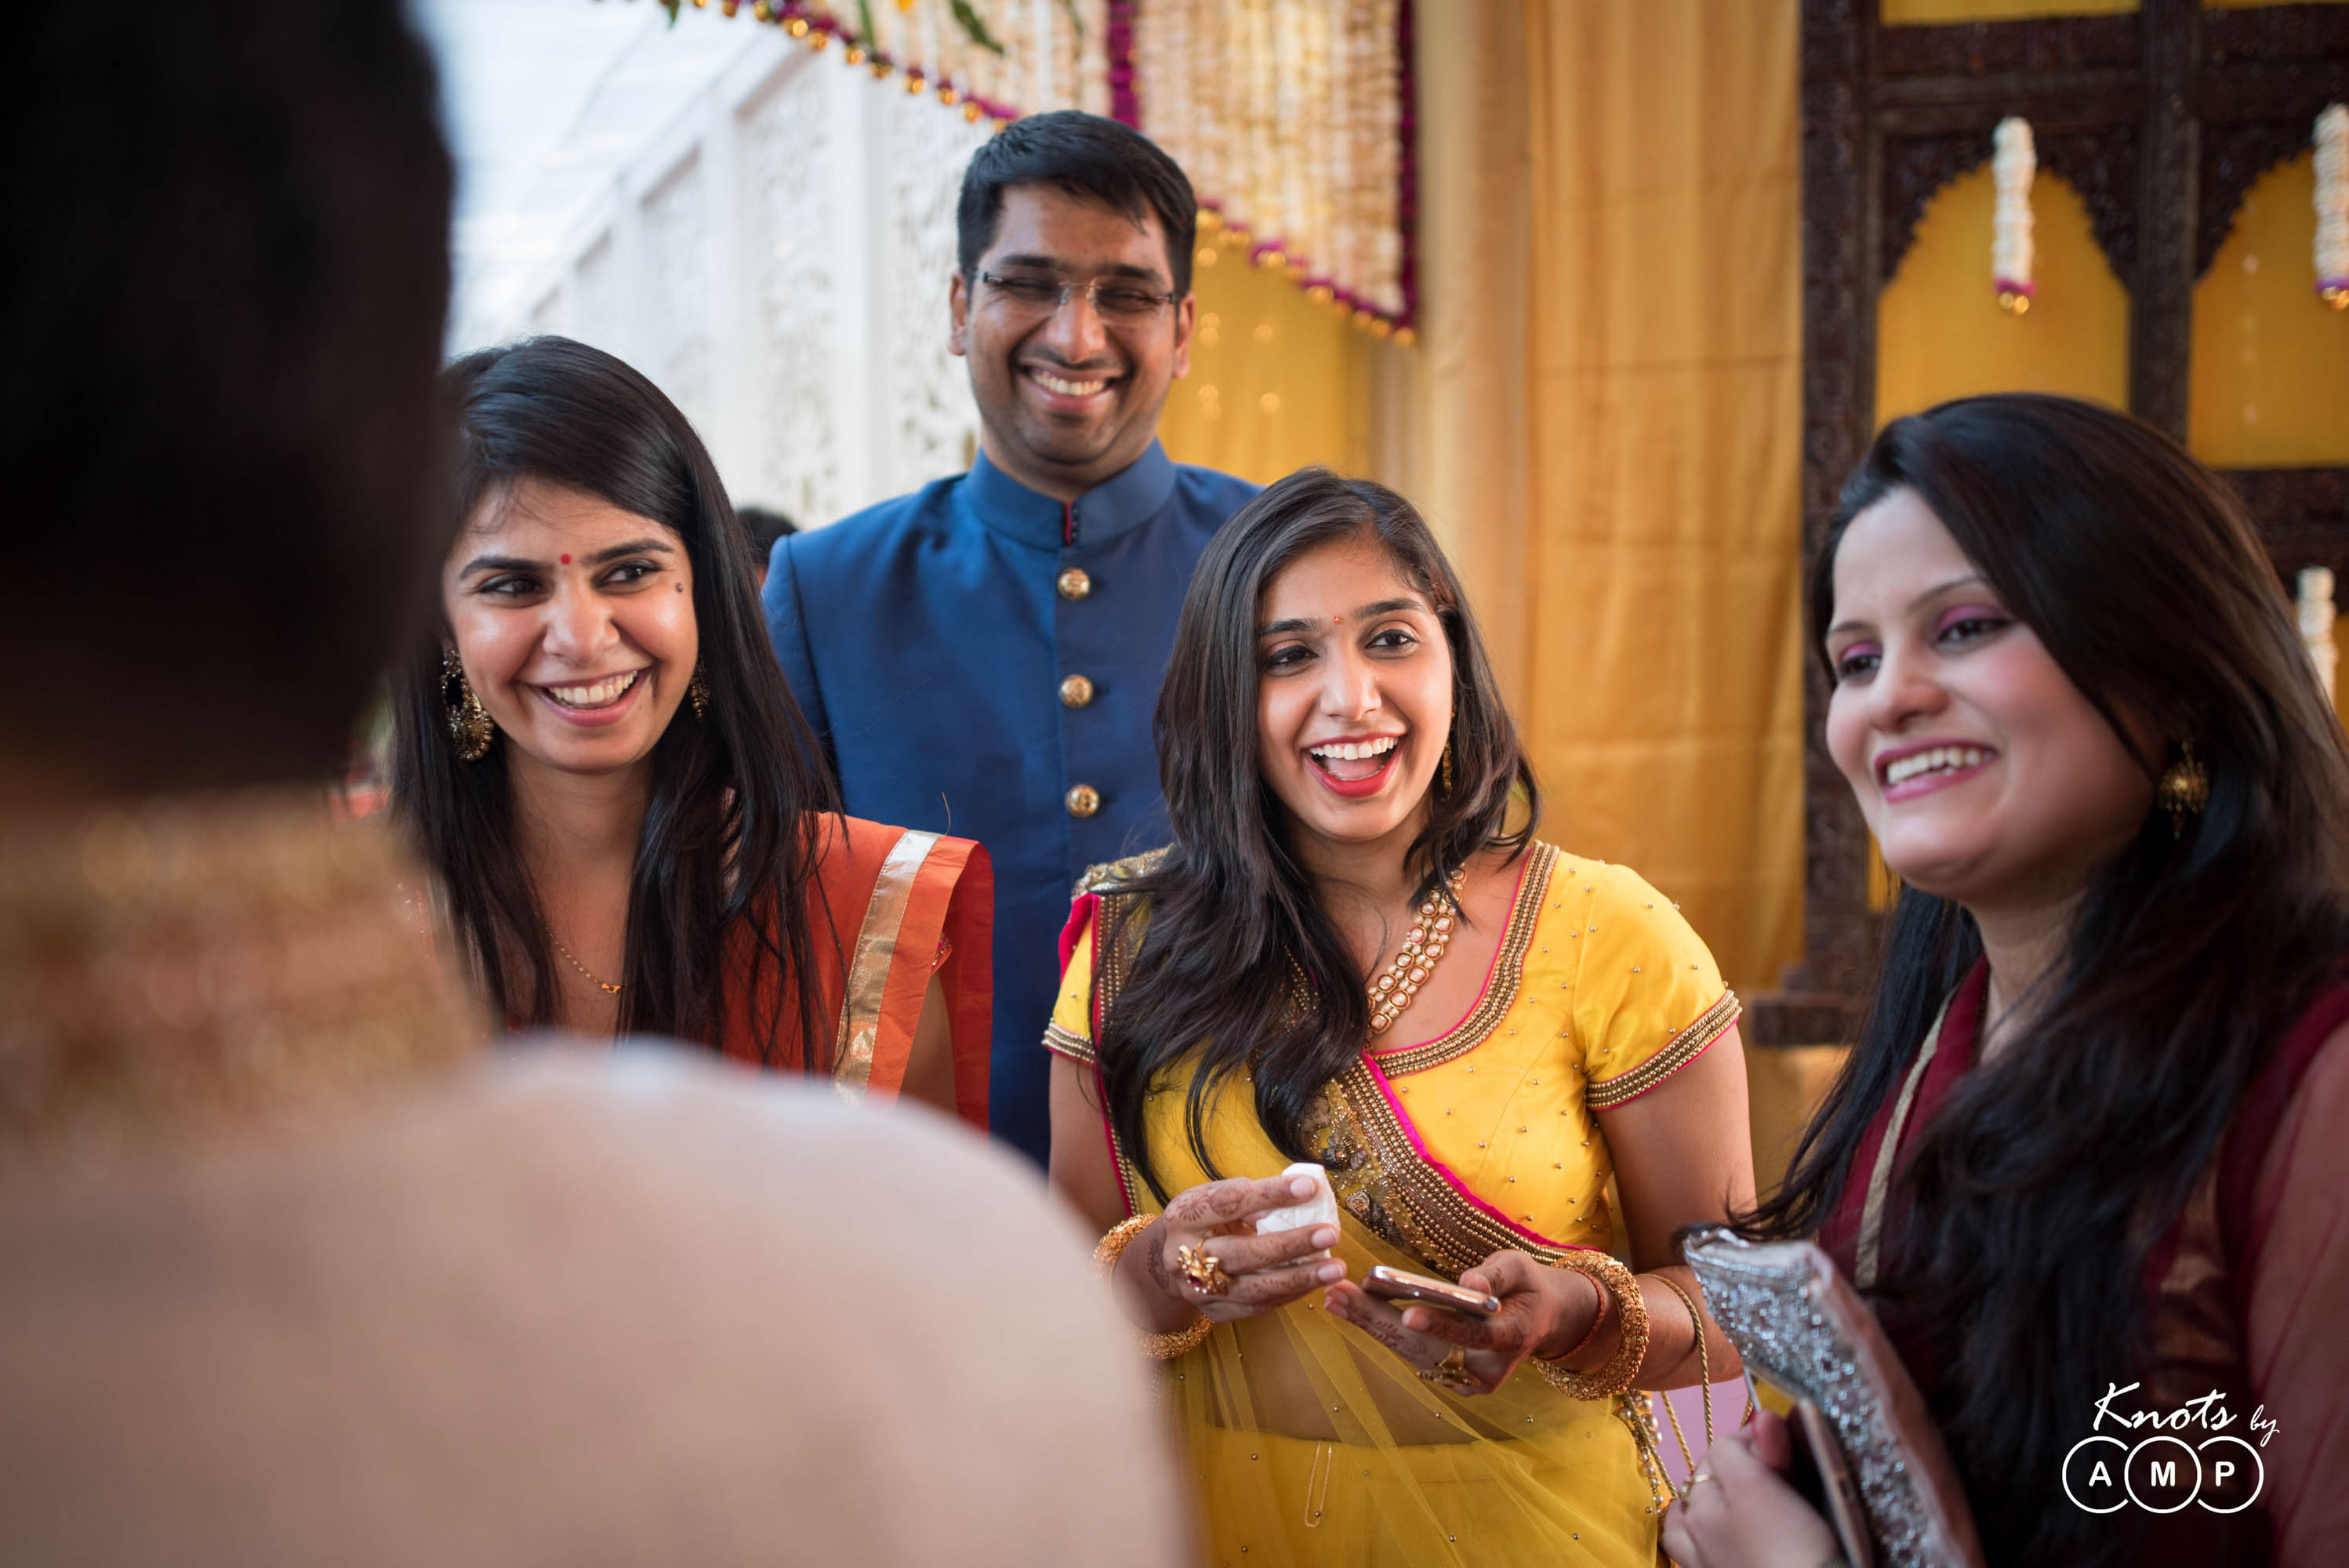
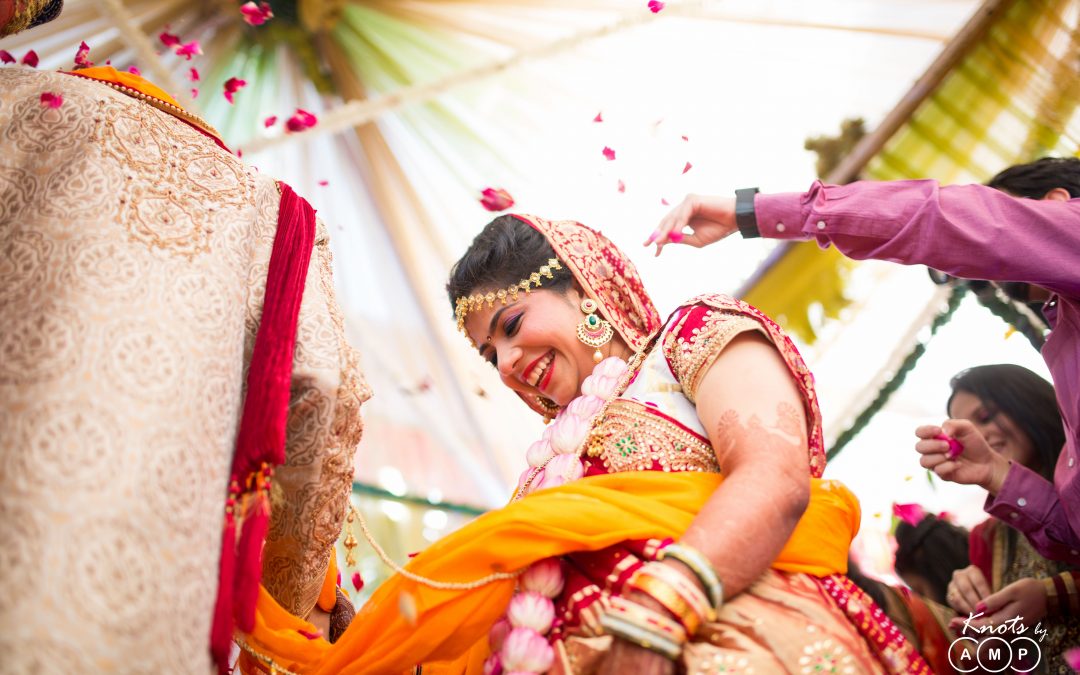
Some stories are created with the sheer presence of wide smiles and true love. Harshit and Kinjal, with whom we spent a second innings on their wedding day, are just the kinds who would make photography truly pleasurable. After their Bollywood clad pre-wedding shoot it was a day we all were looking forward to capture. Harshit a CA and Kinjal a dentist, met through their families and this arranged marriage blends so beautifully that one cannot believe how young their love is. The eternal smile on their faces when they look at each other and the endless excitement defines their wedding day!
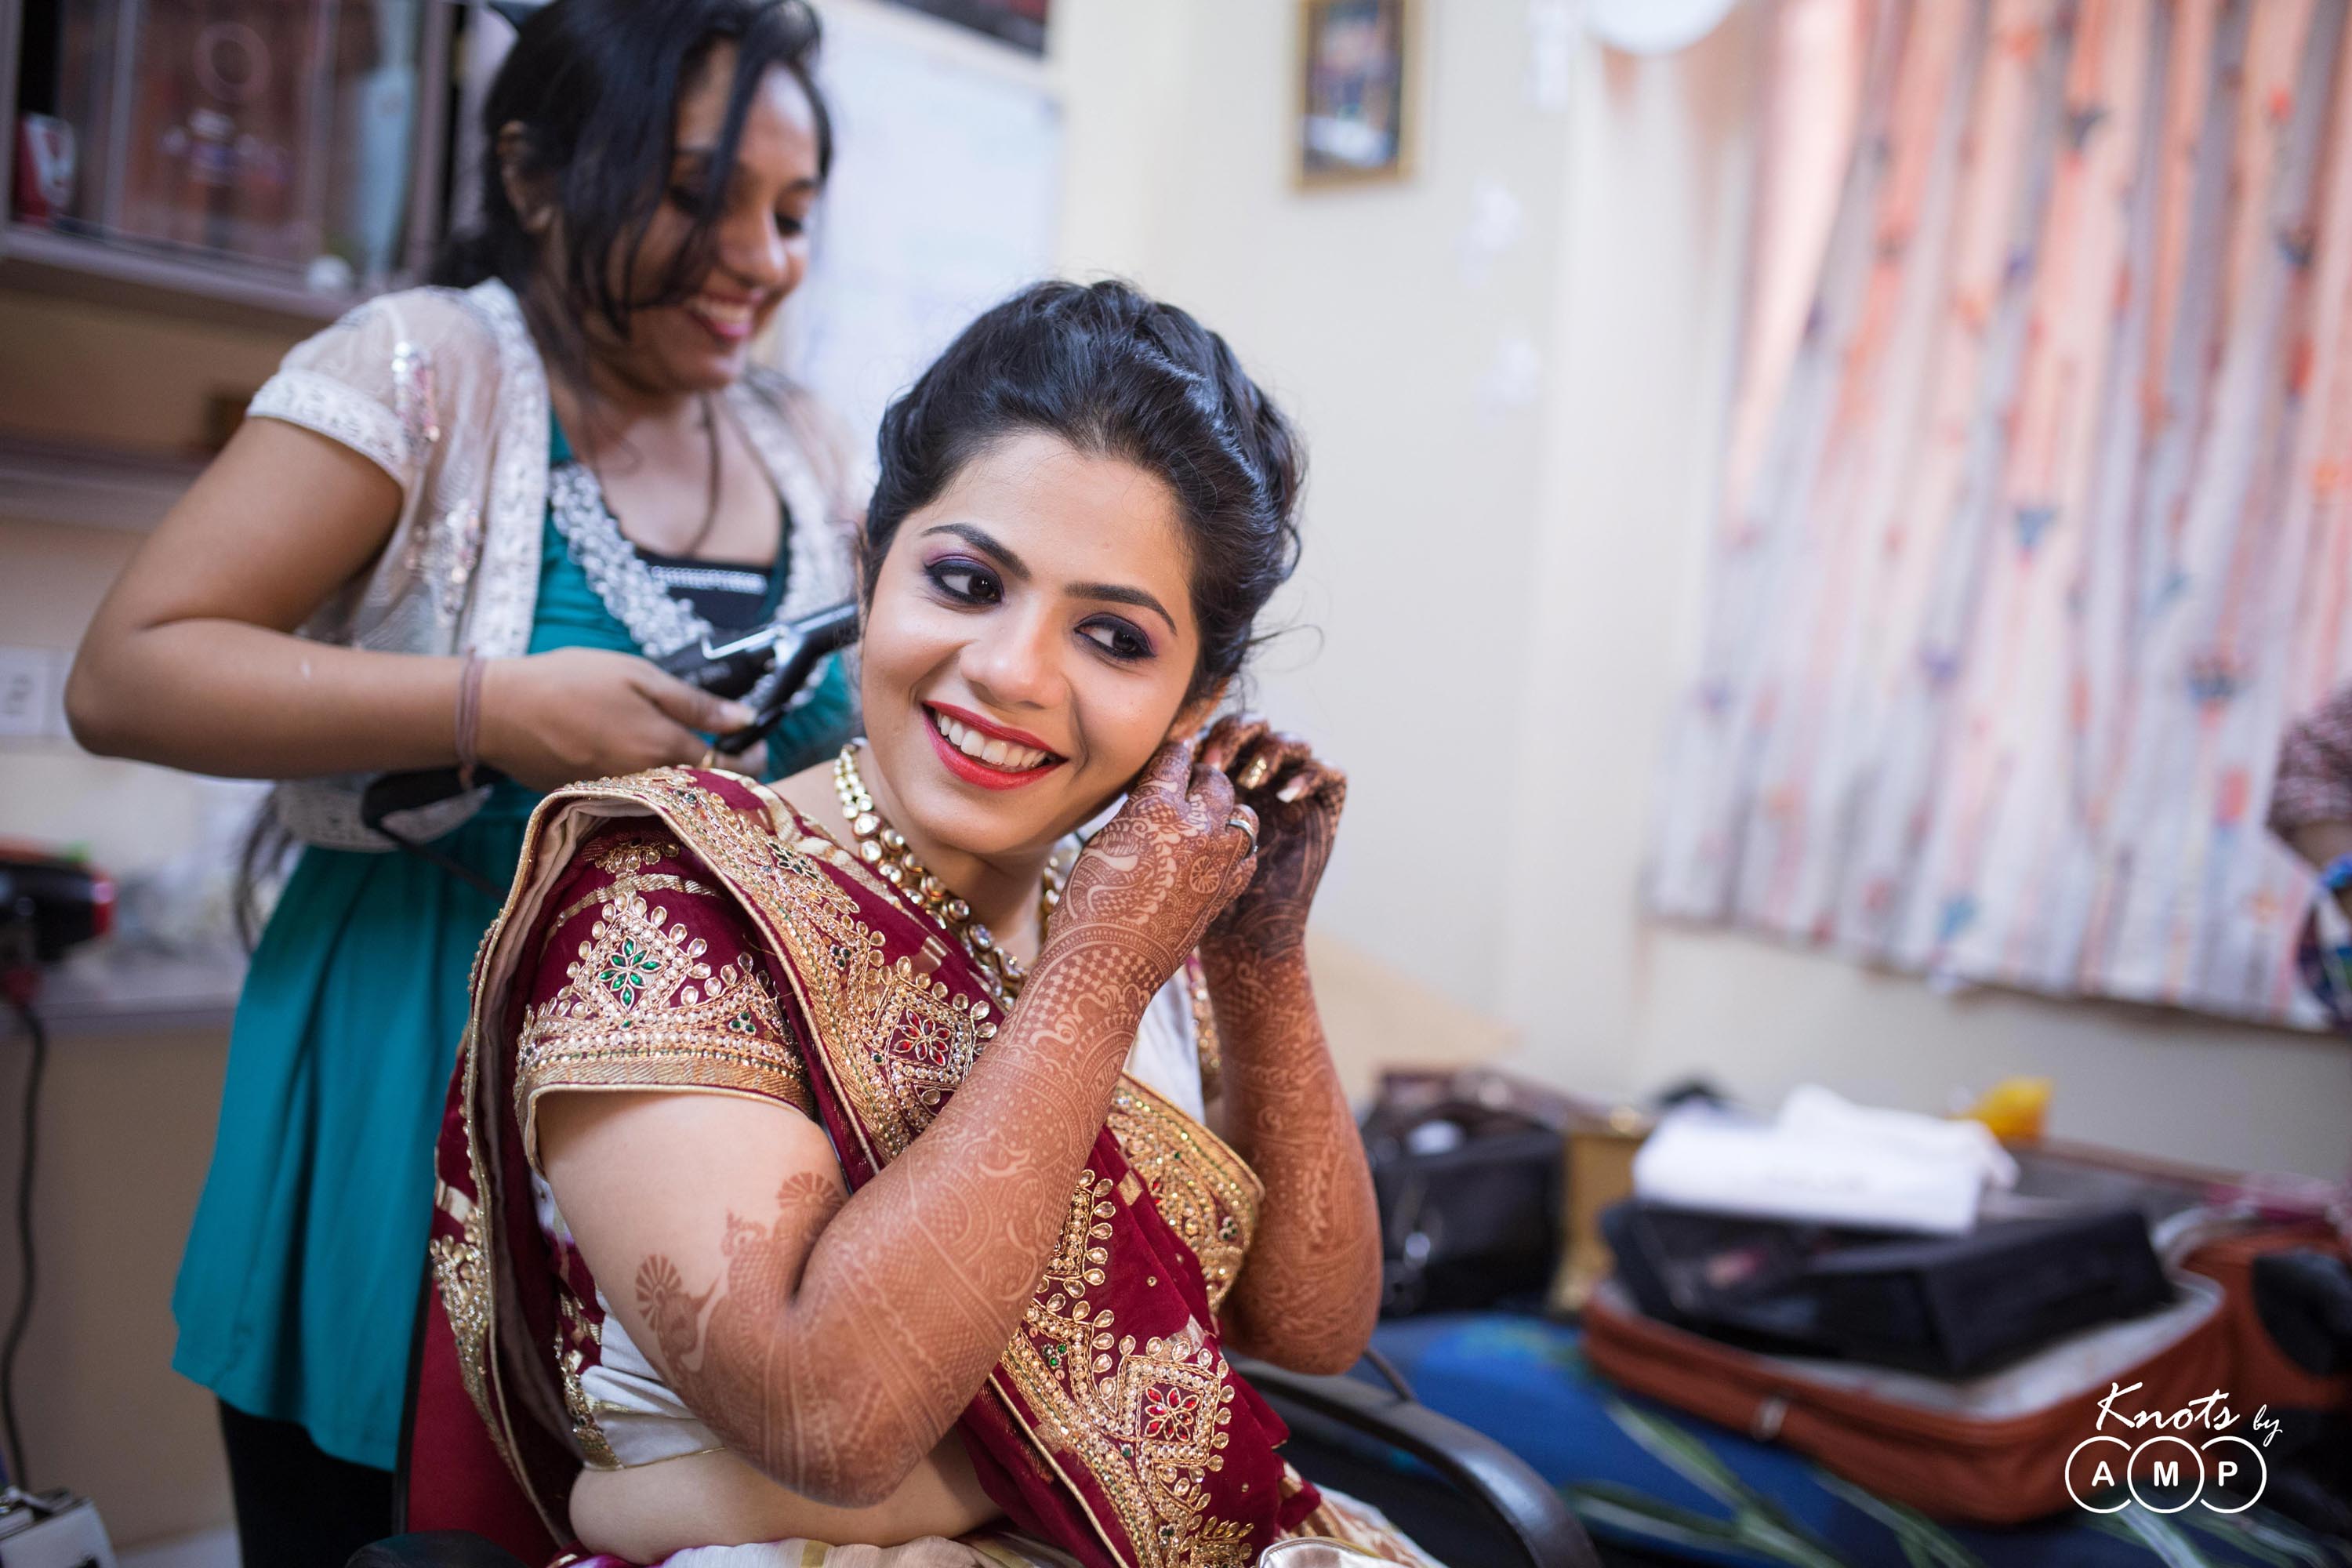
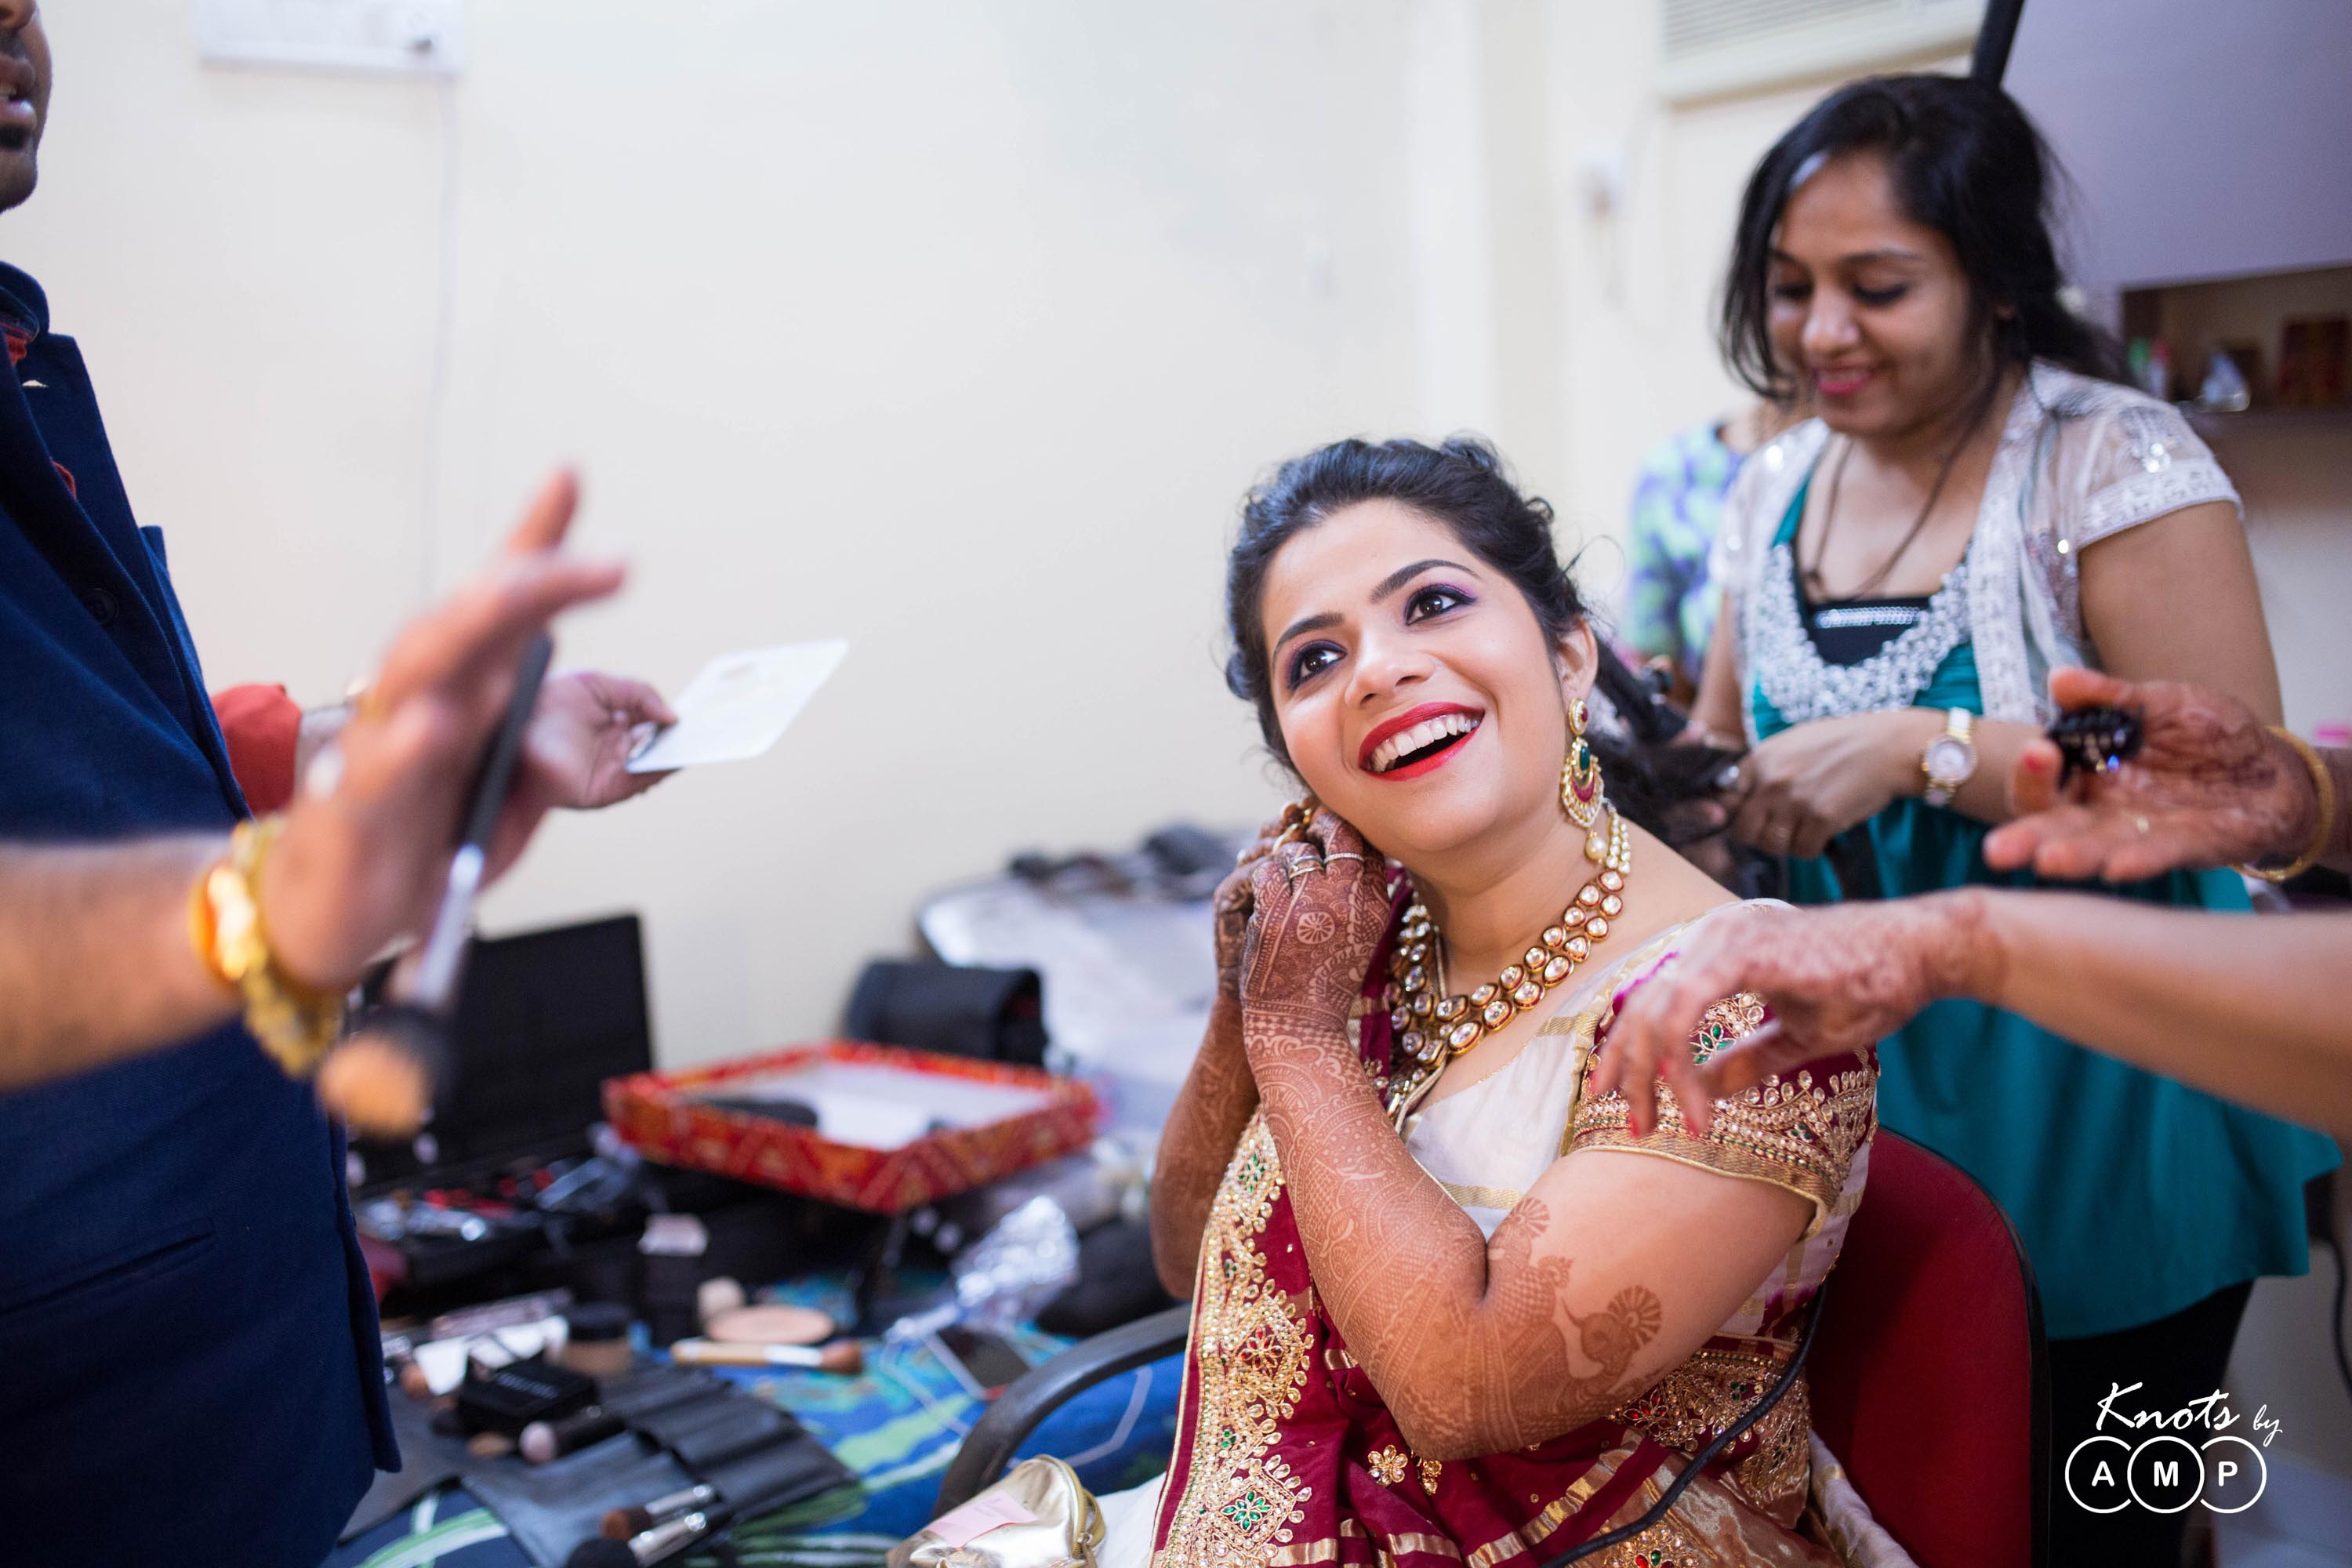
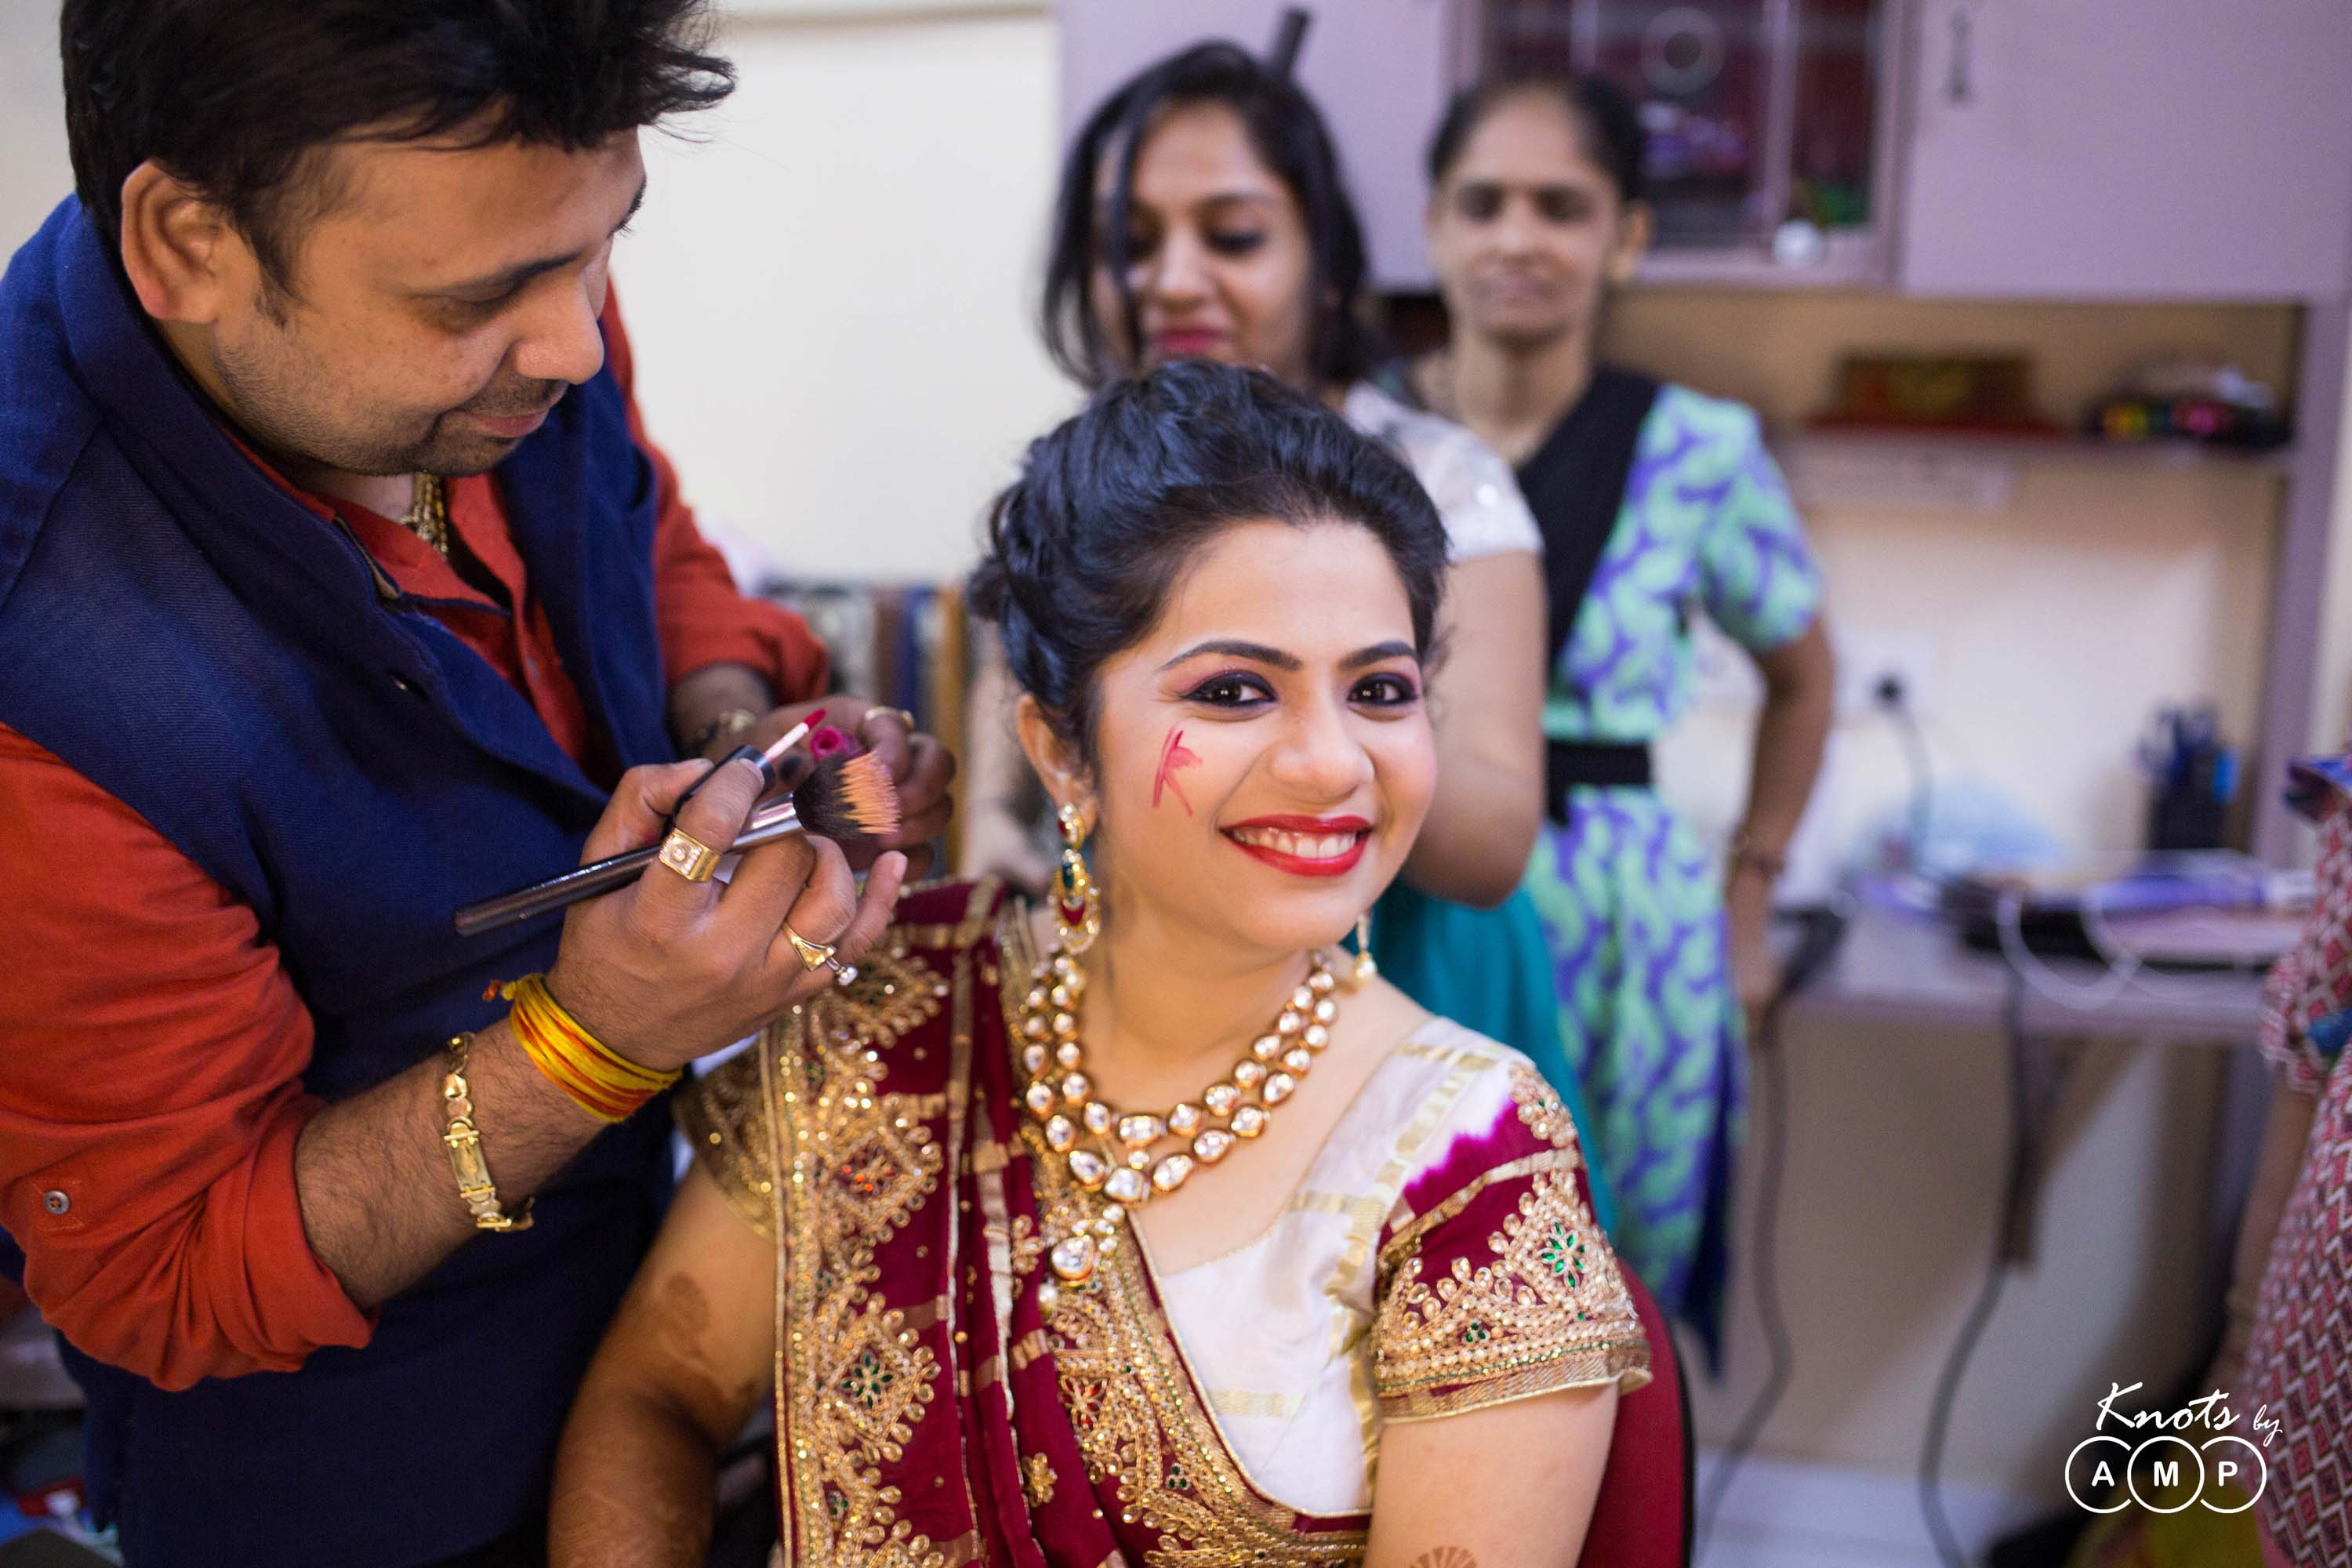
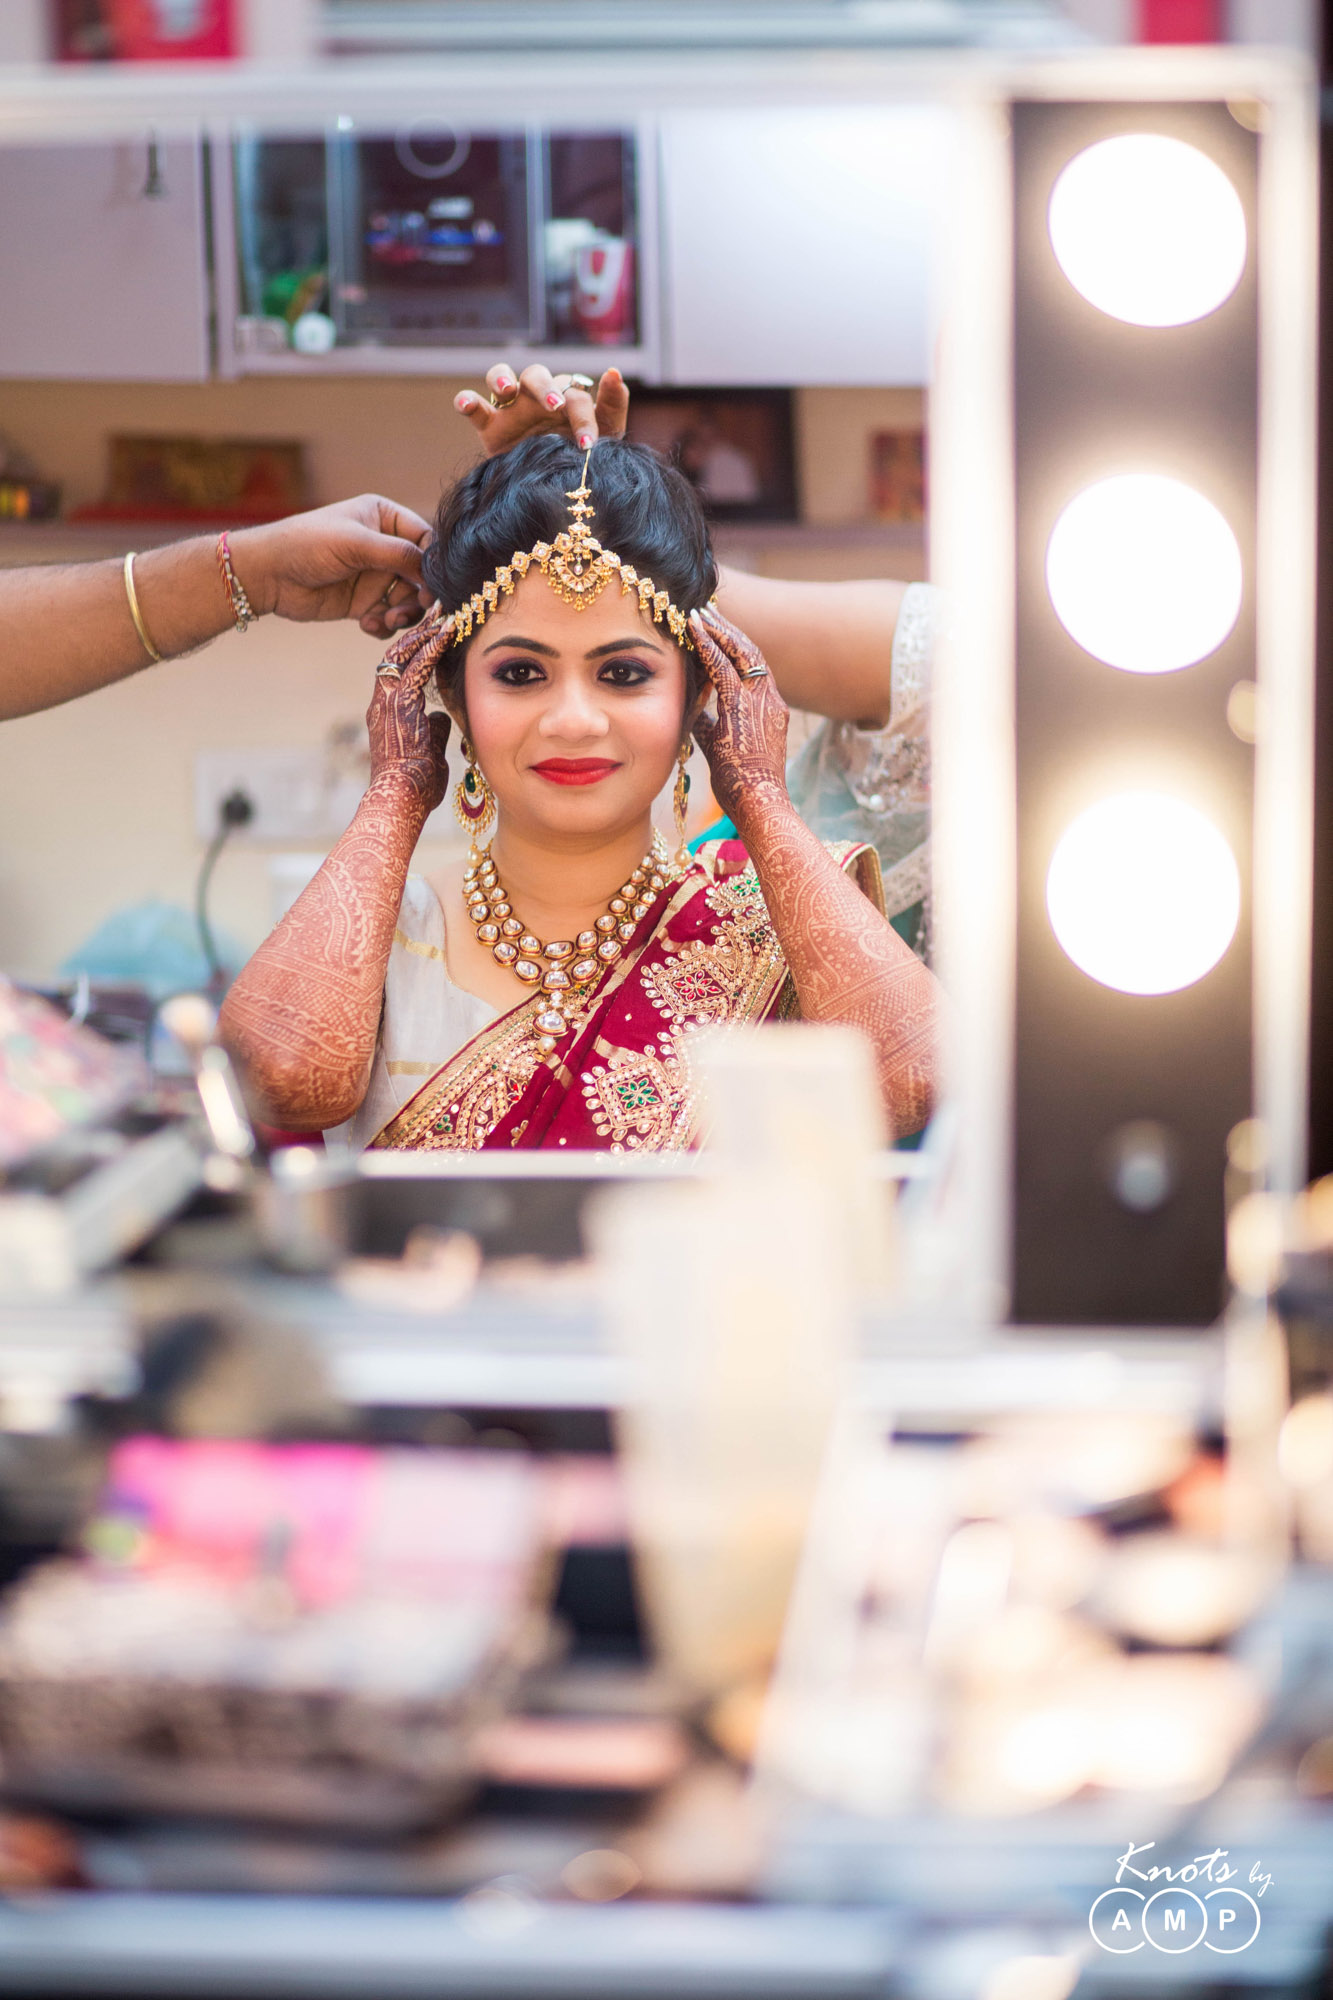
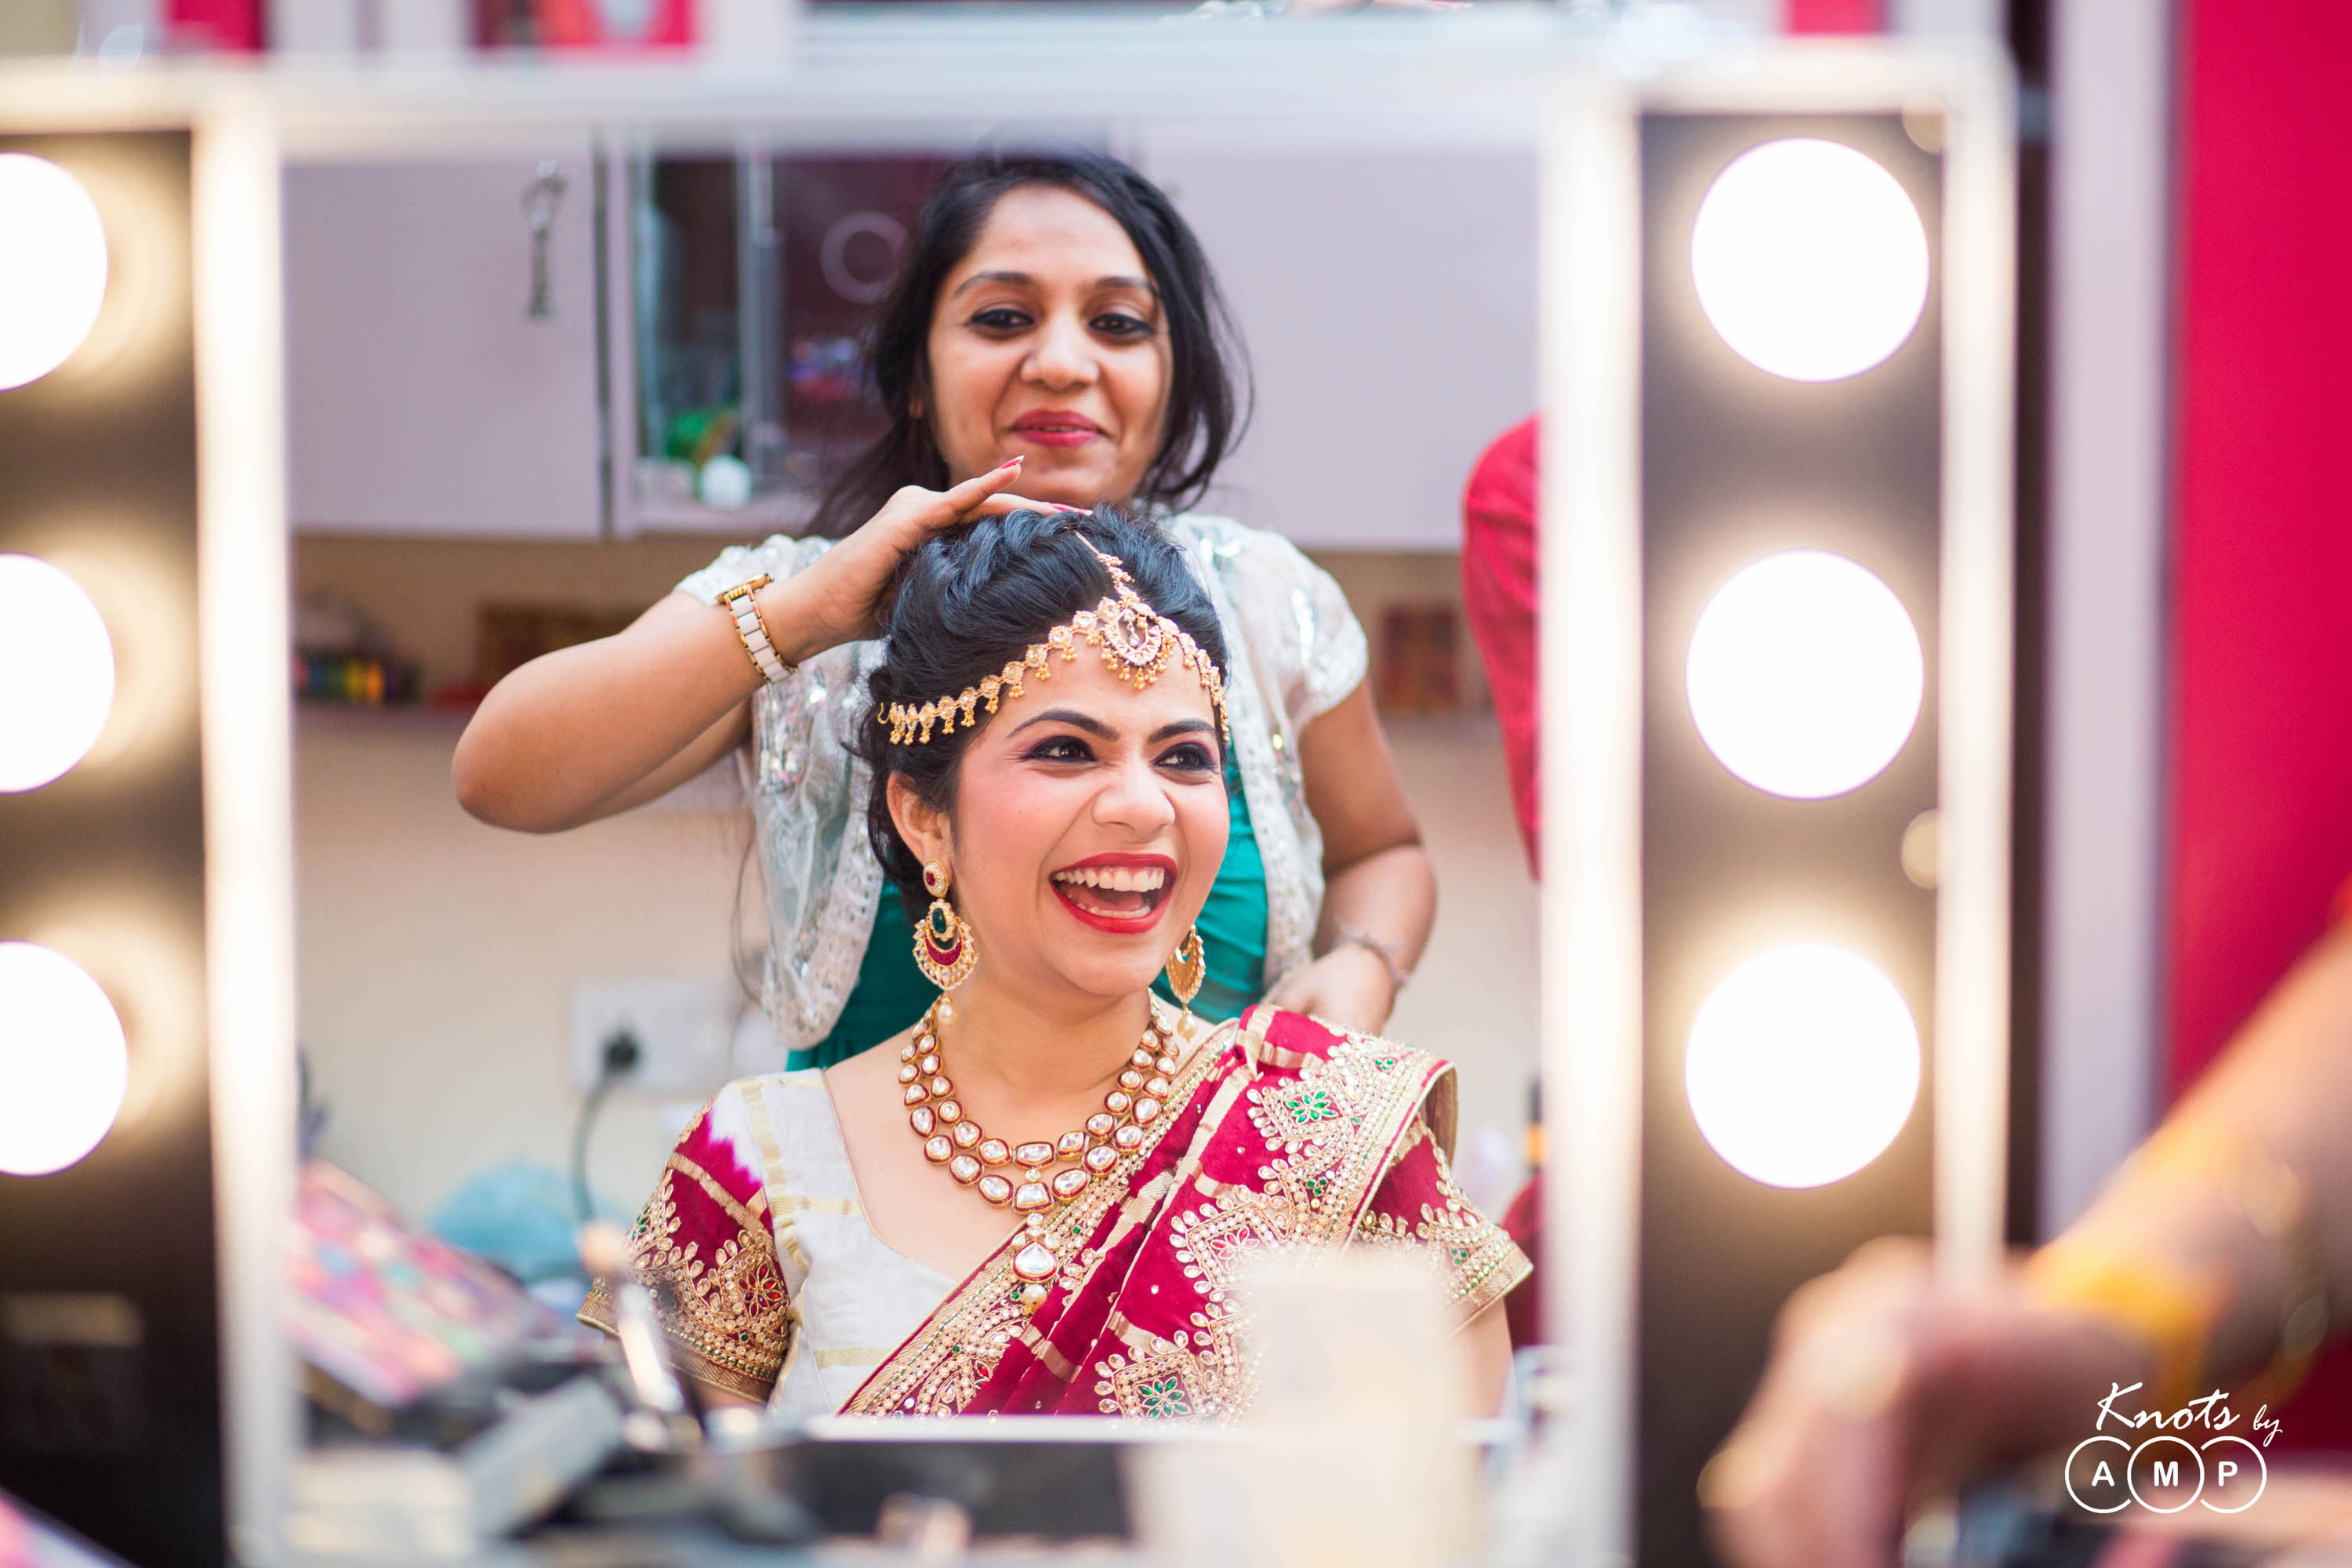
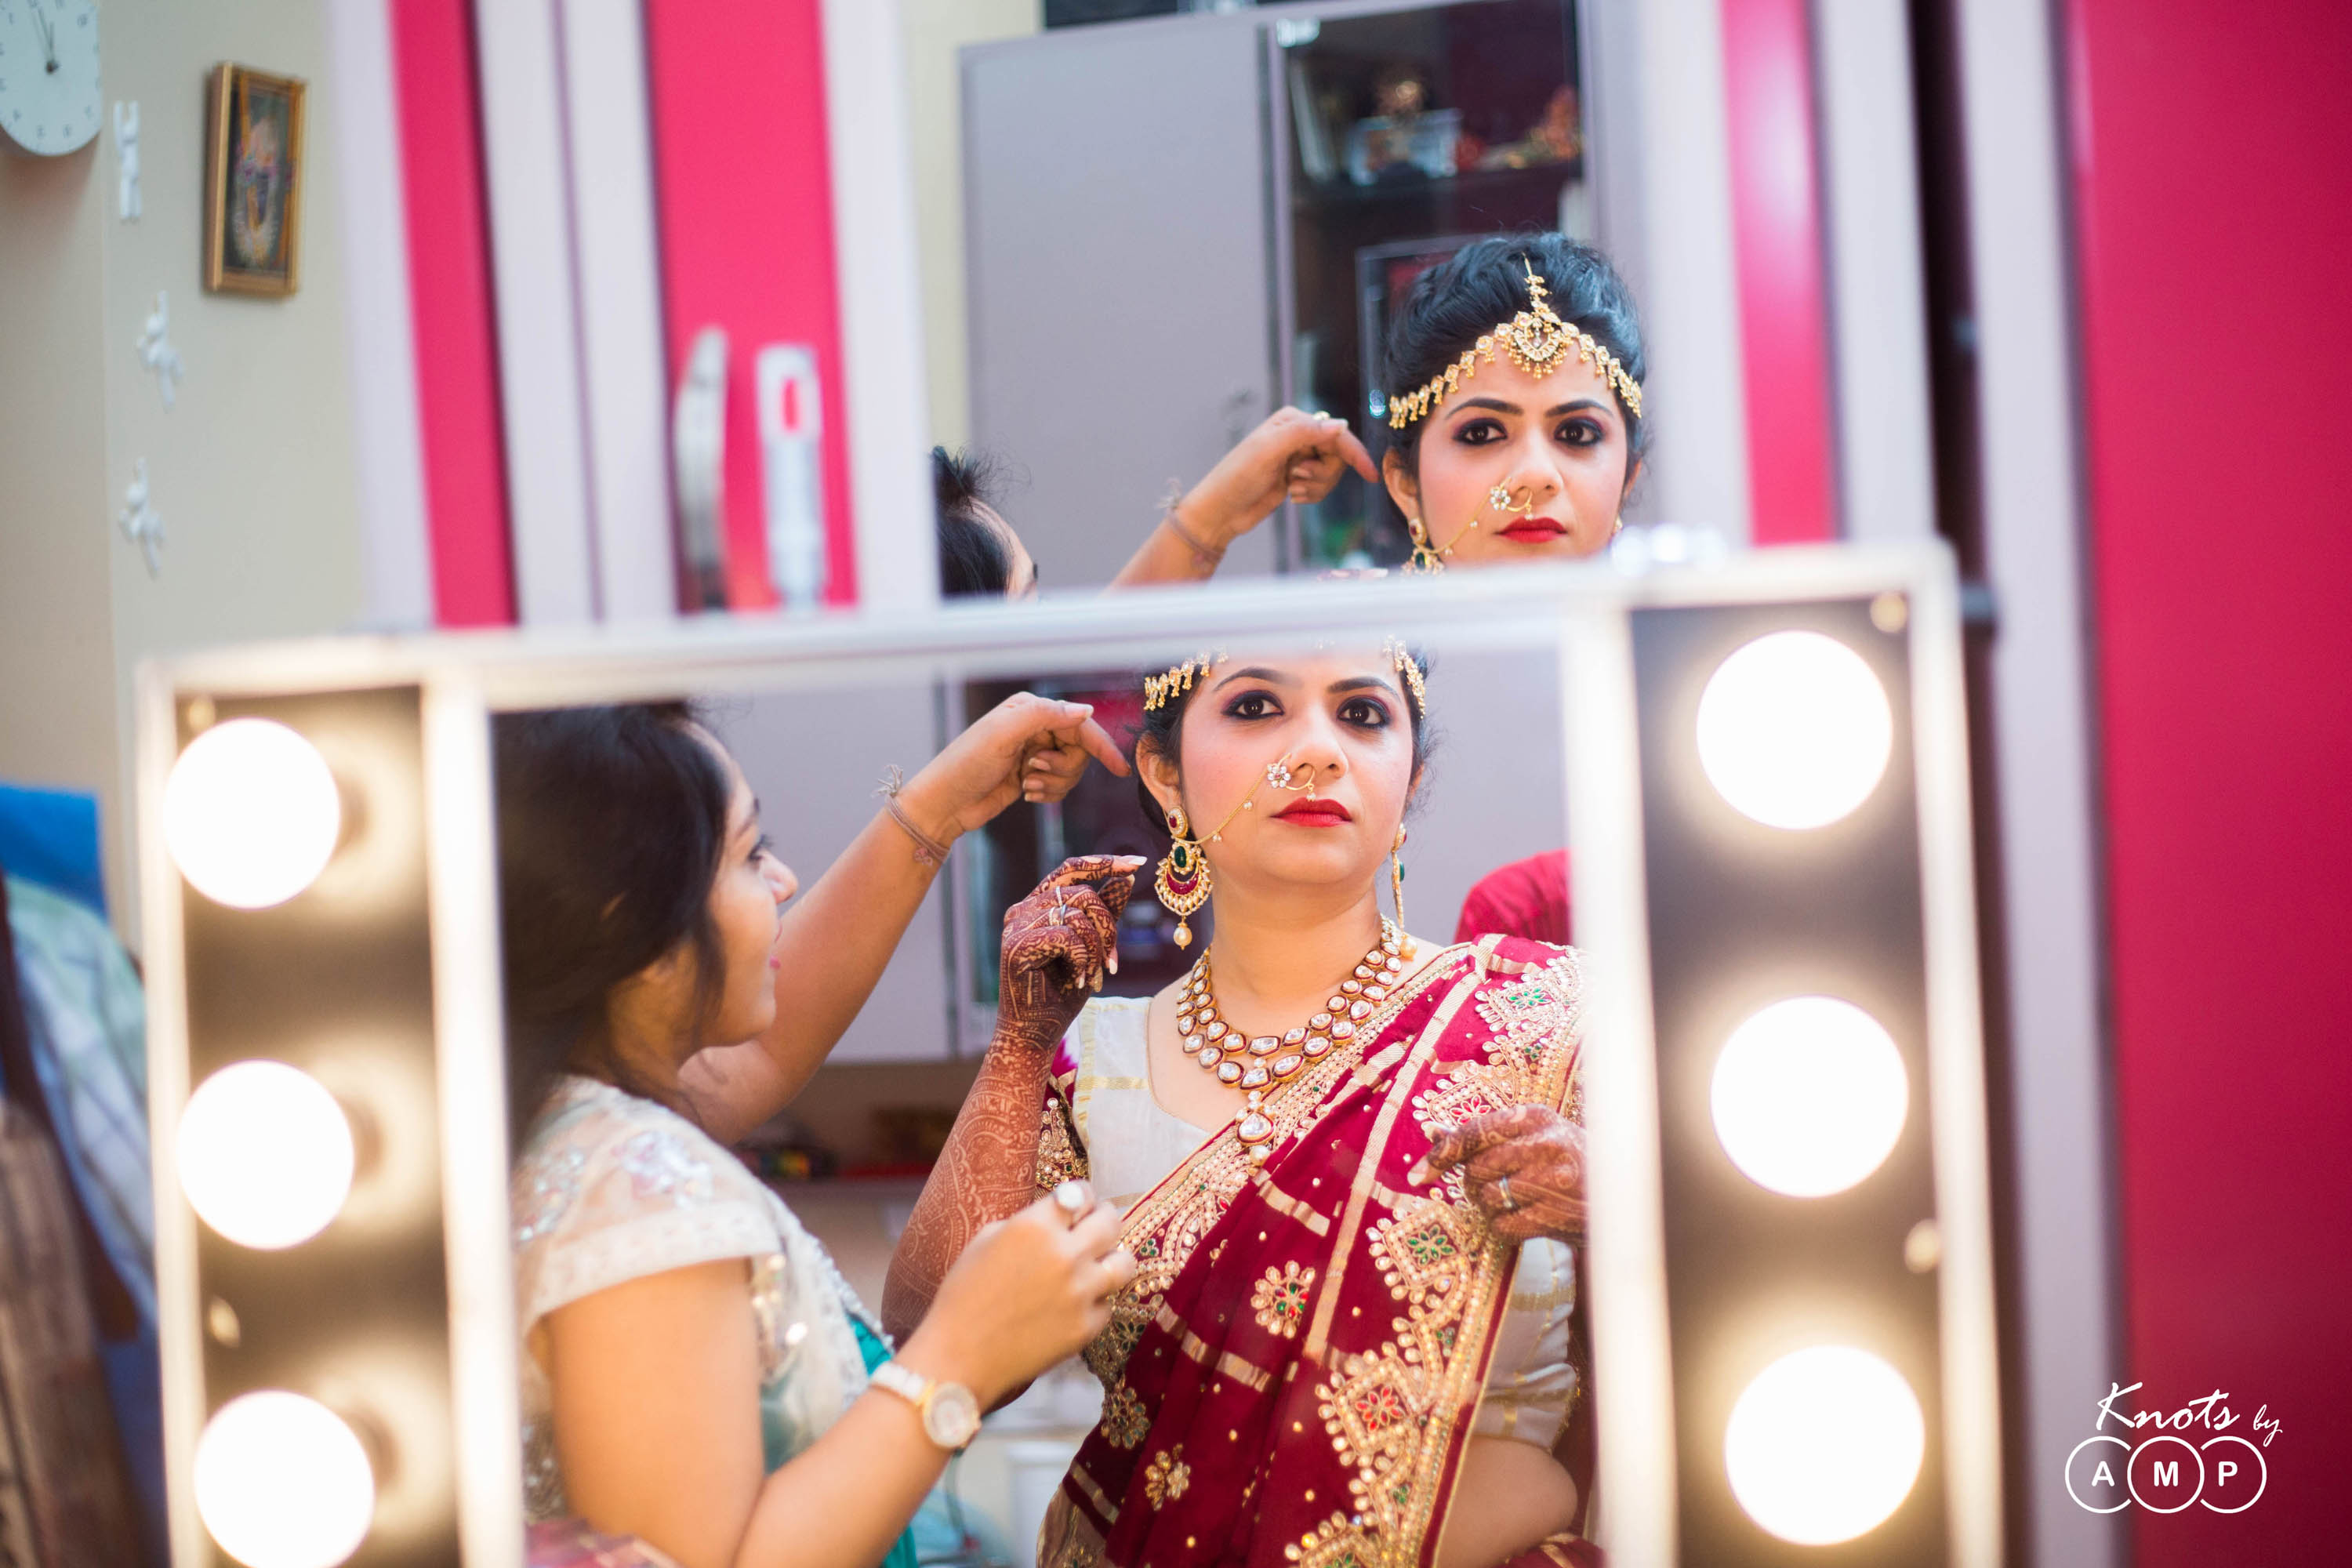
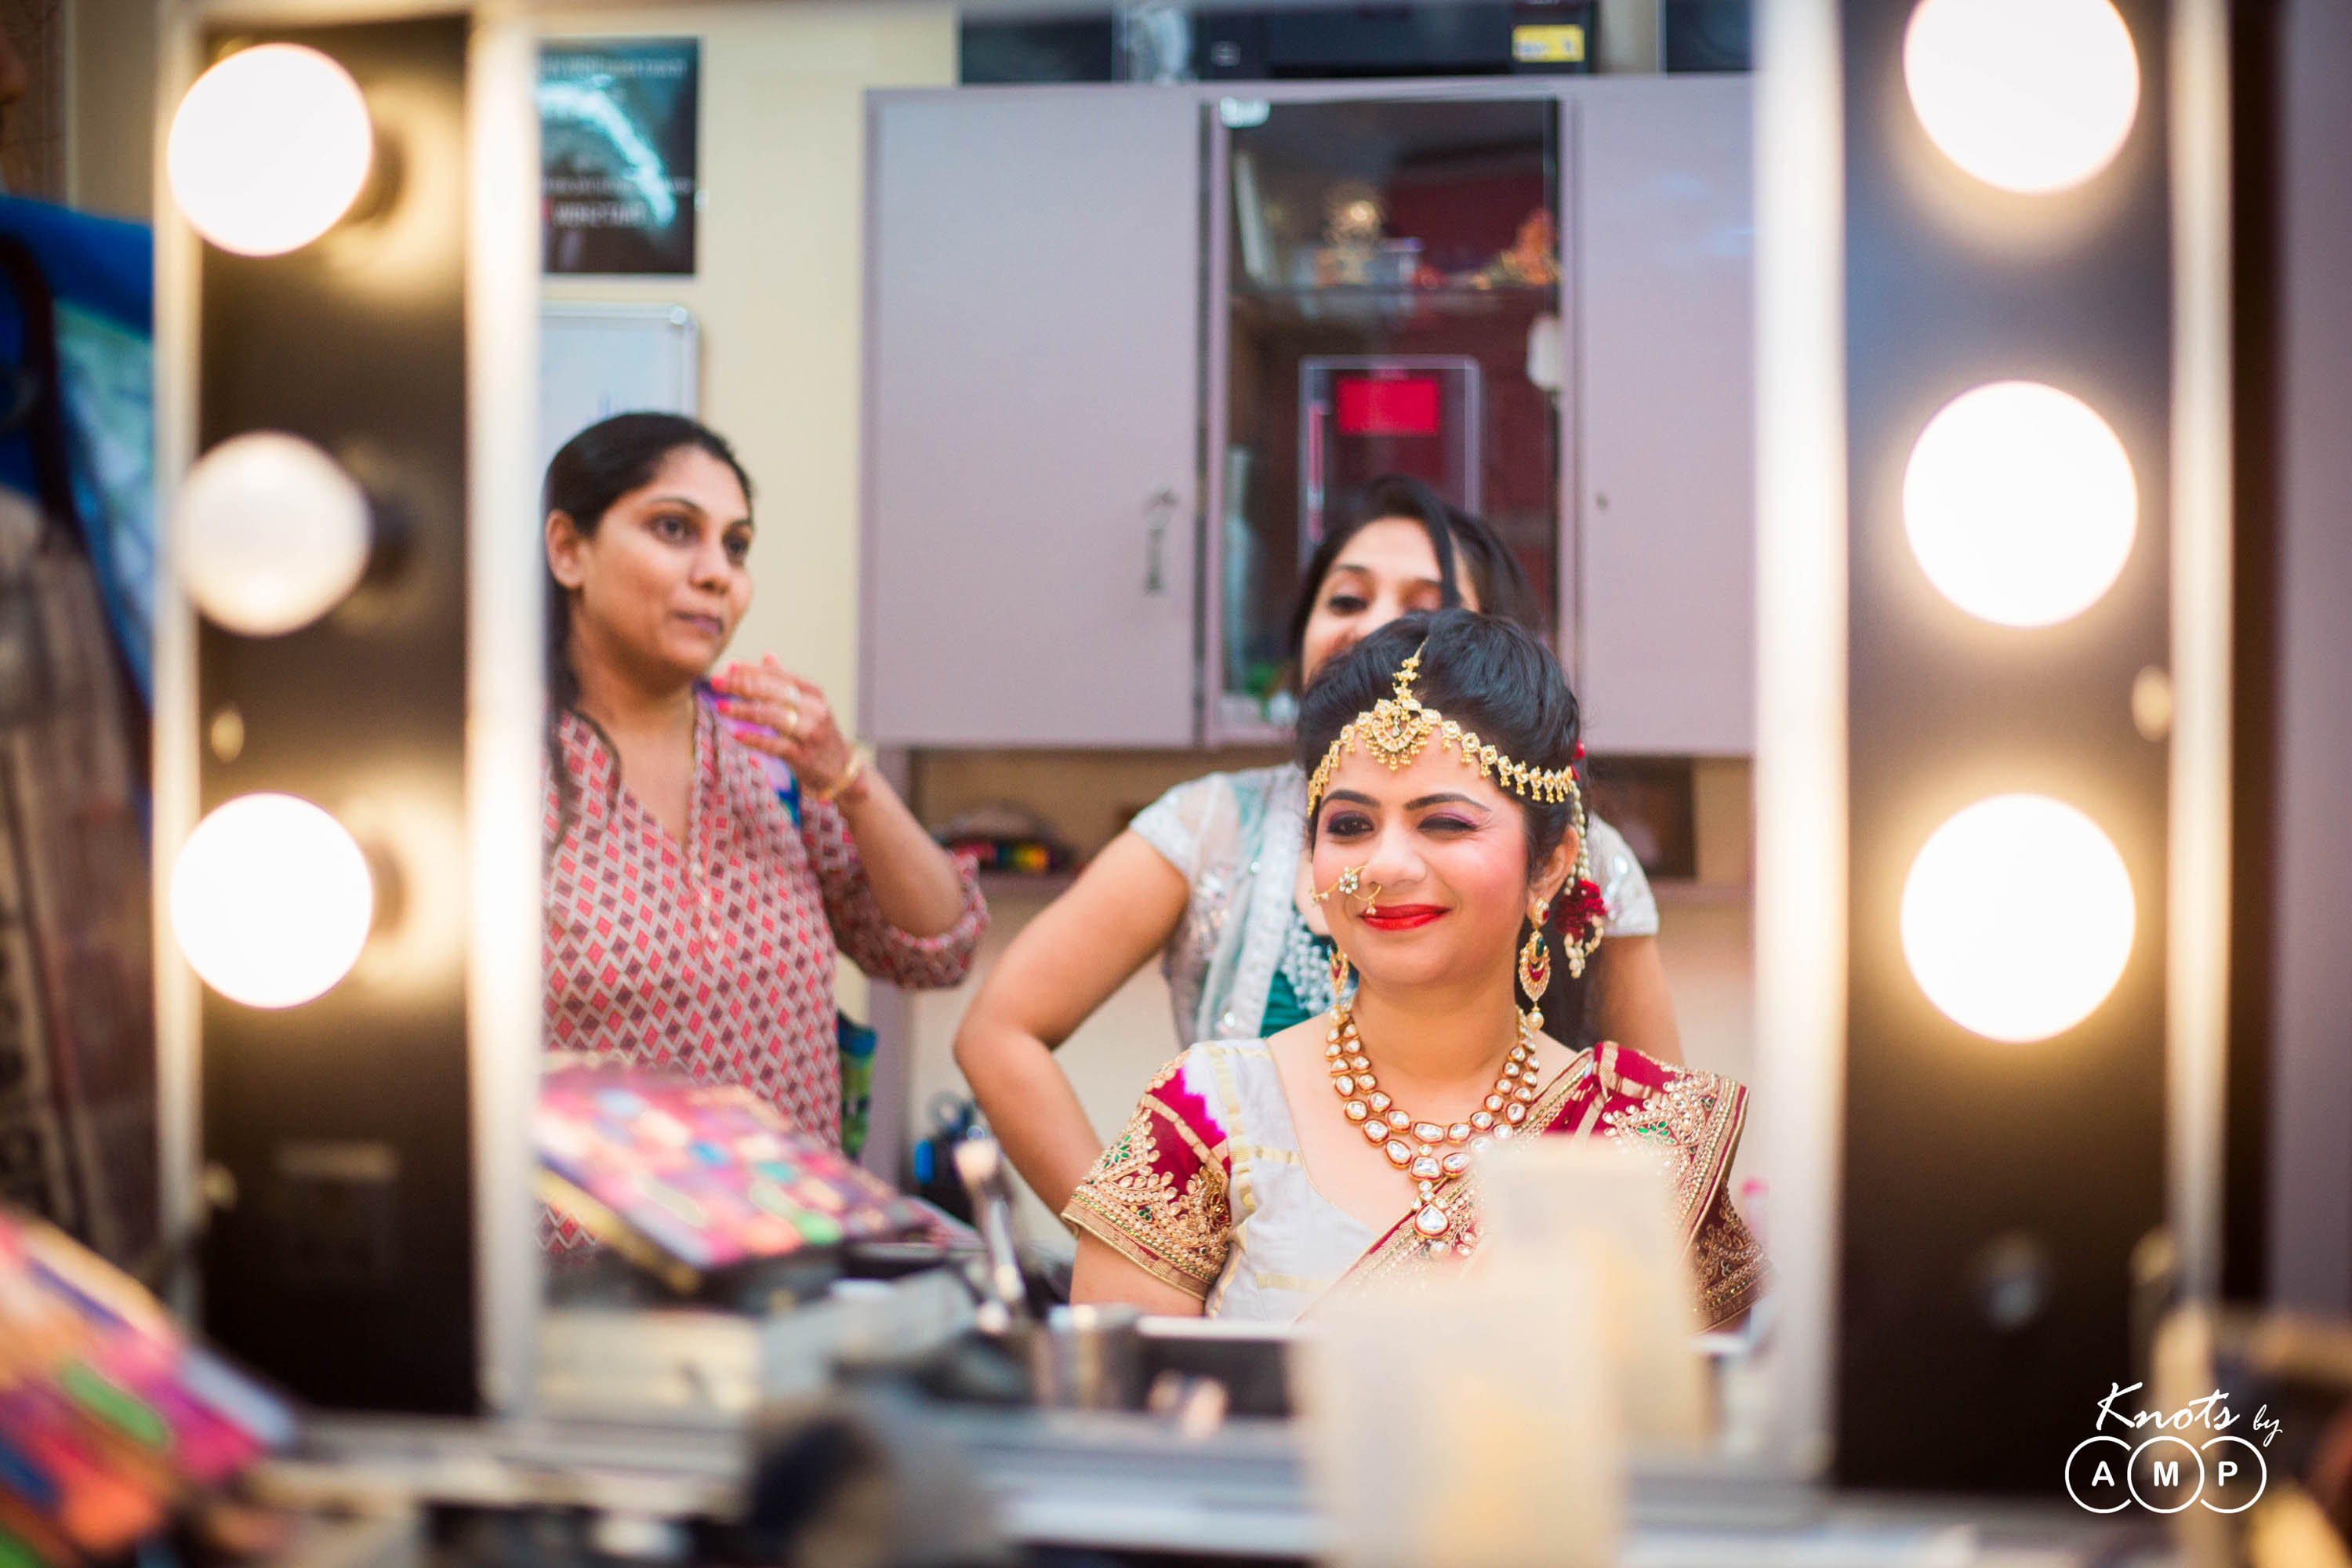
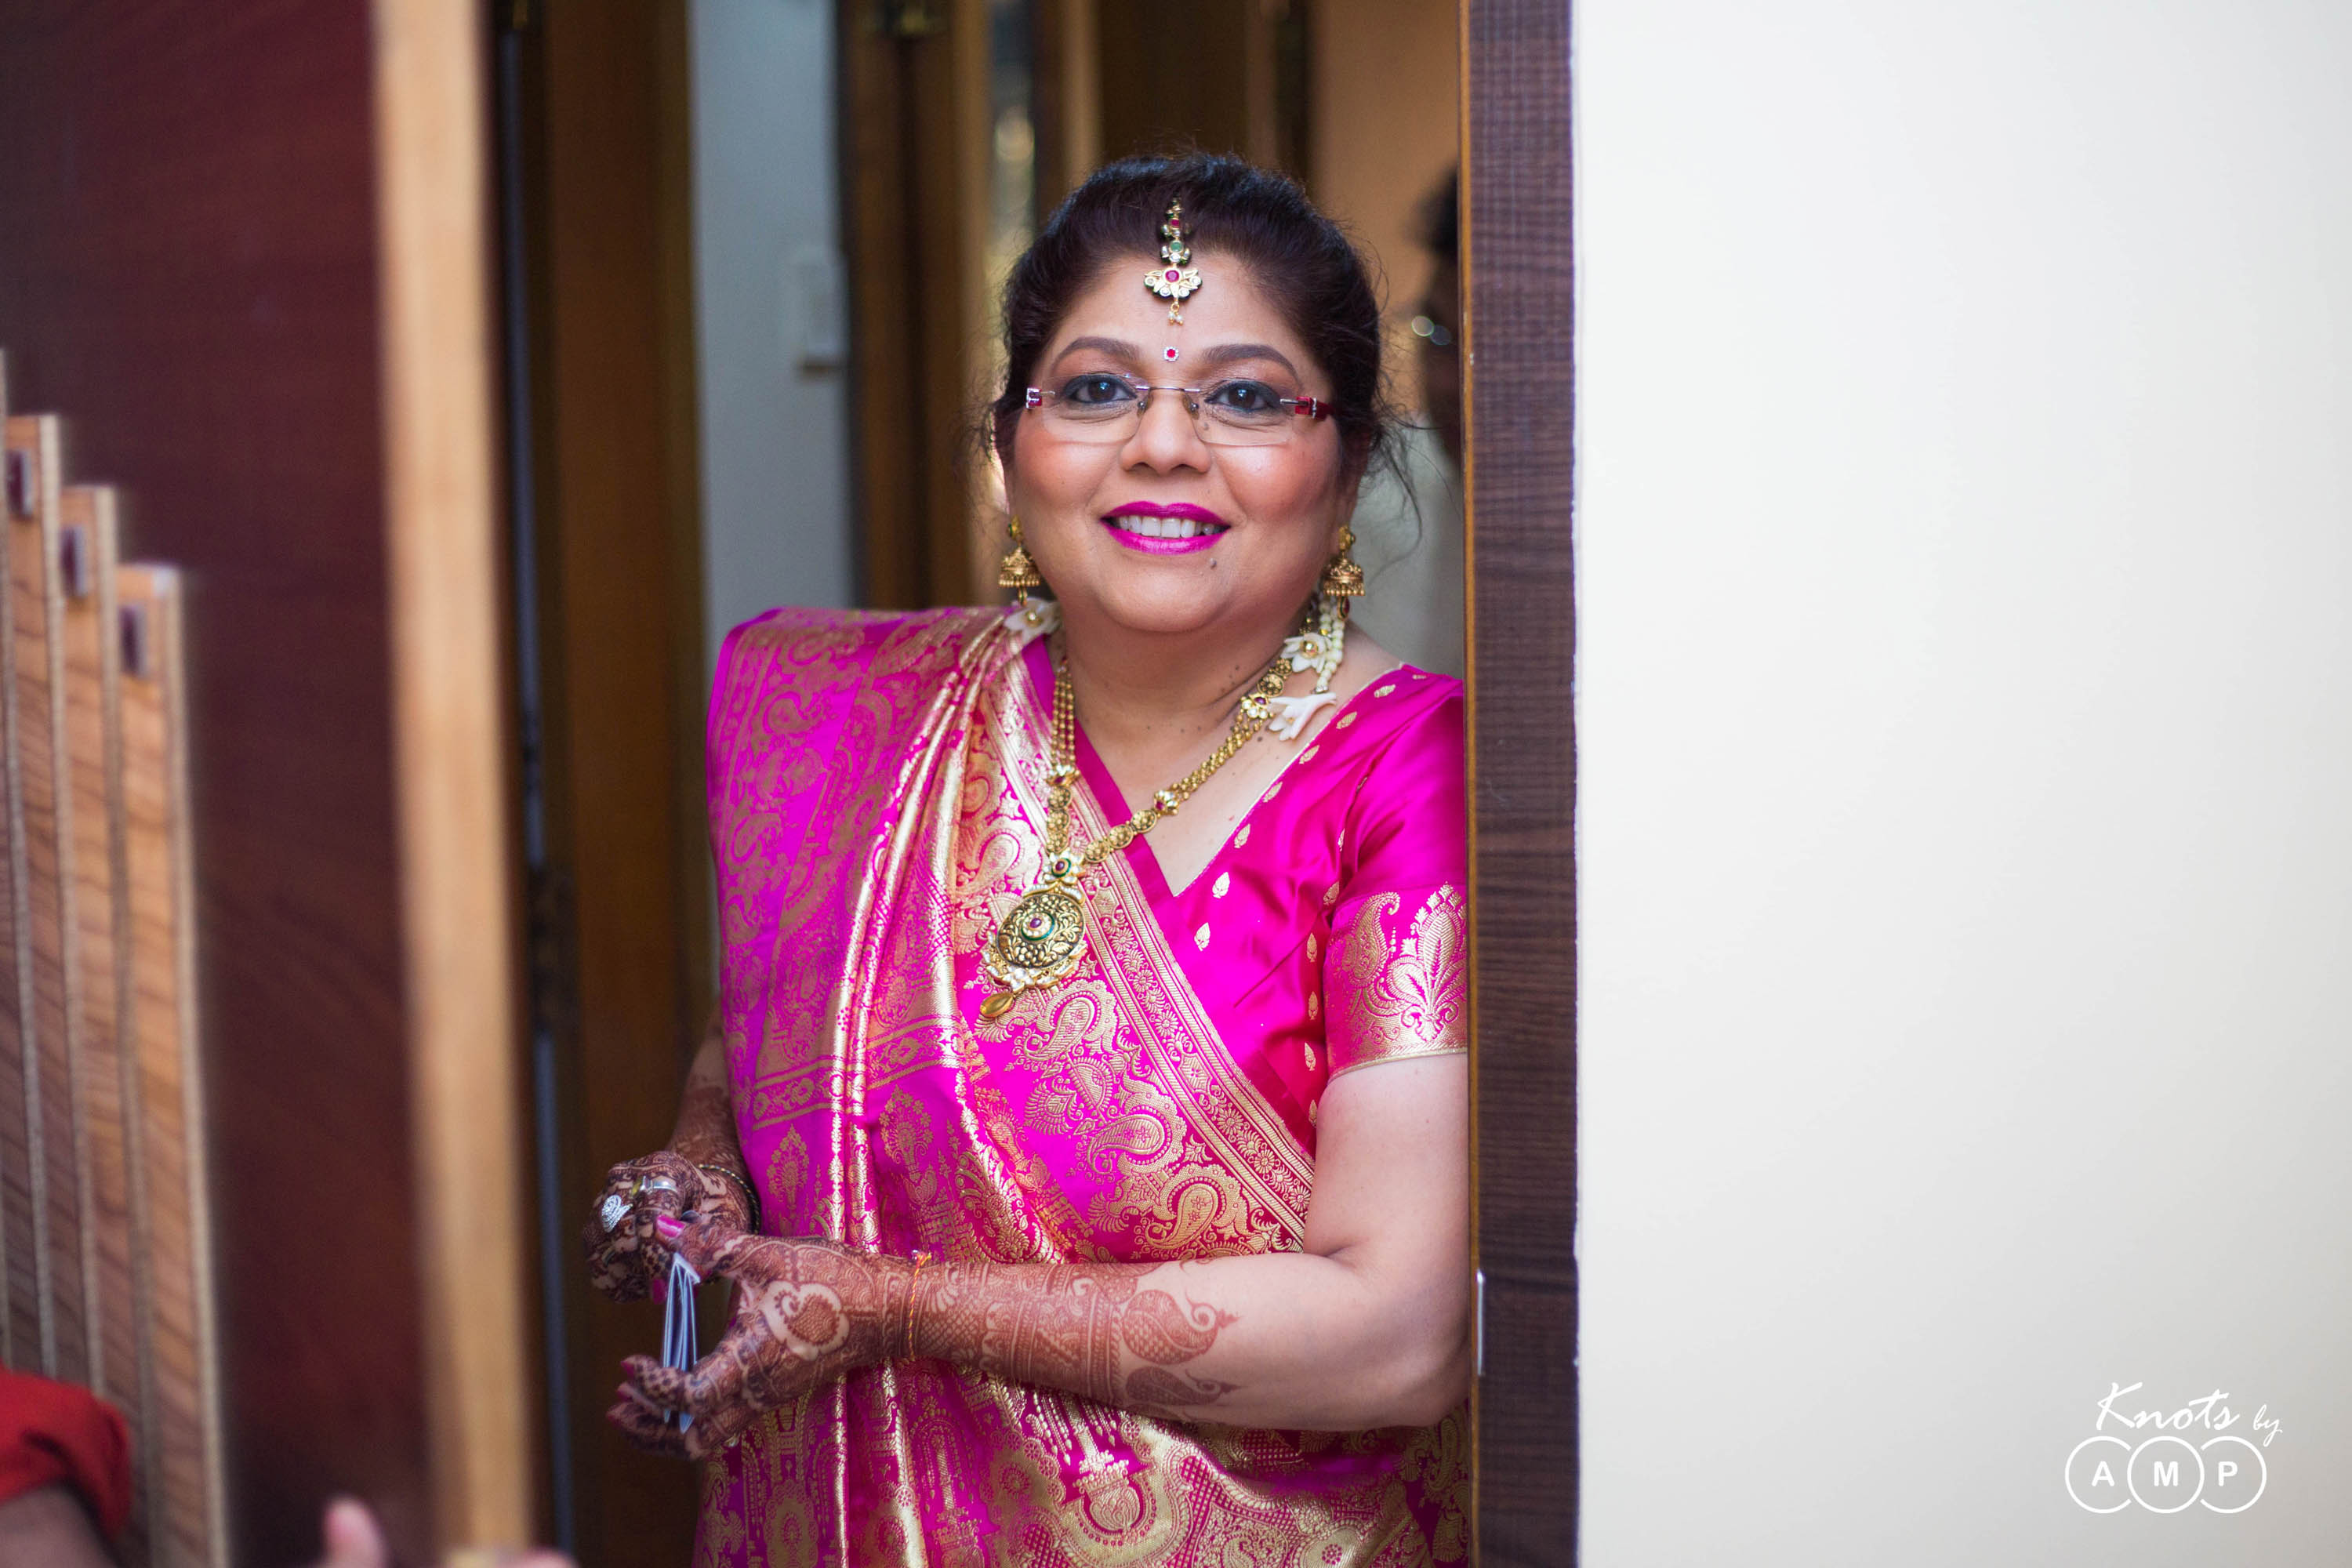
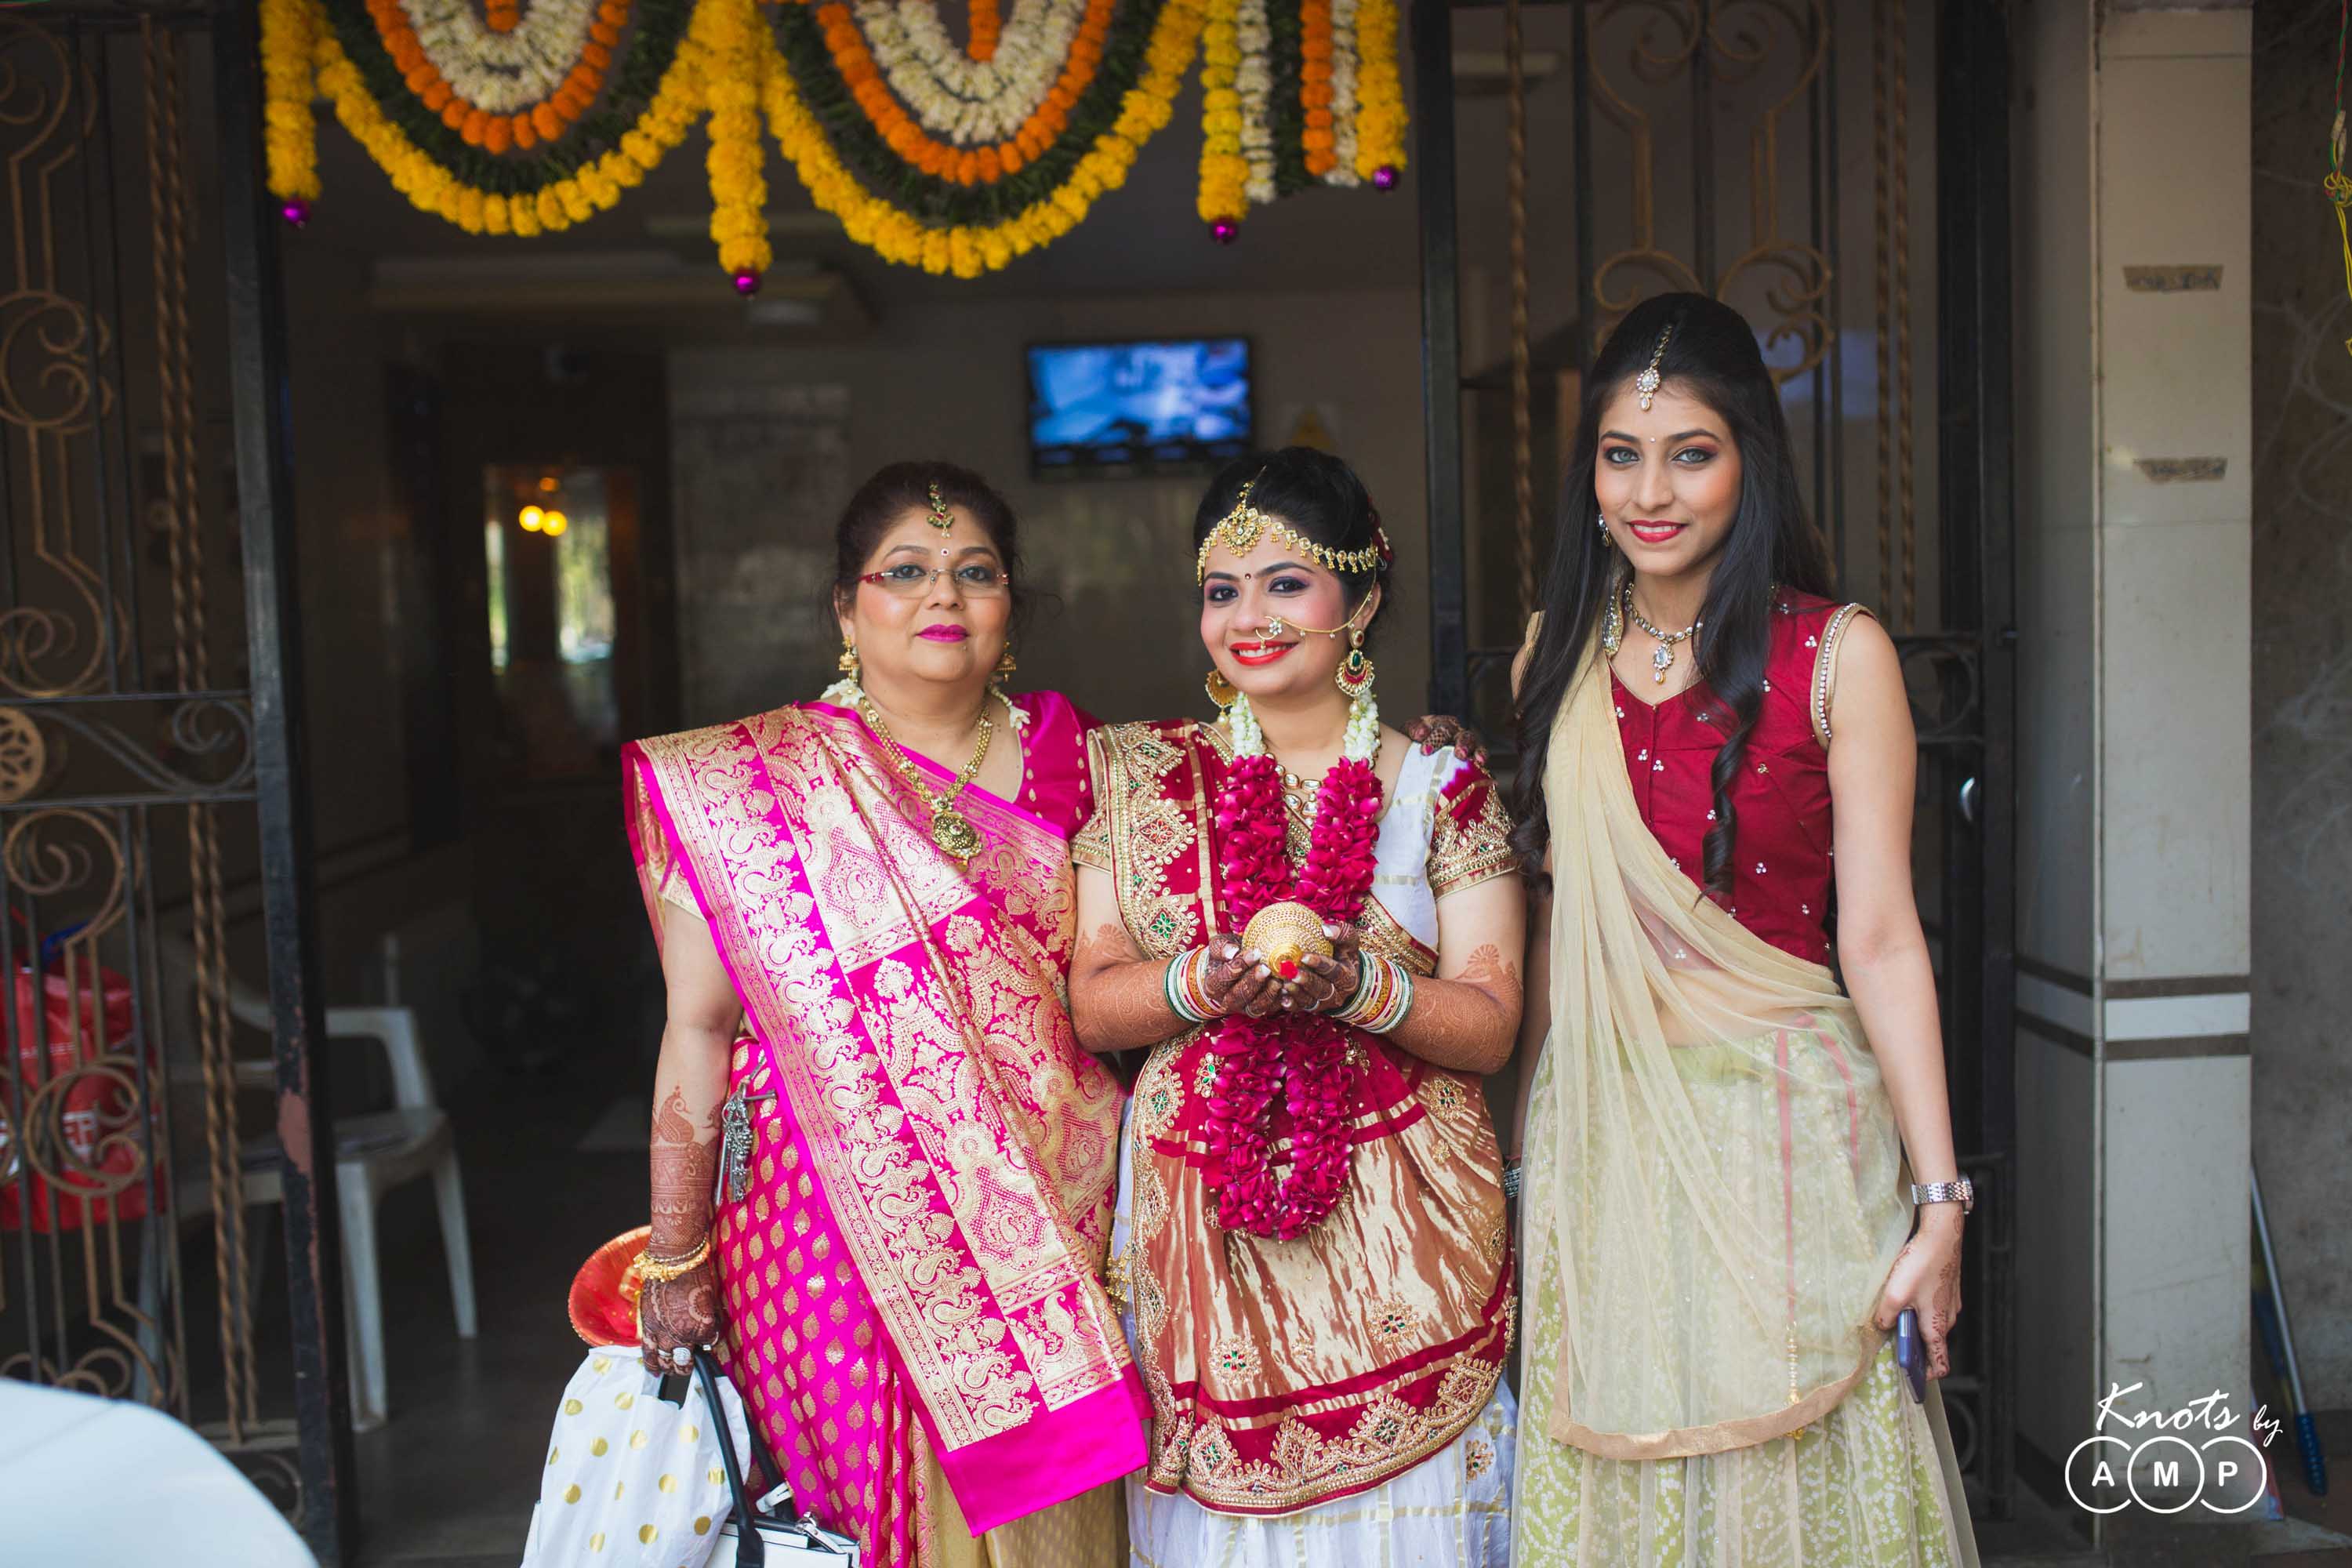
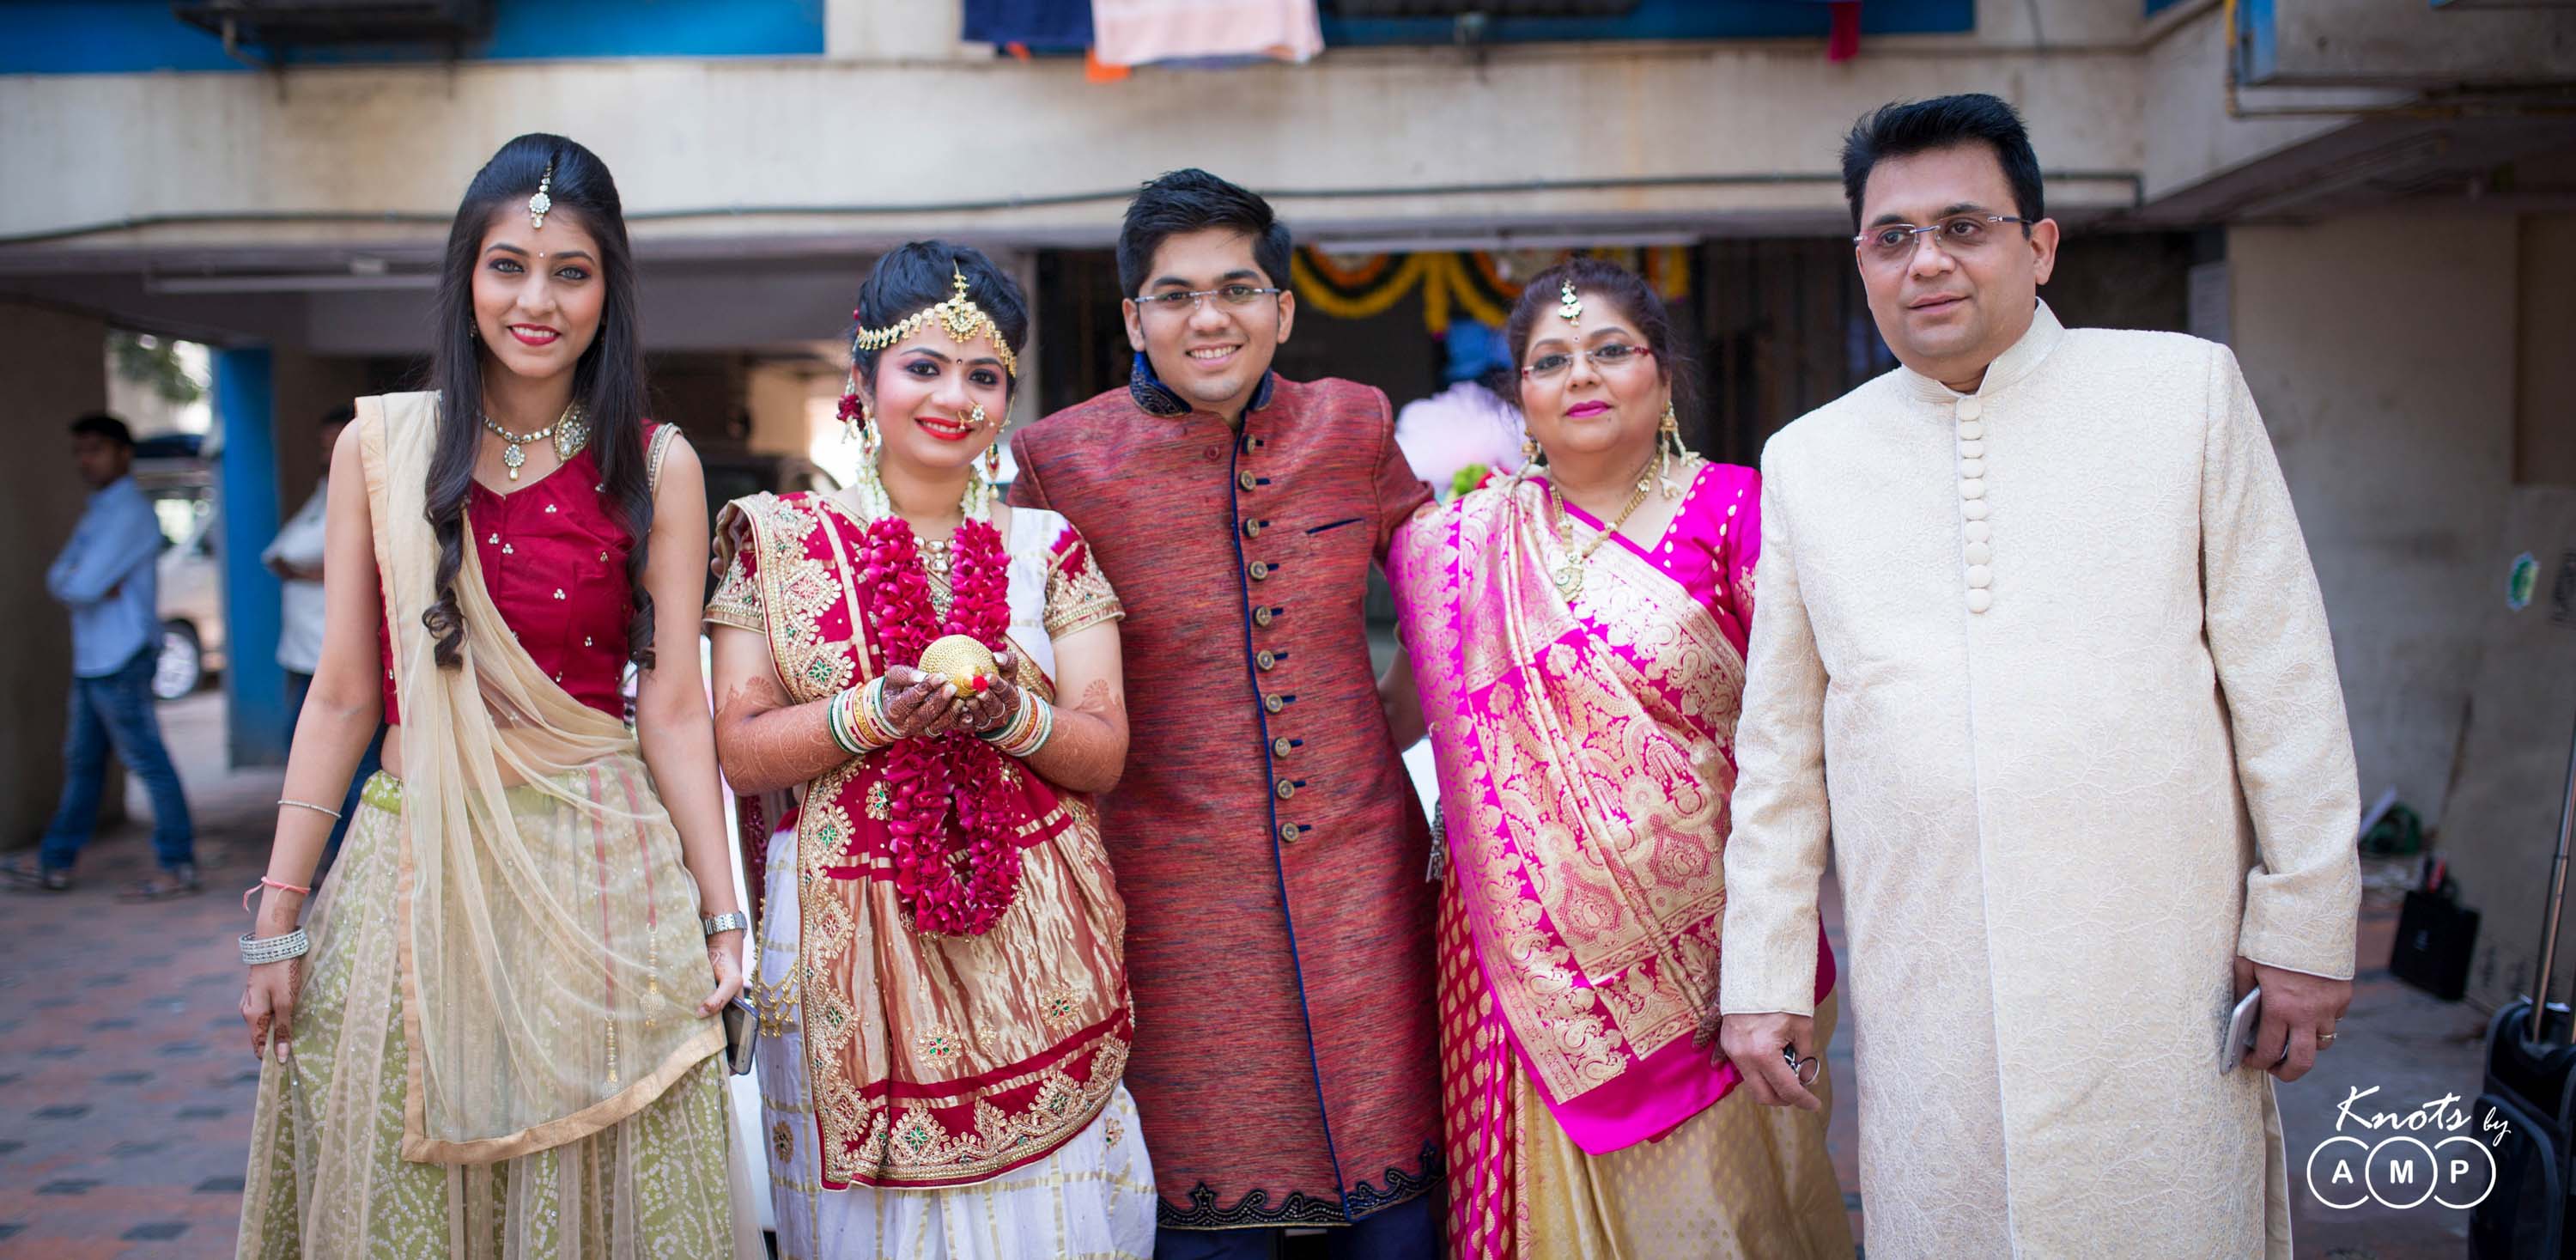
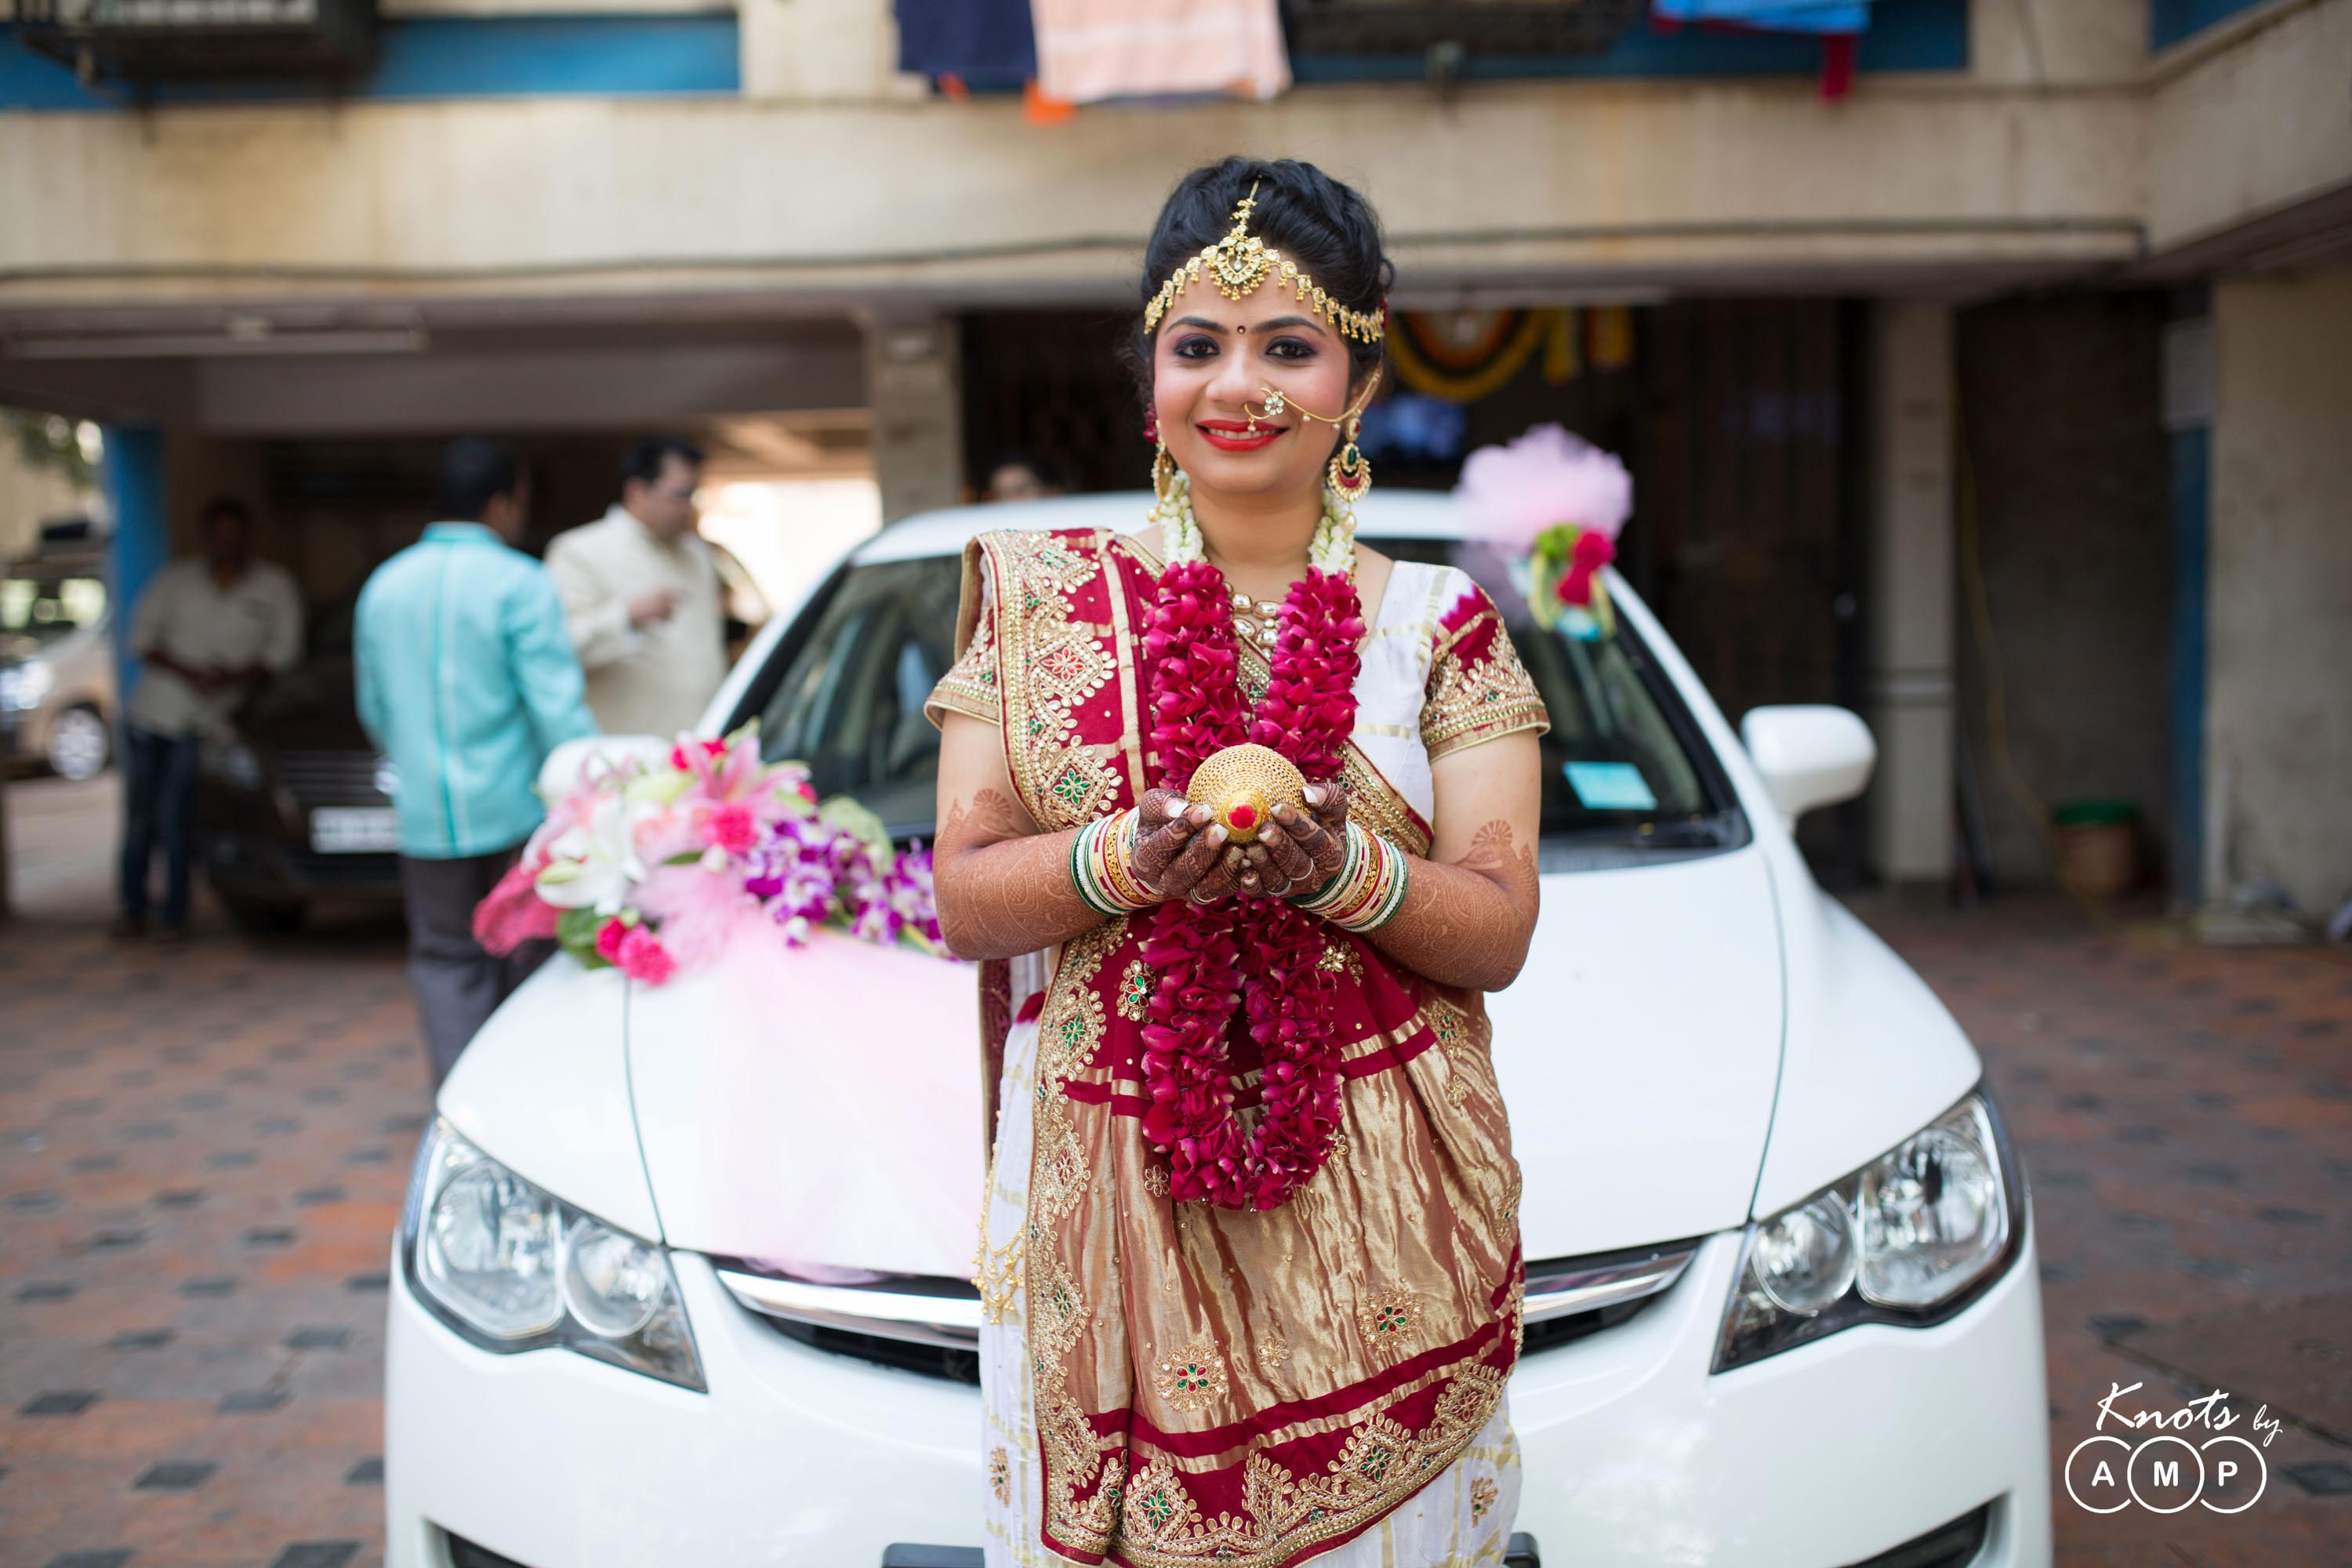
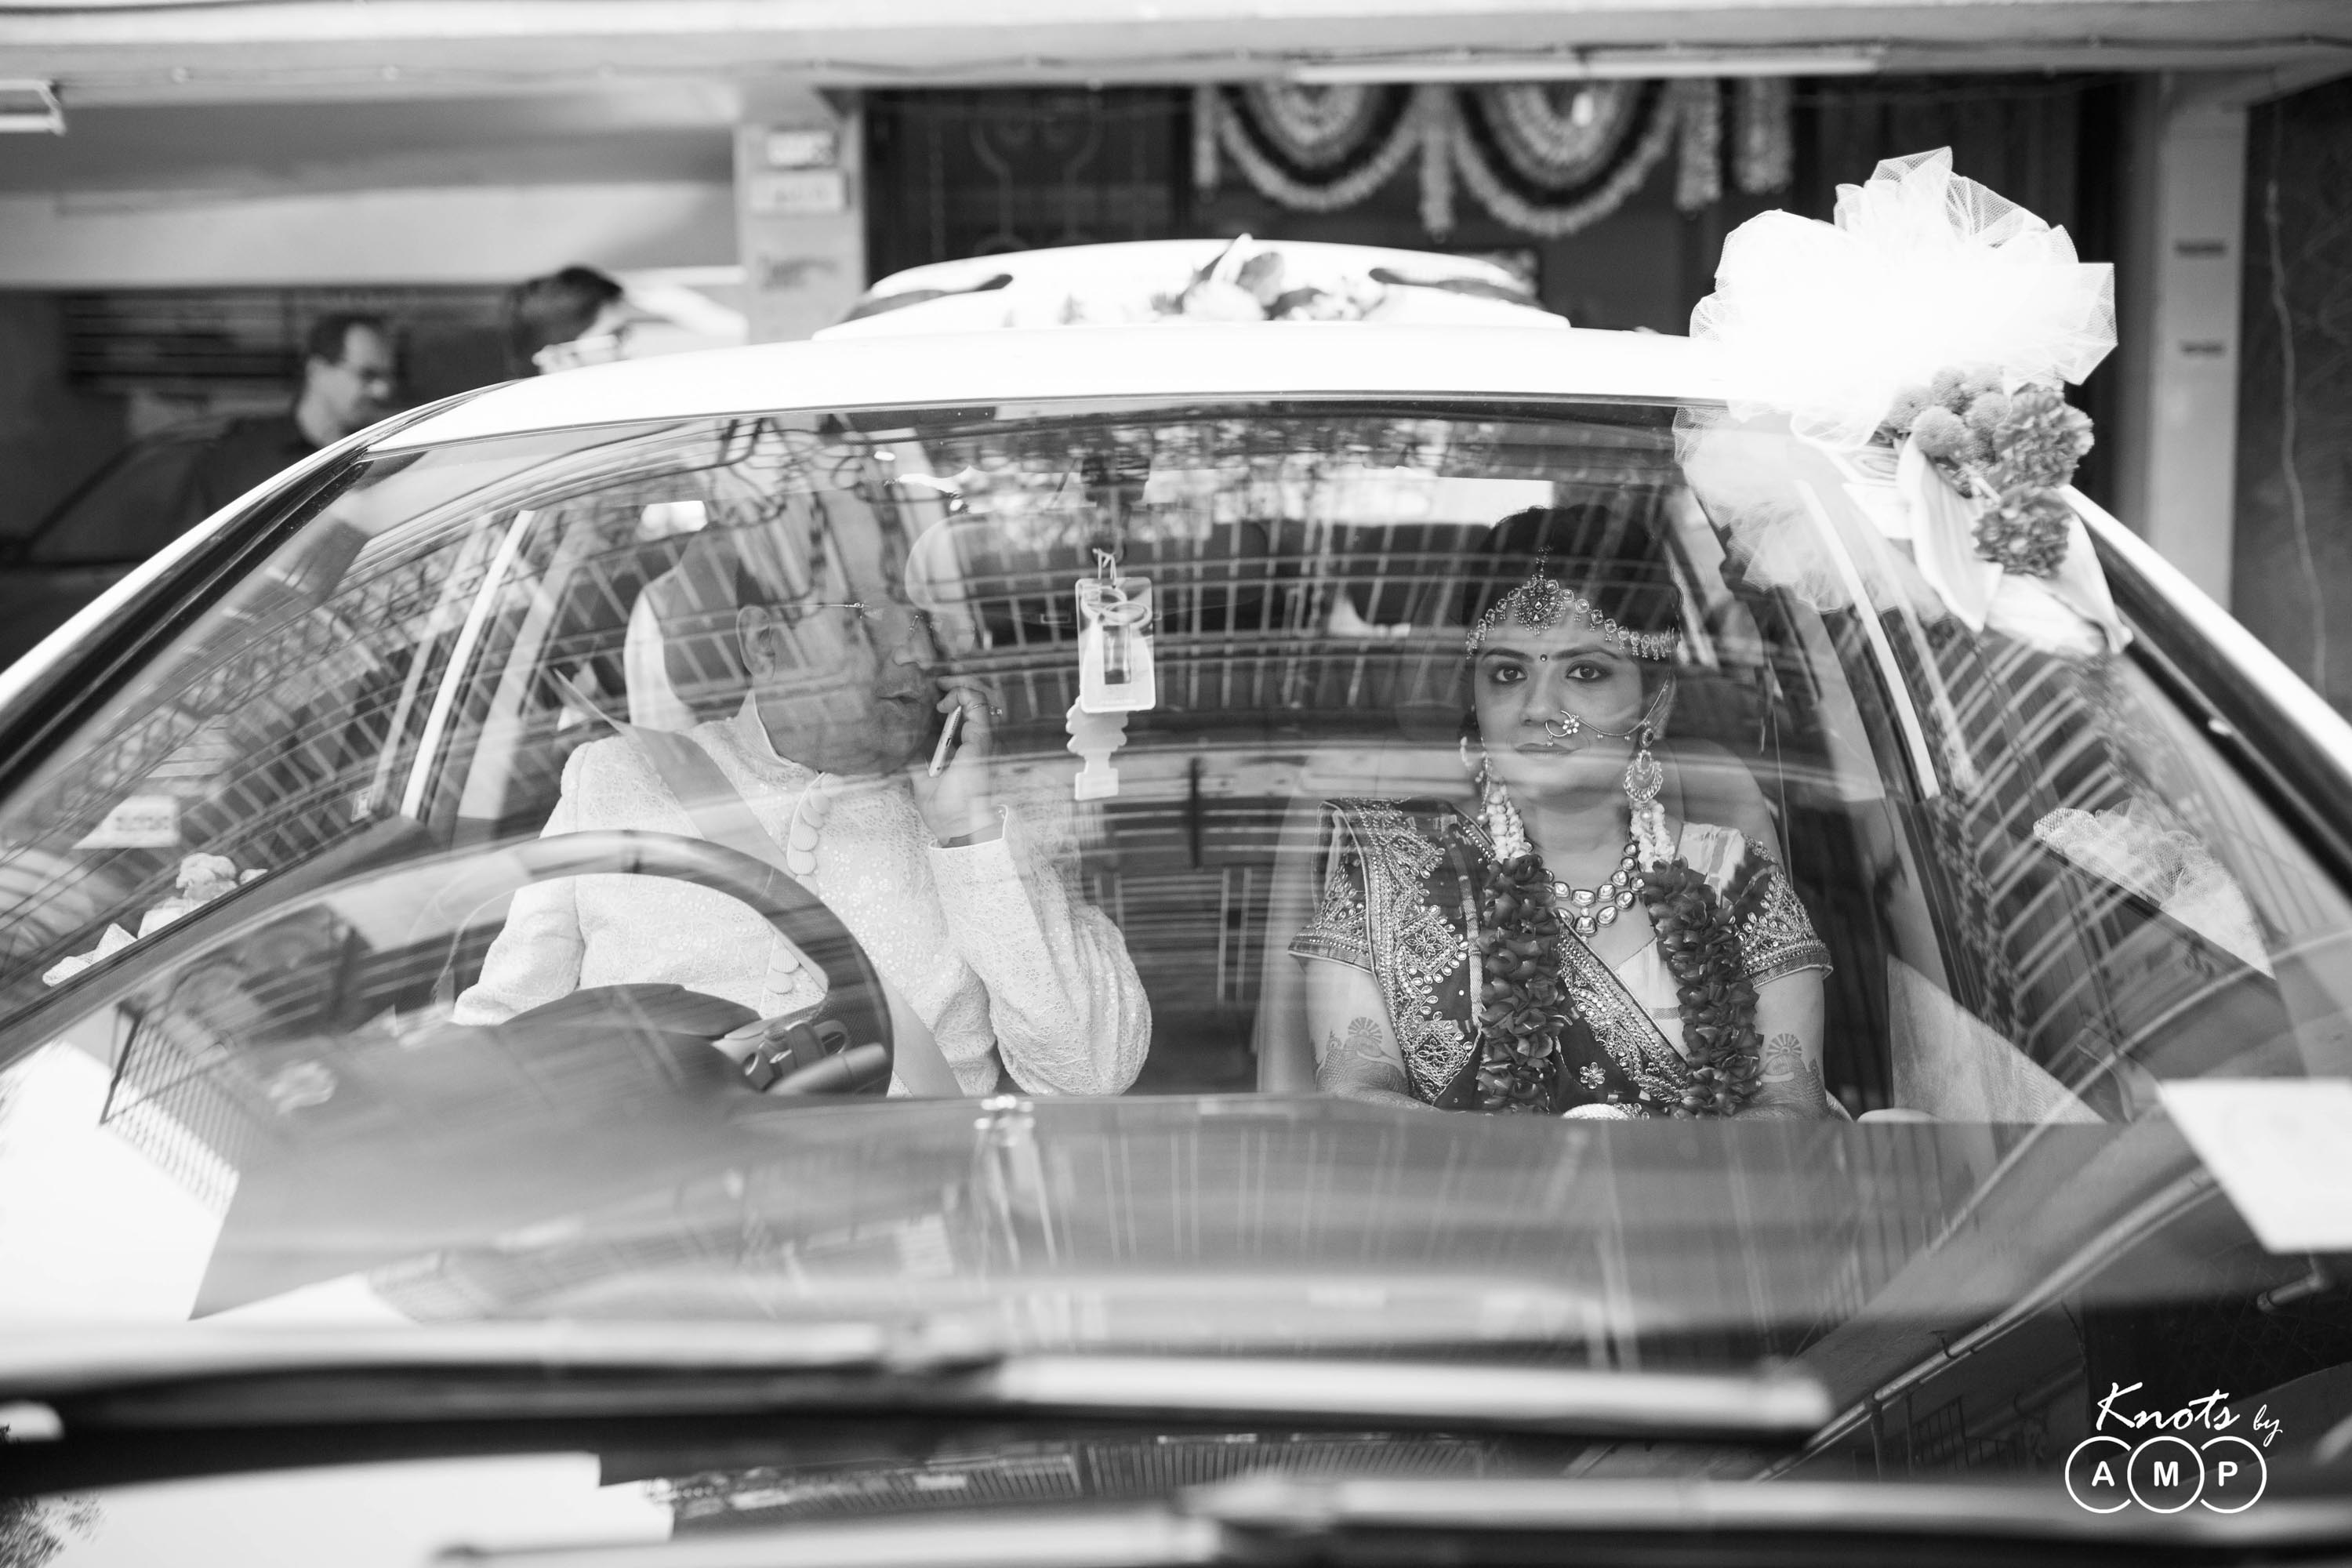
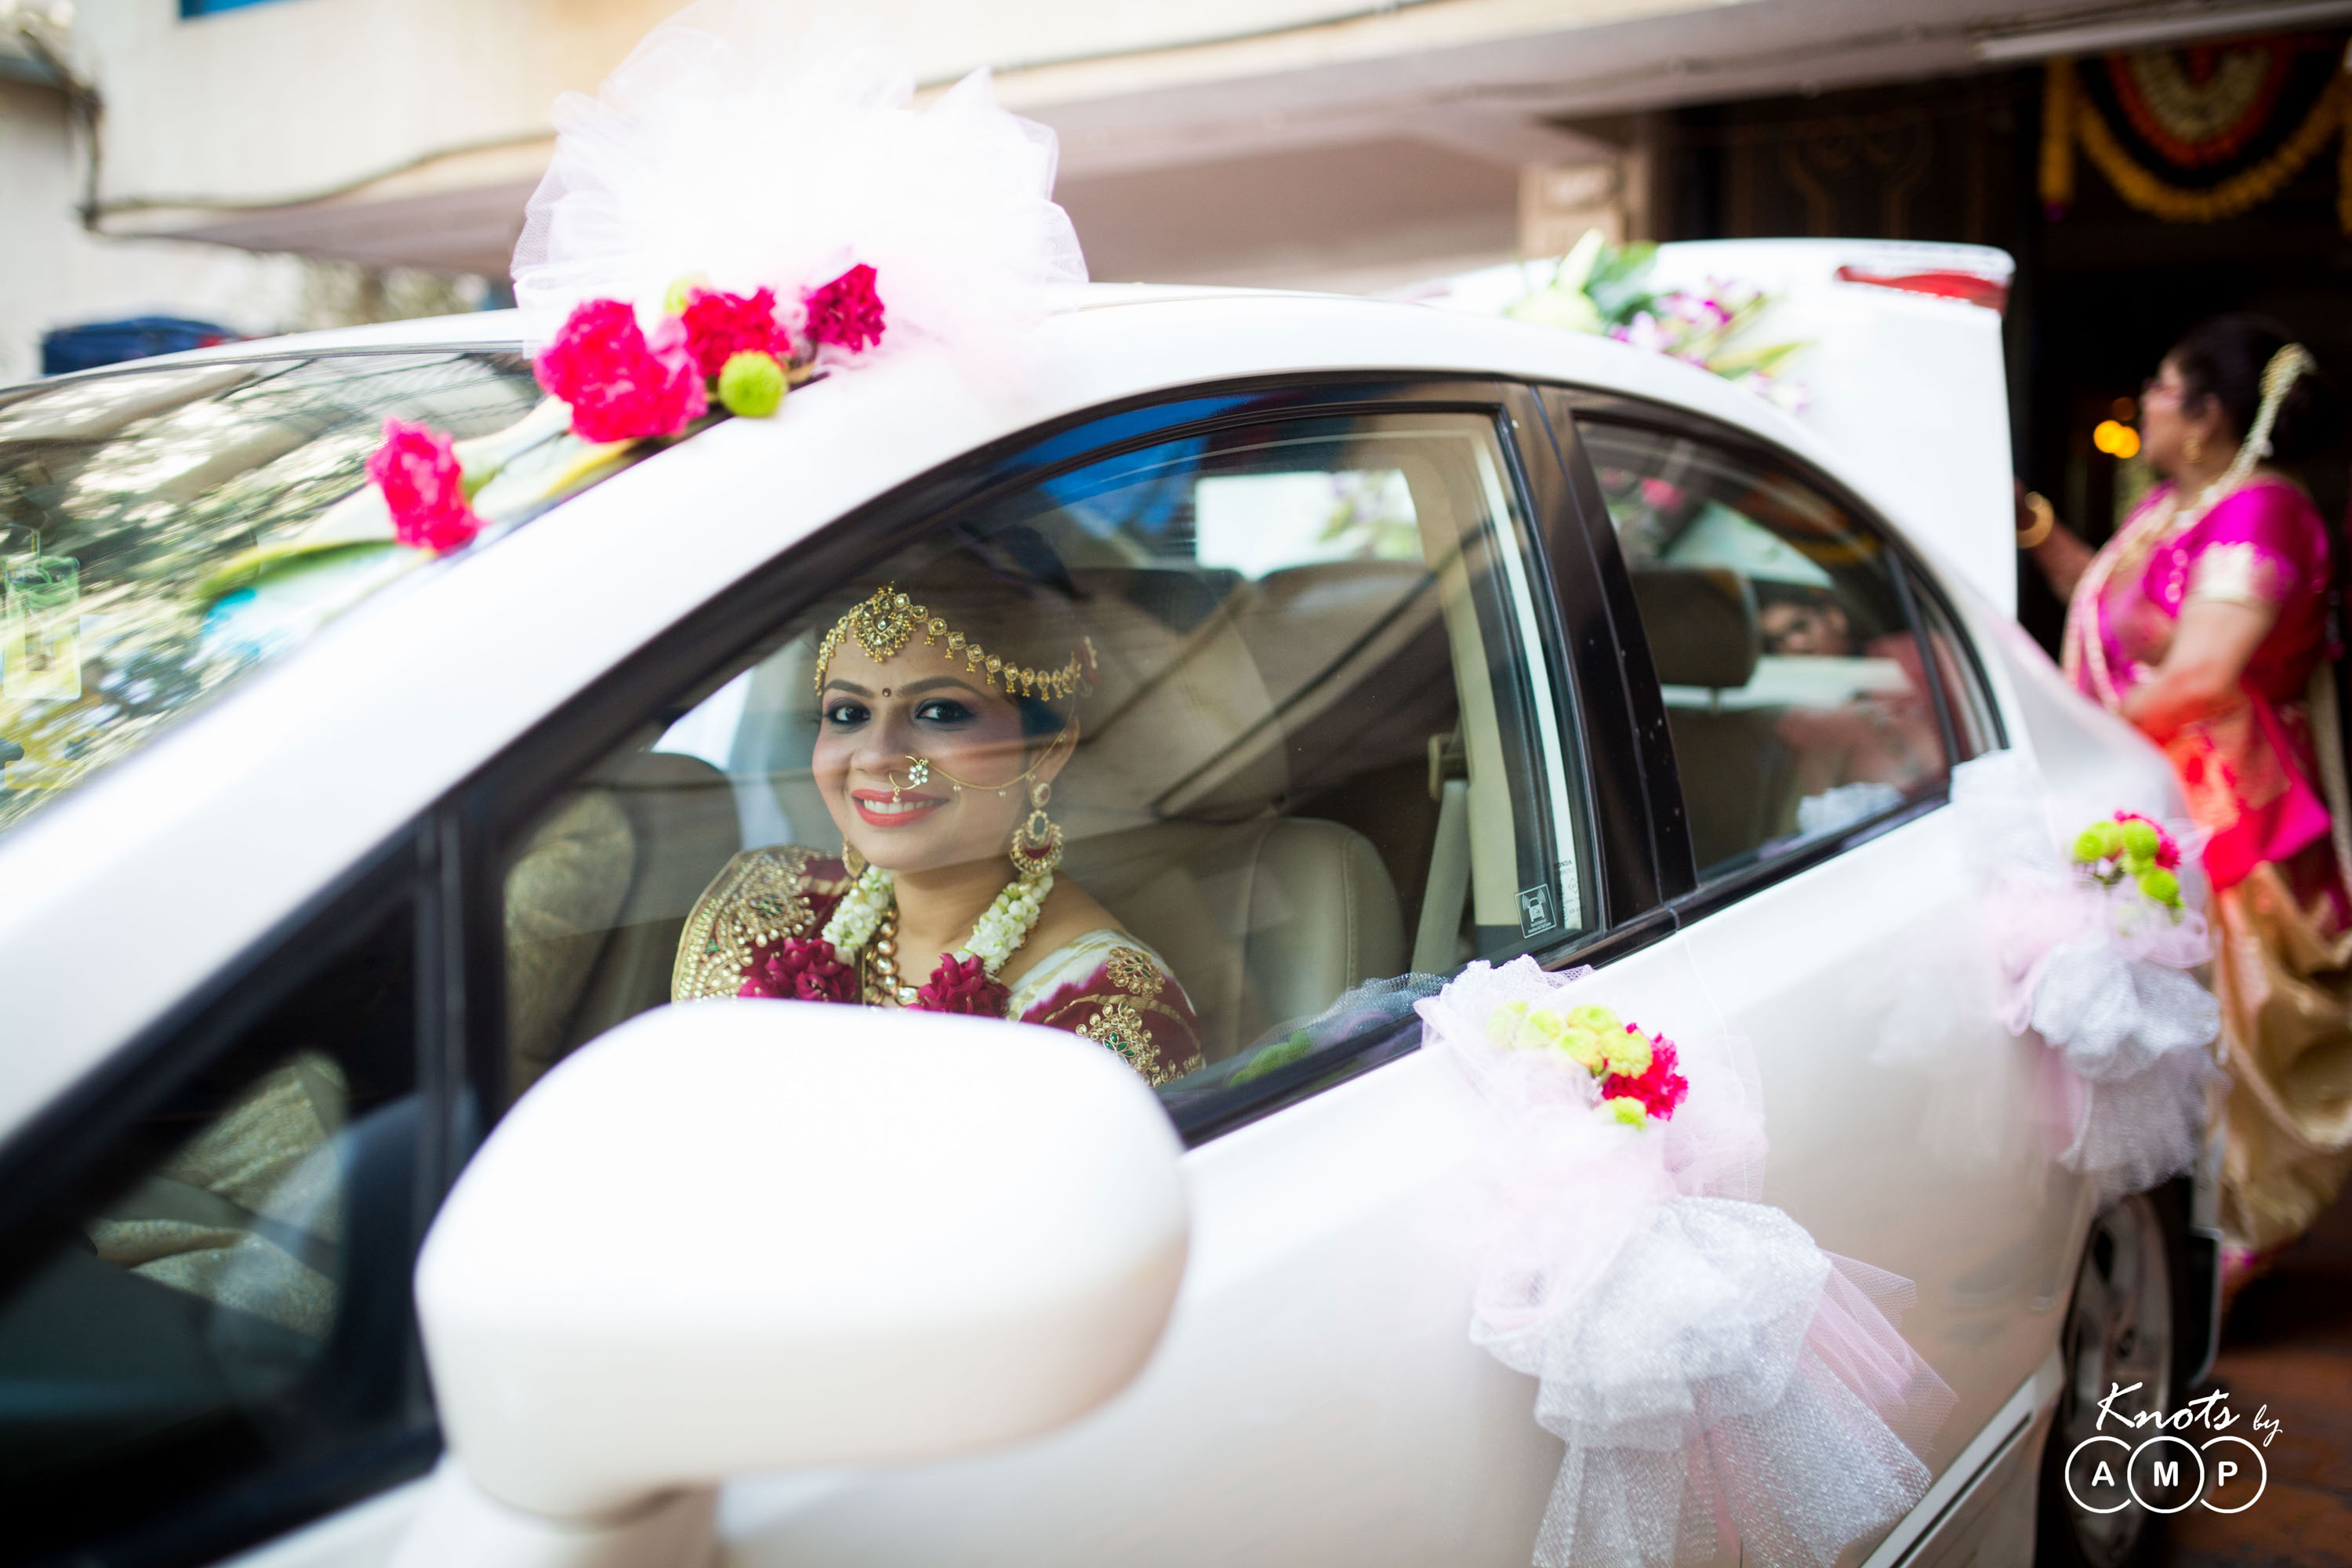
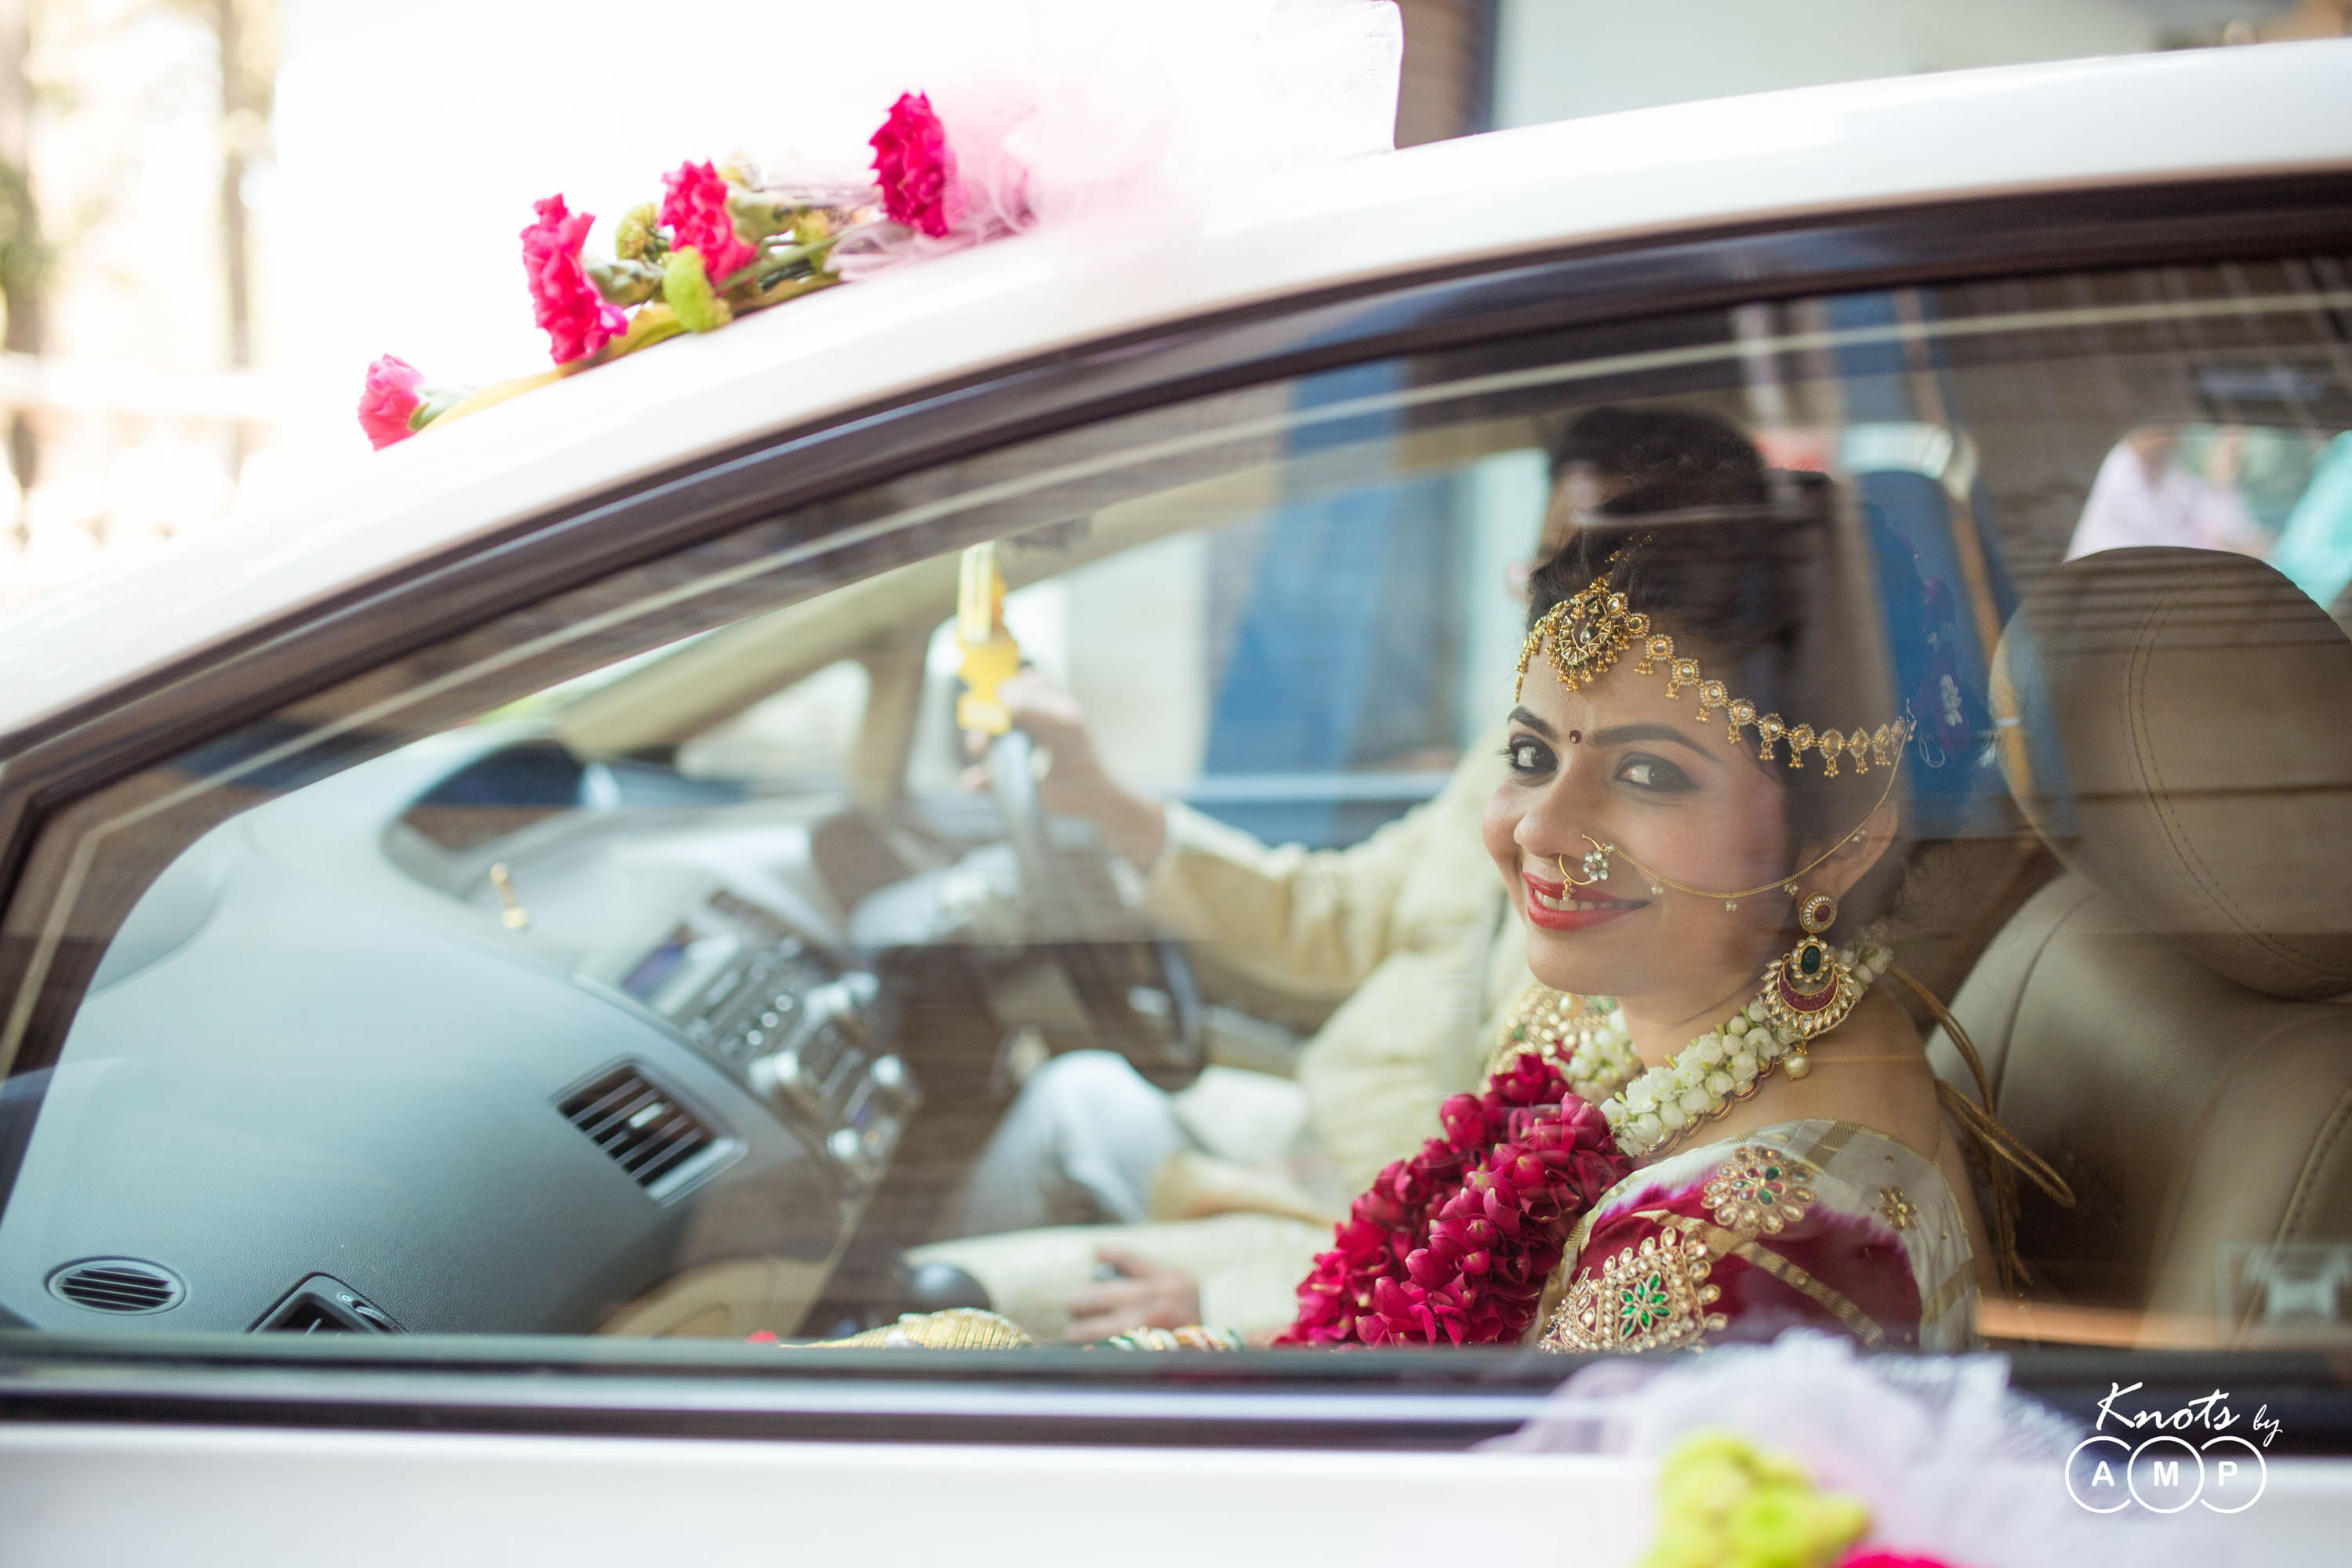
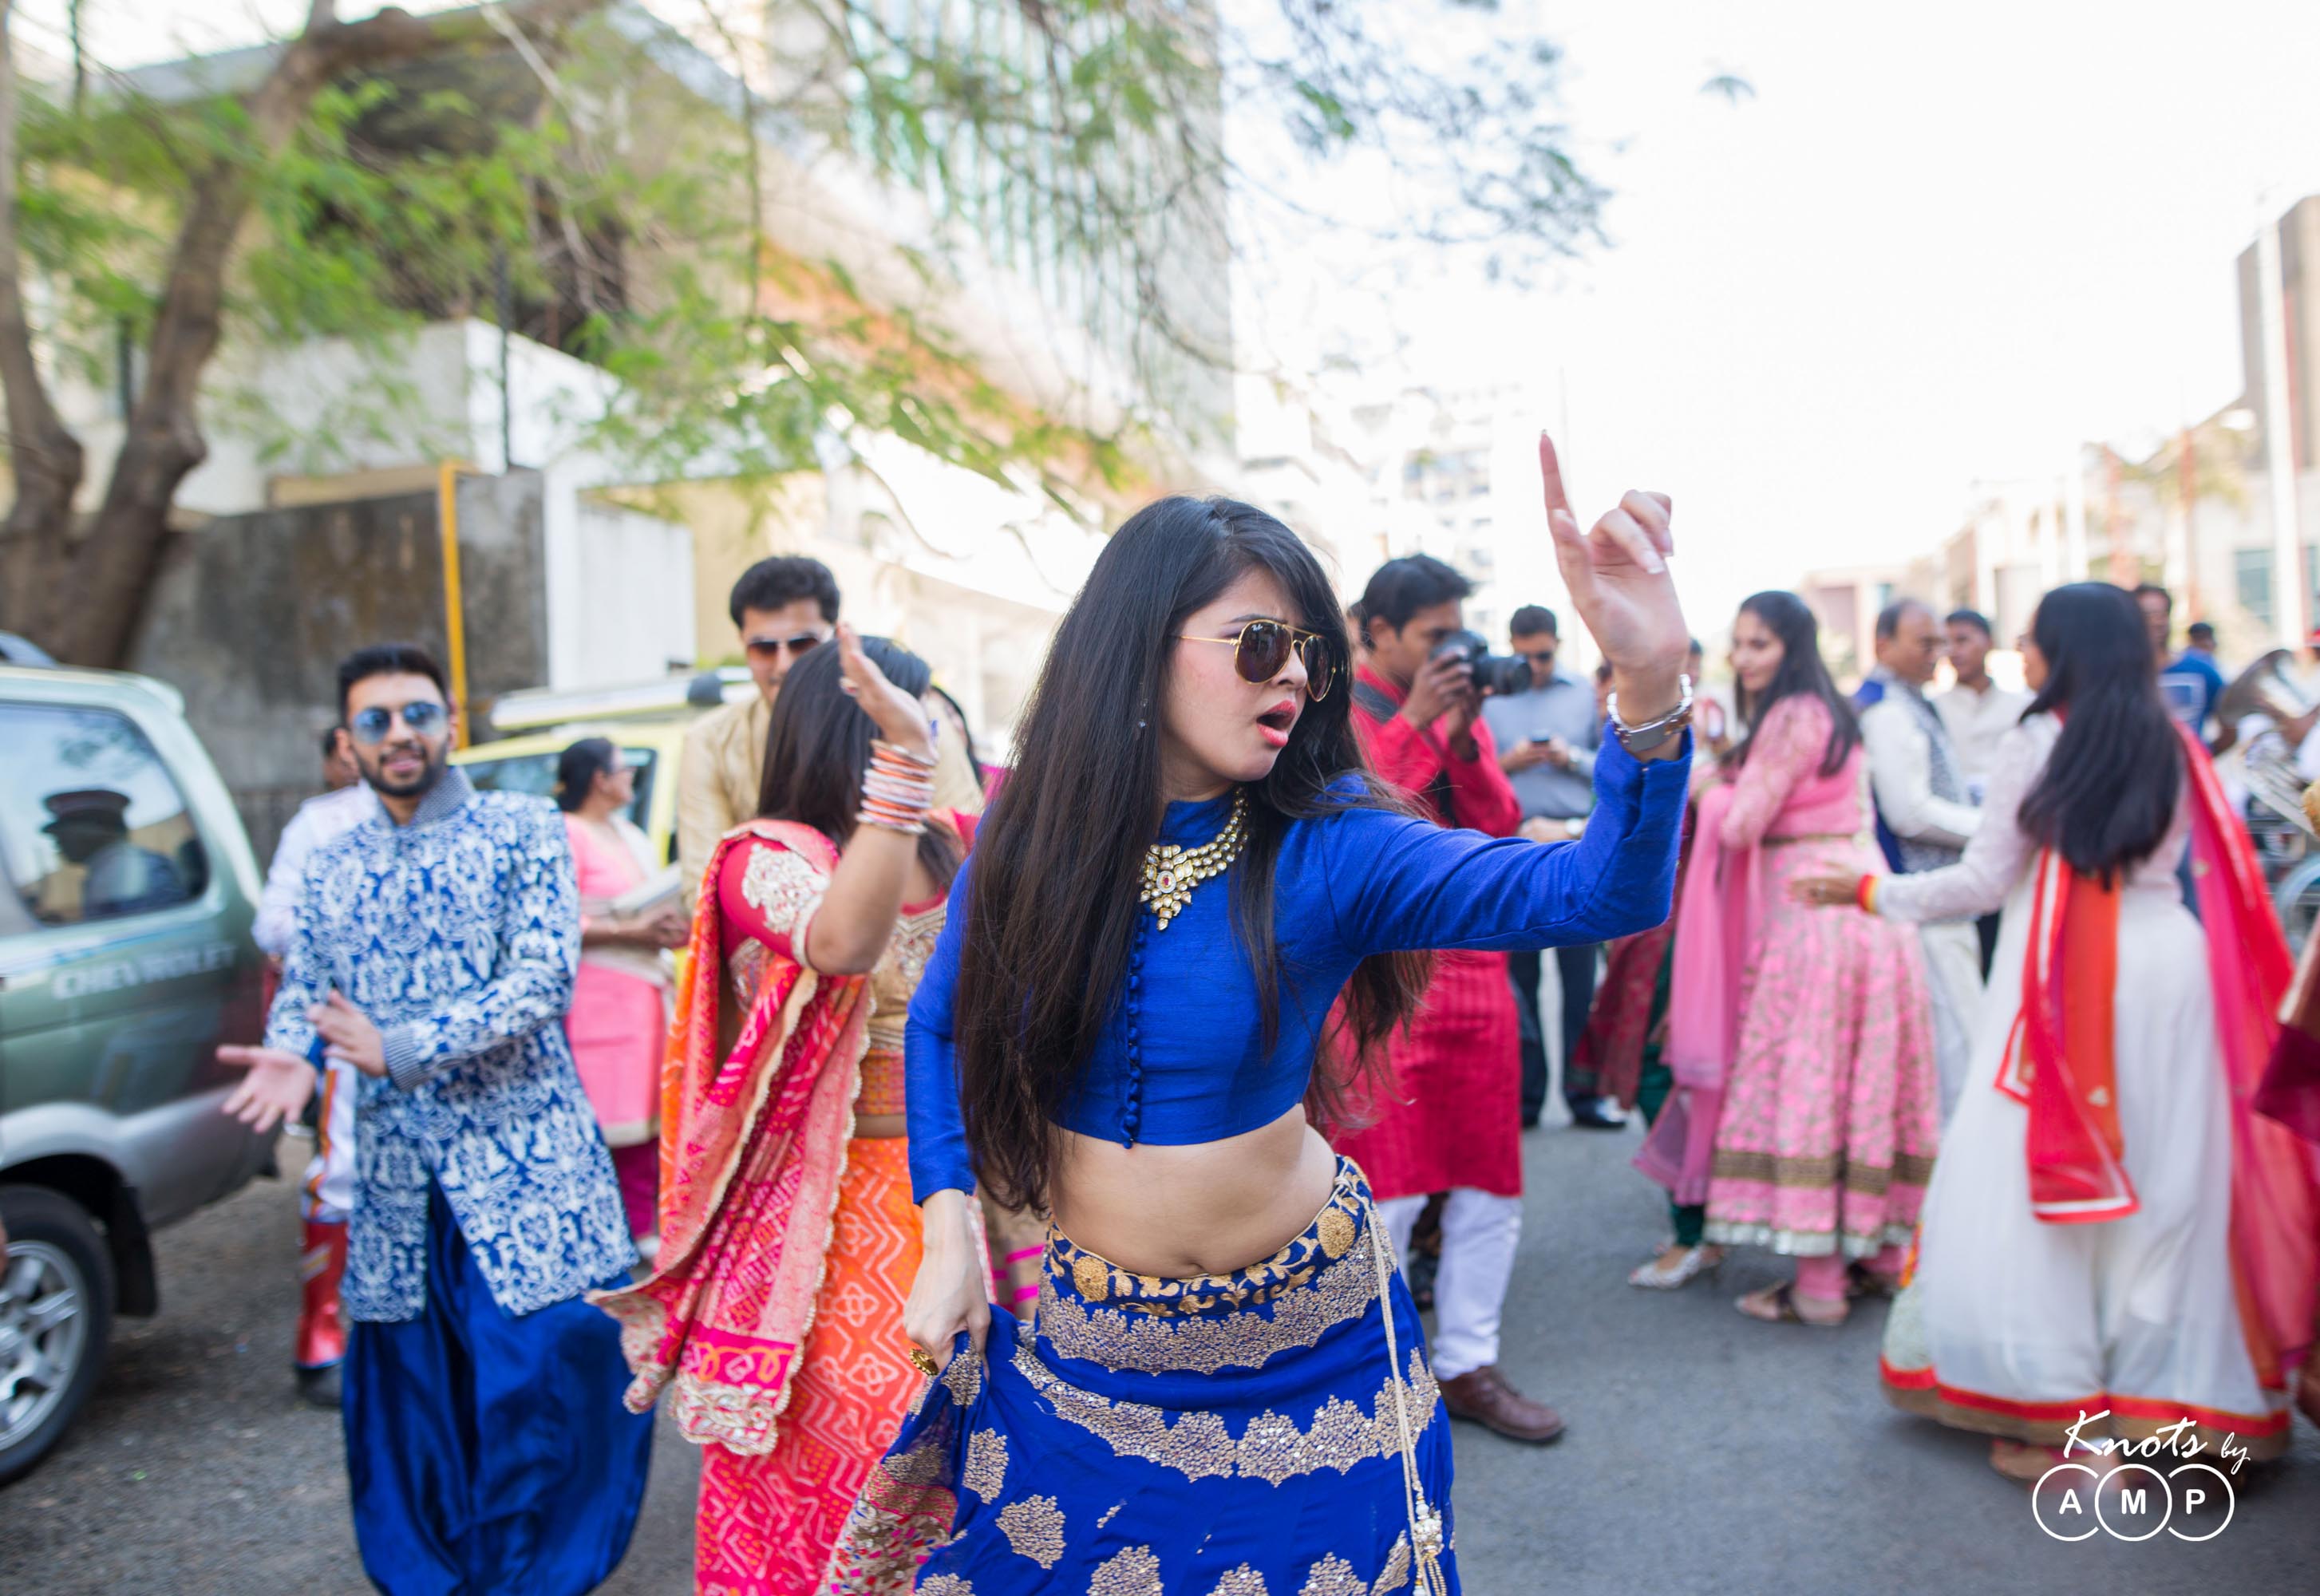
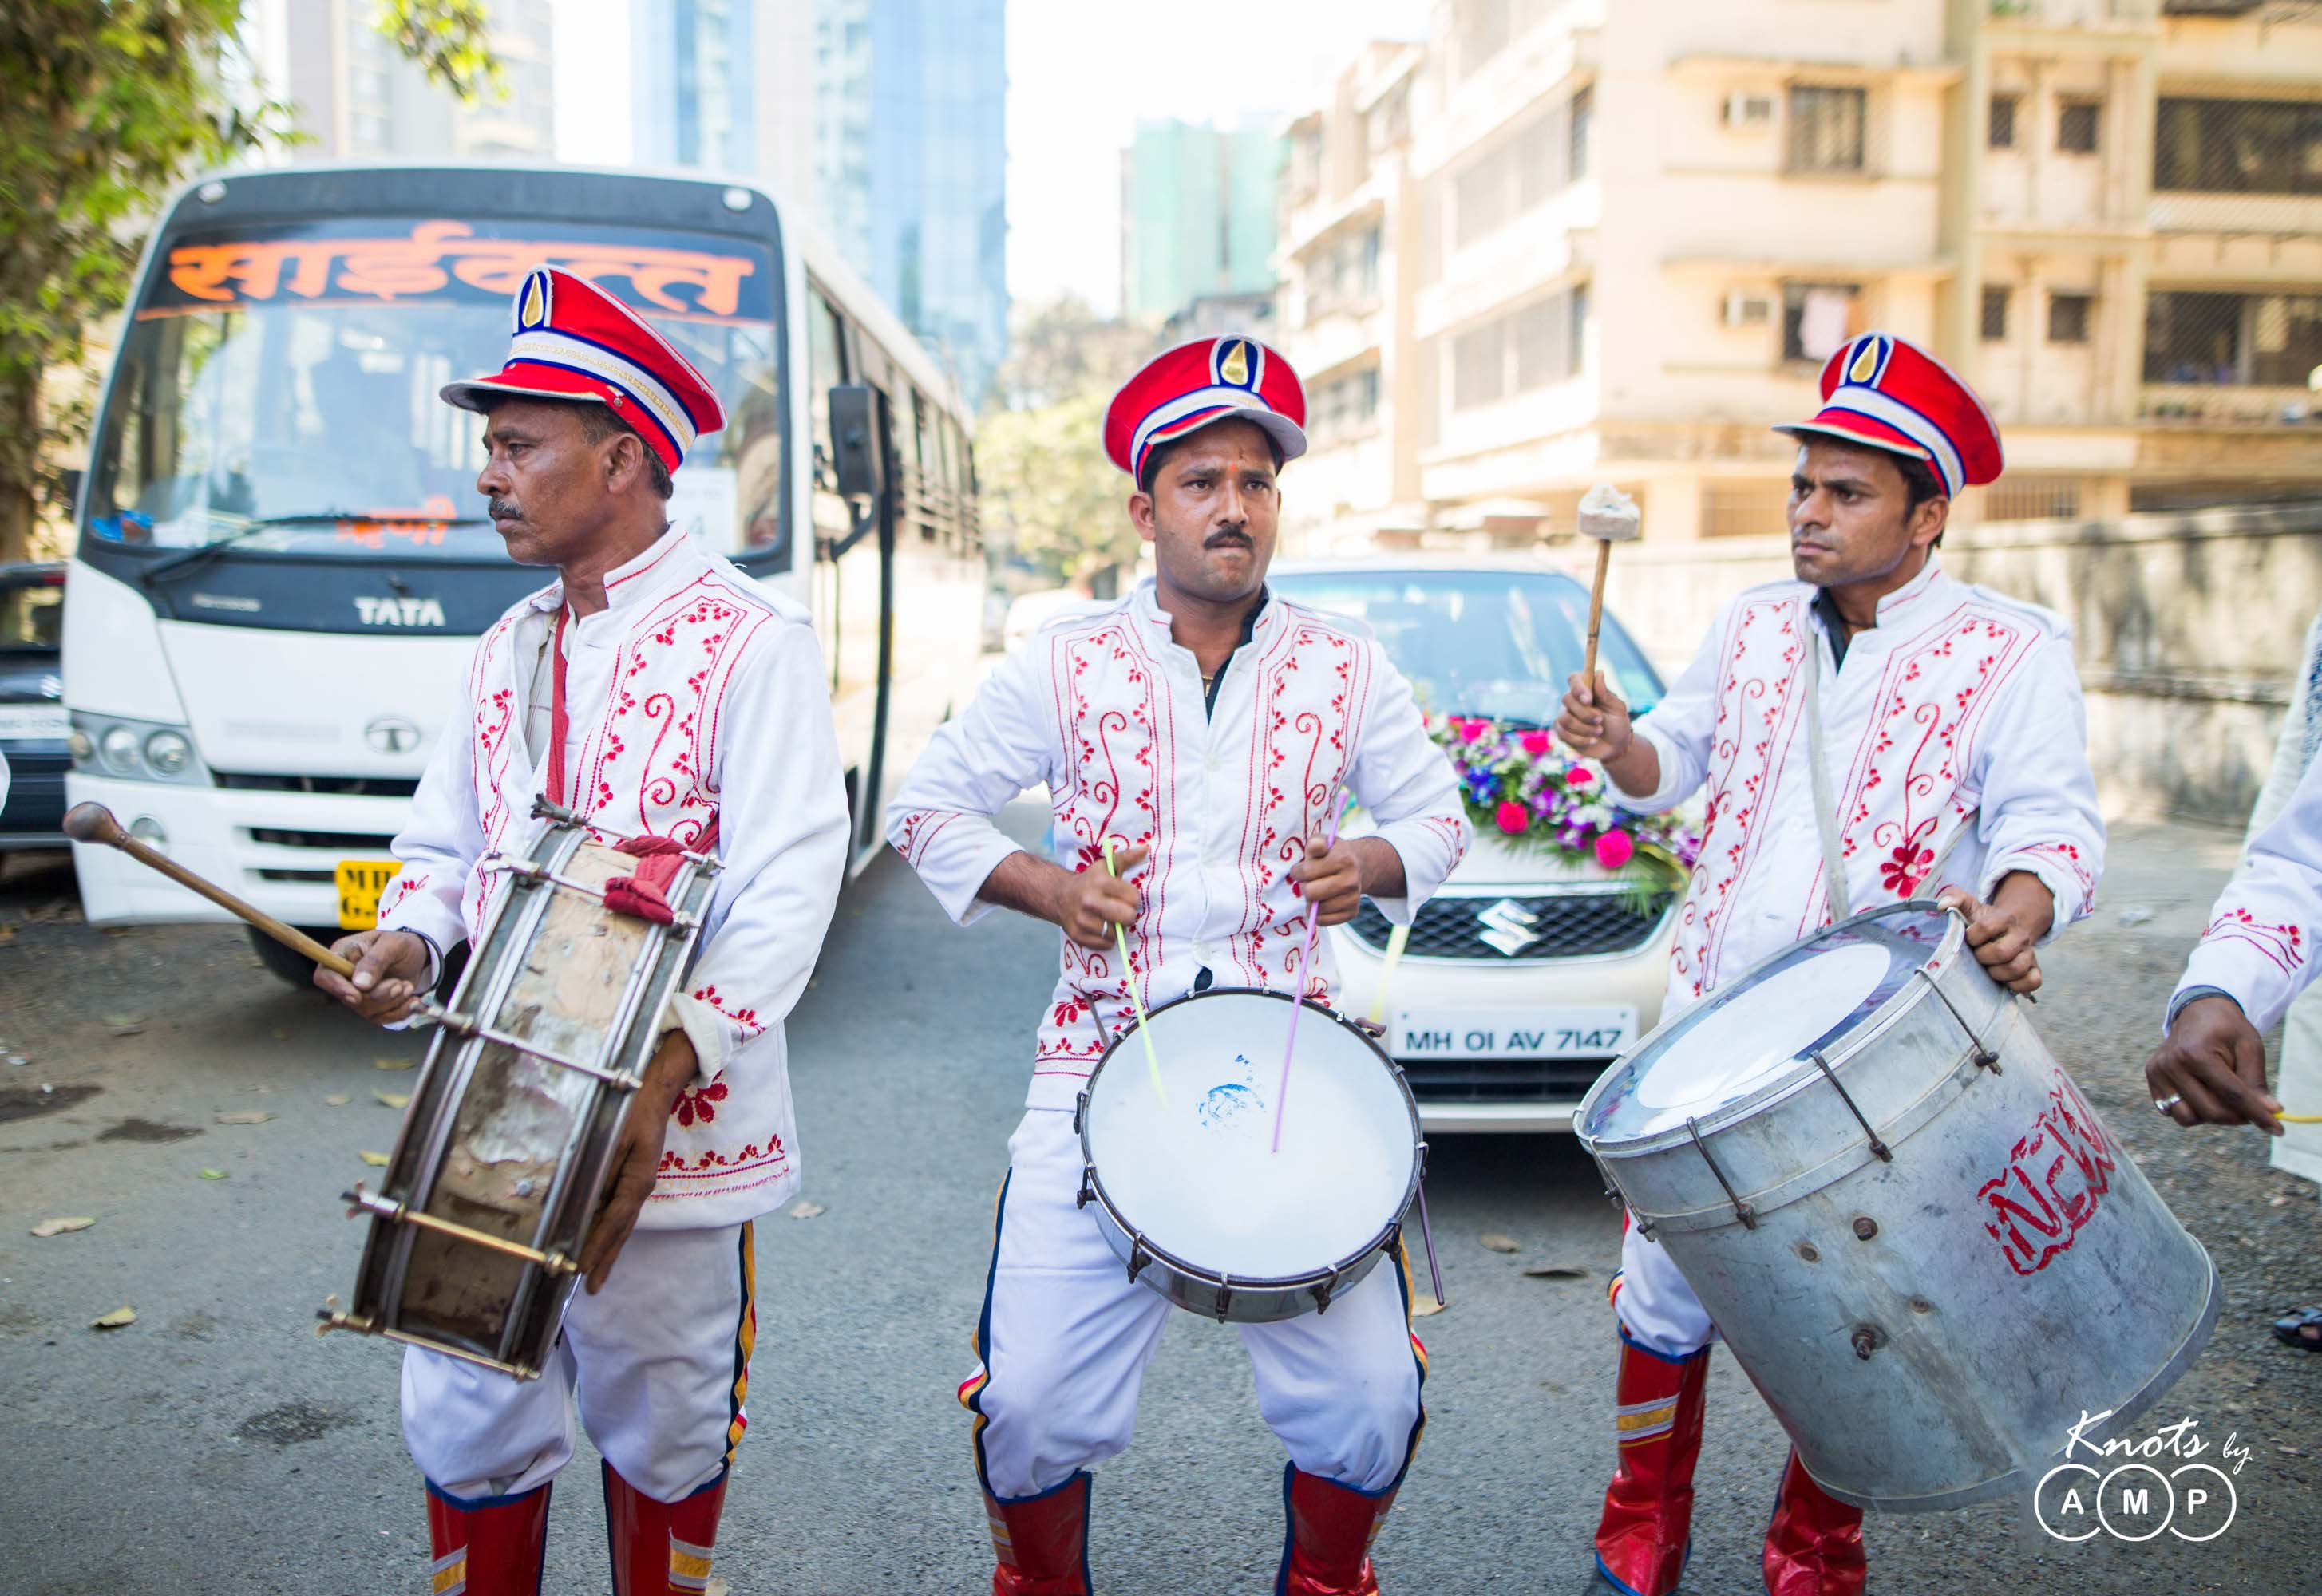
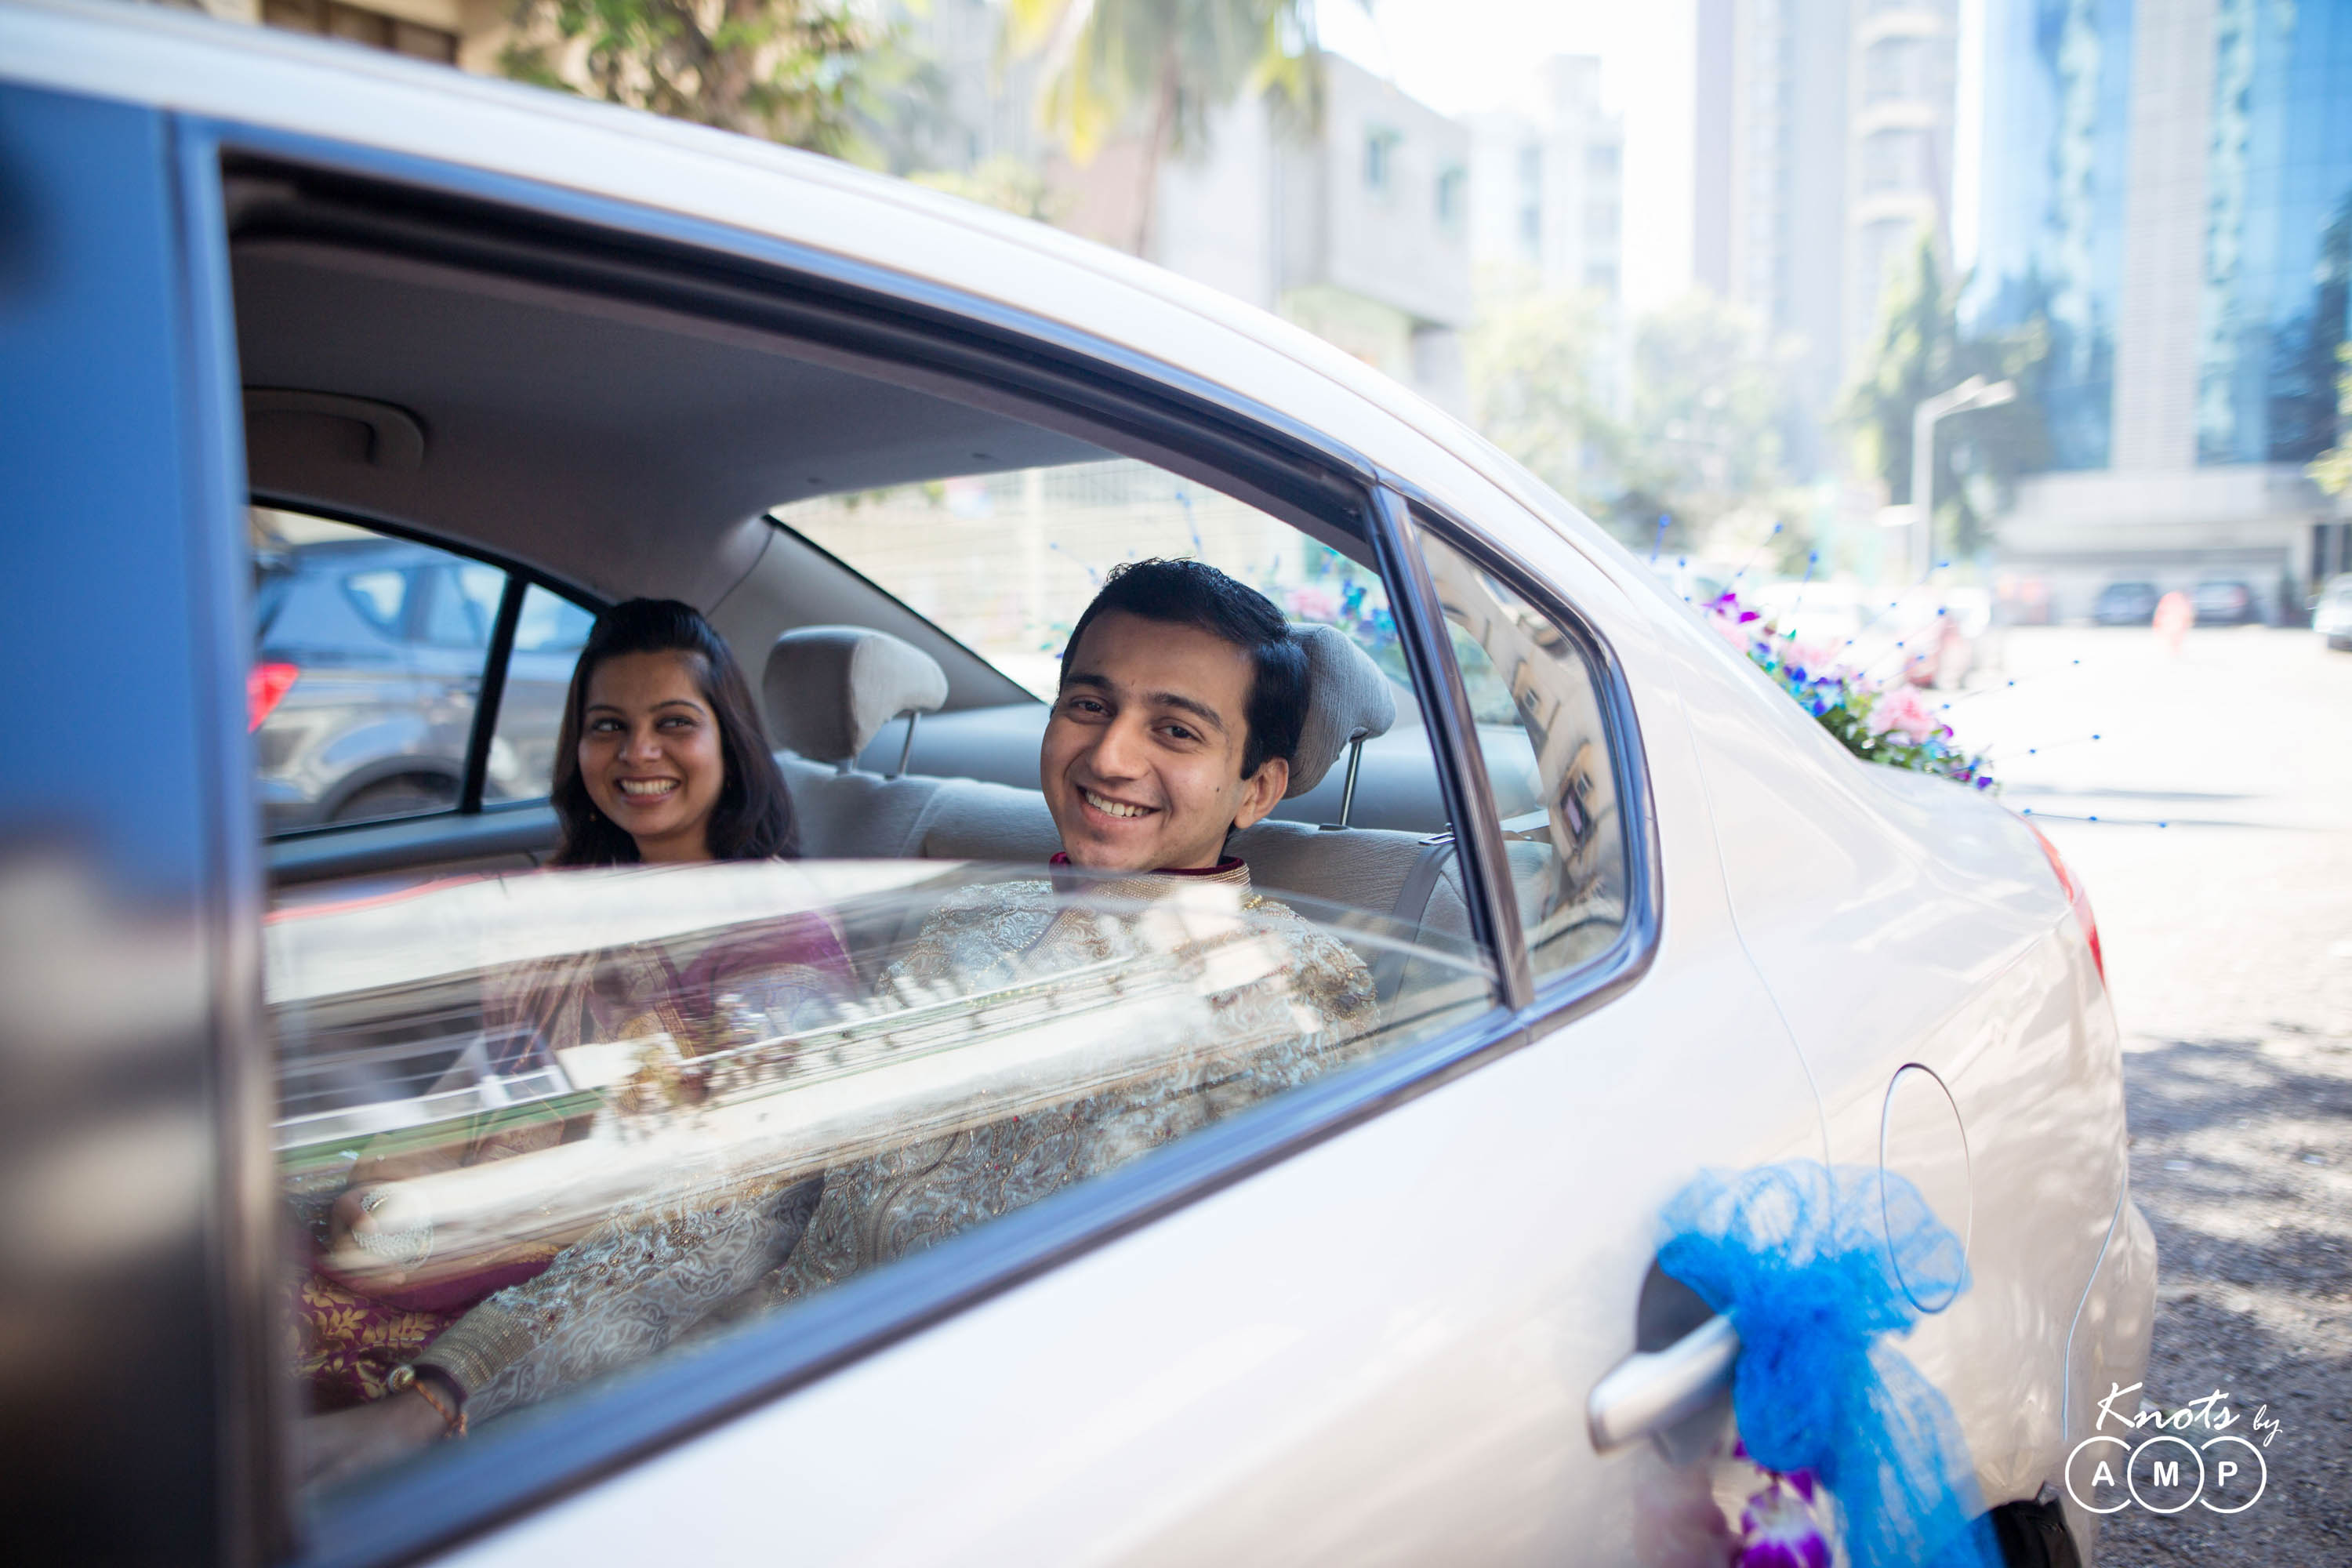
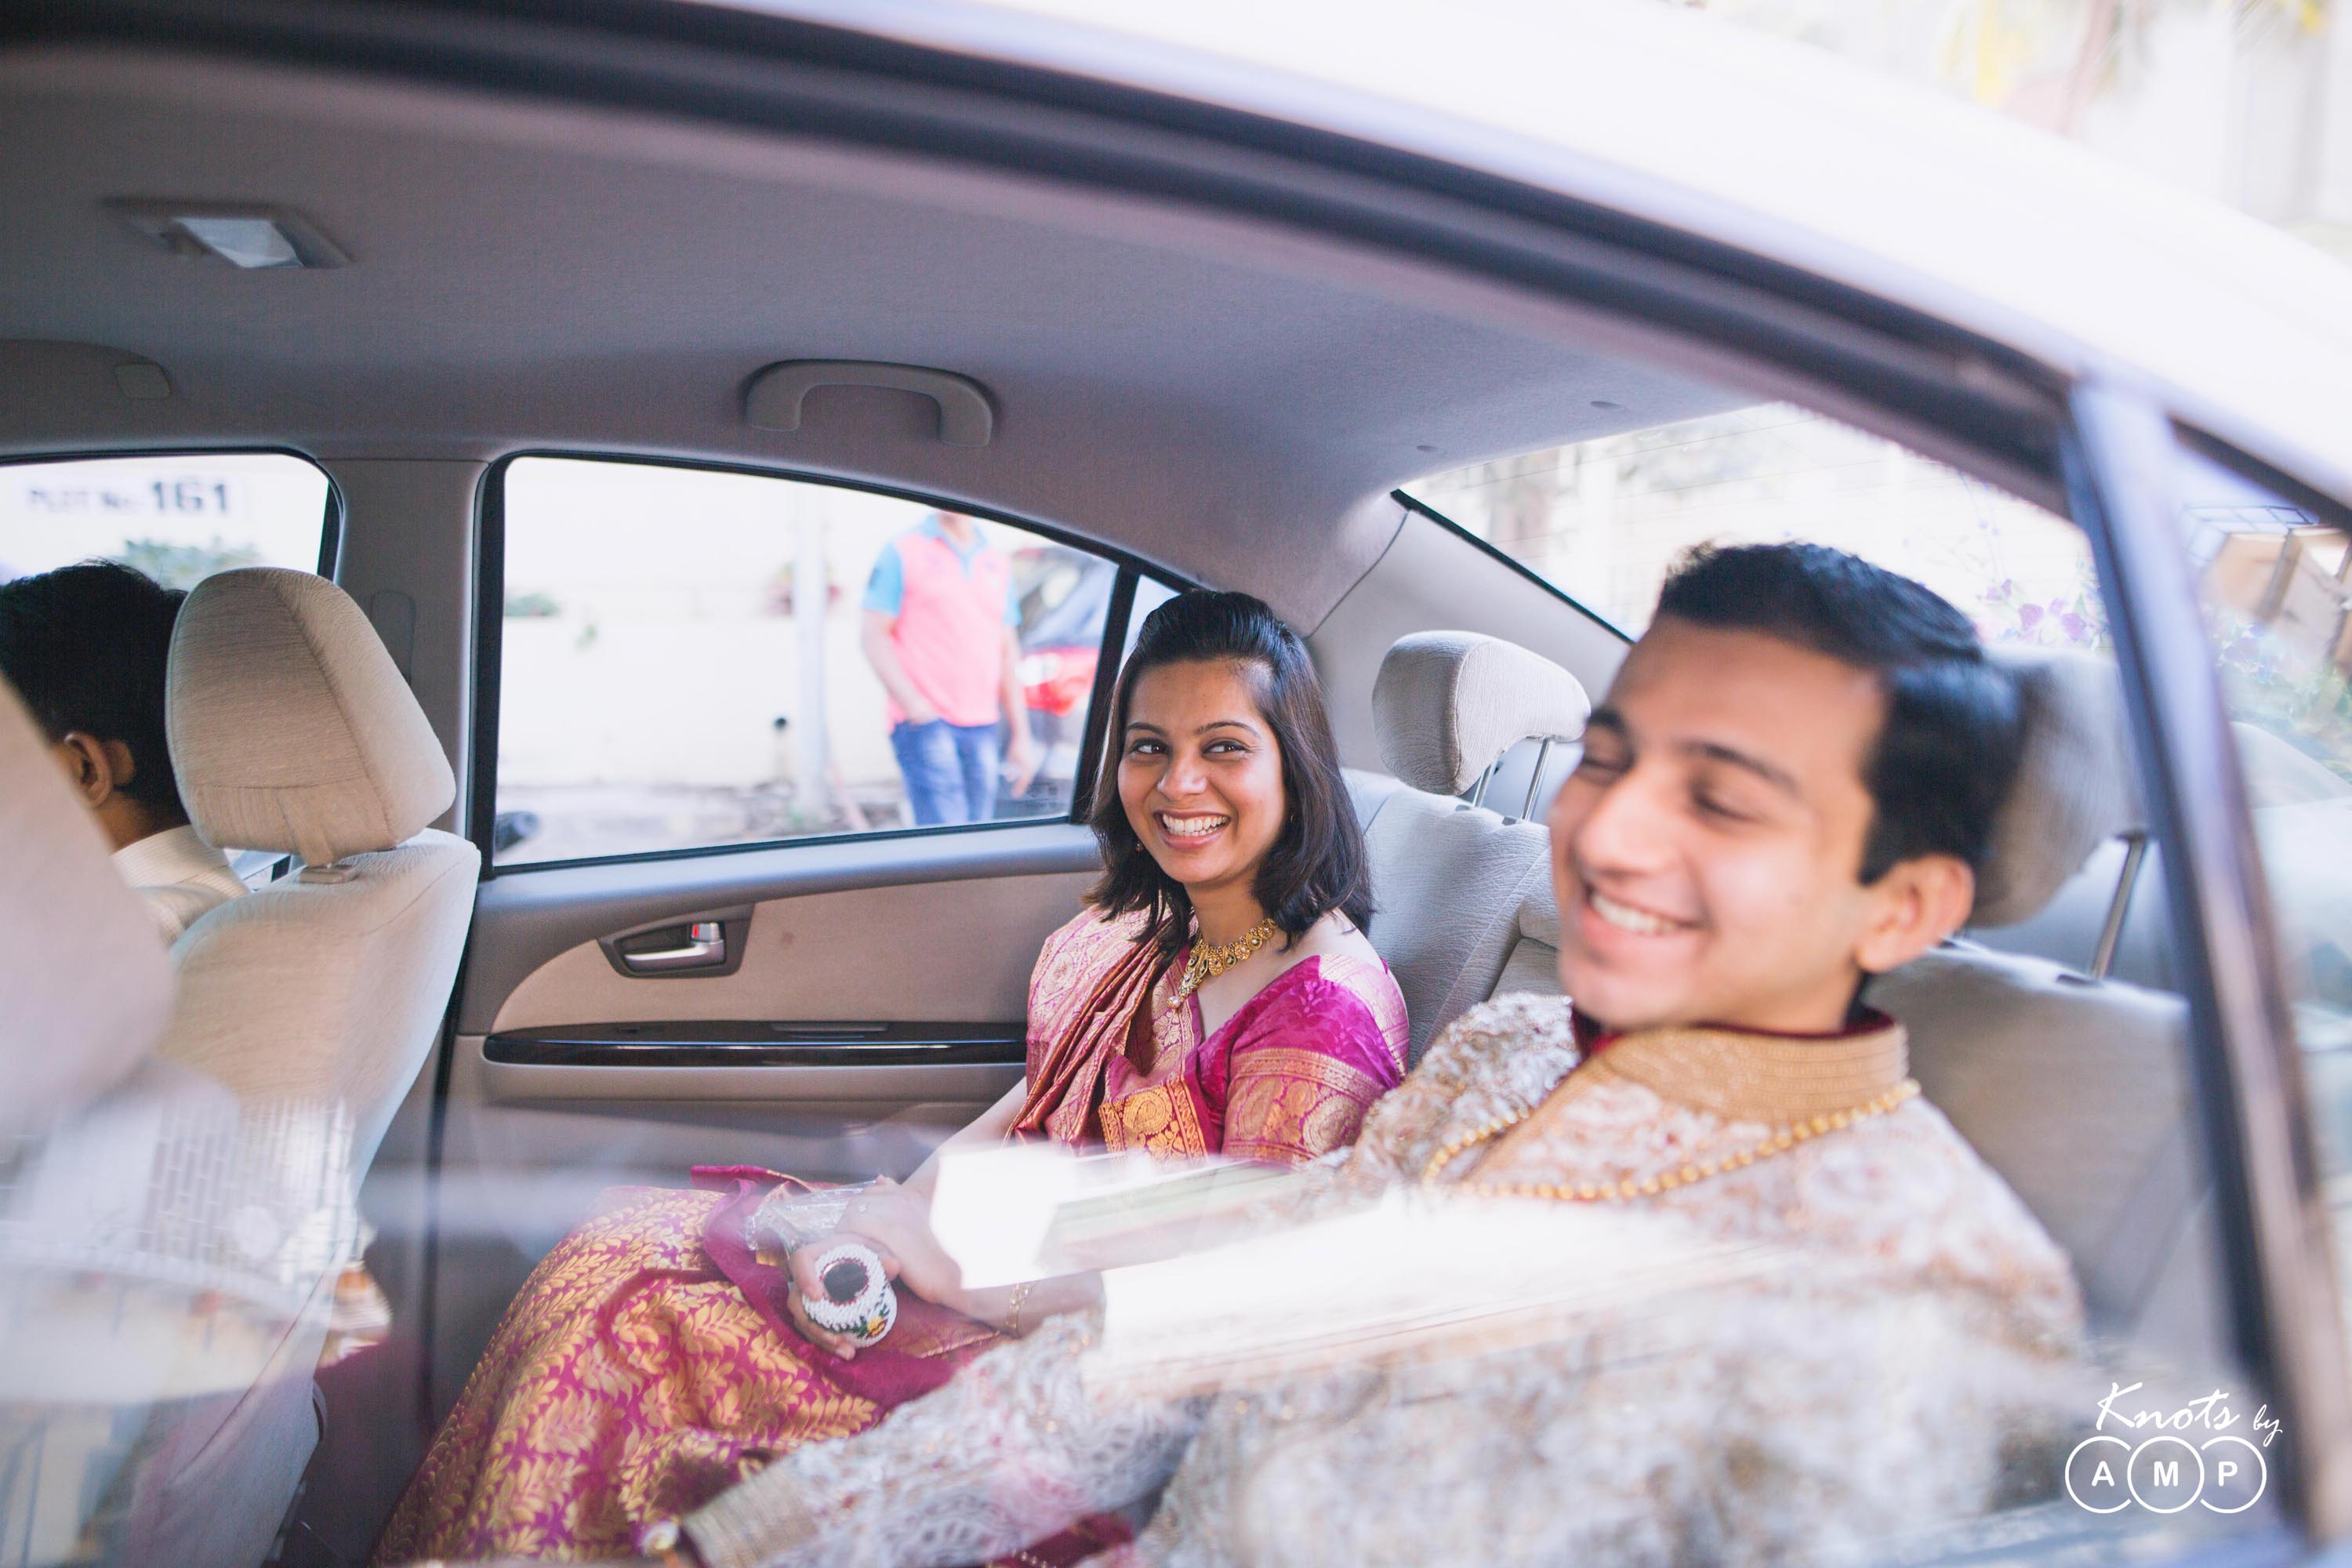
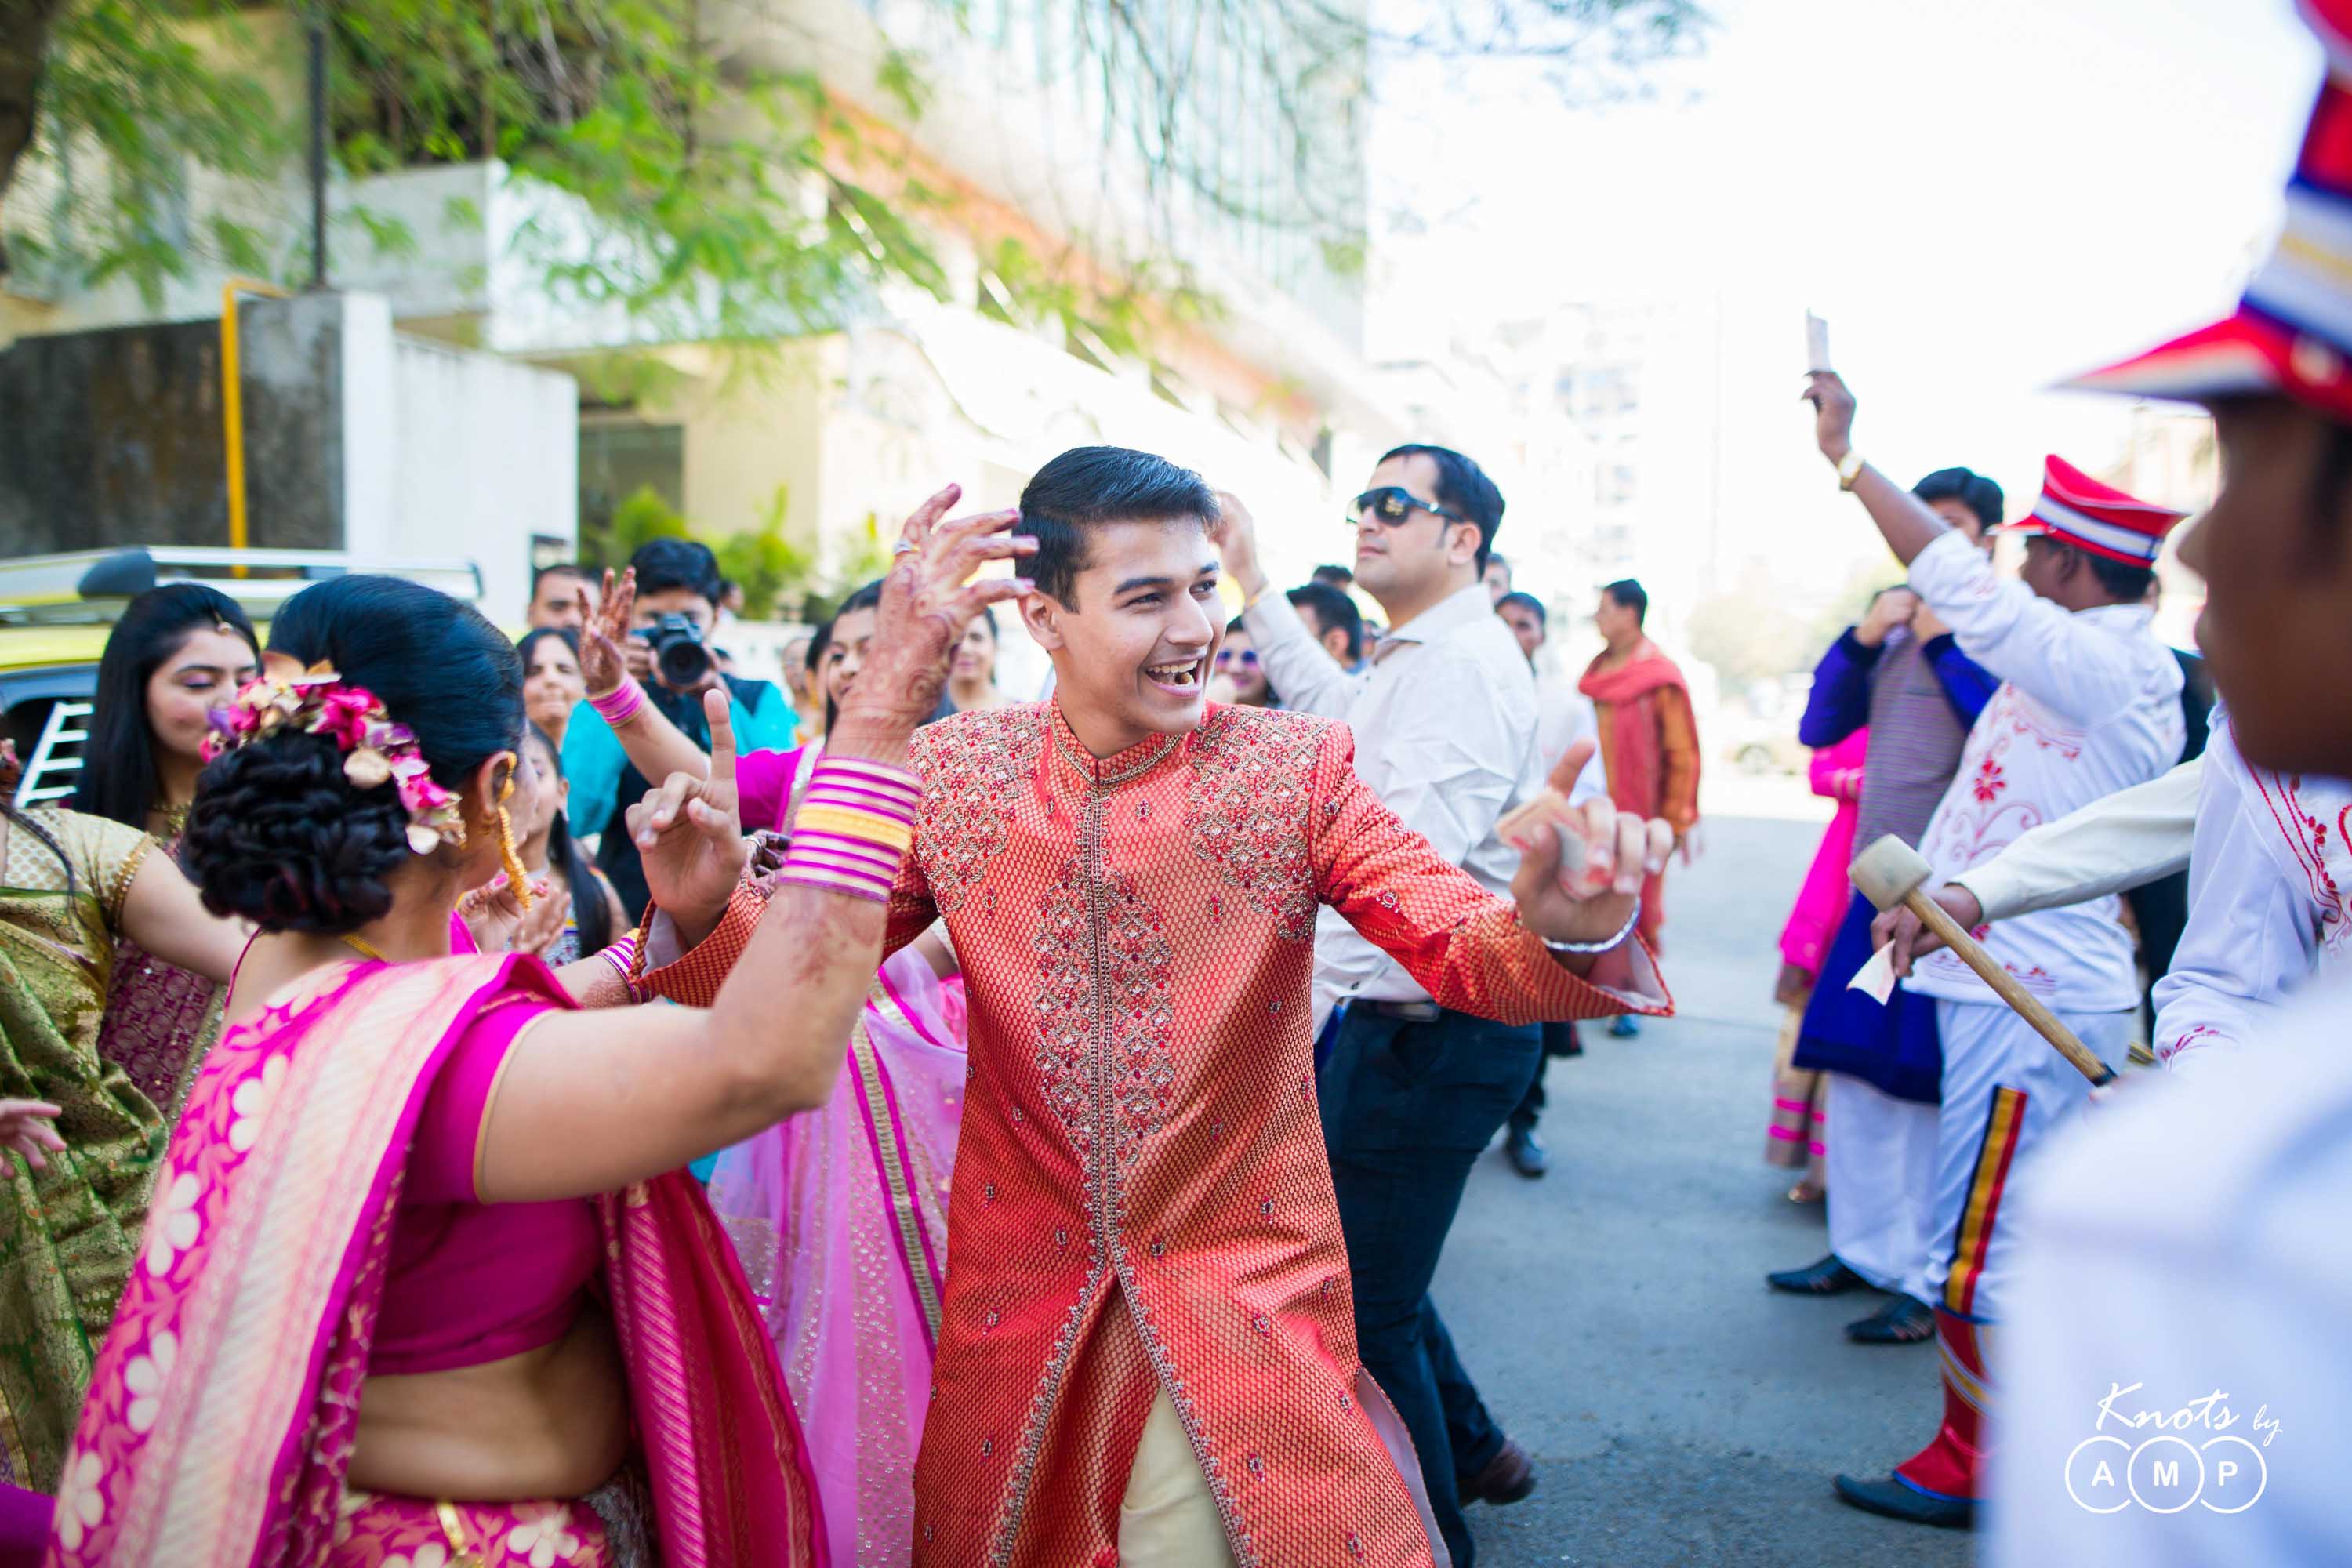
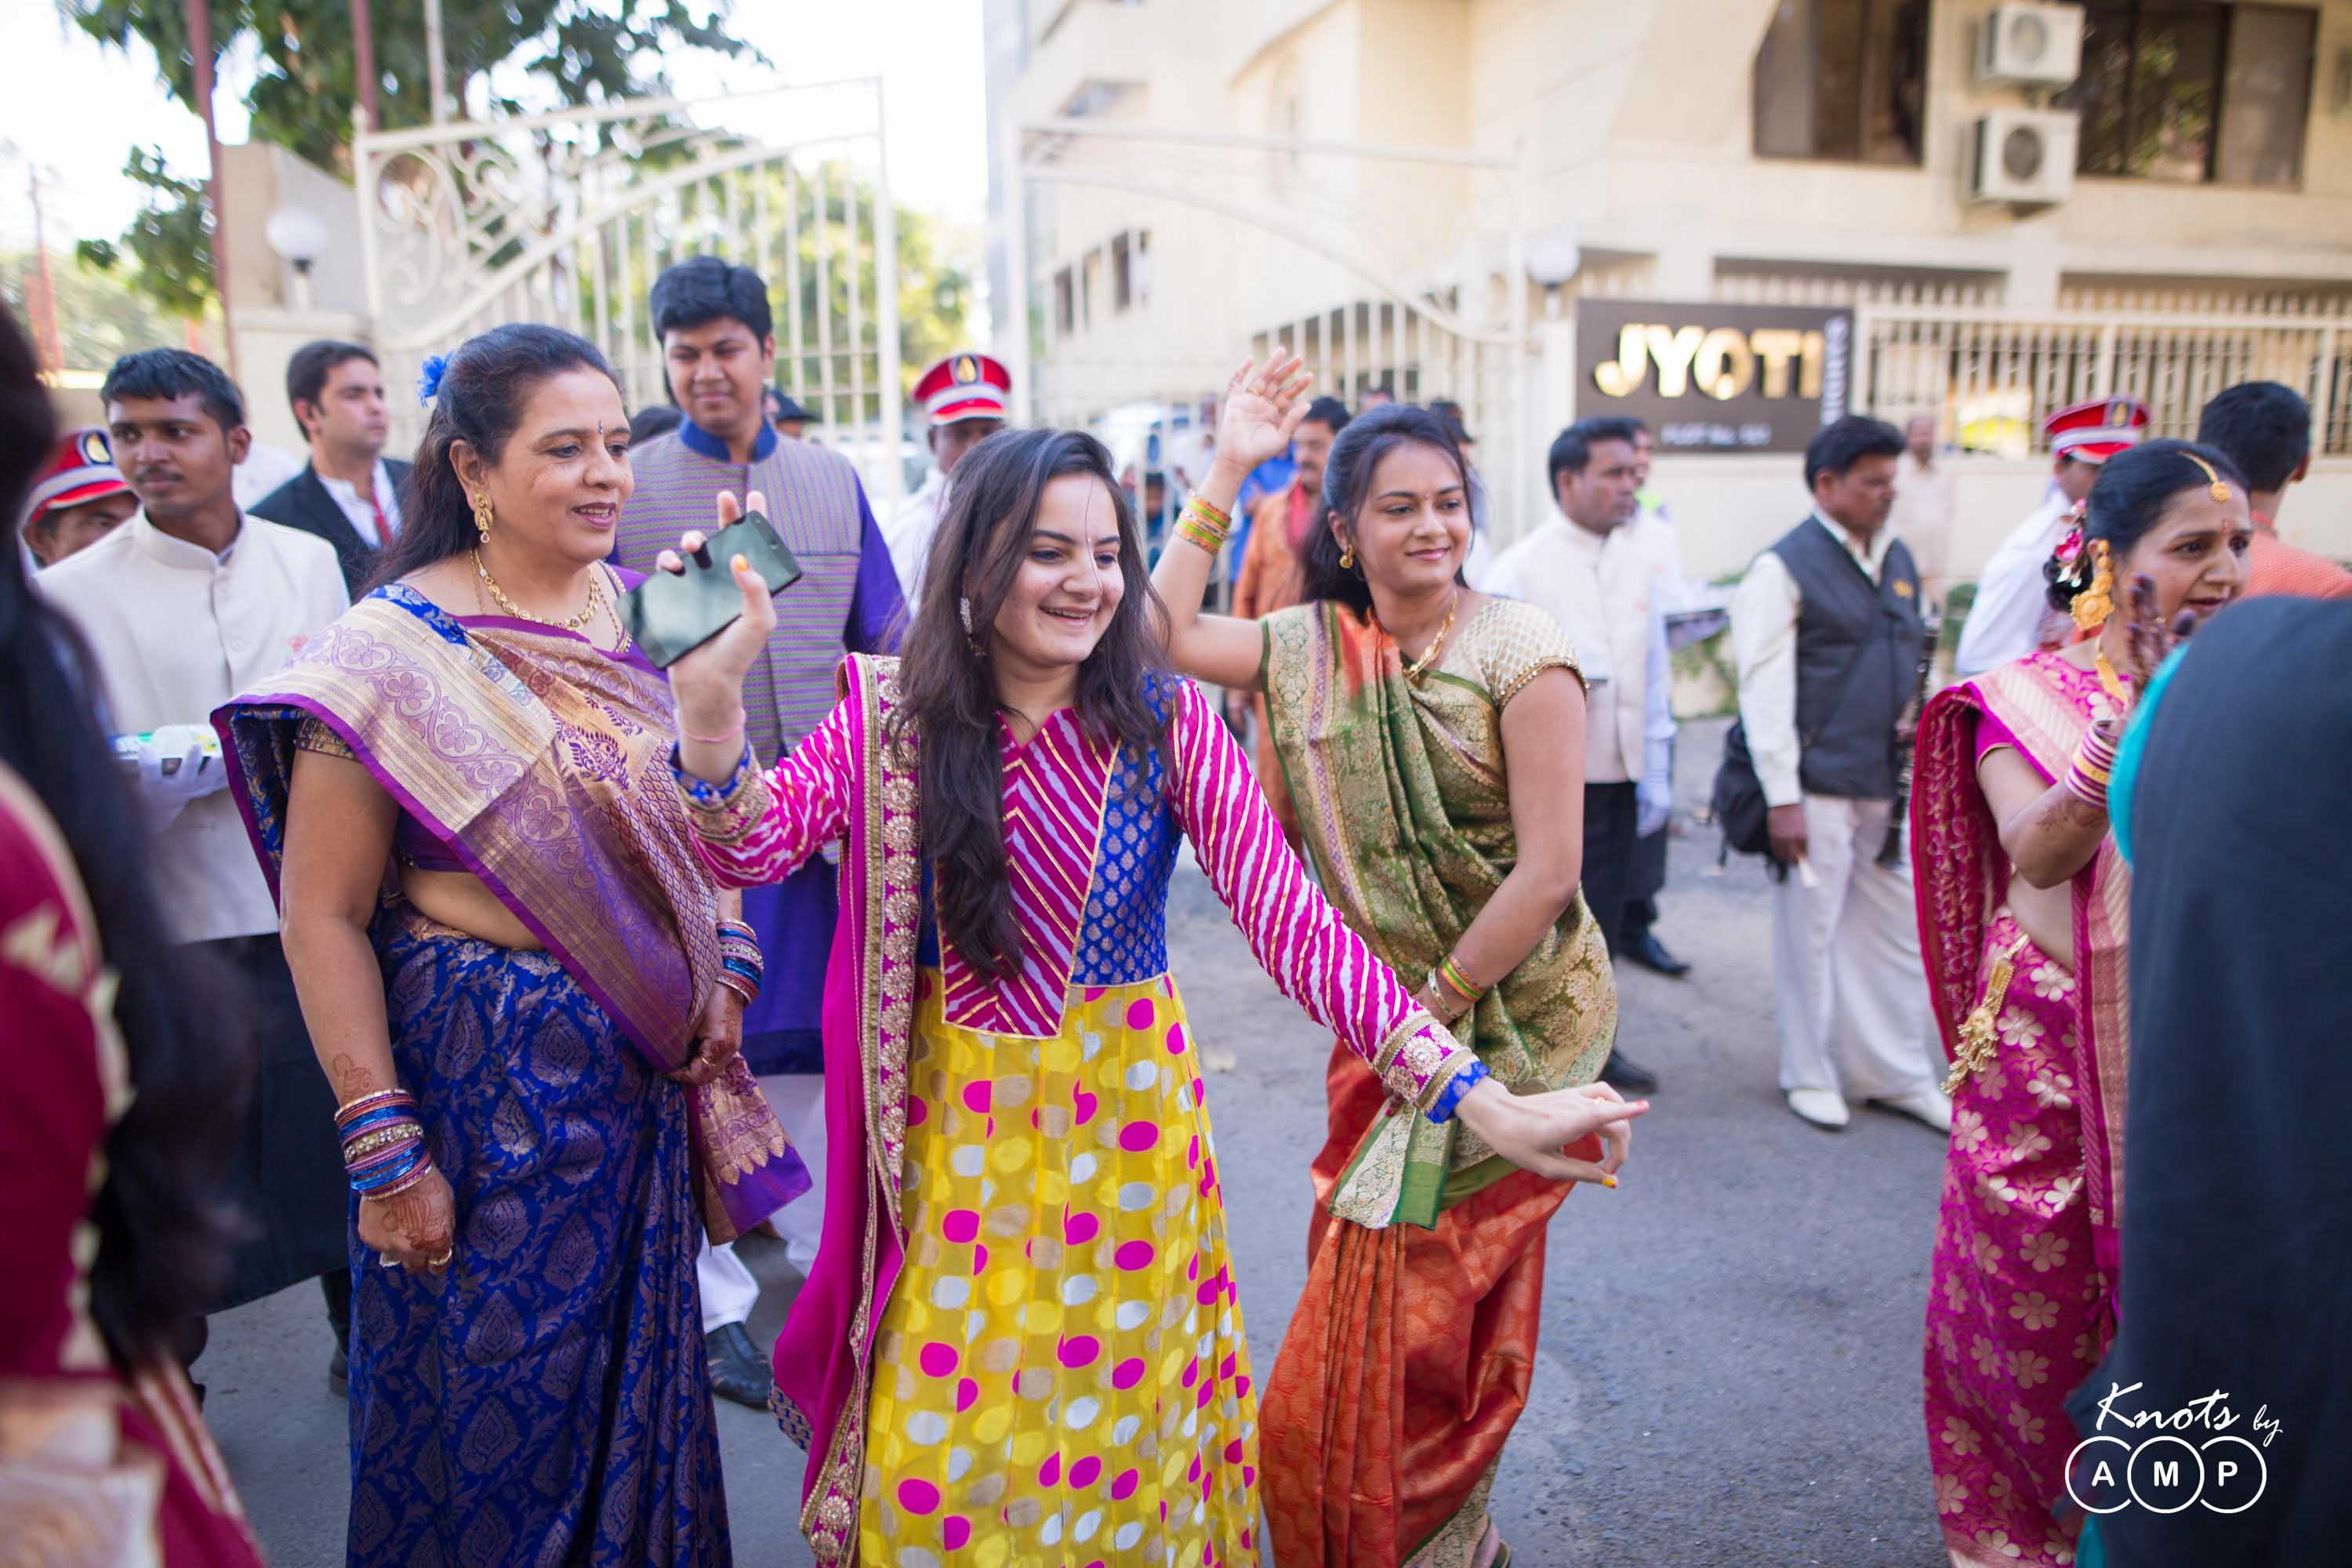
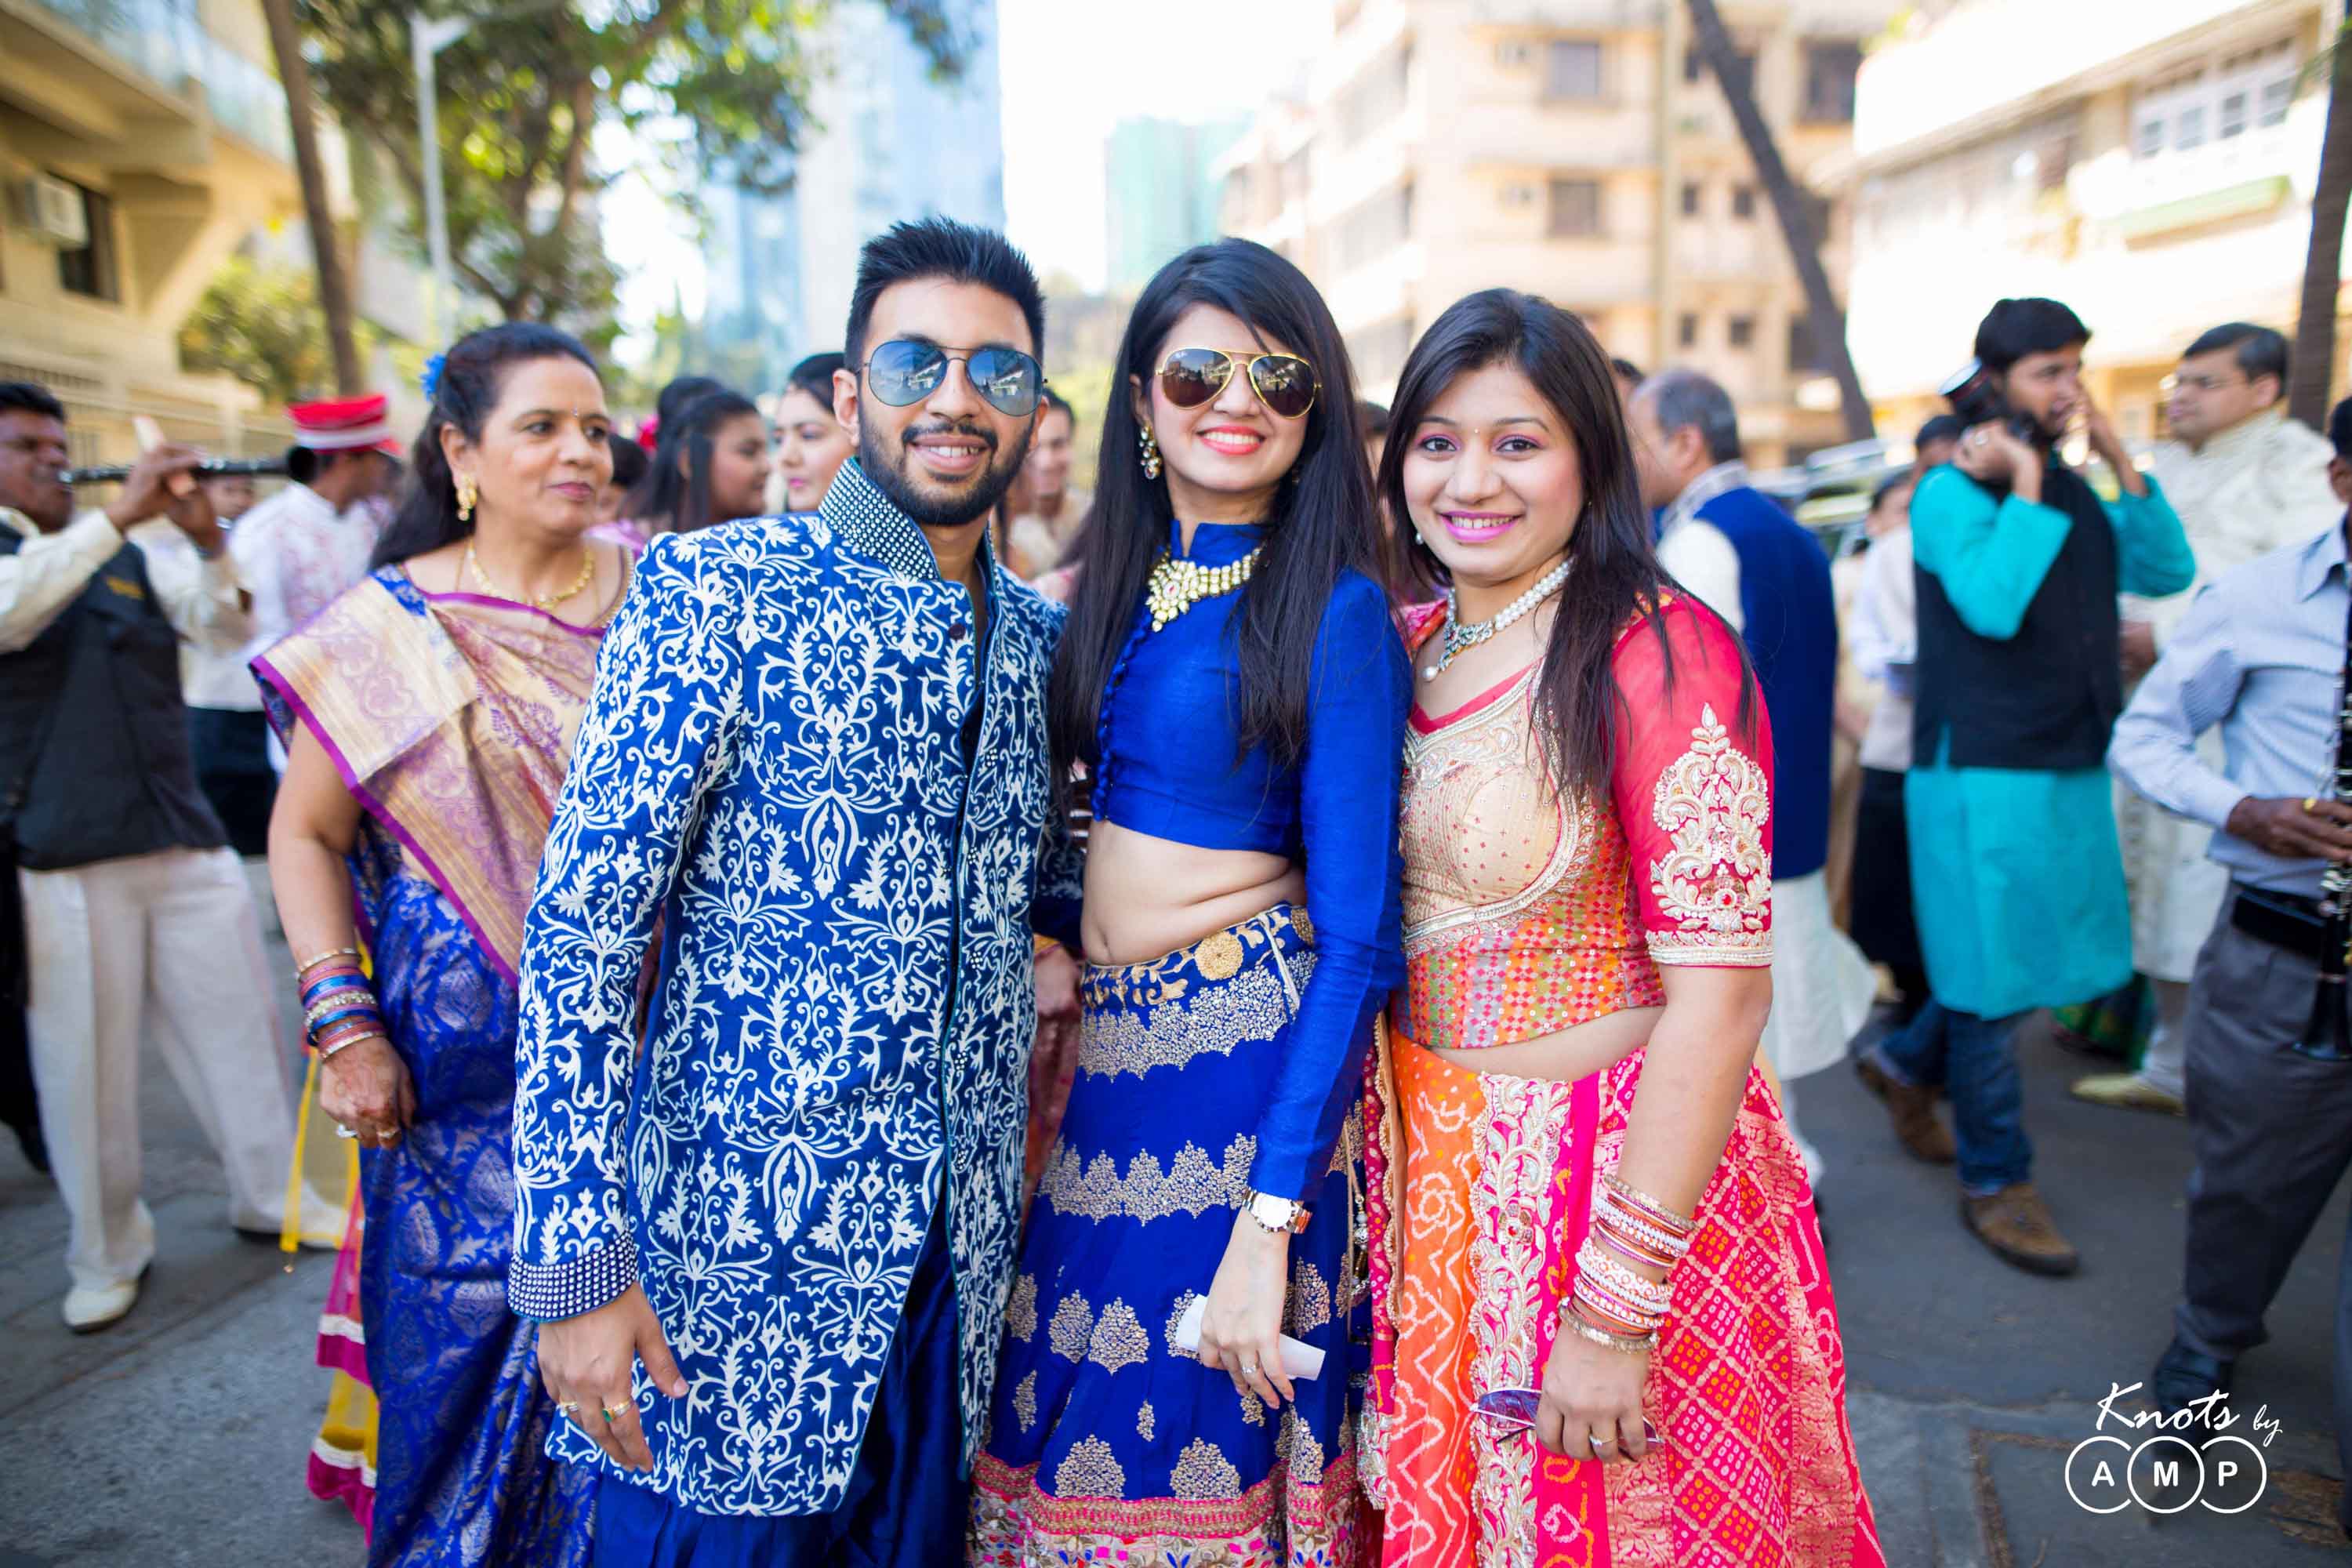
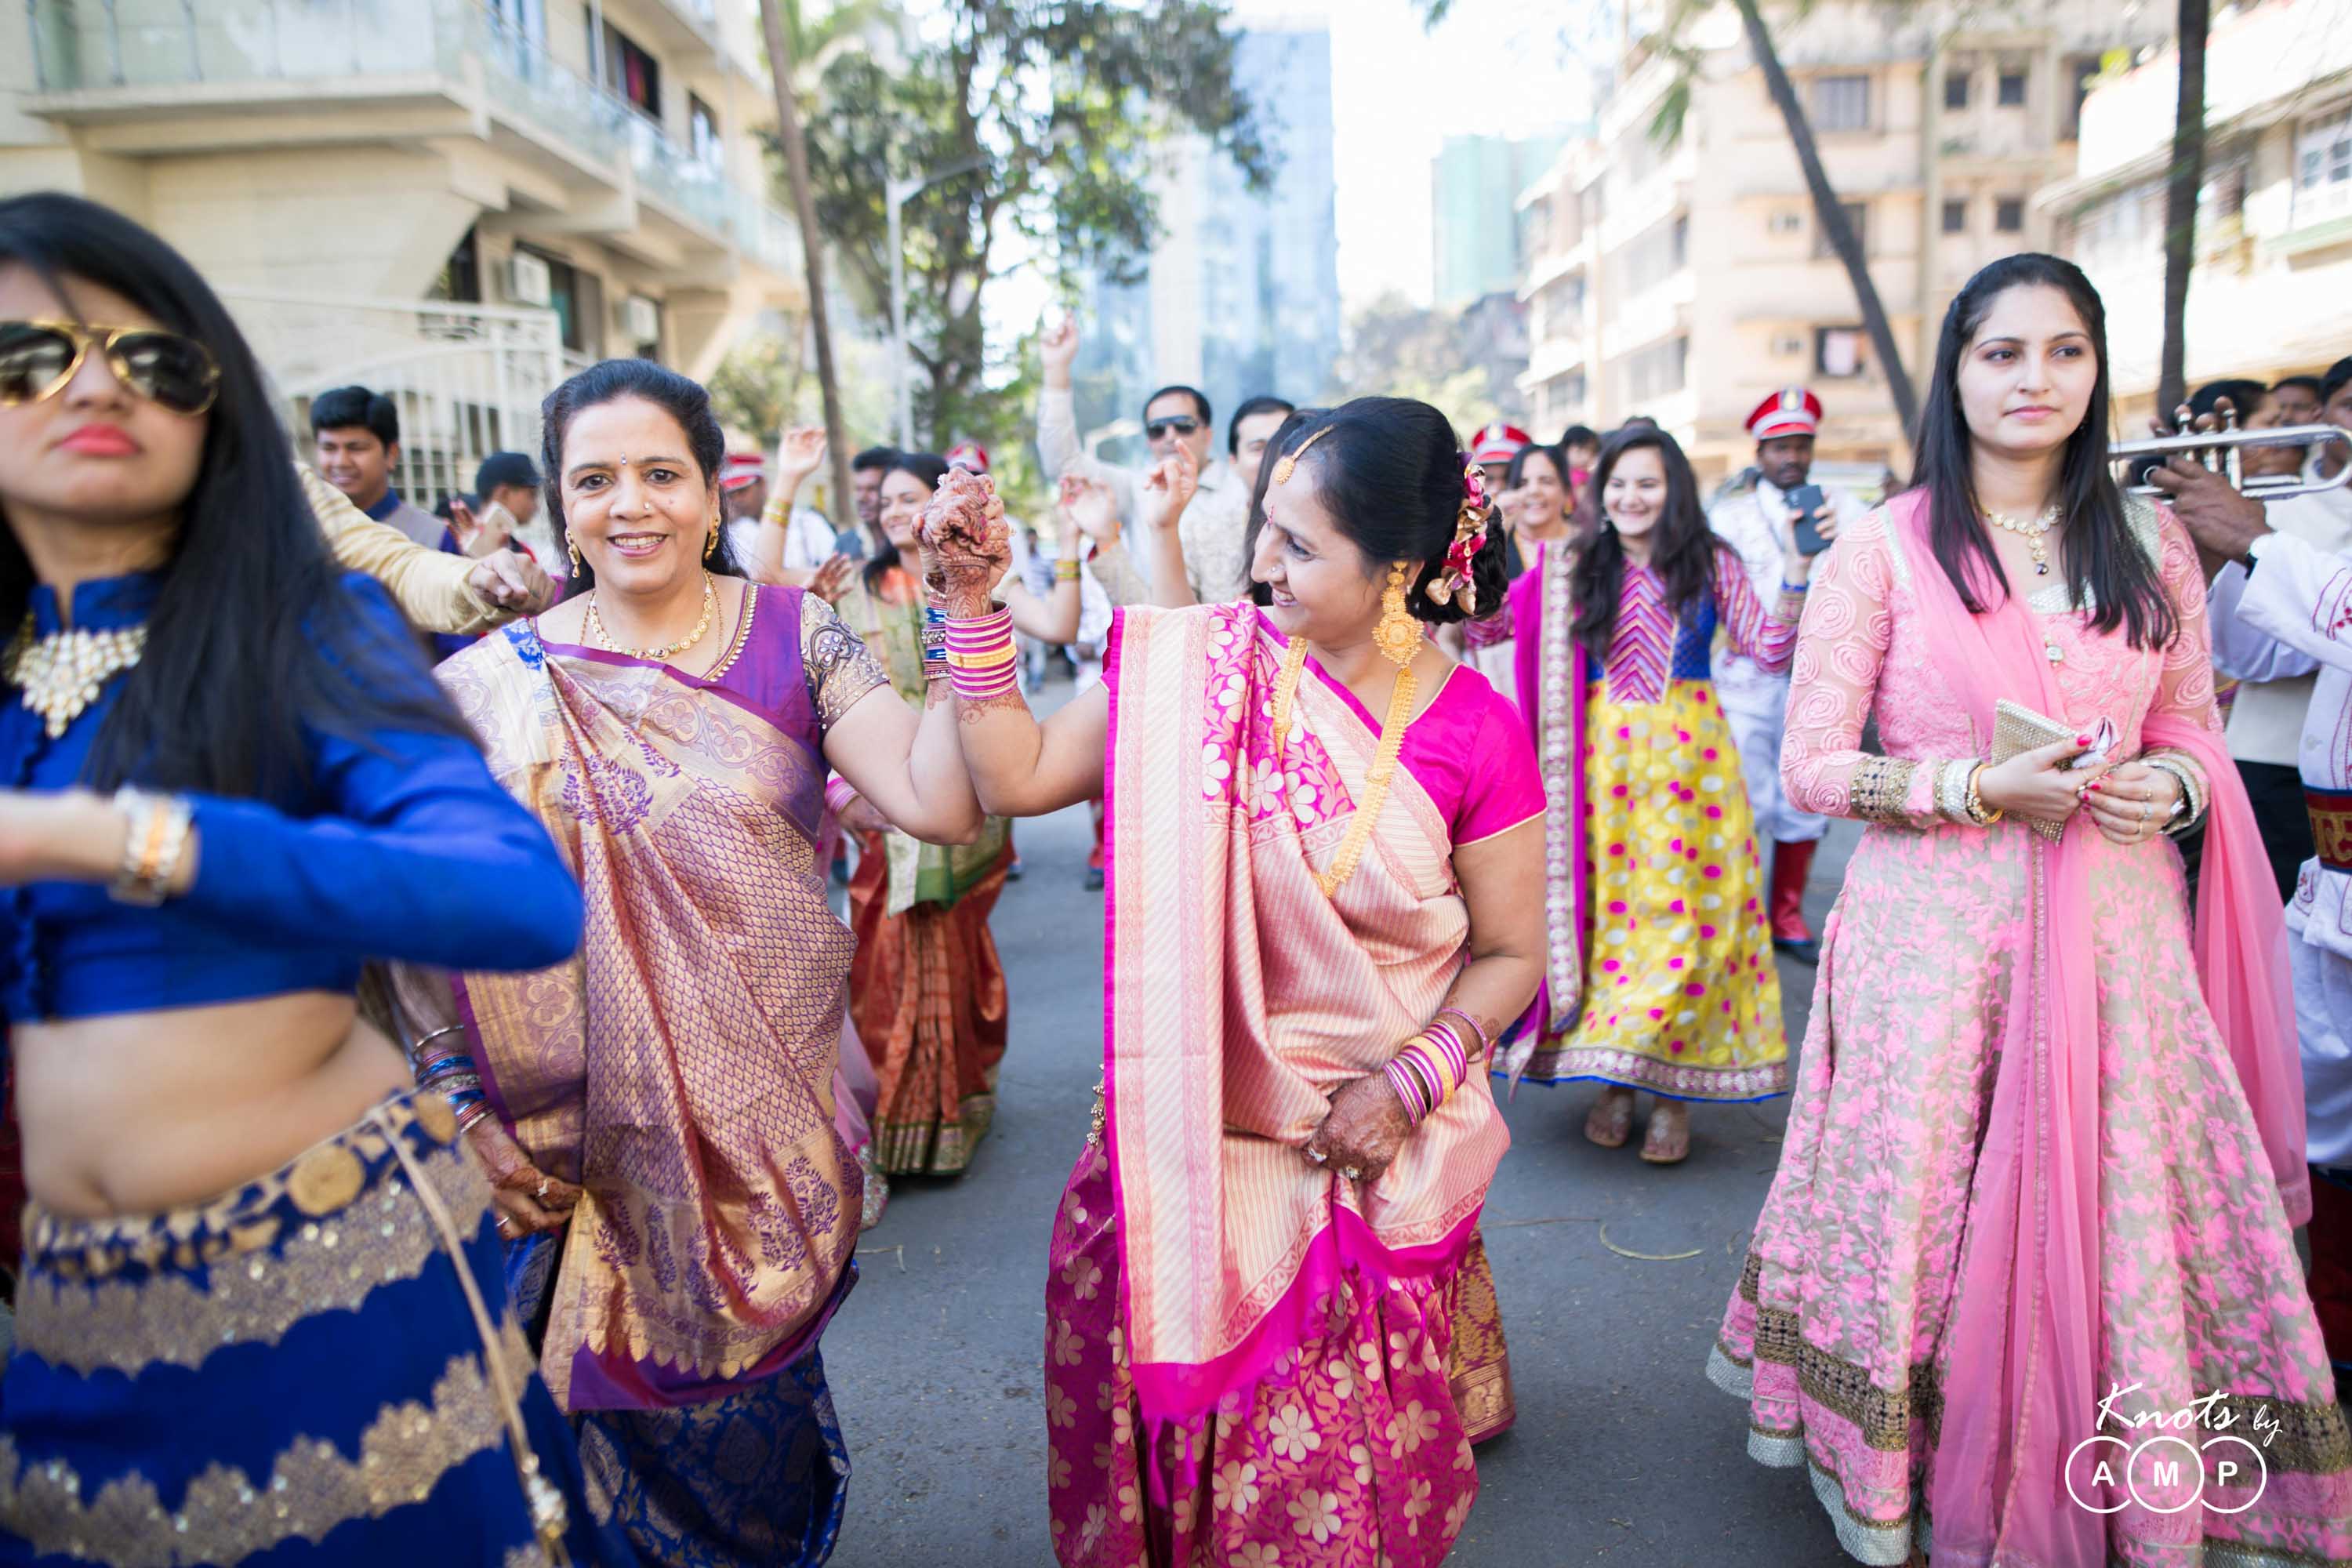
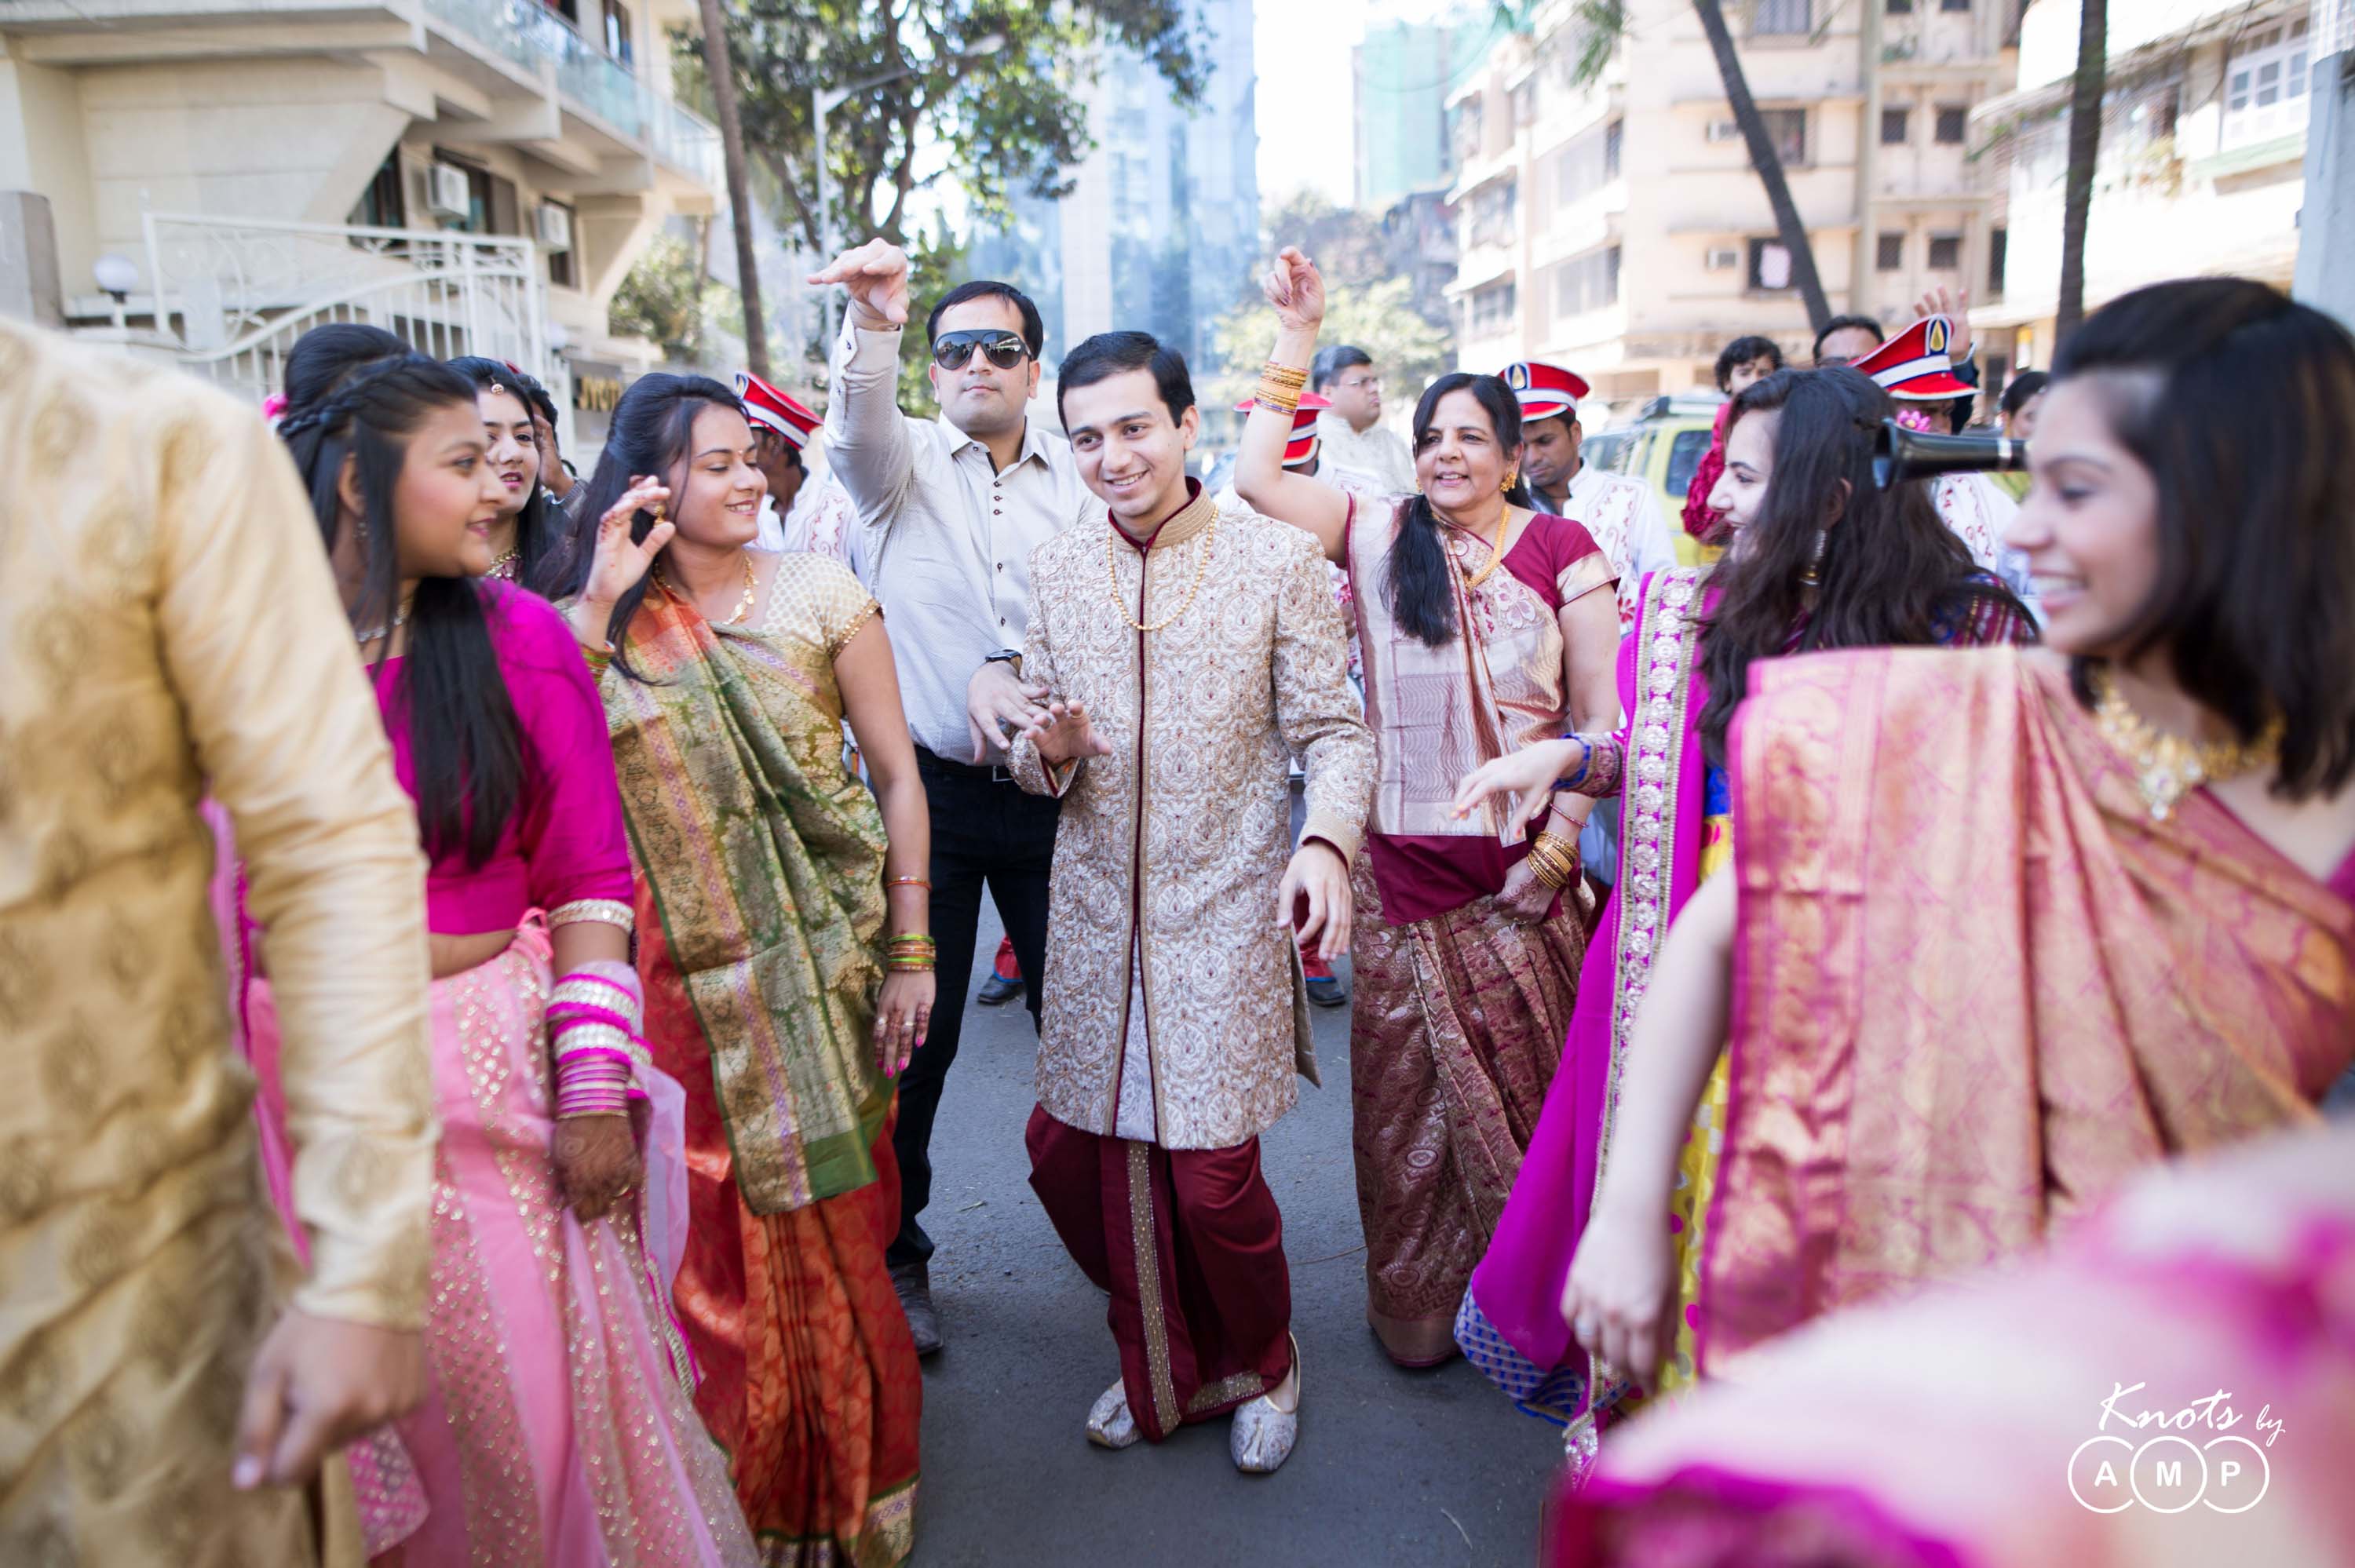
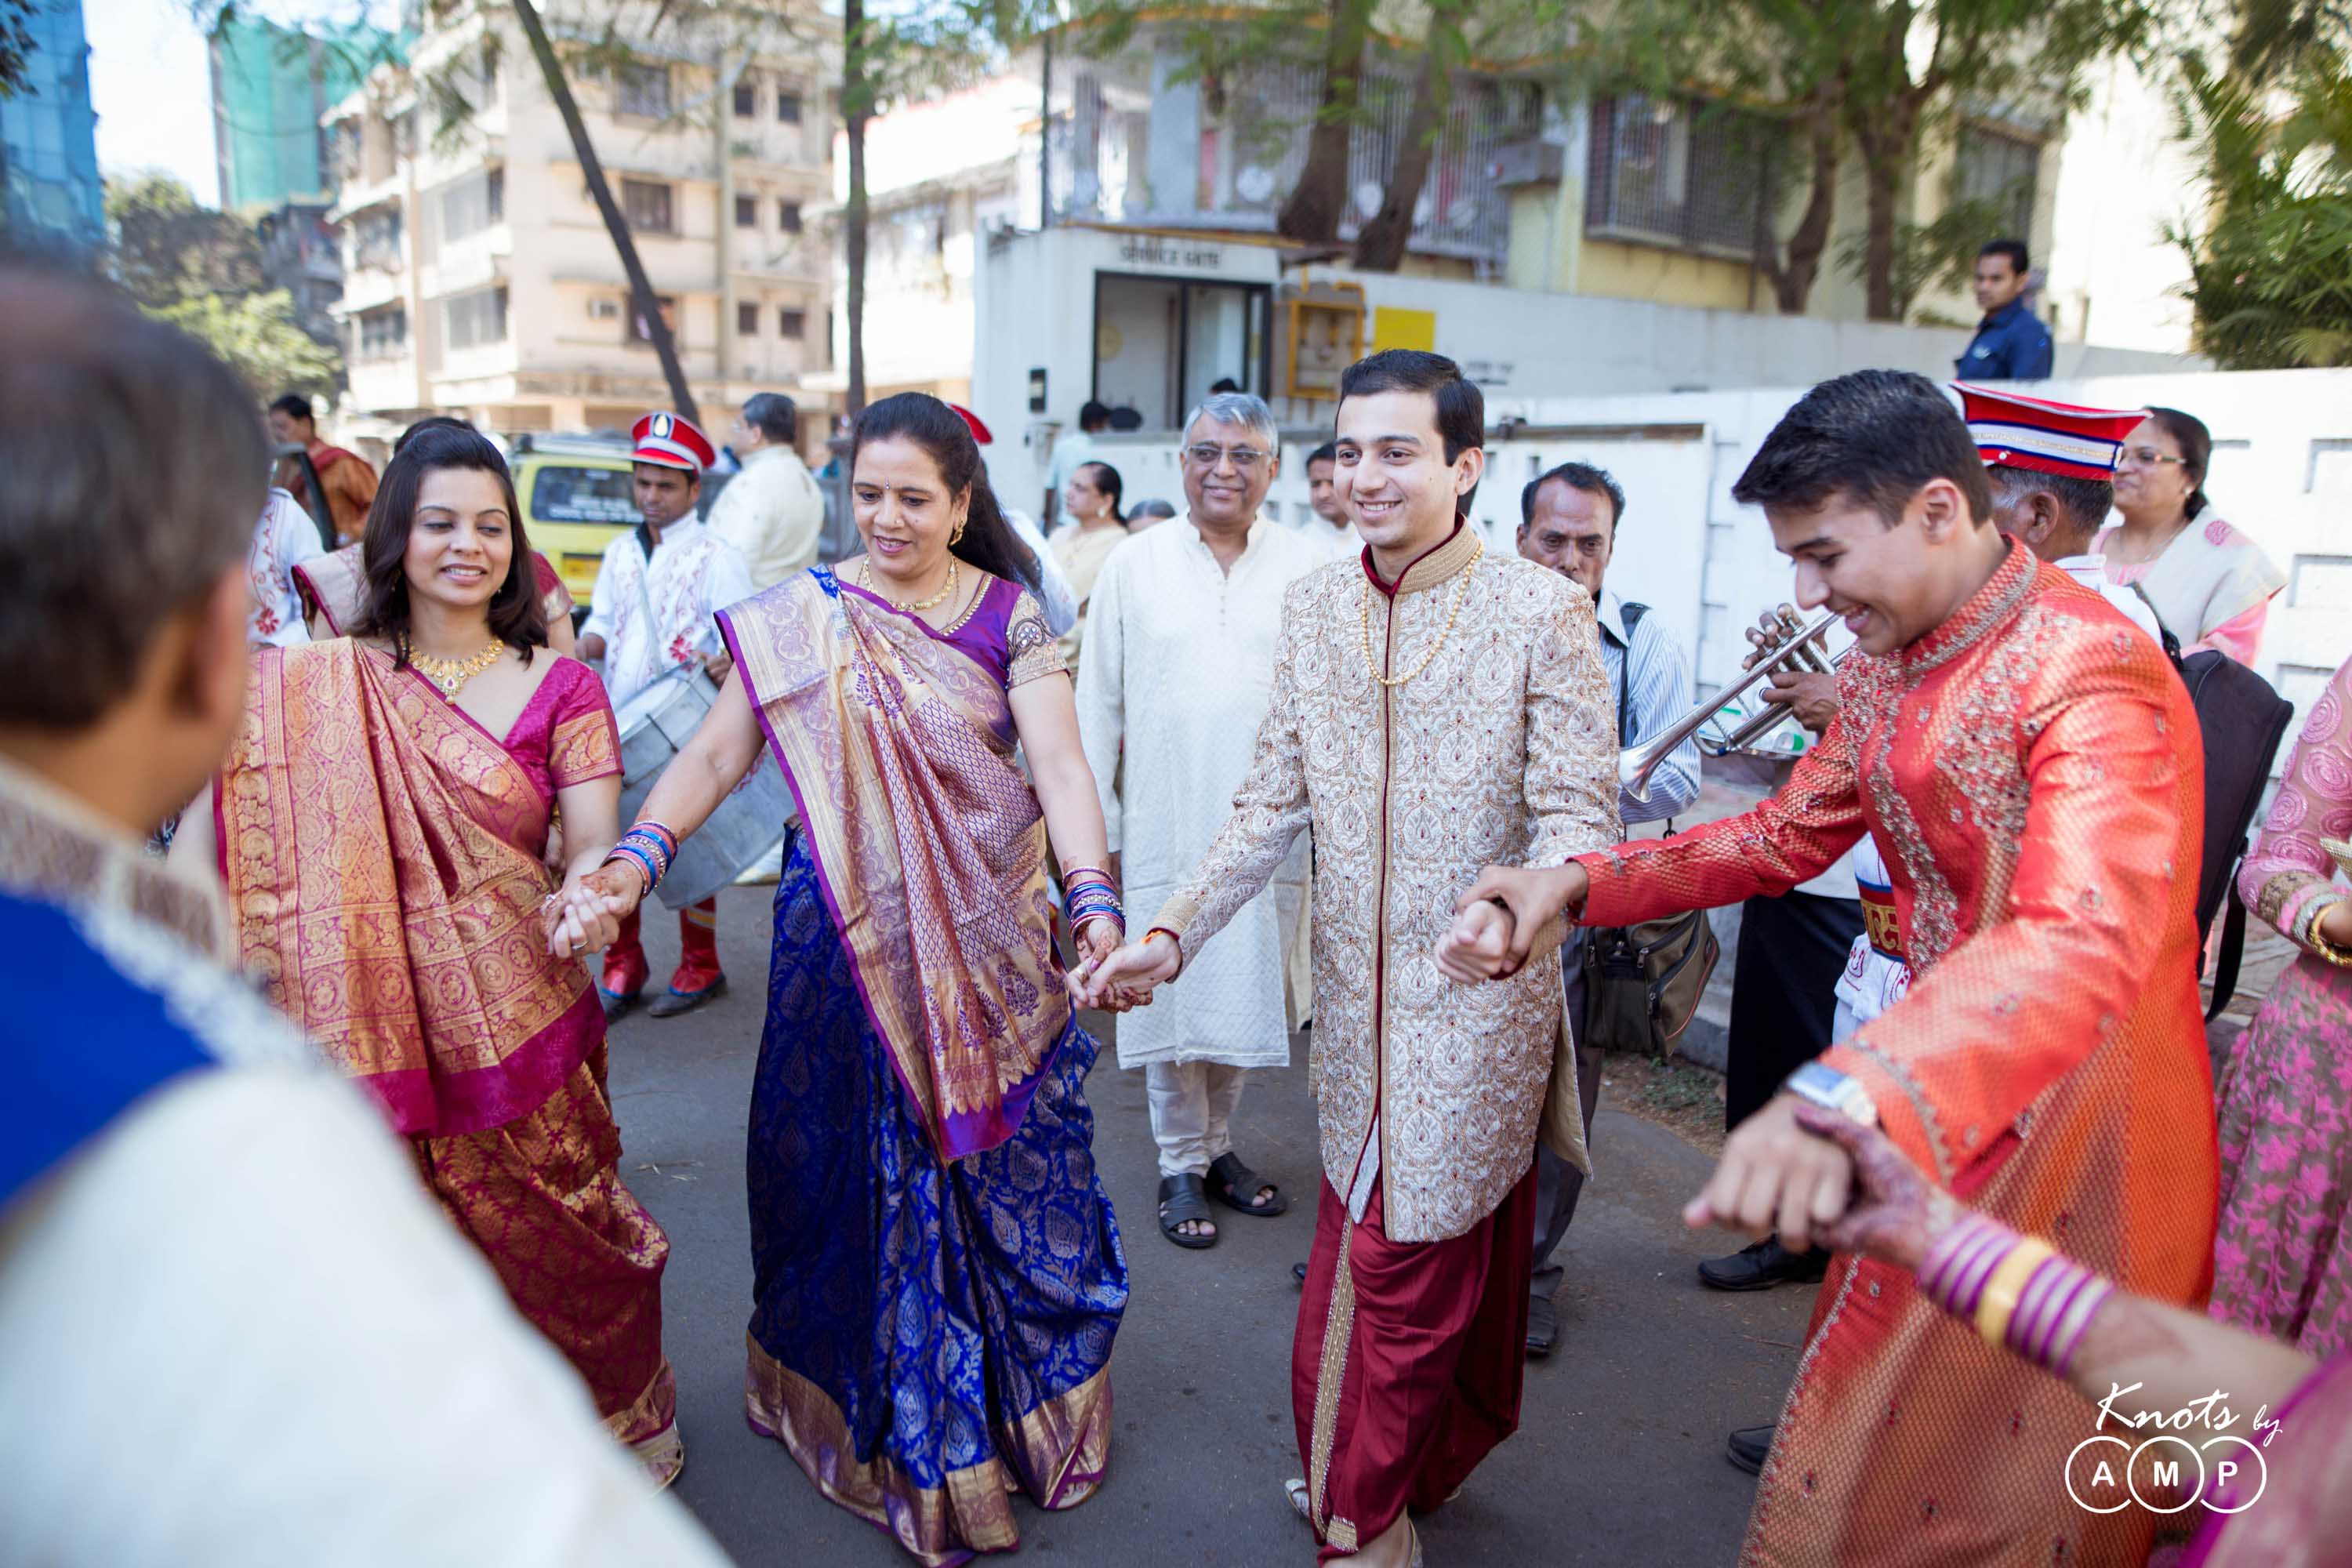
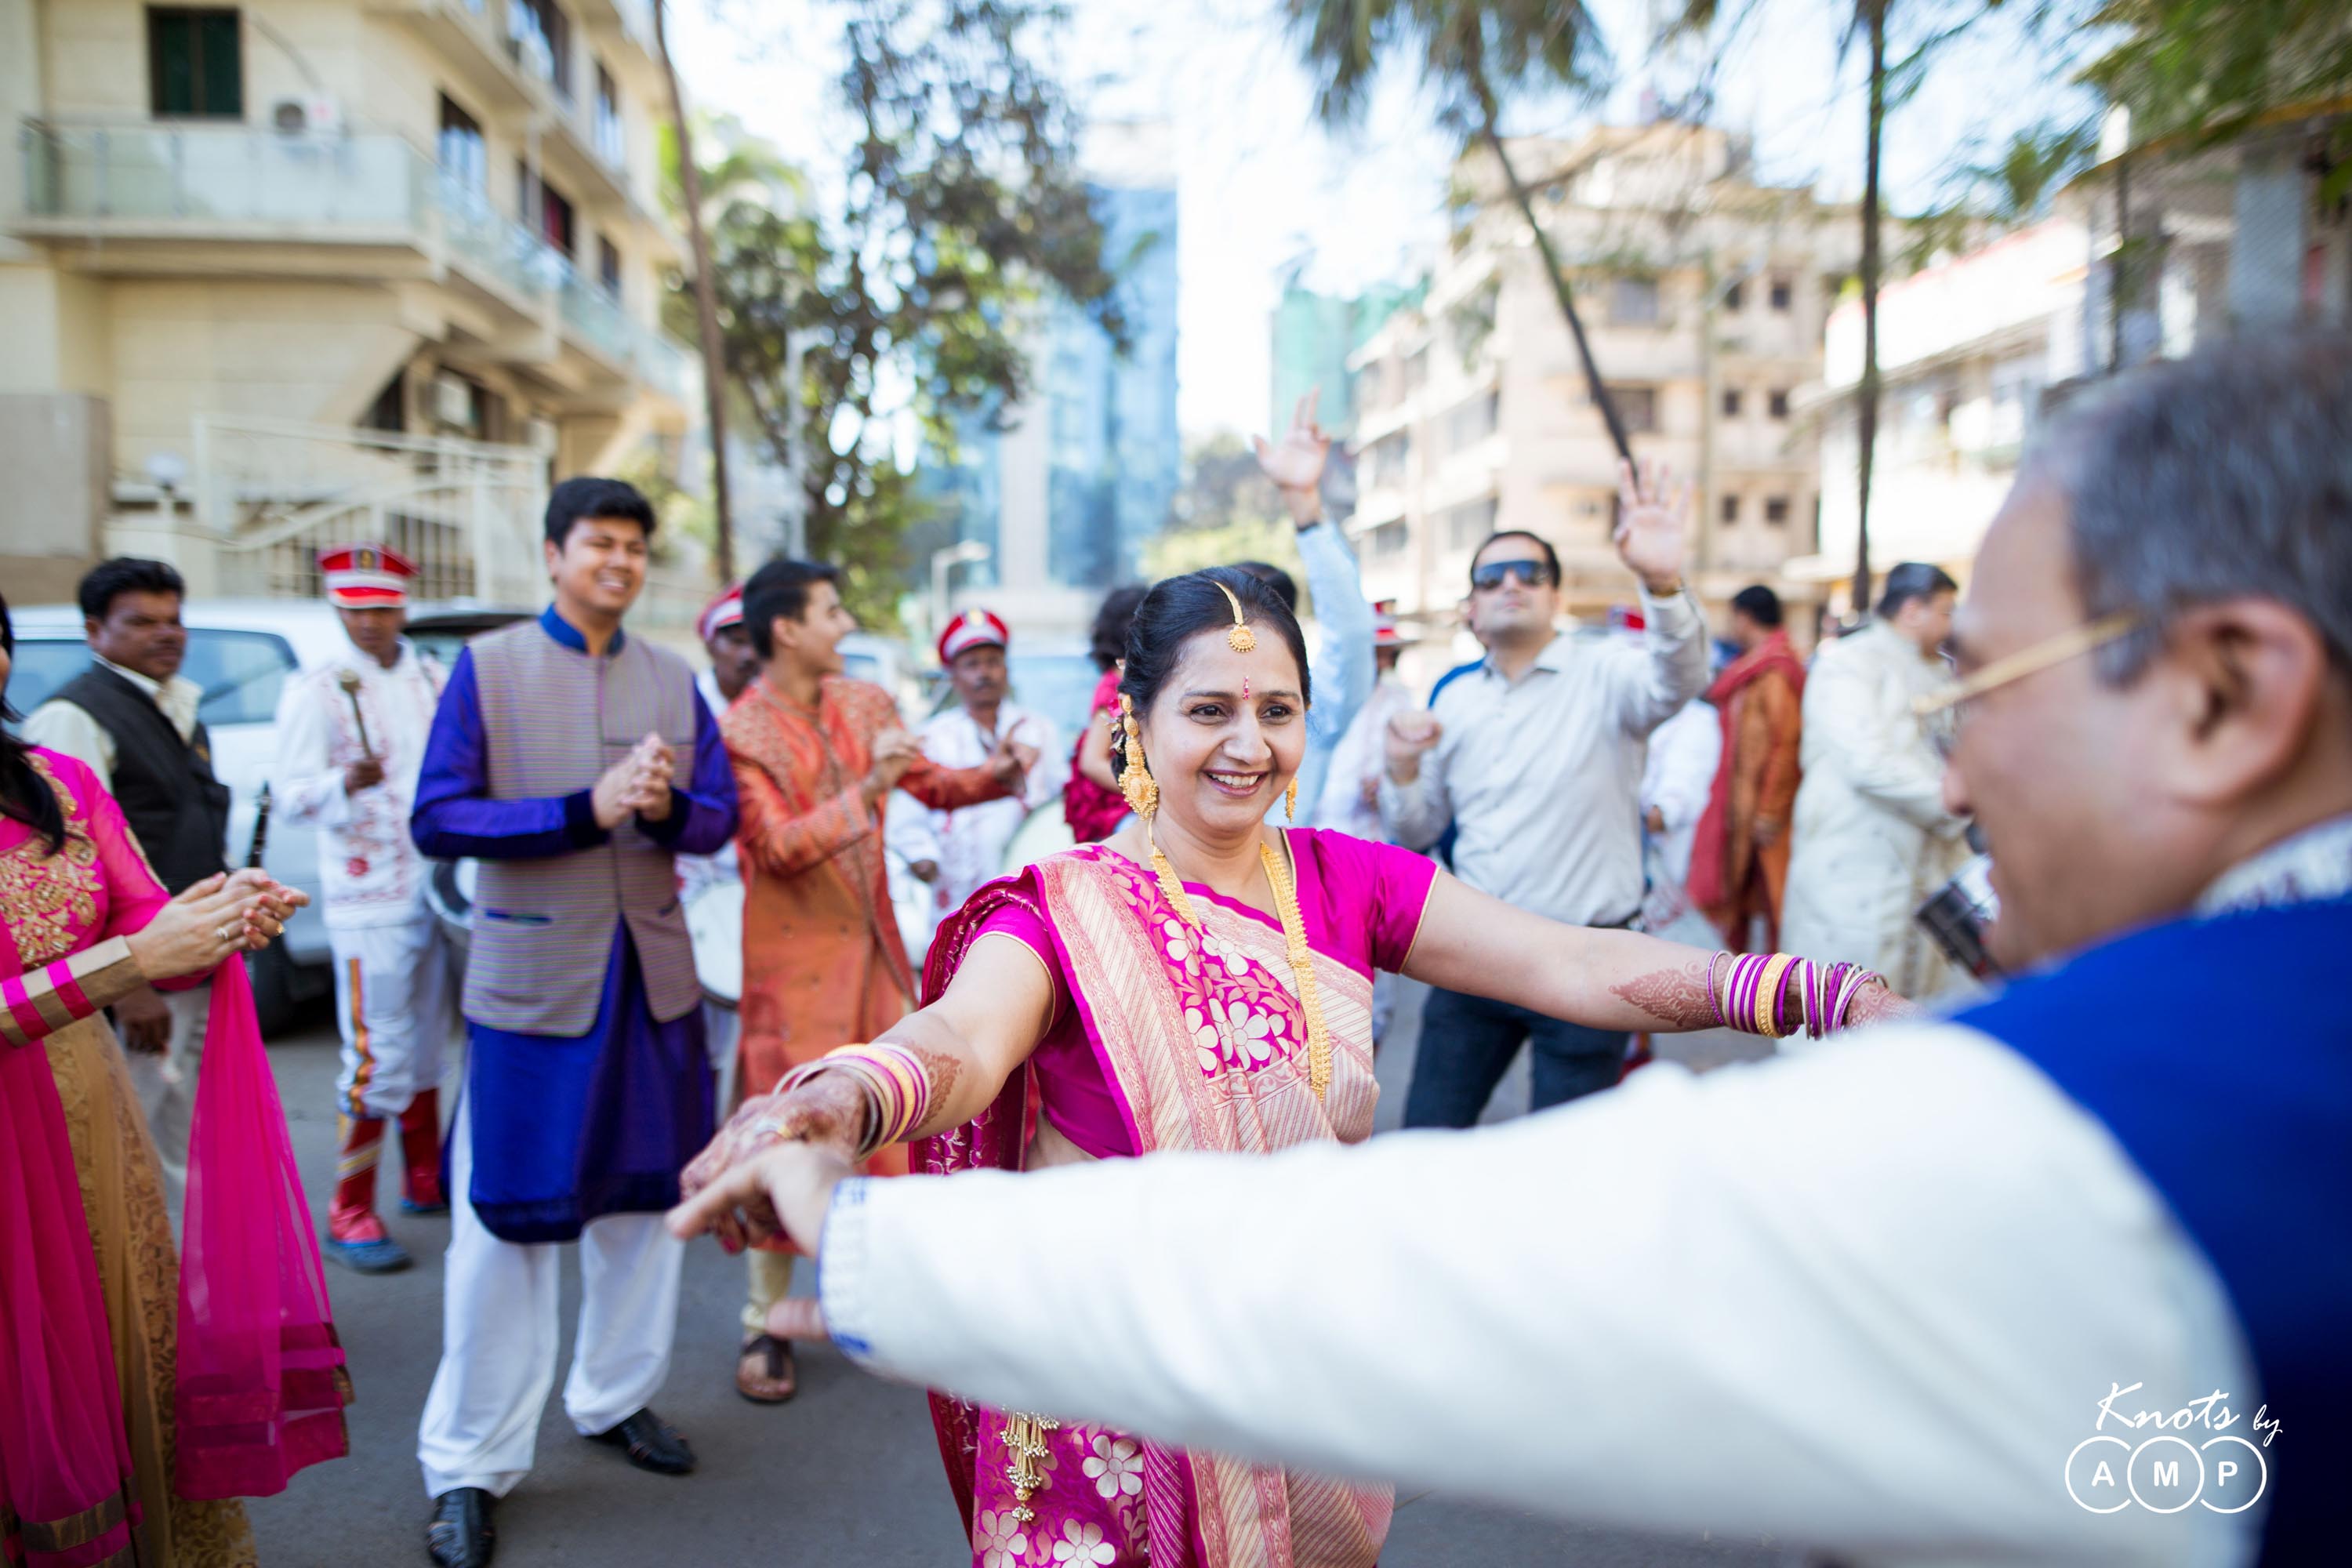
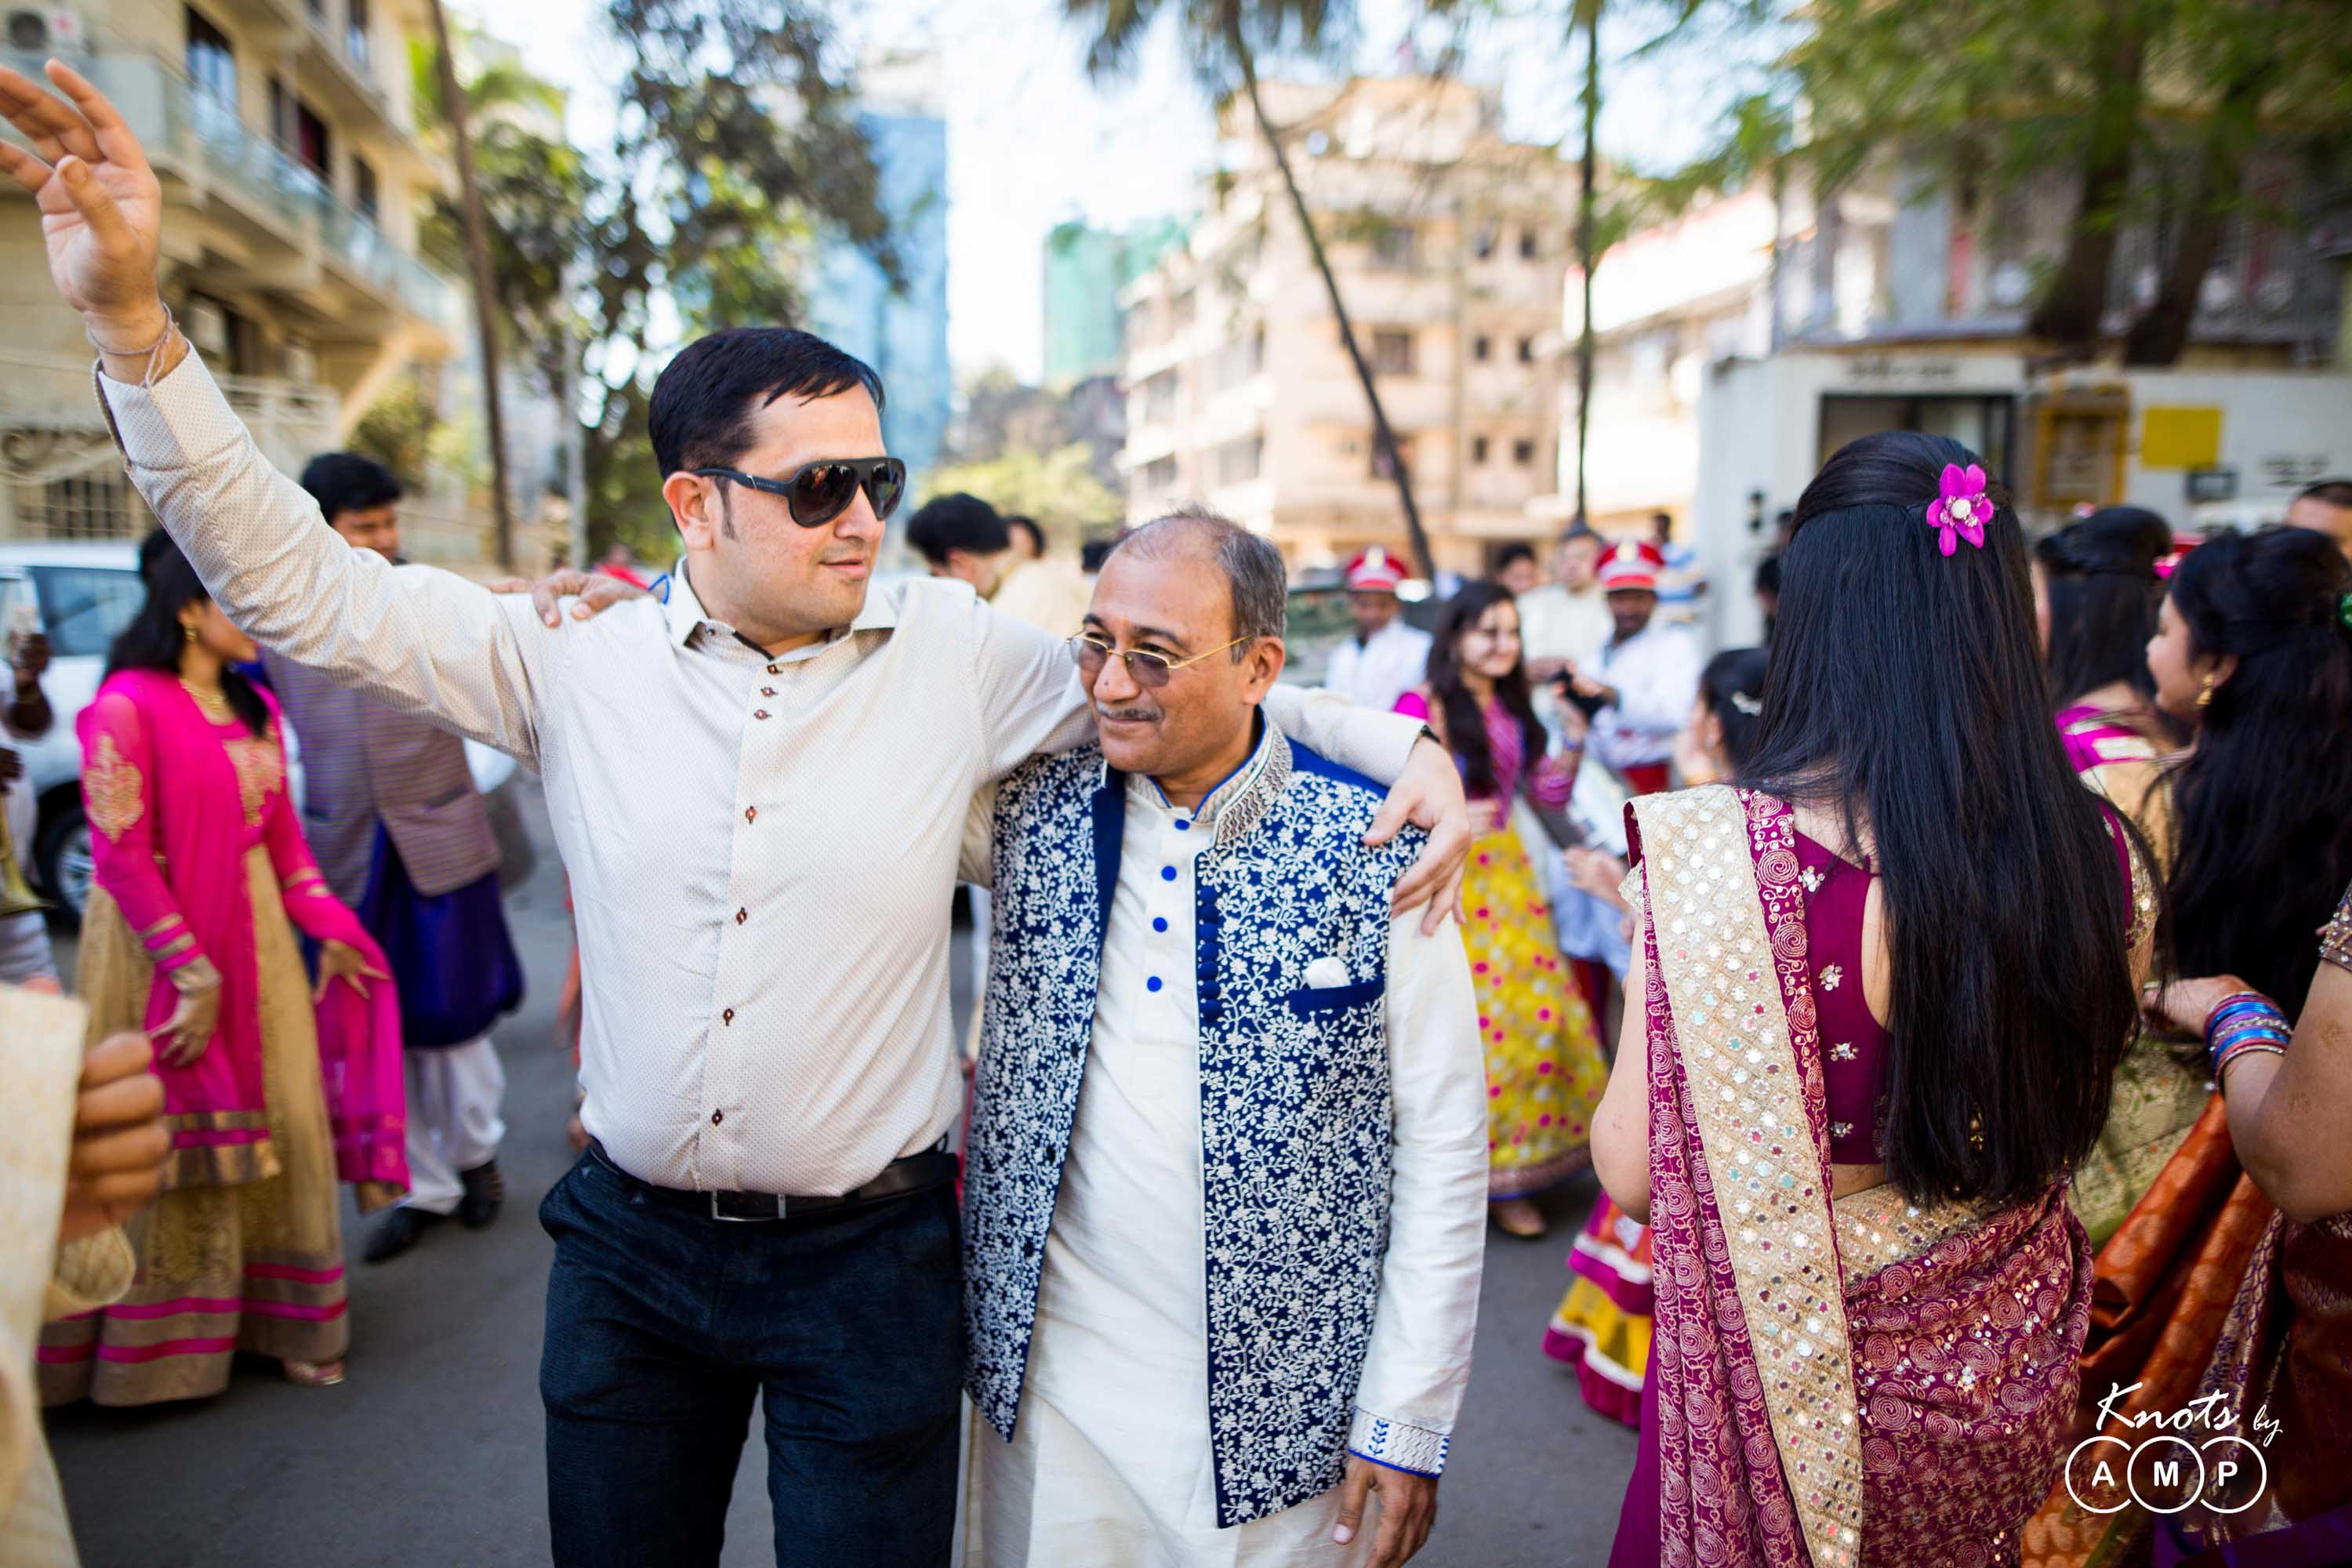
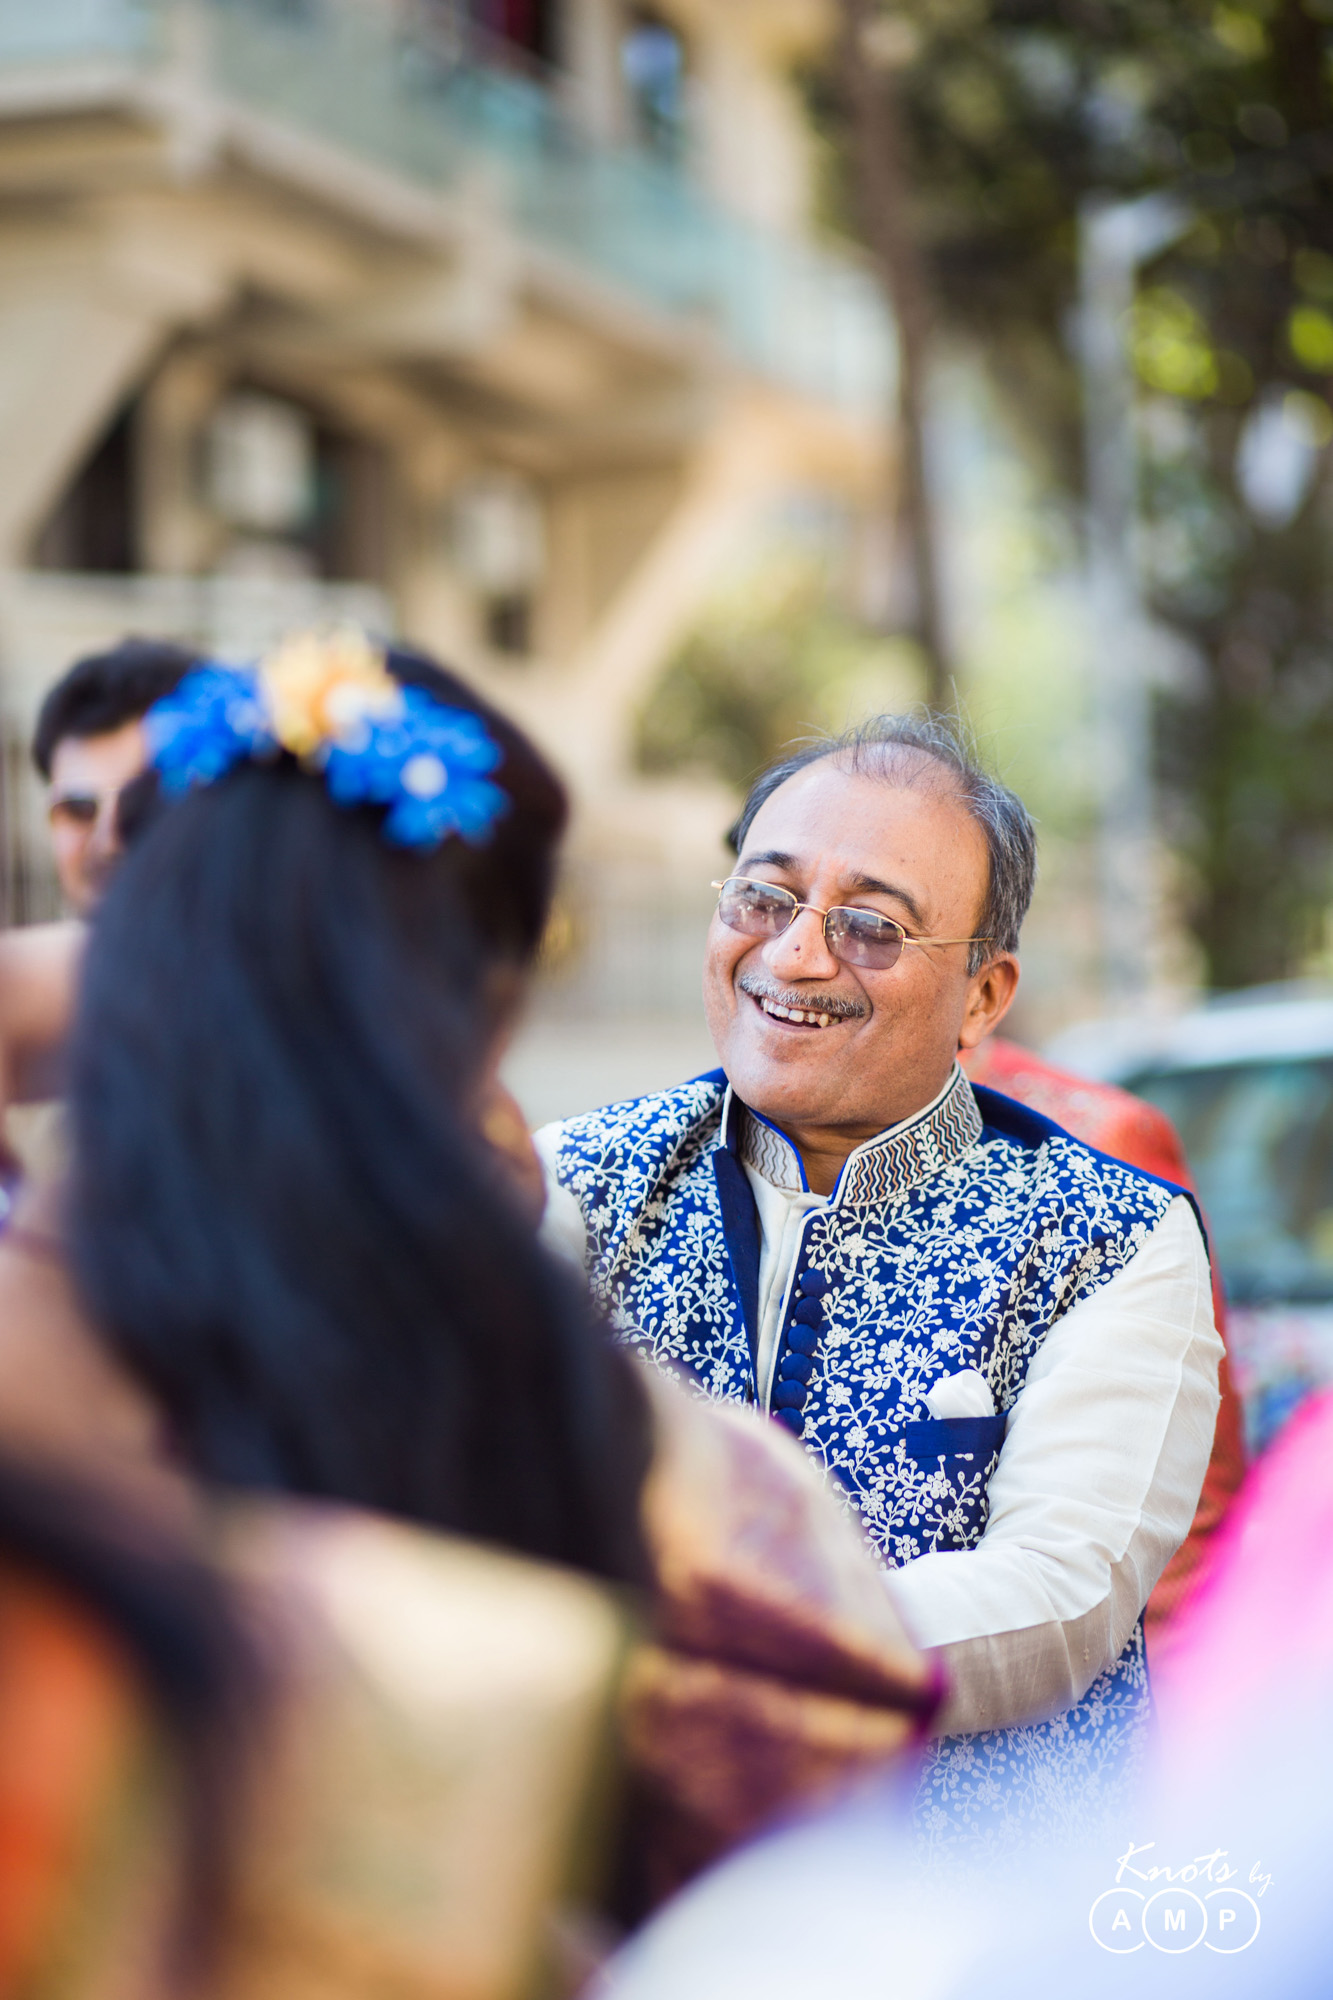
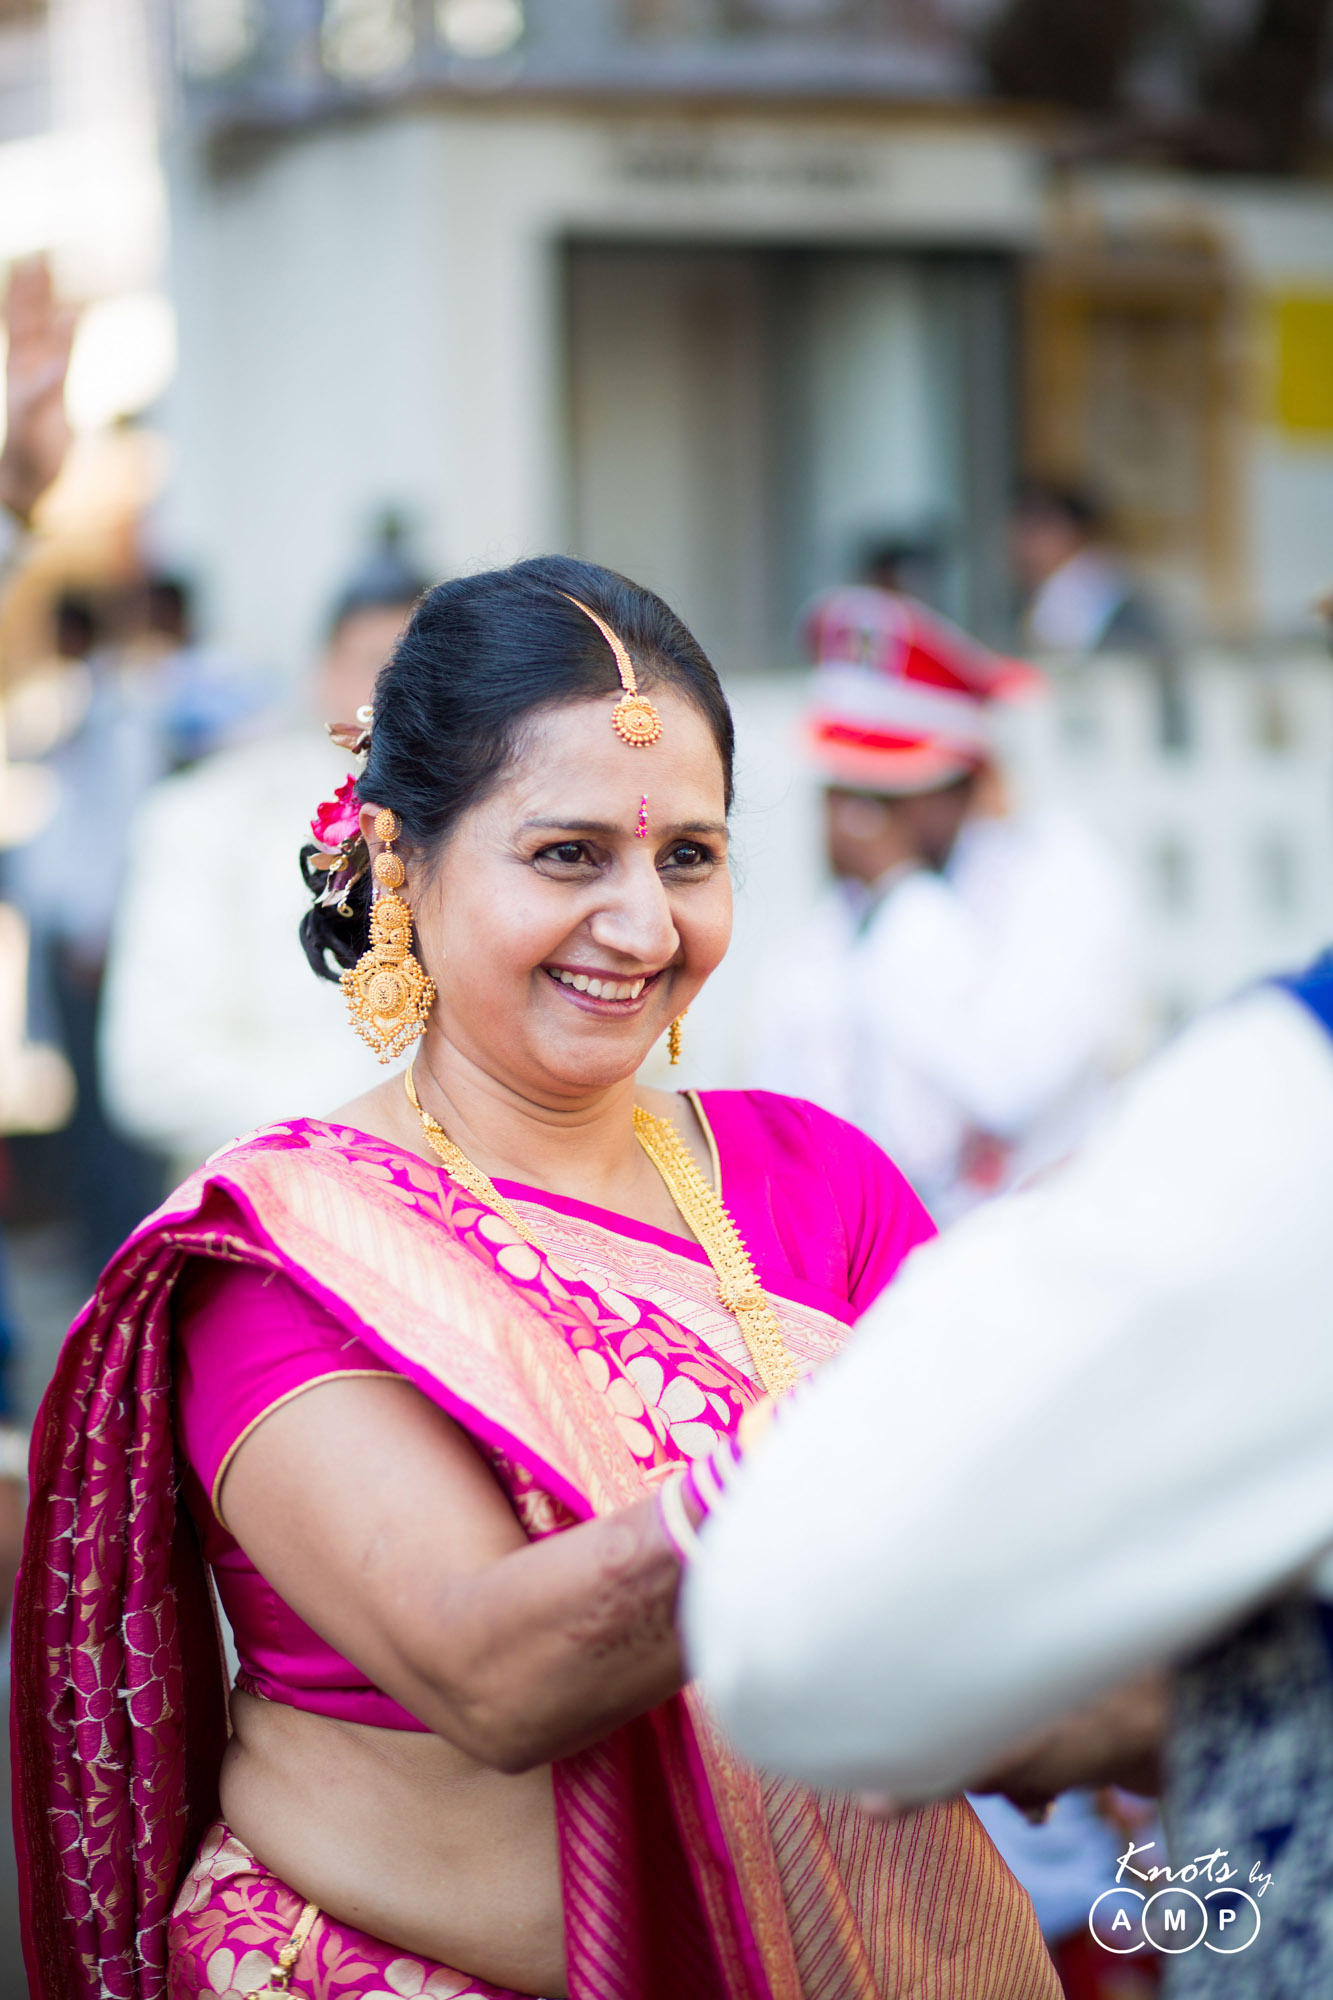
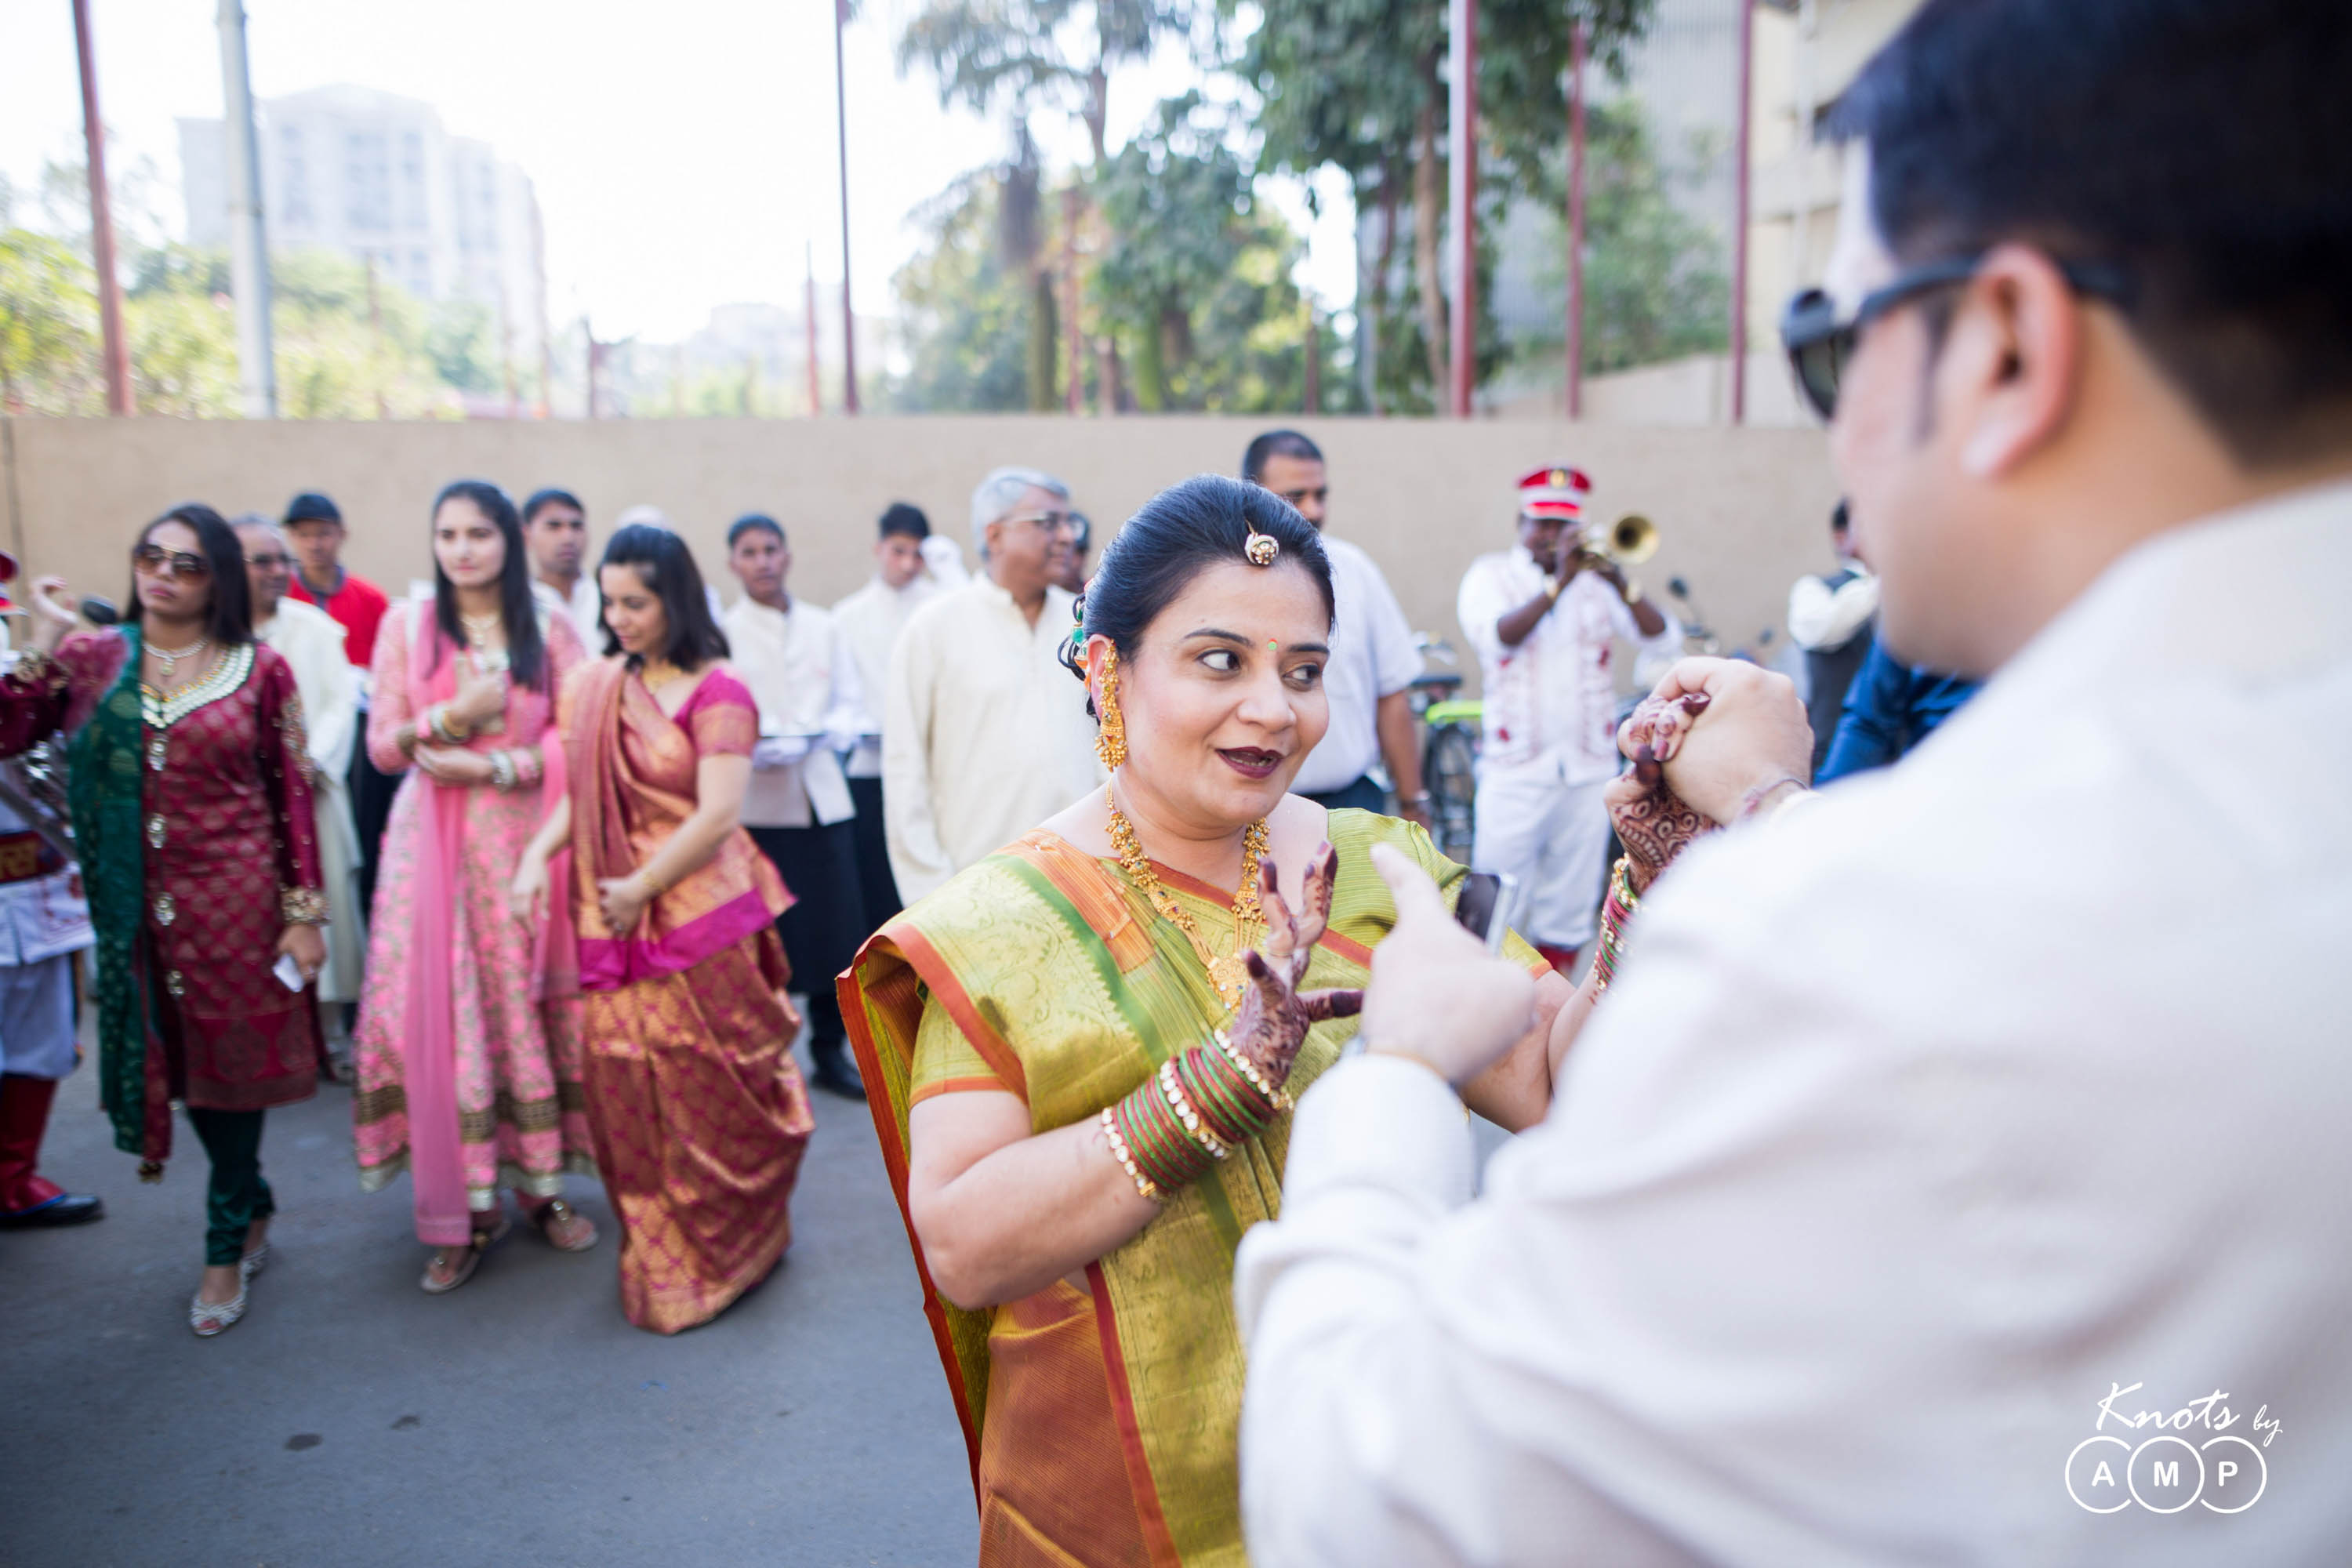
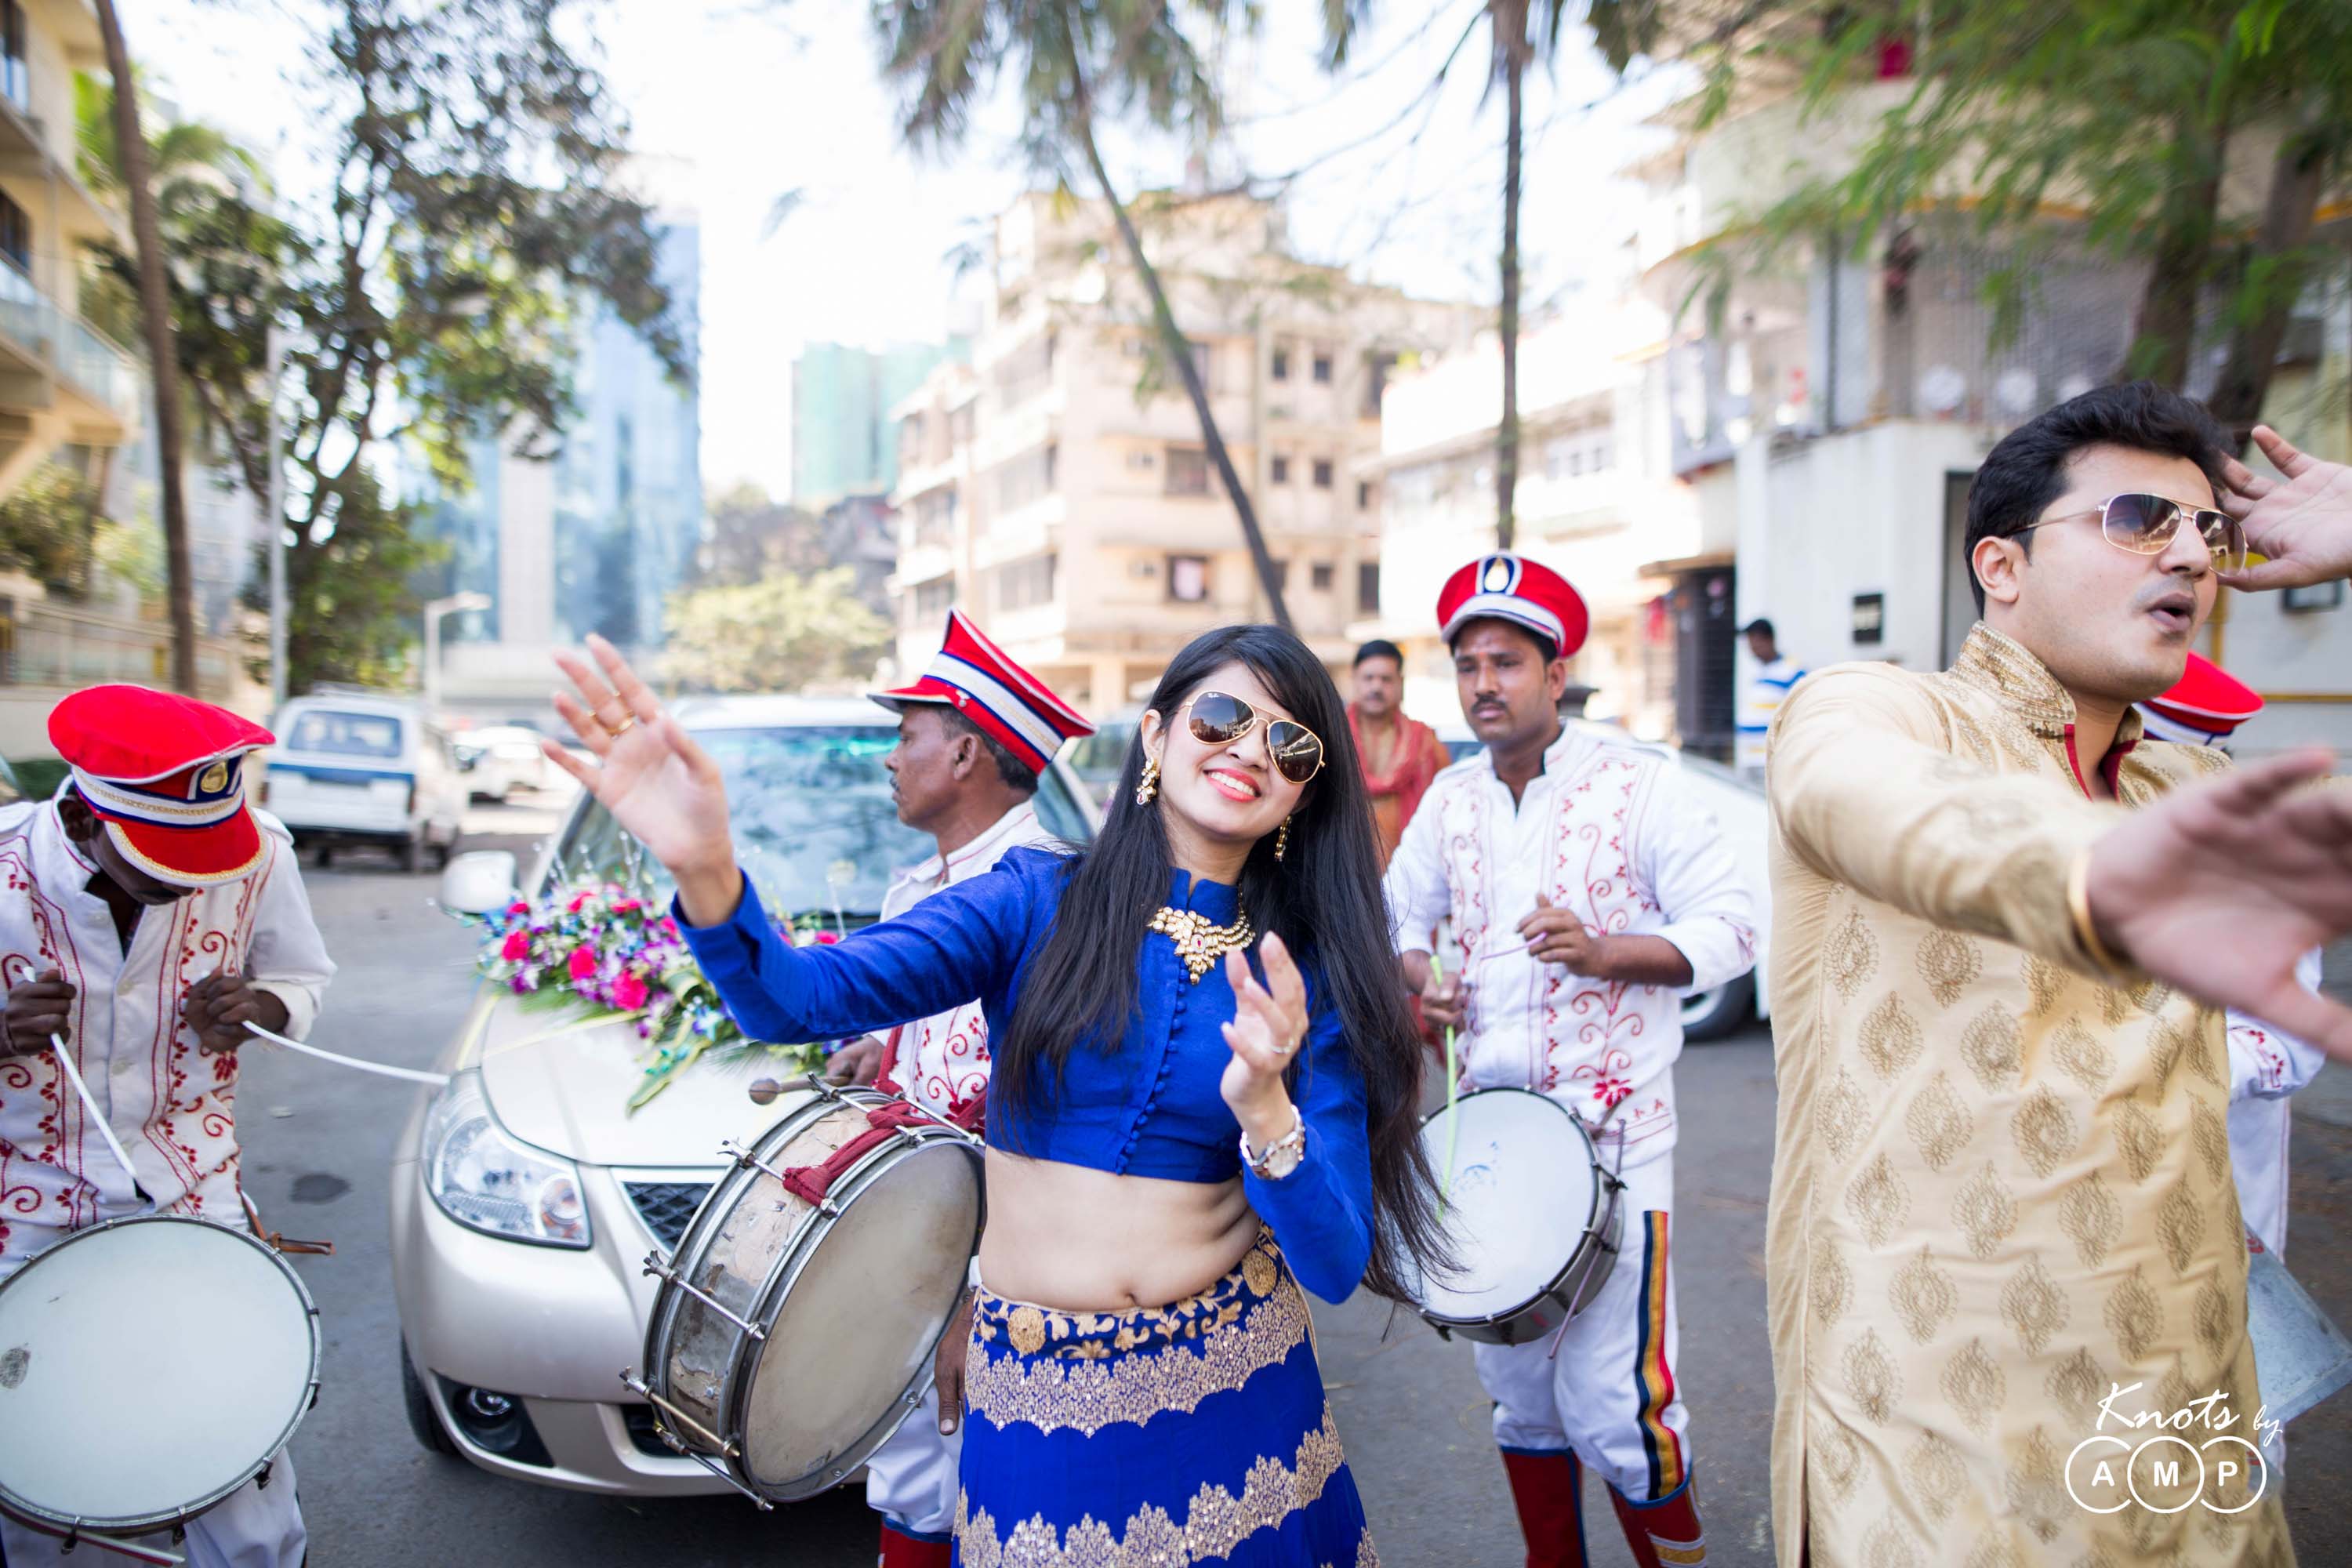
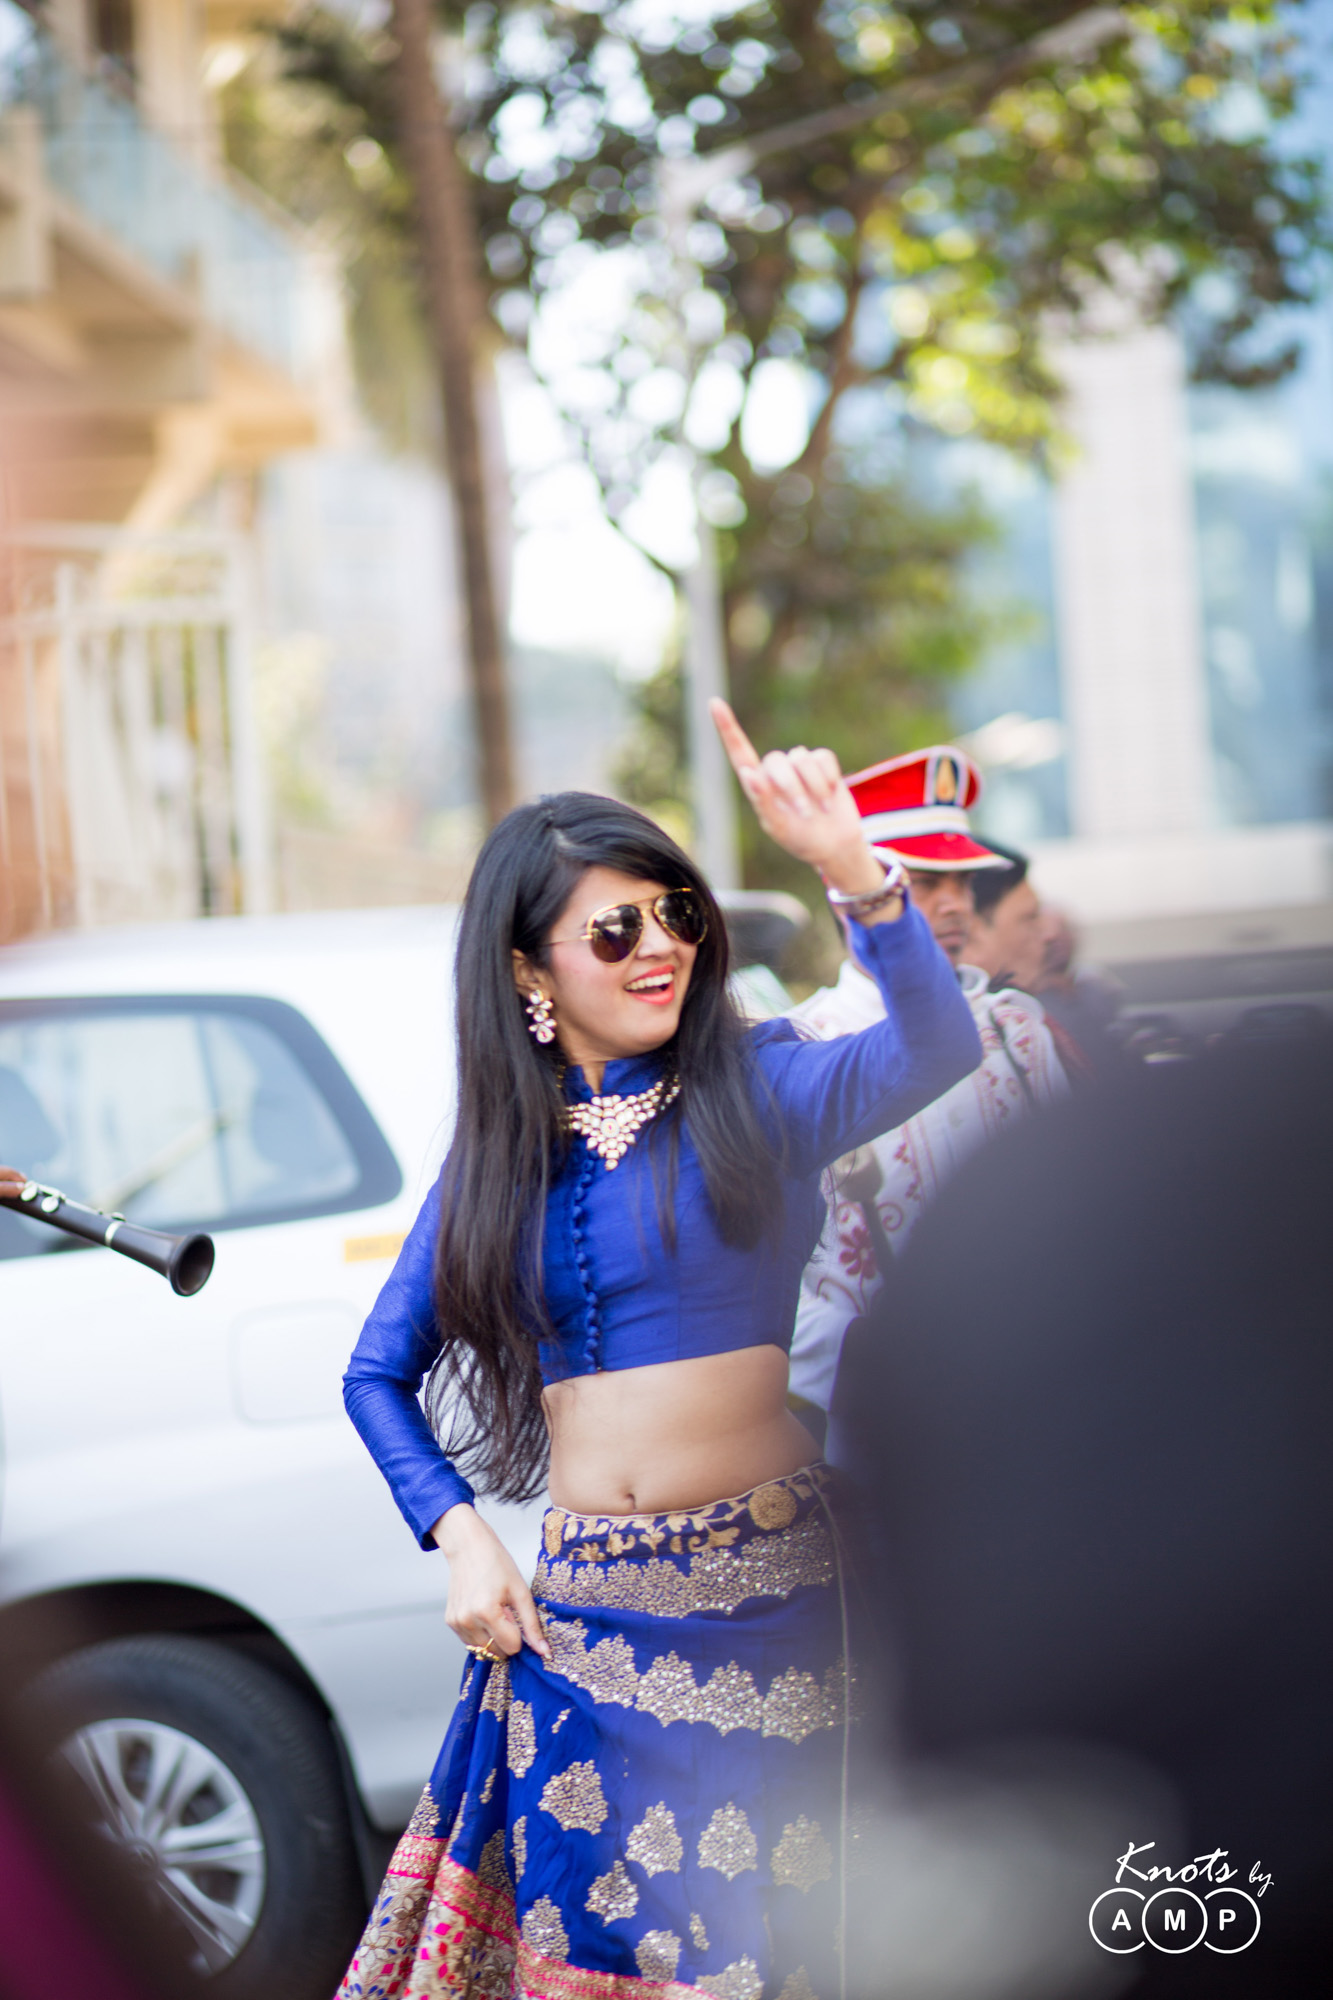
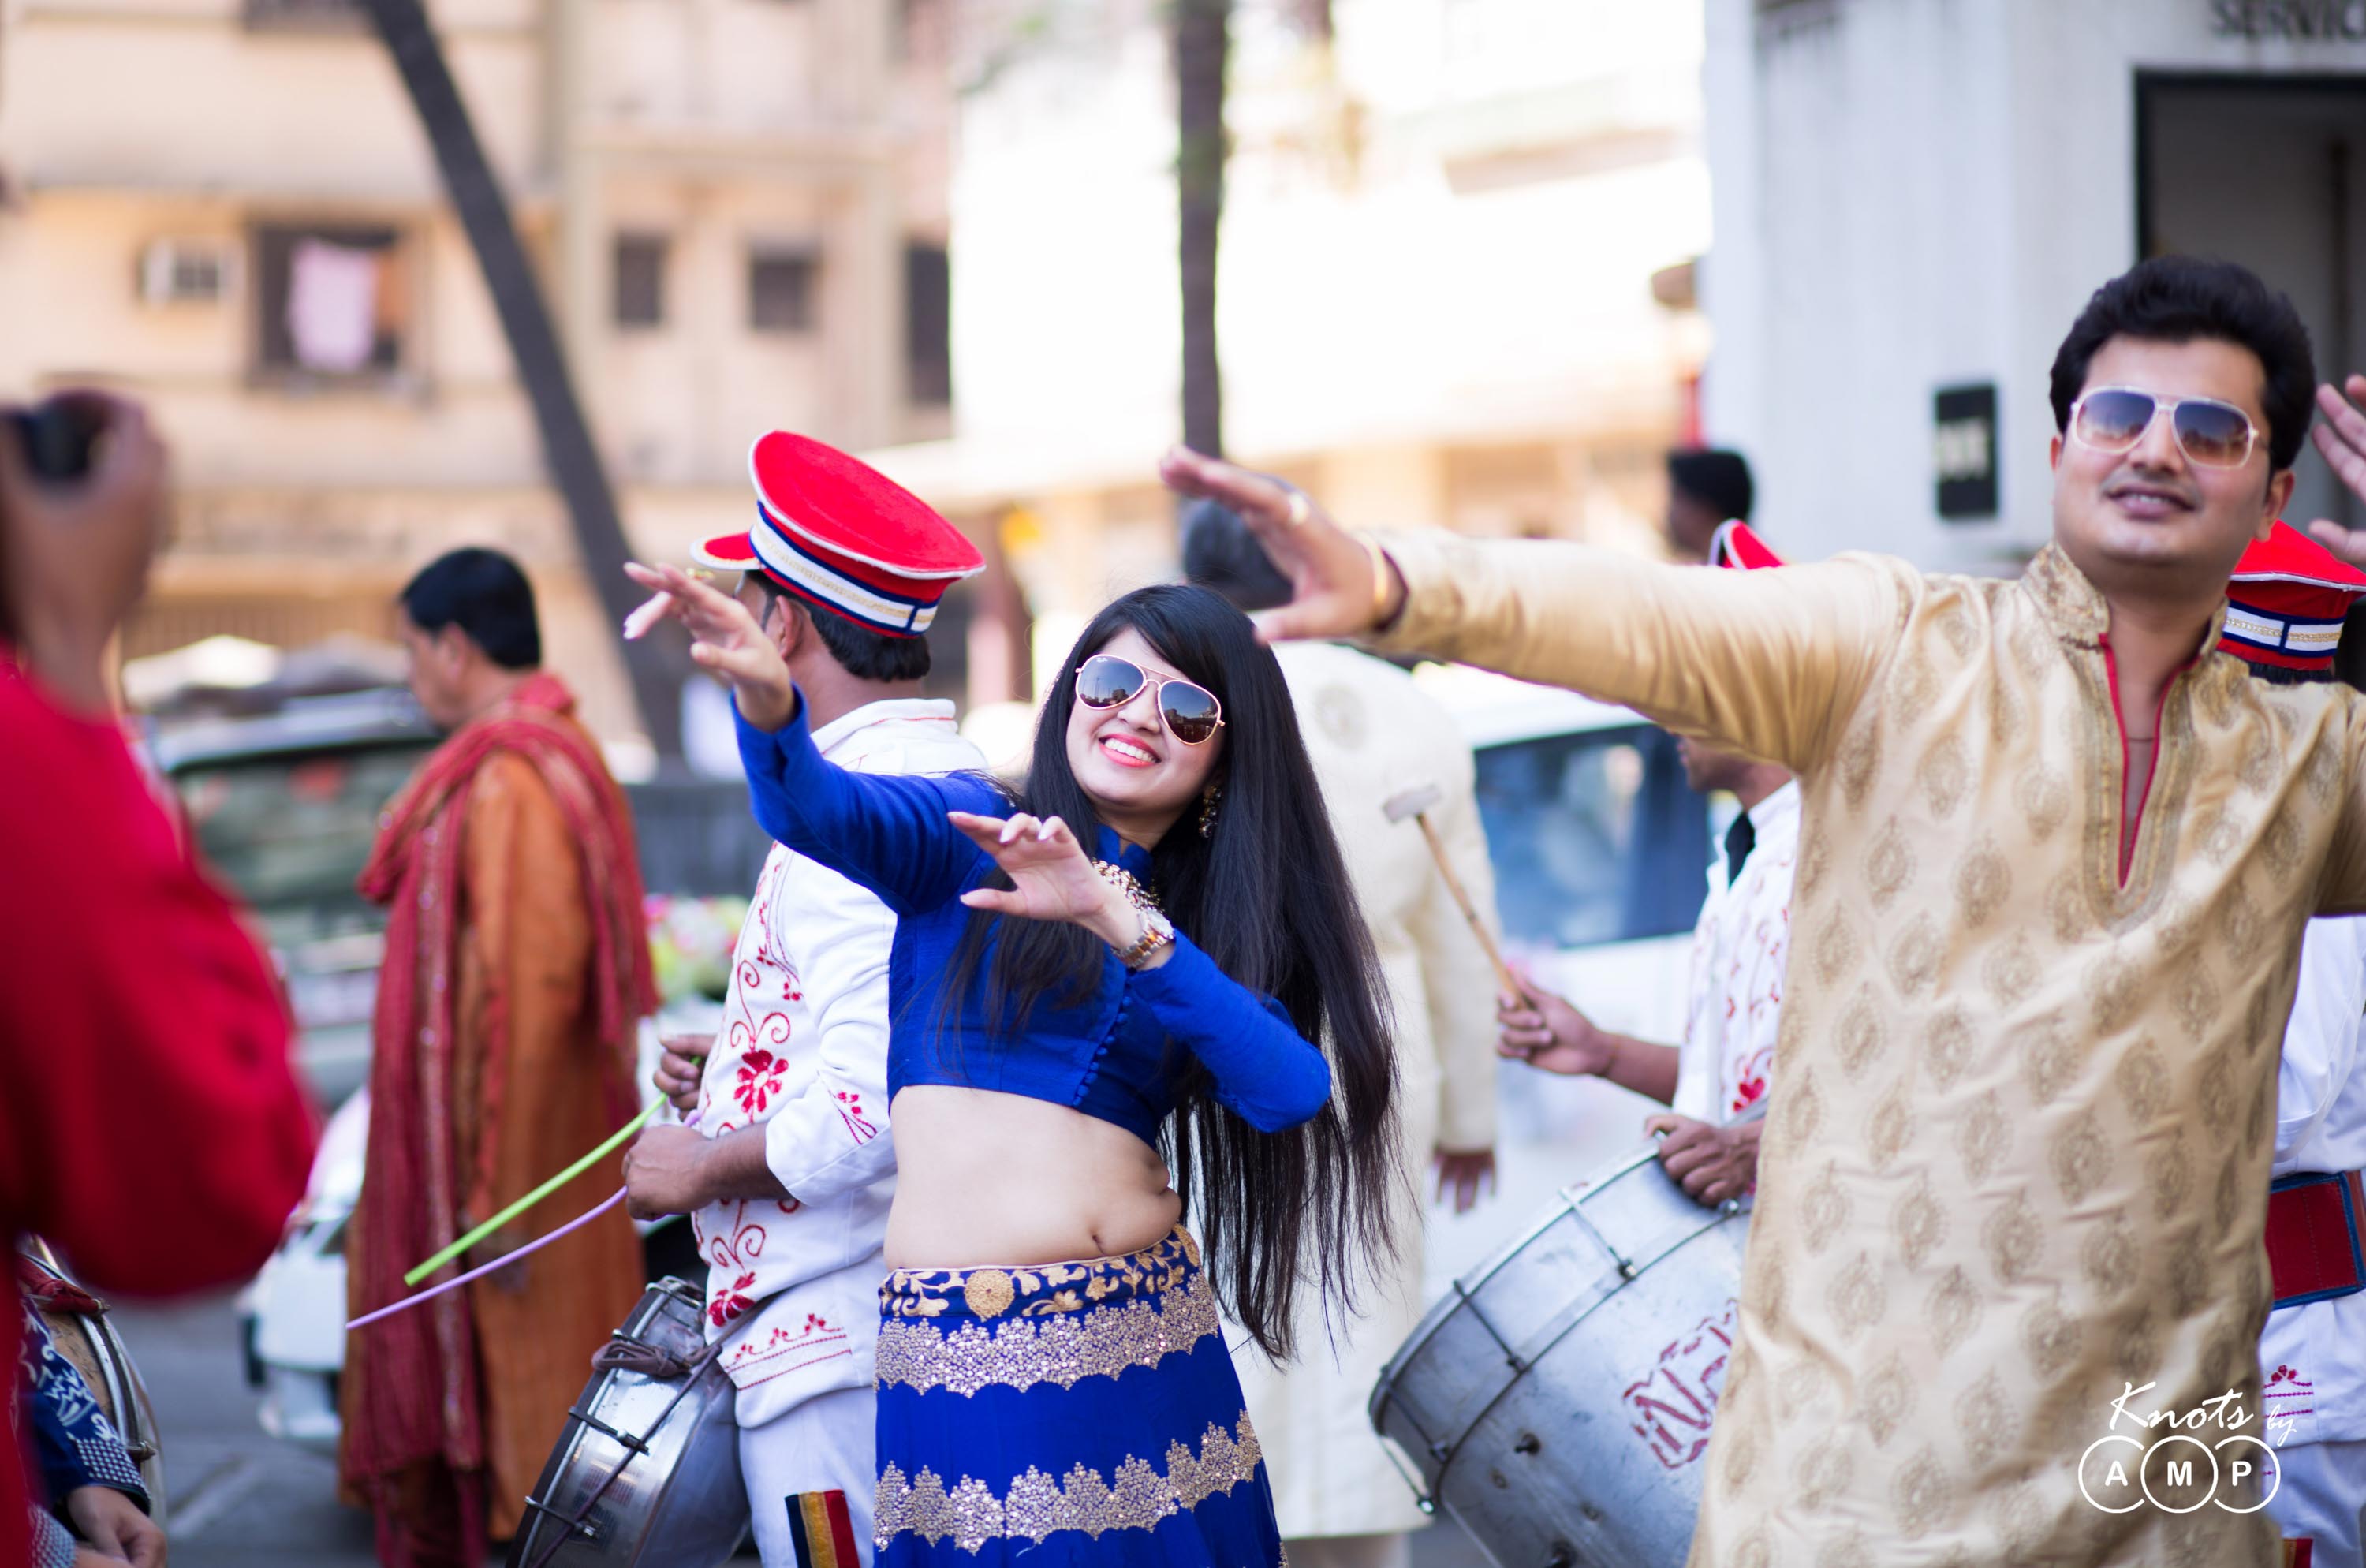
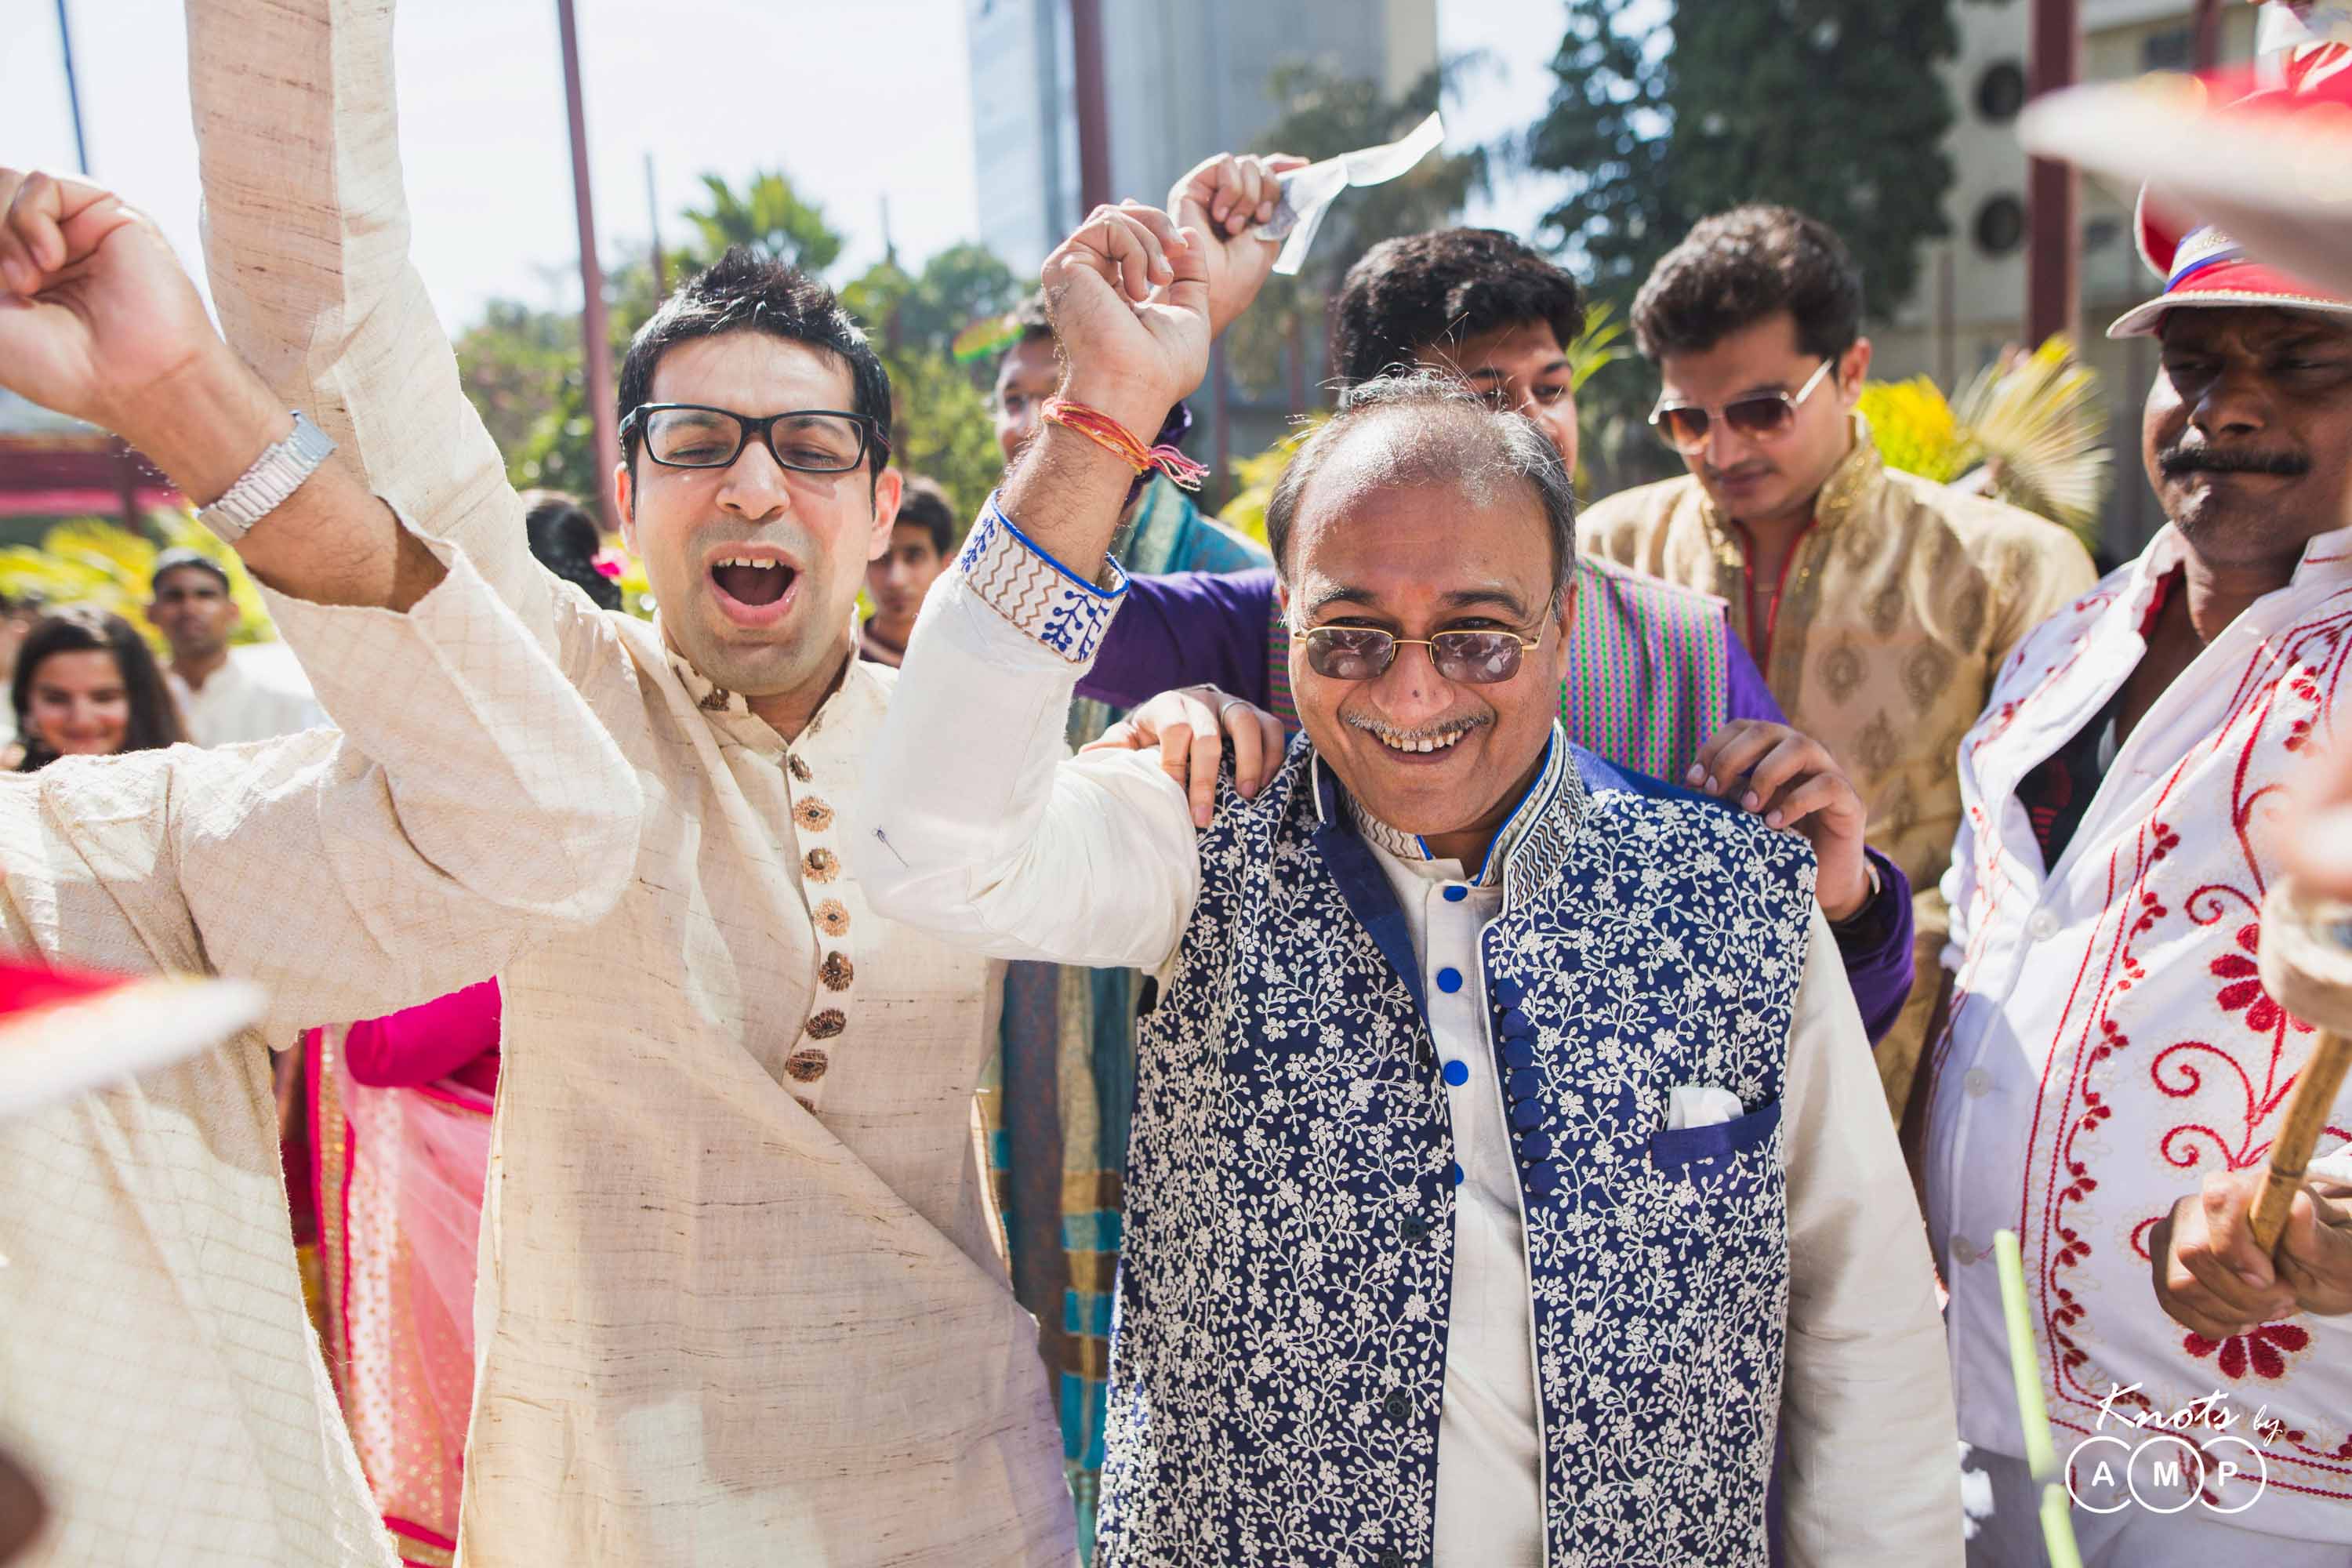
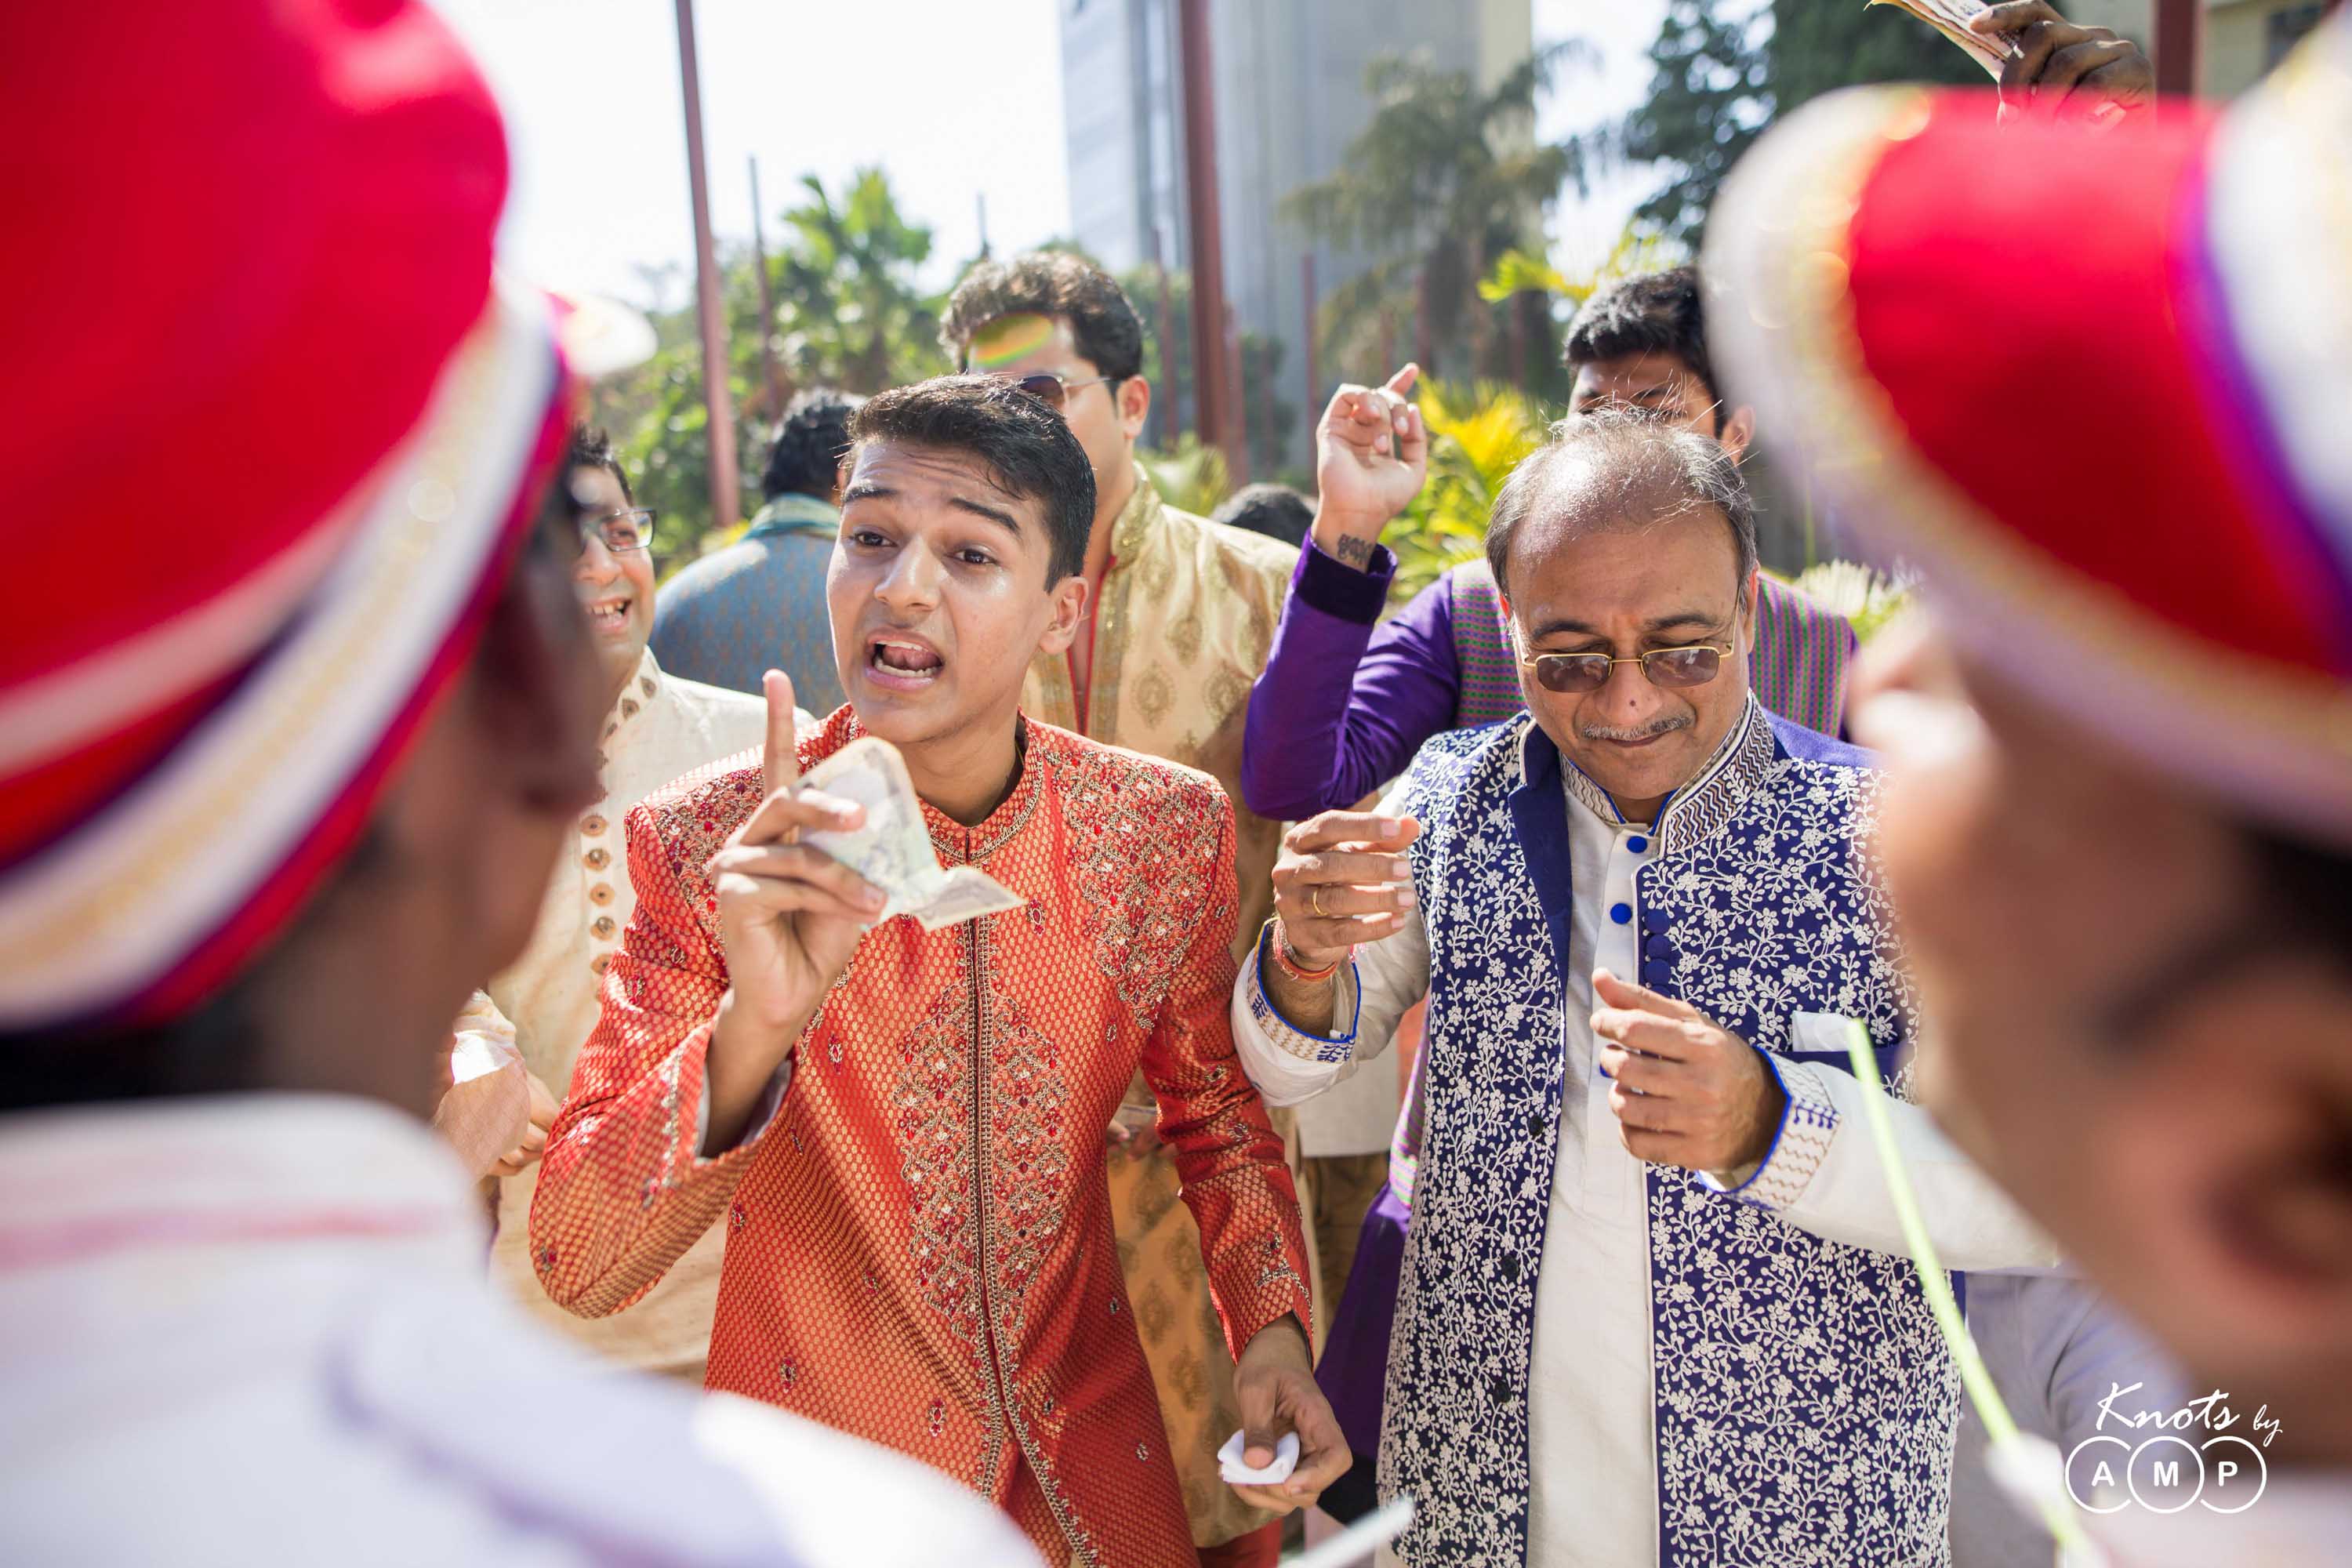
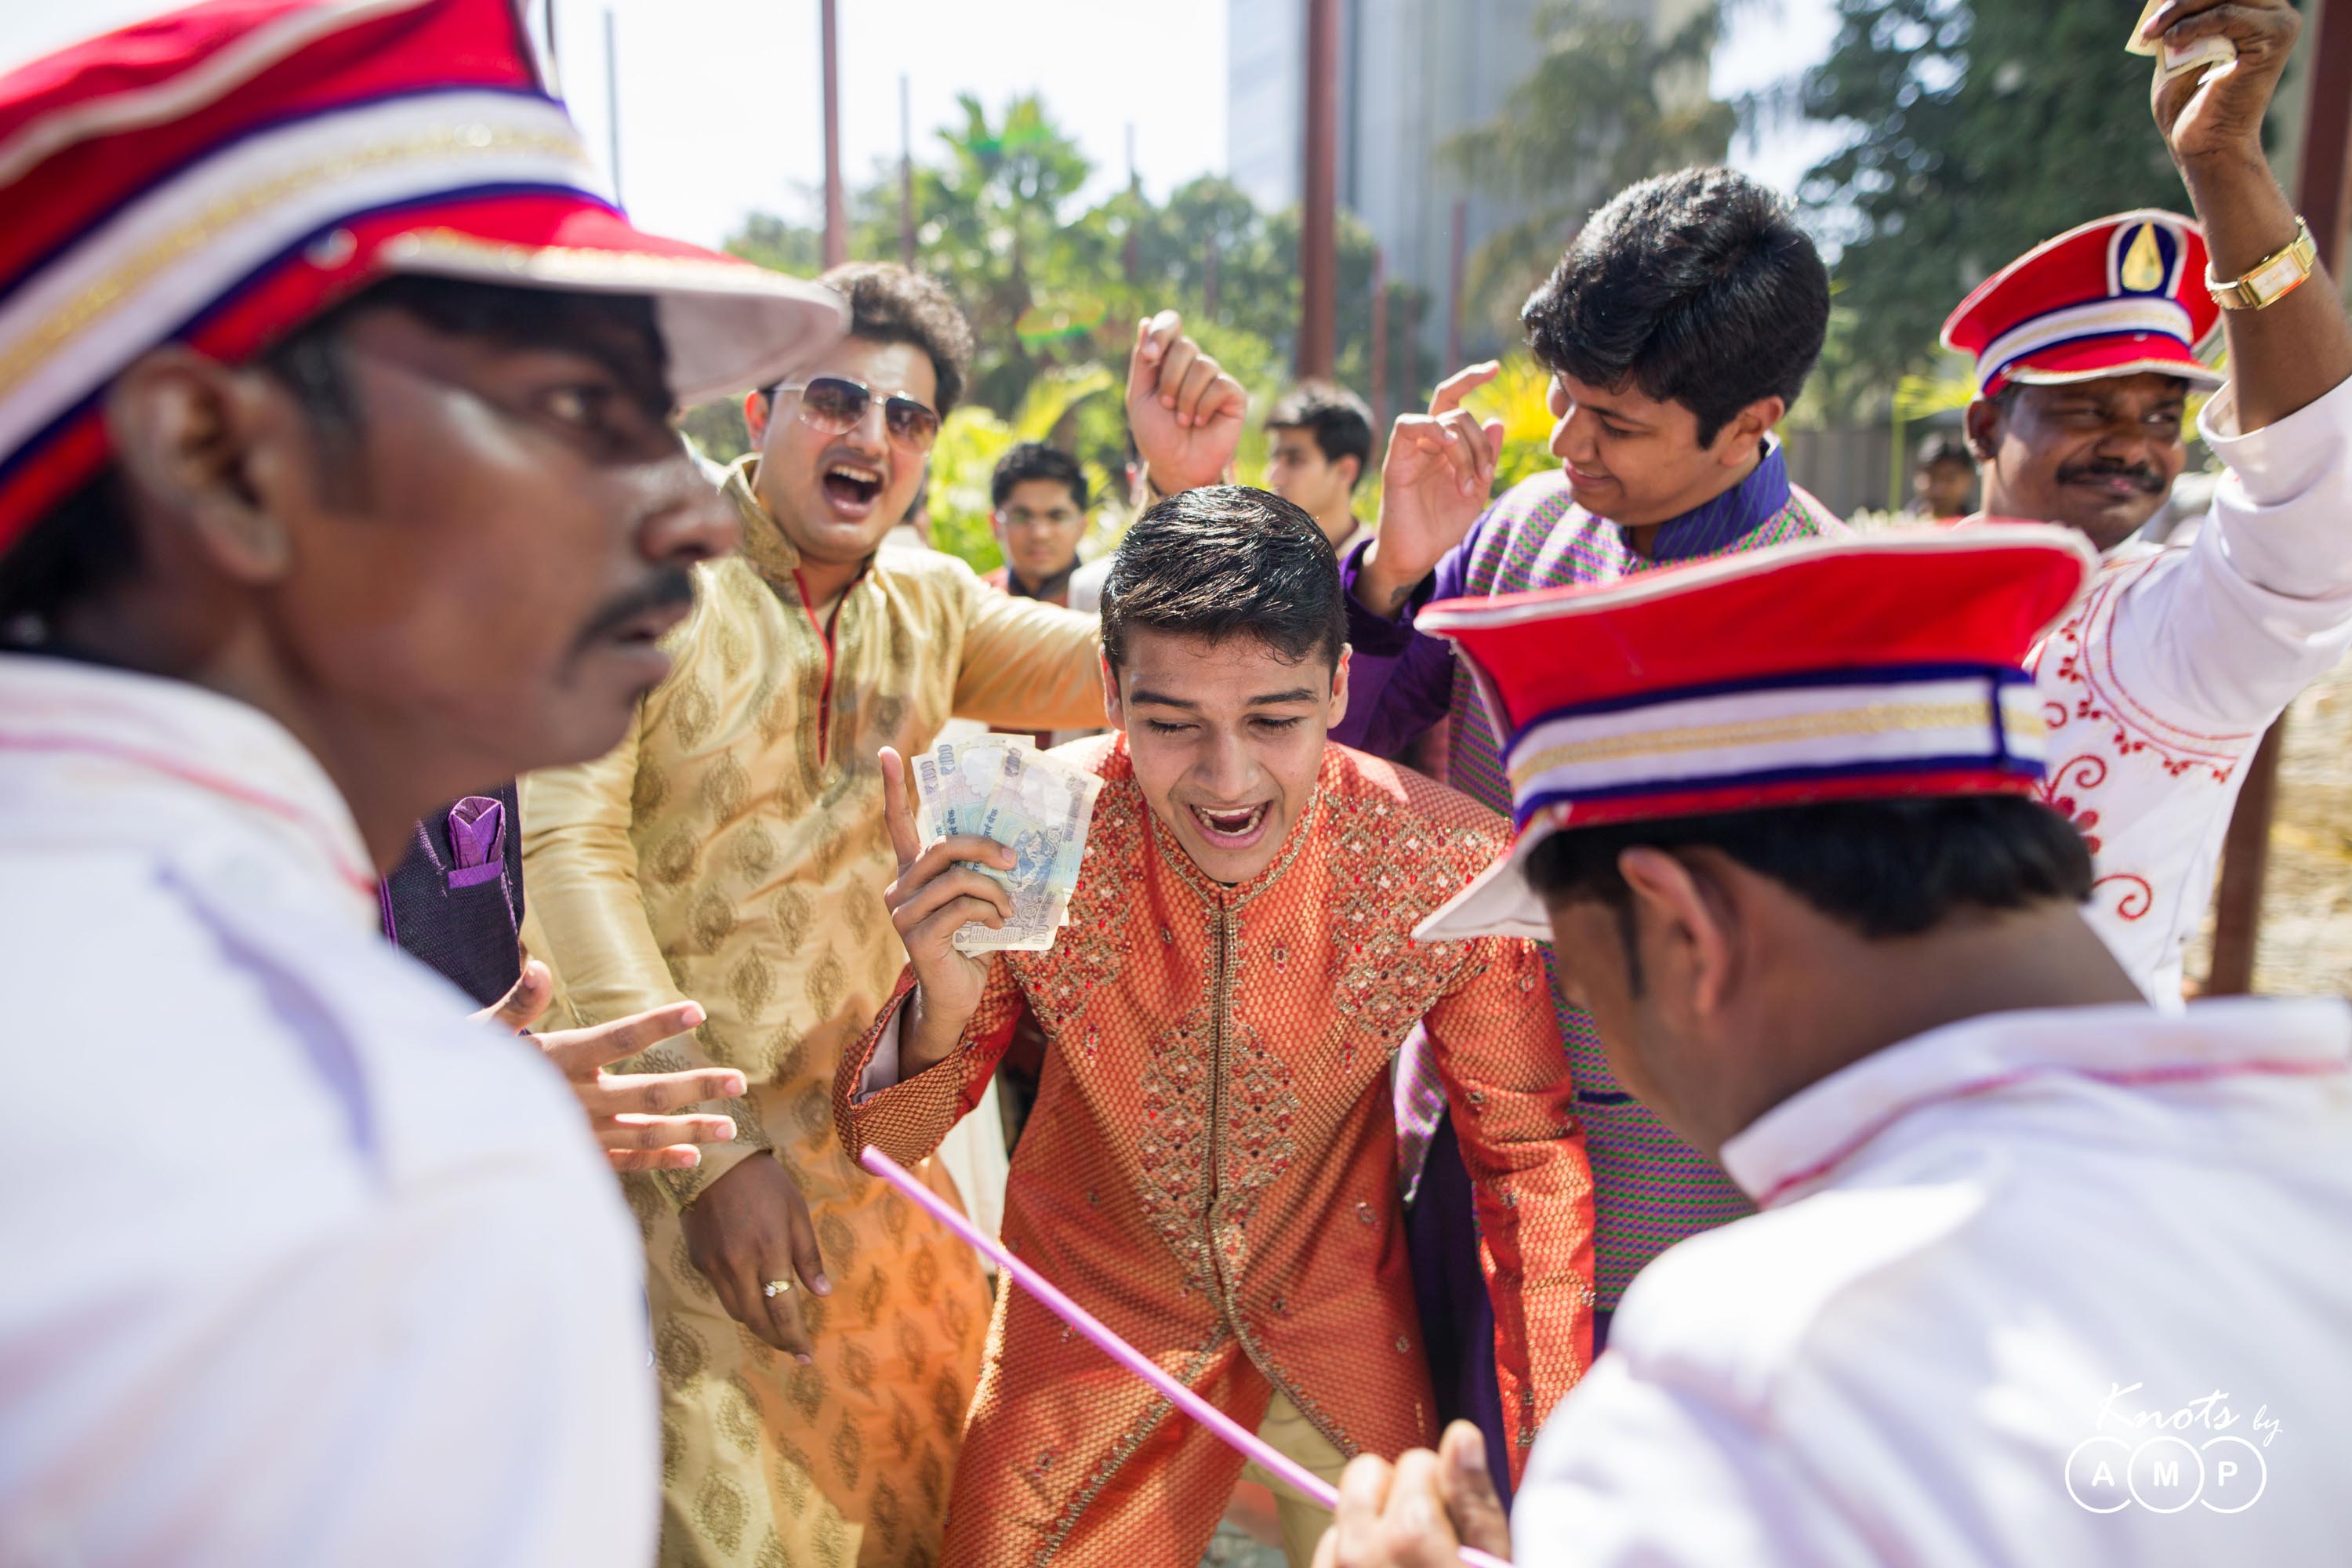
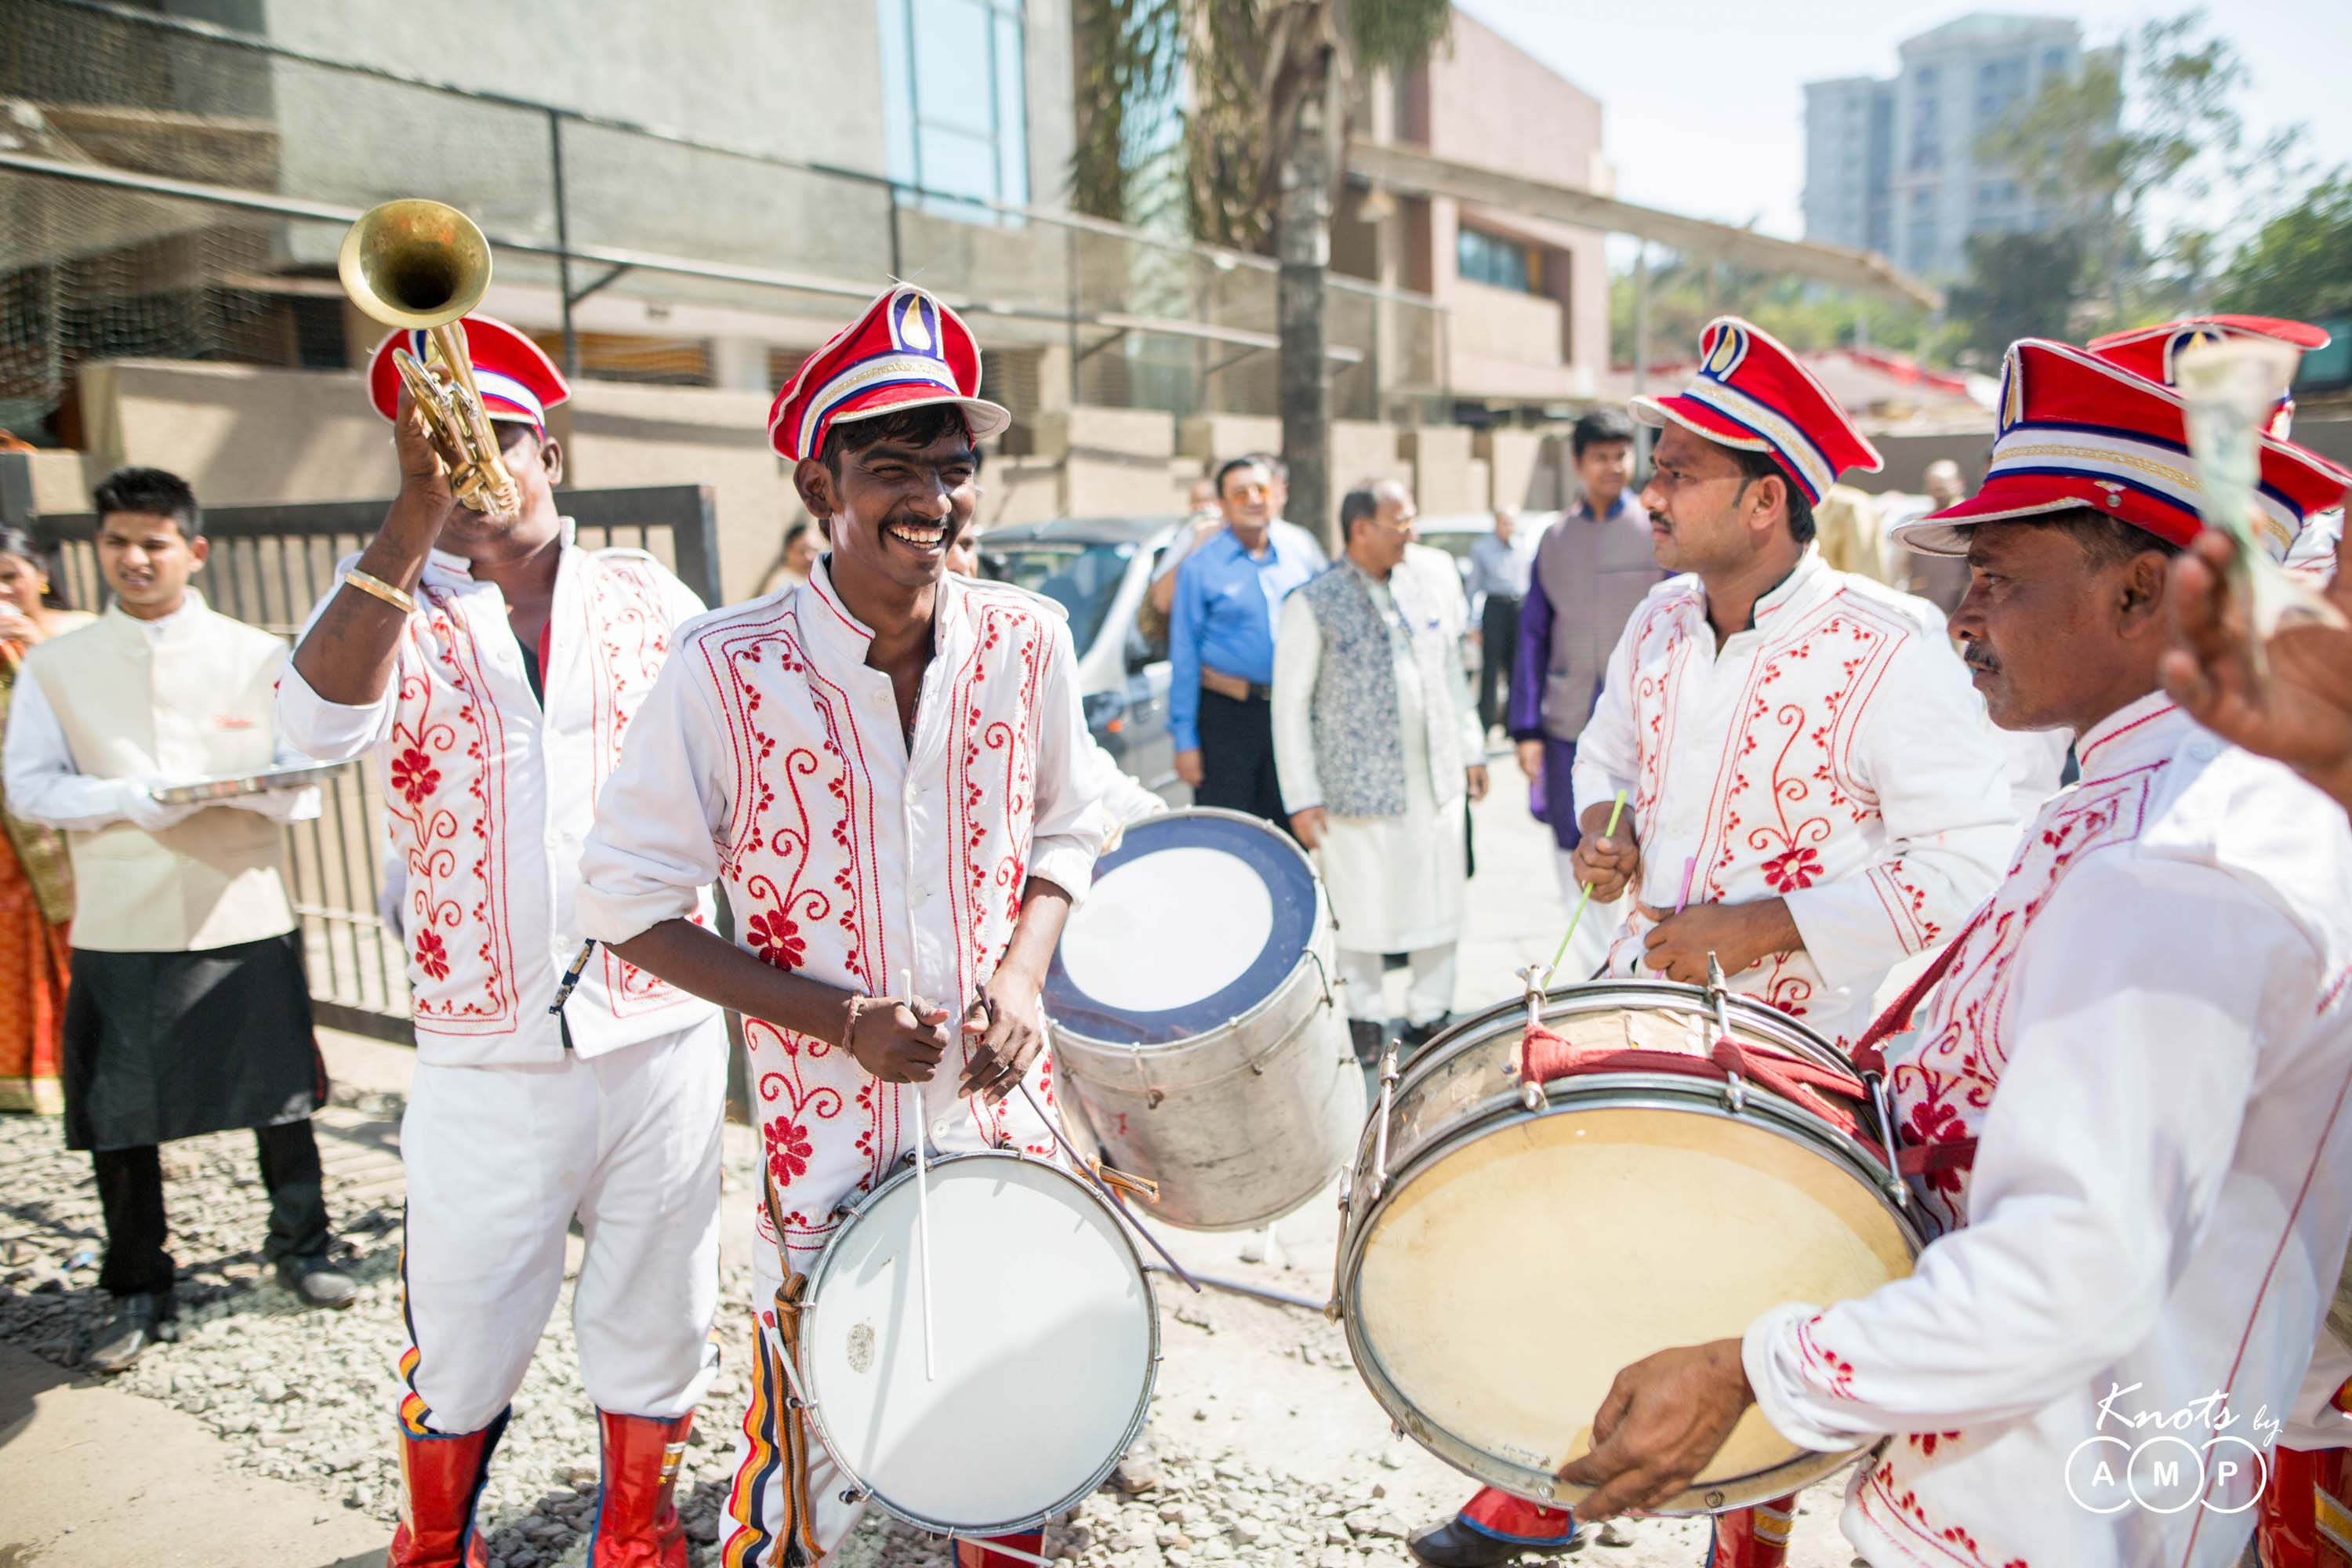
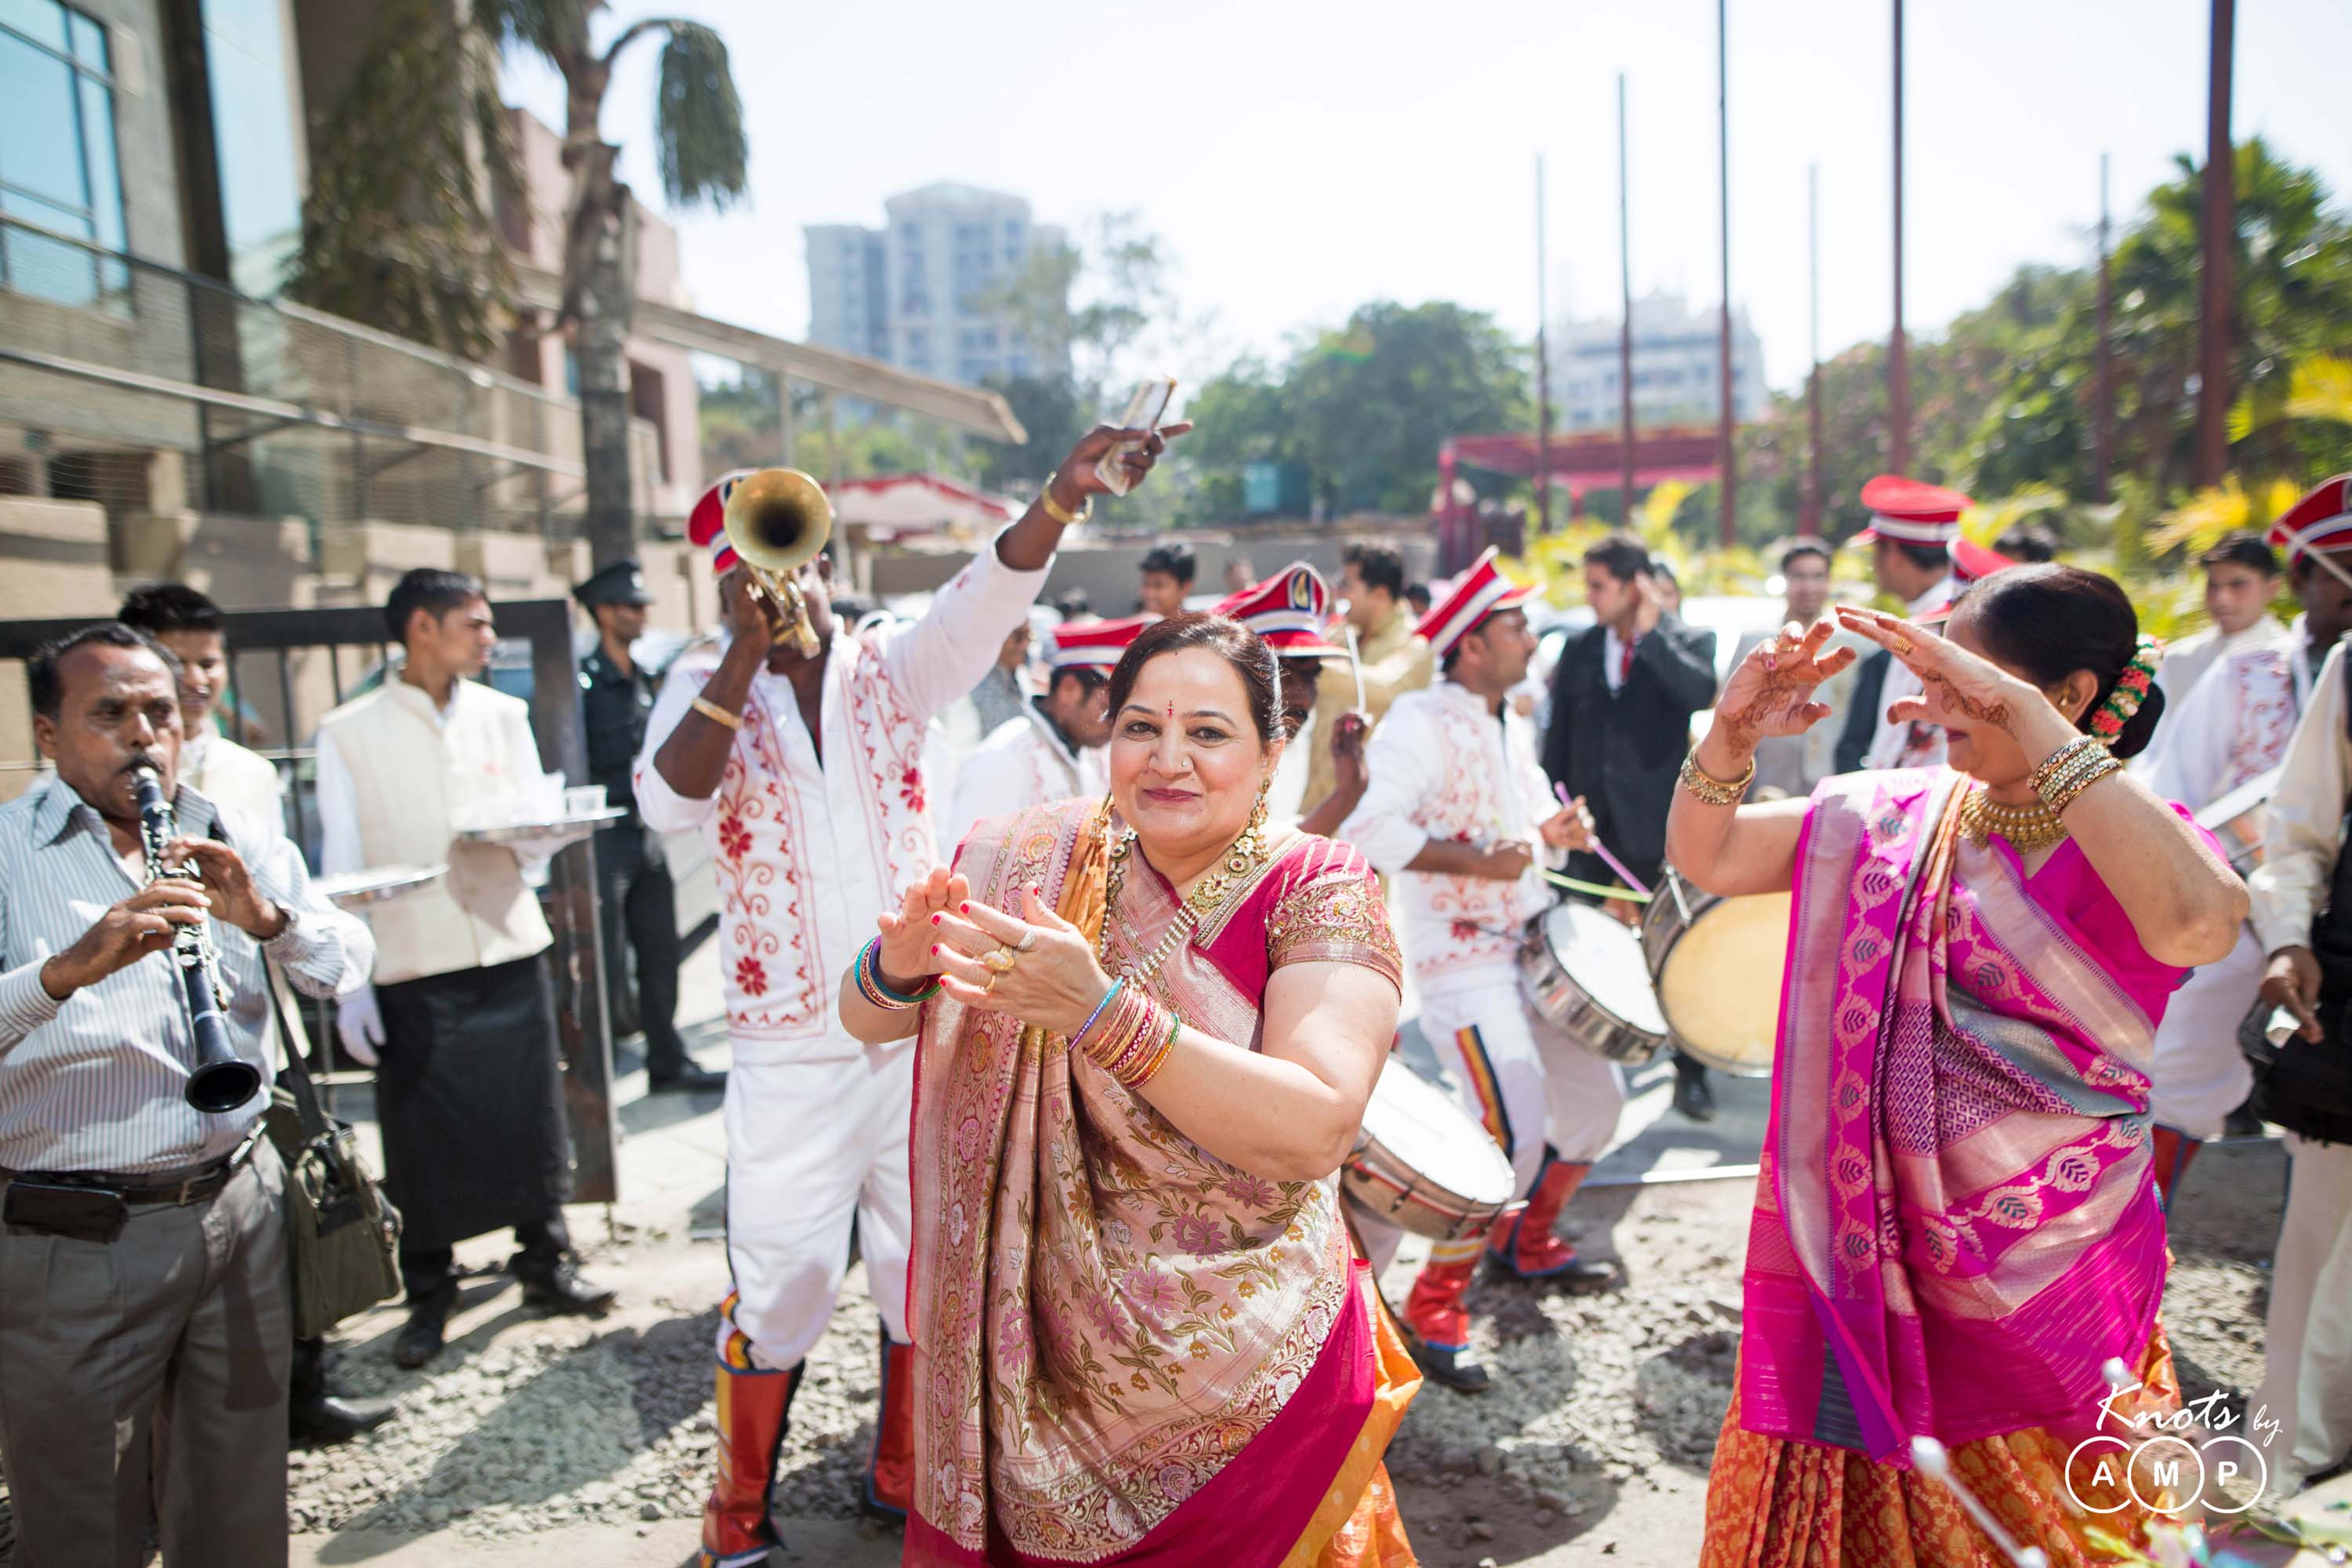
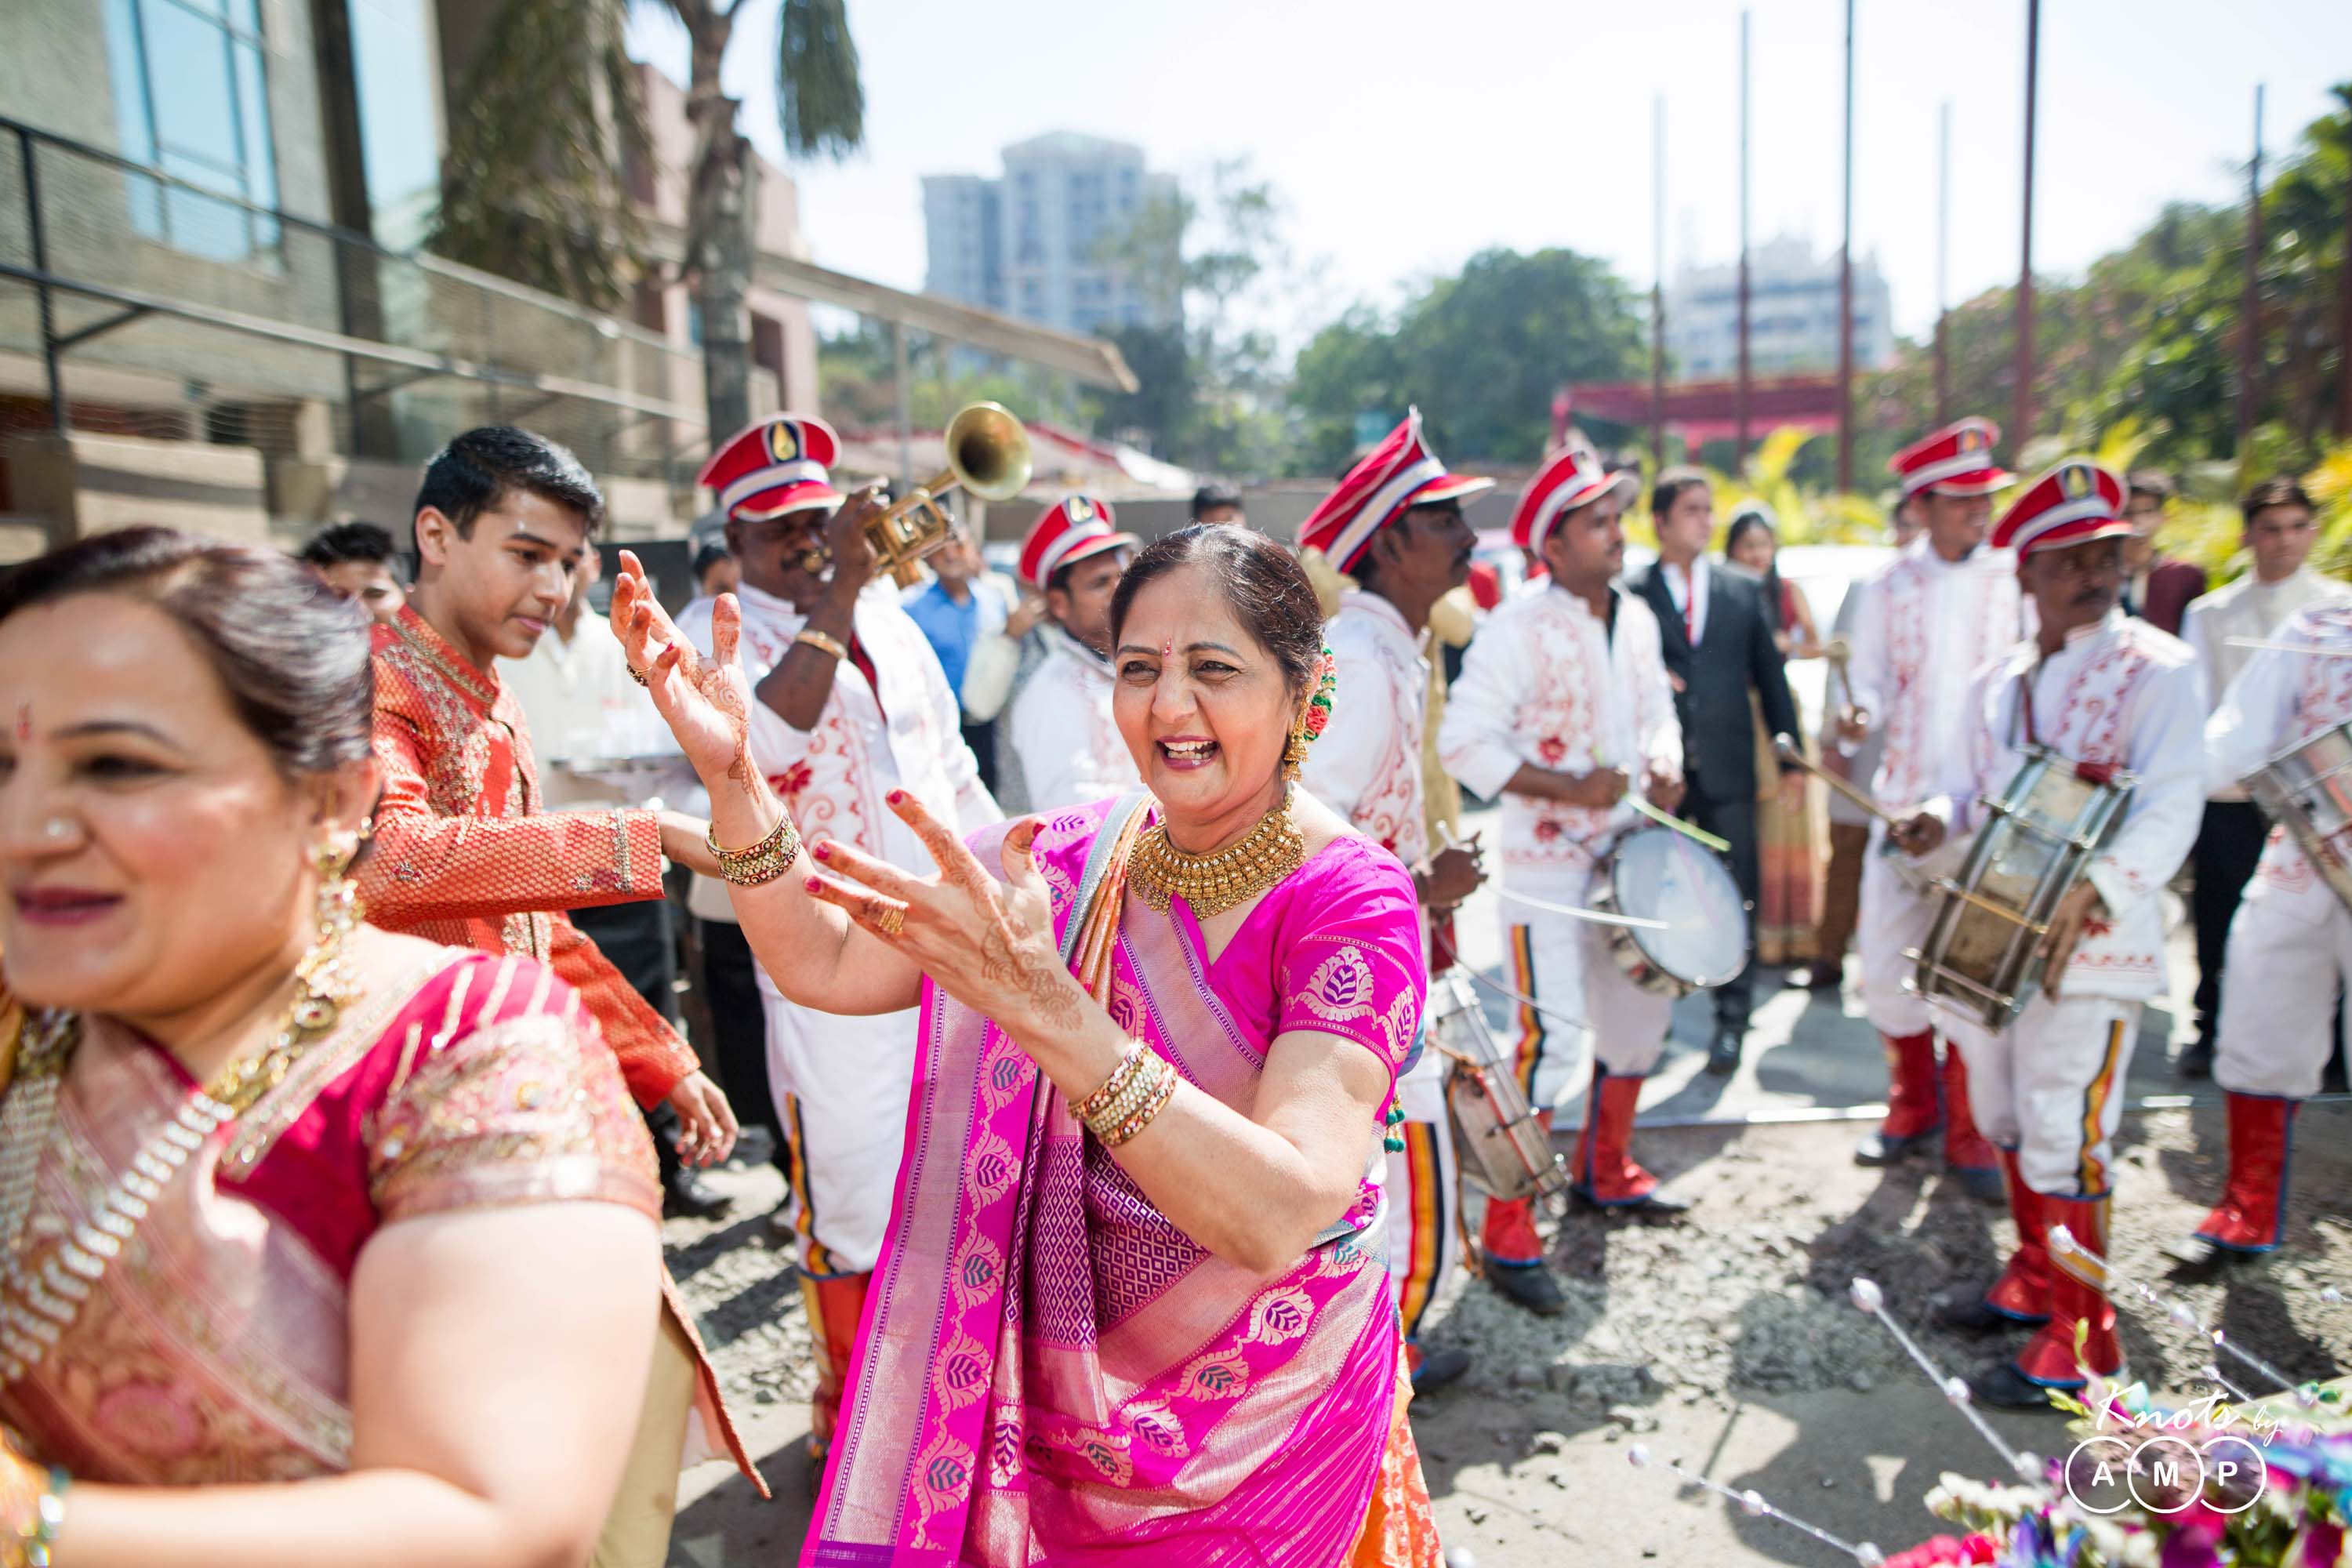
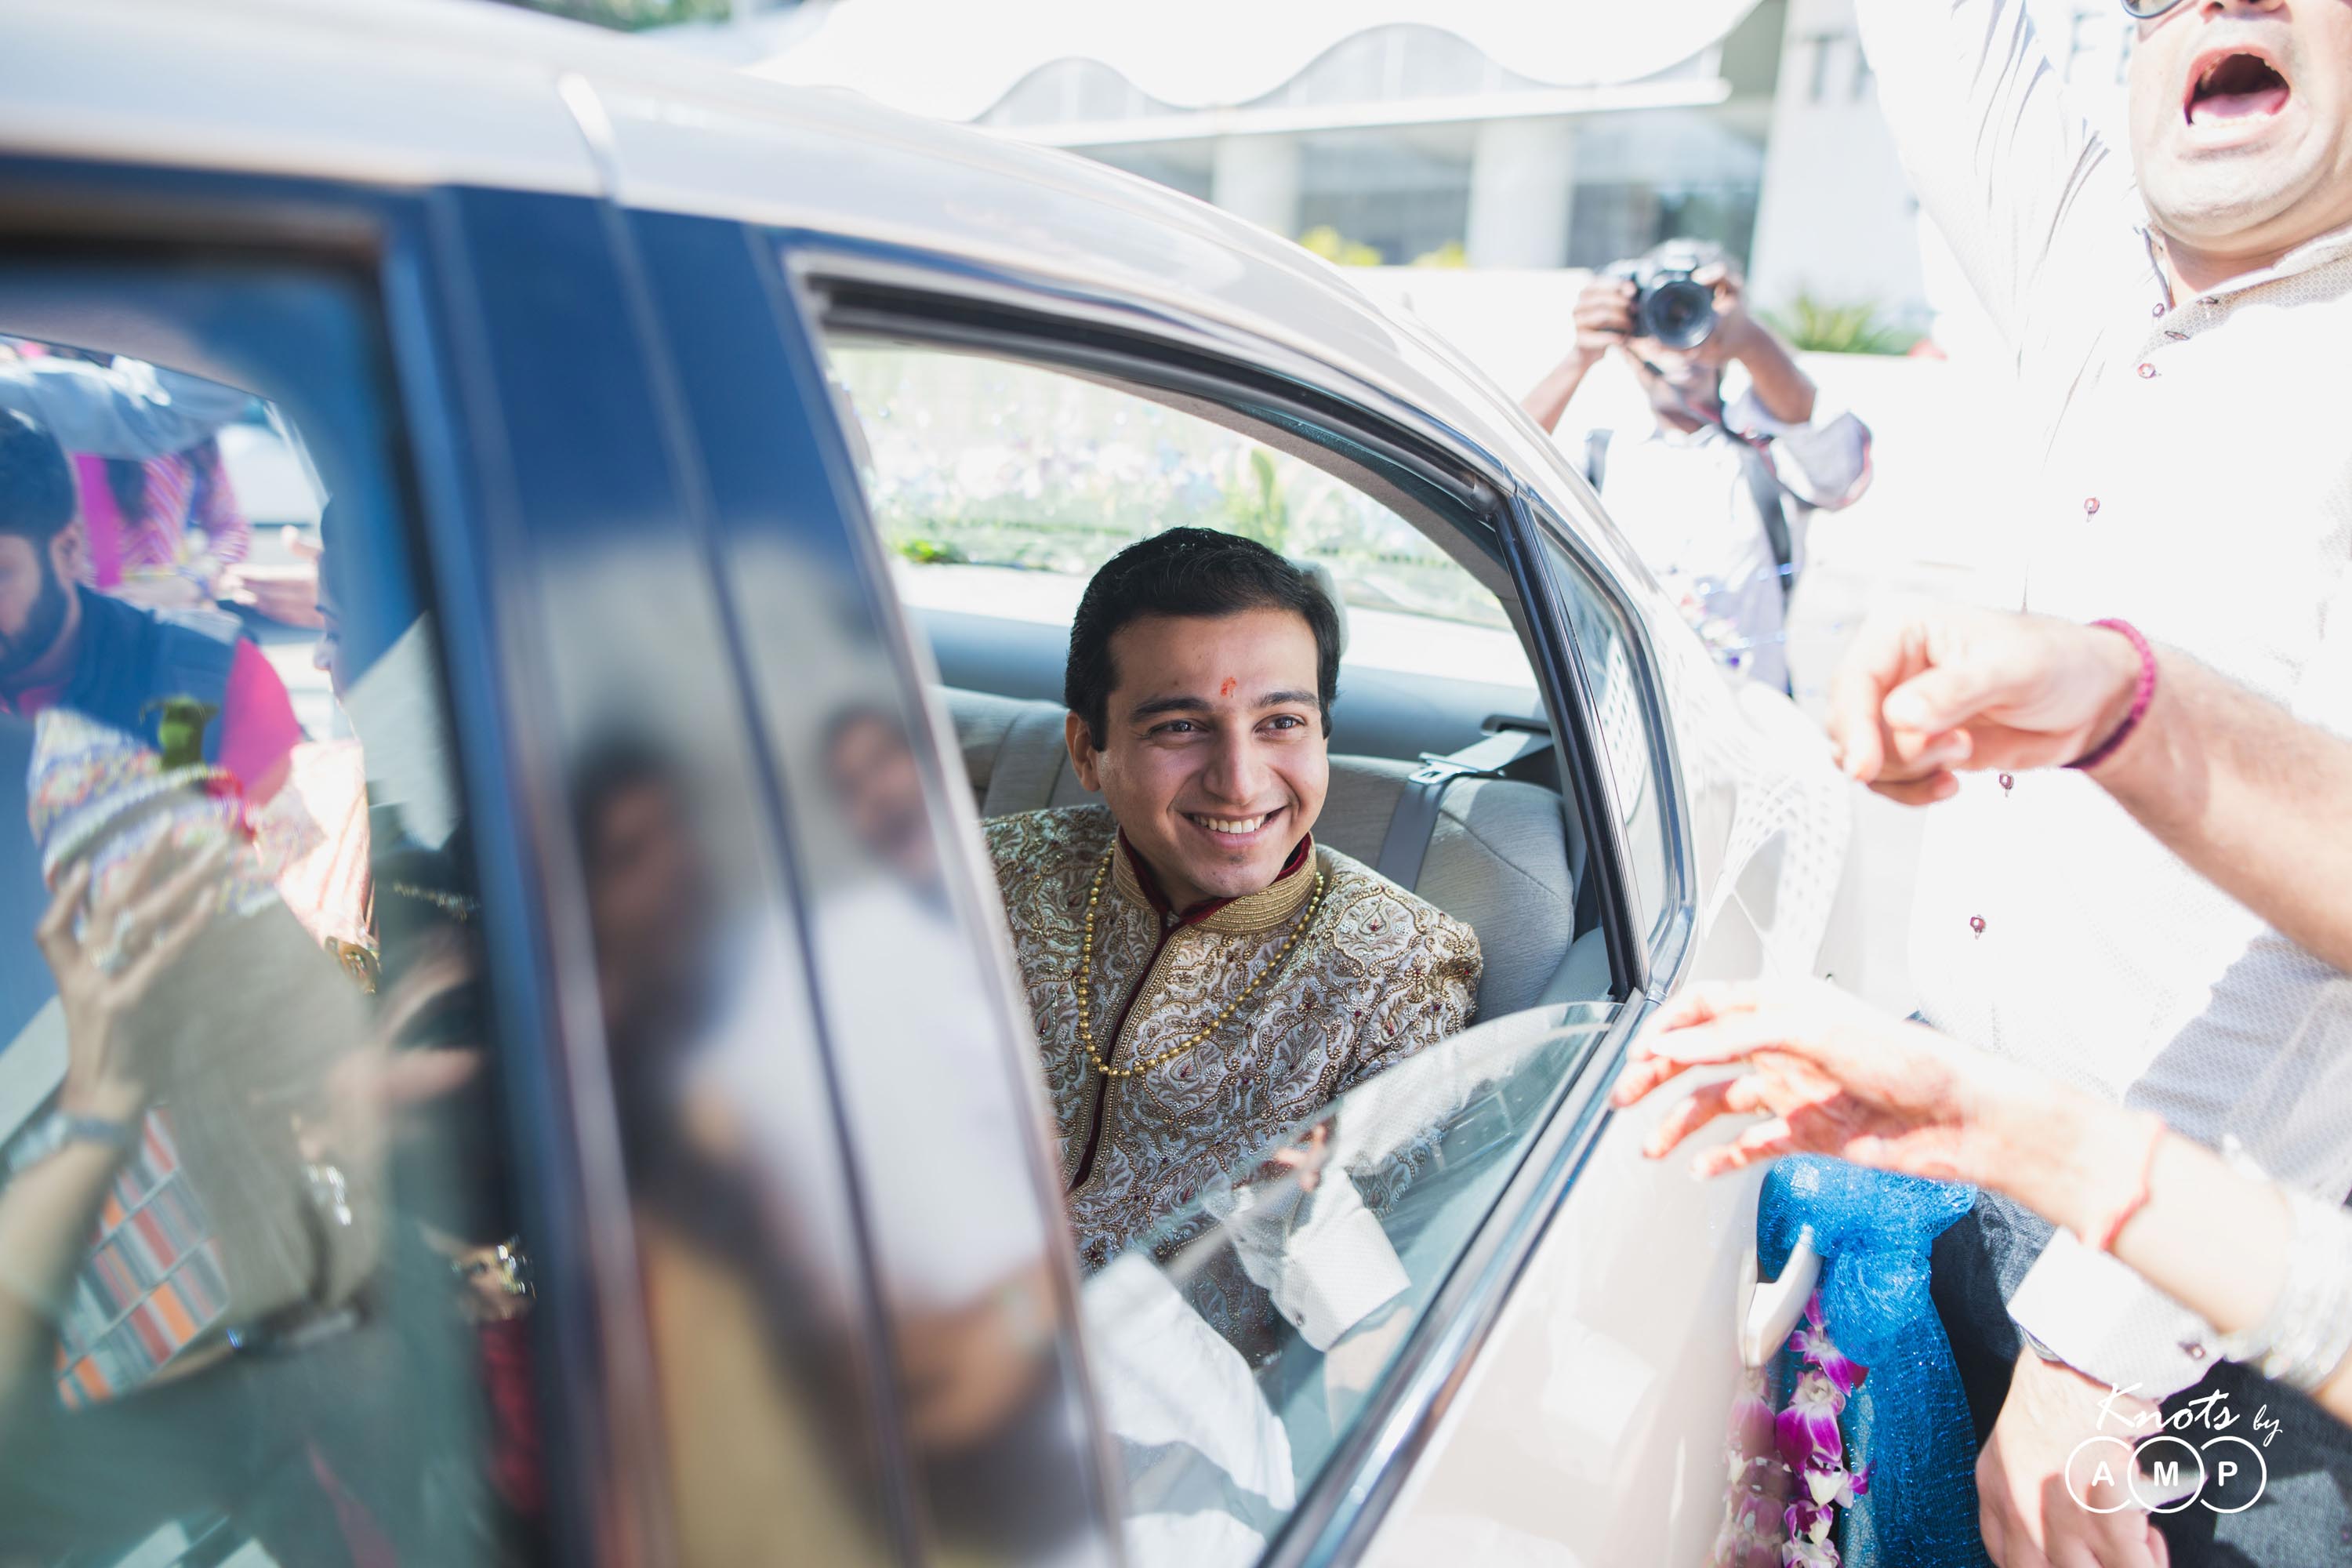
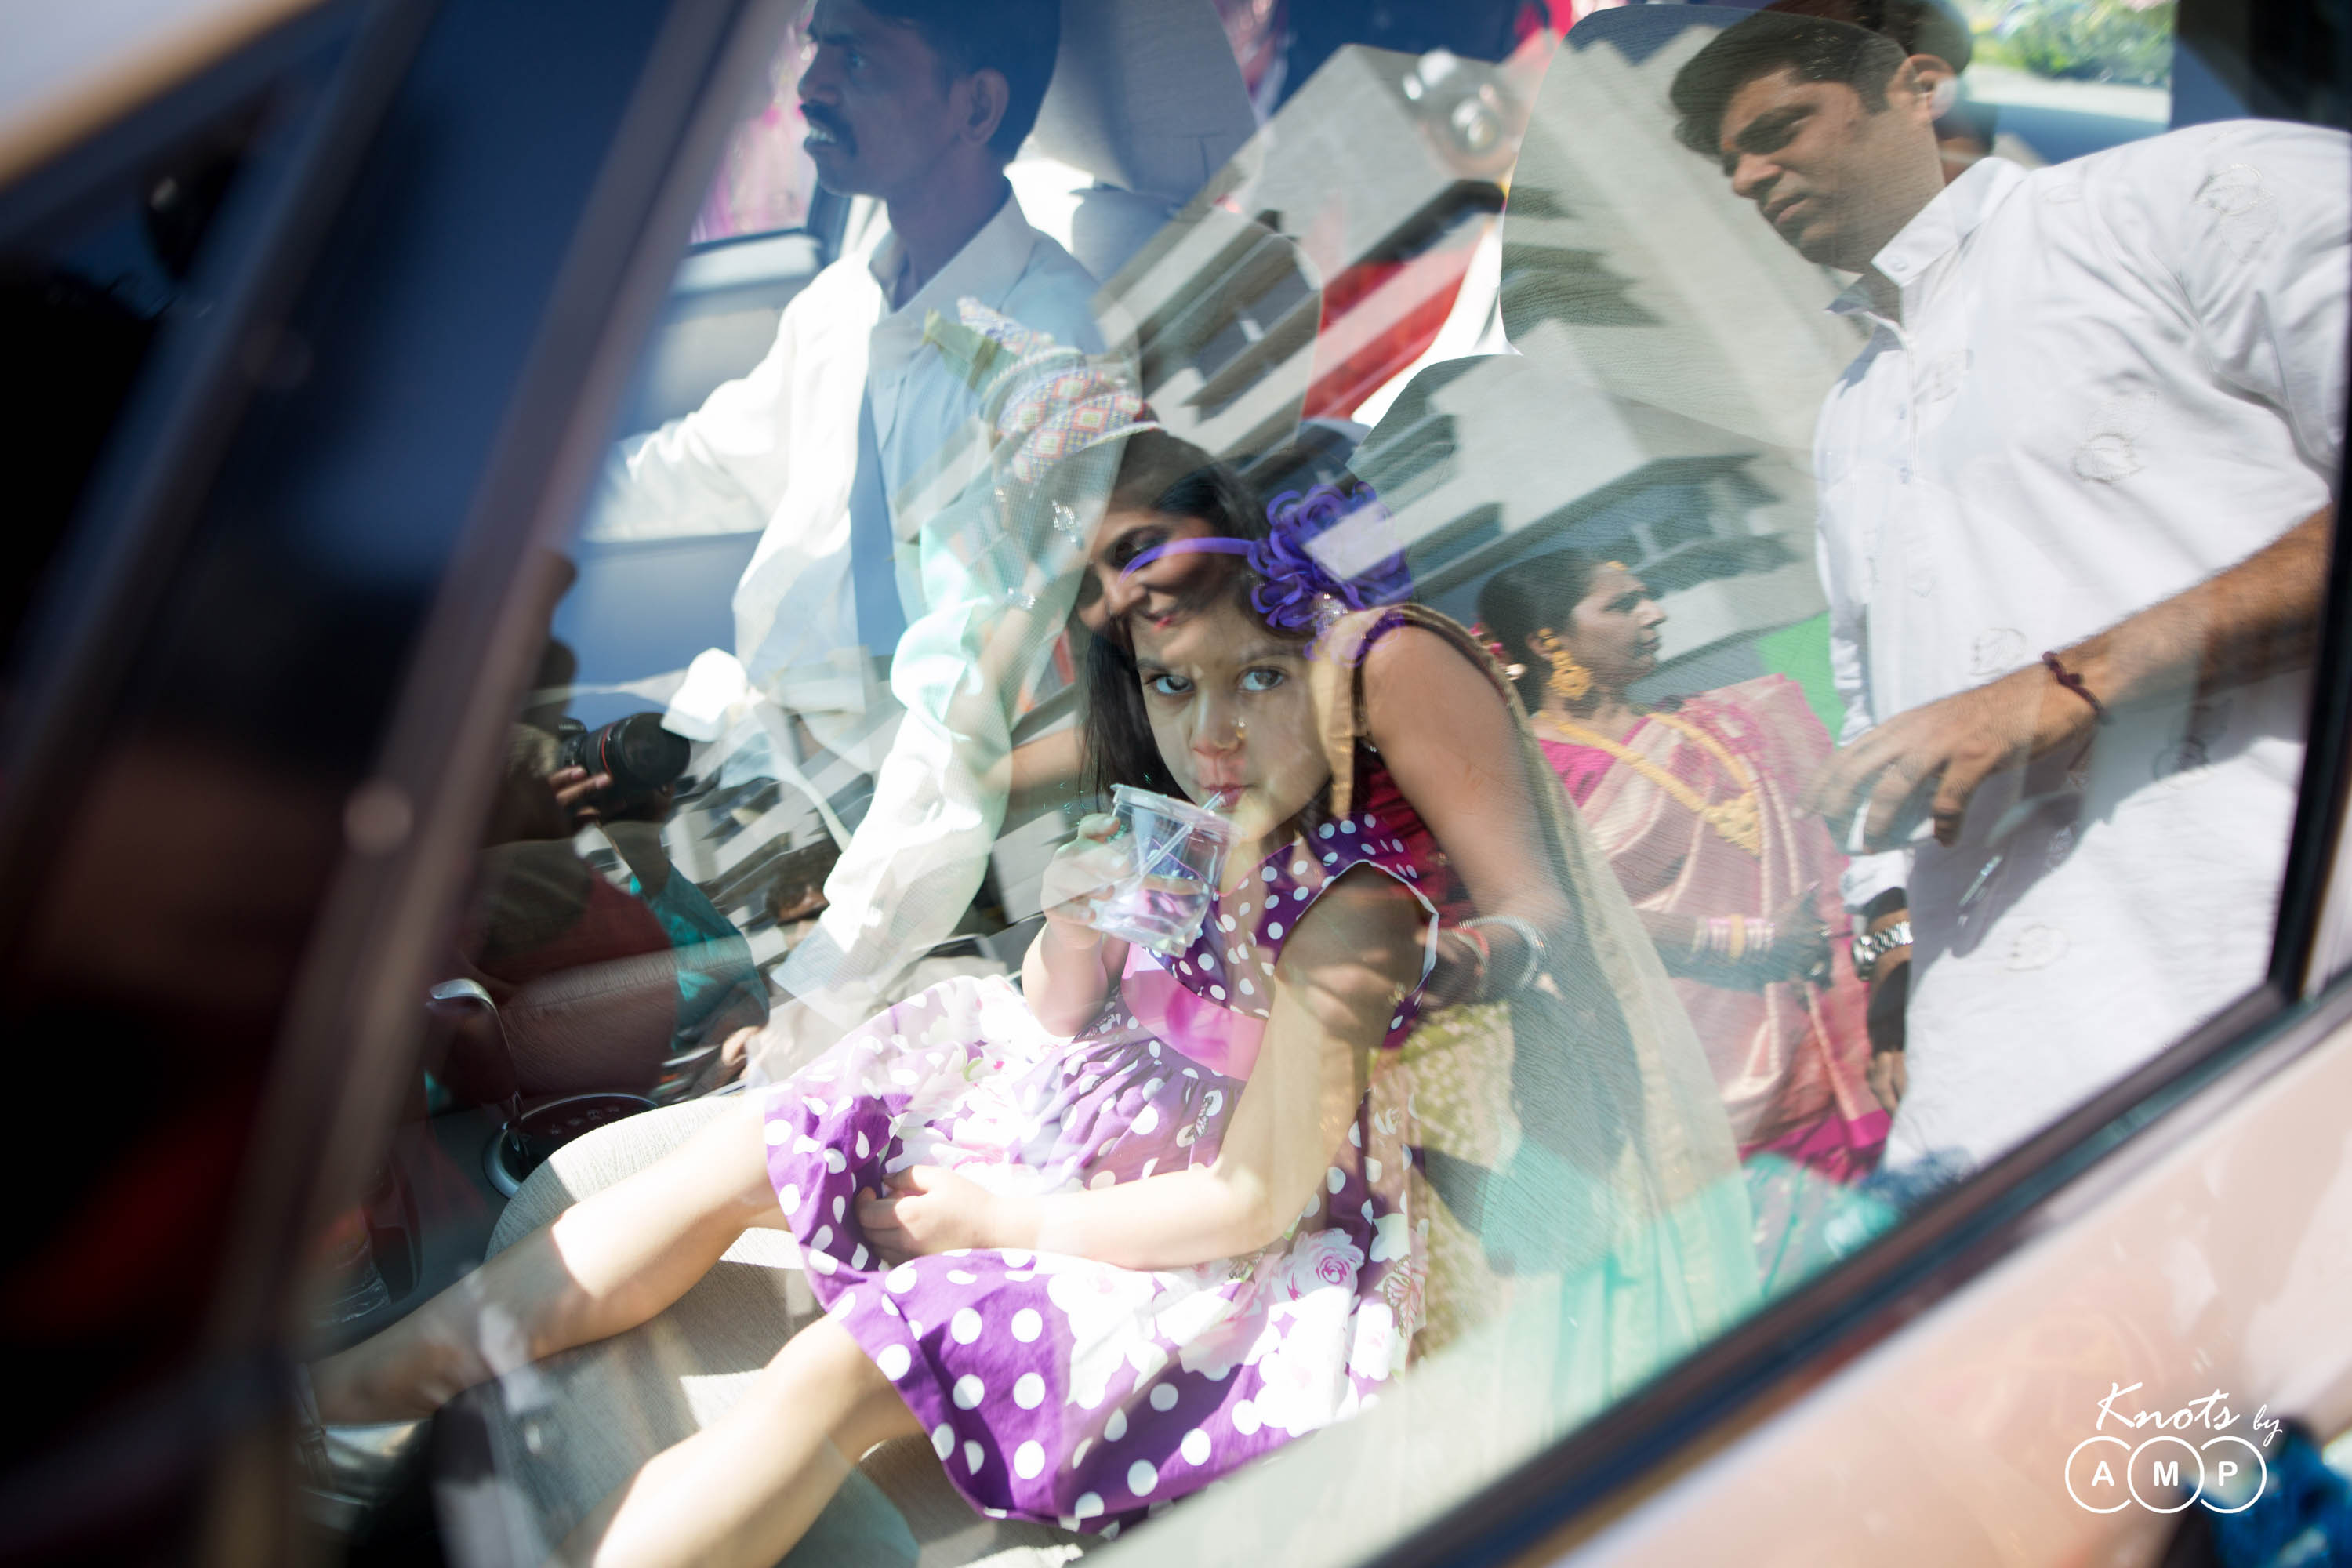
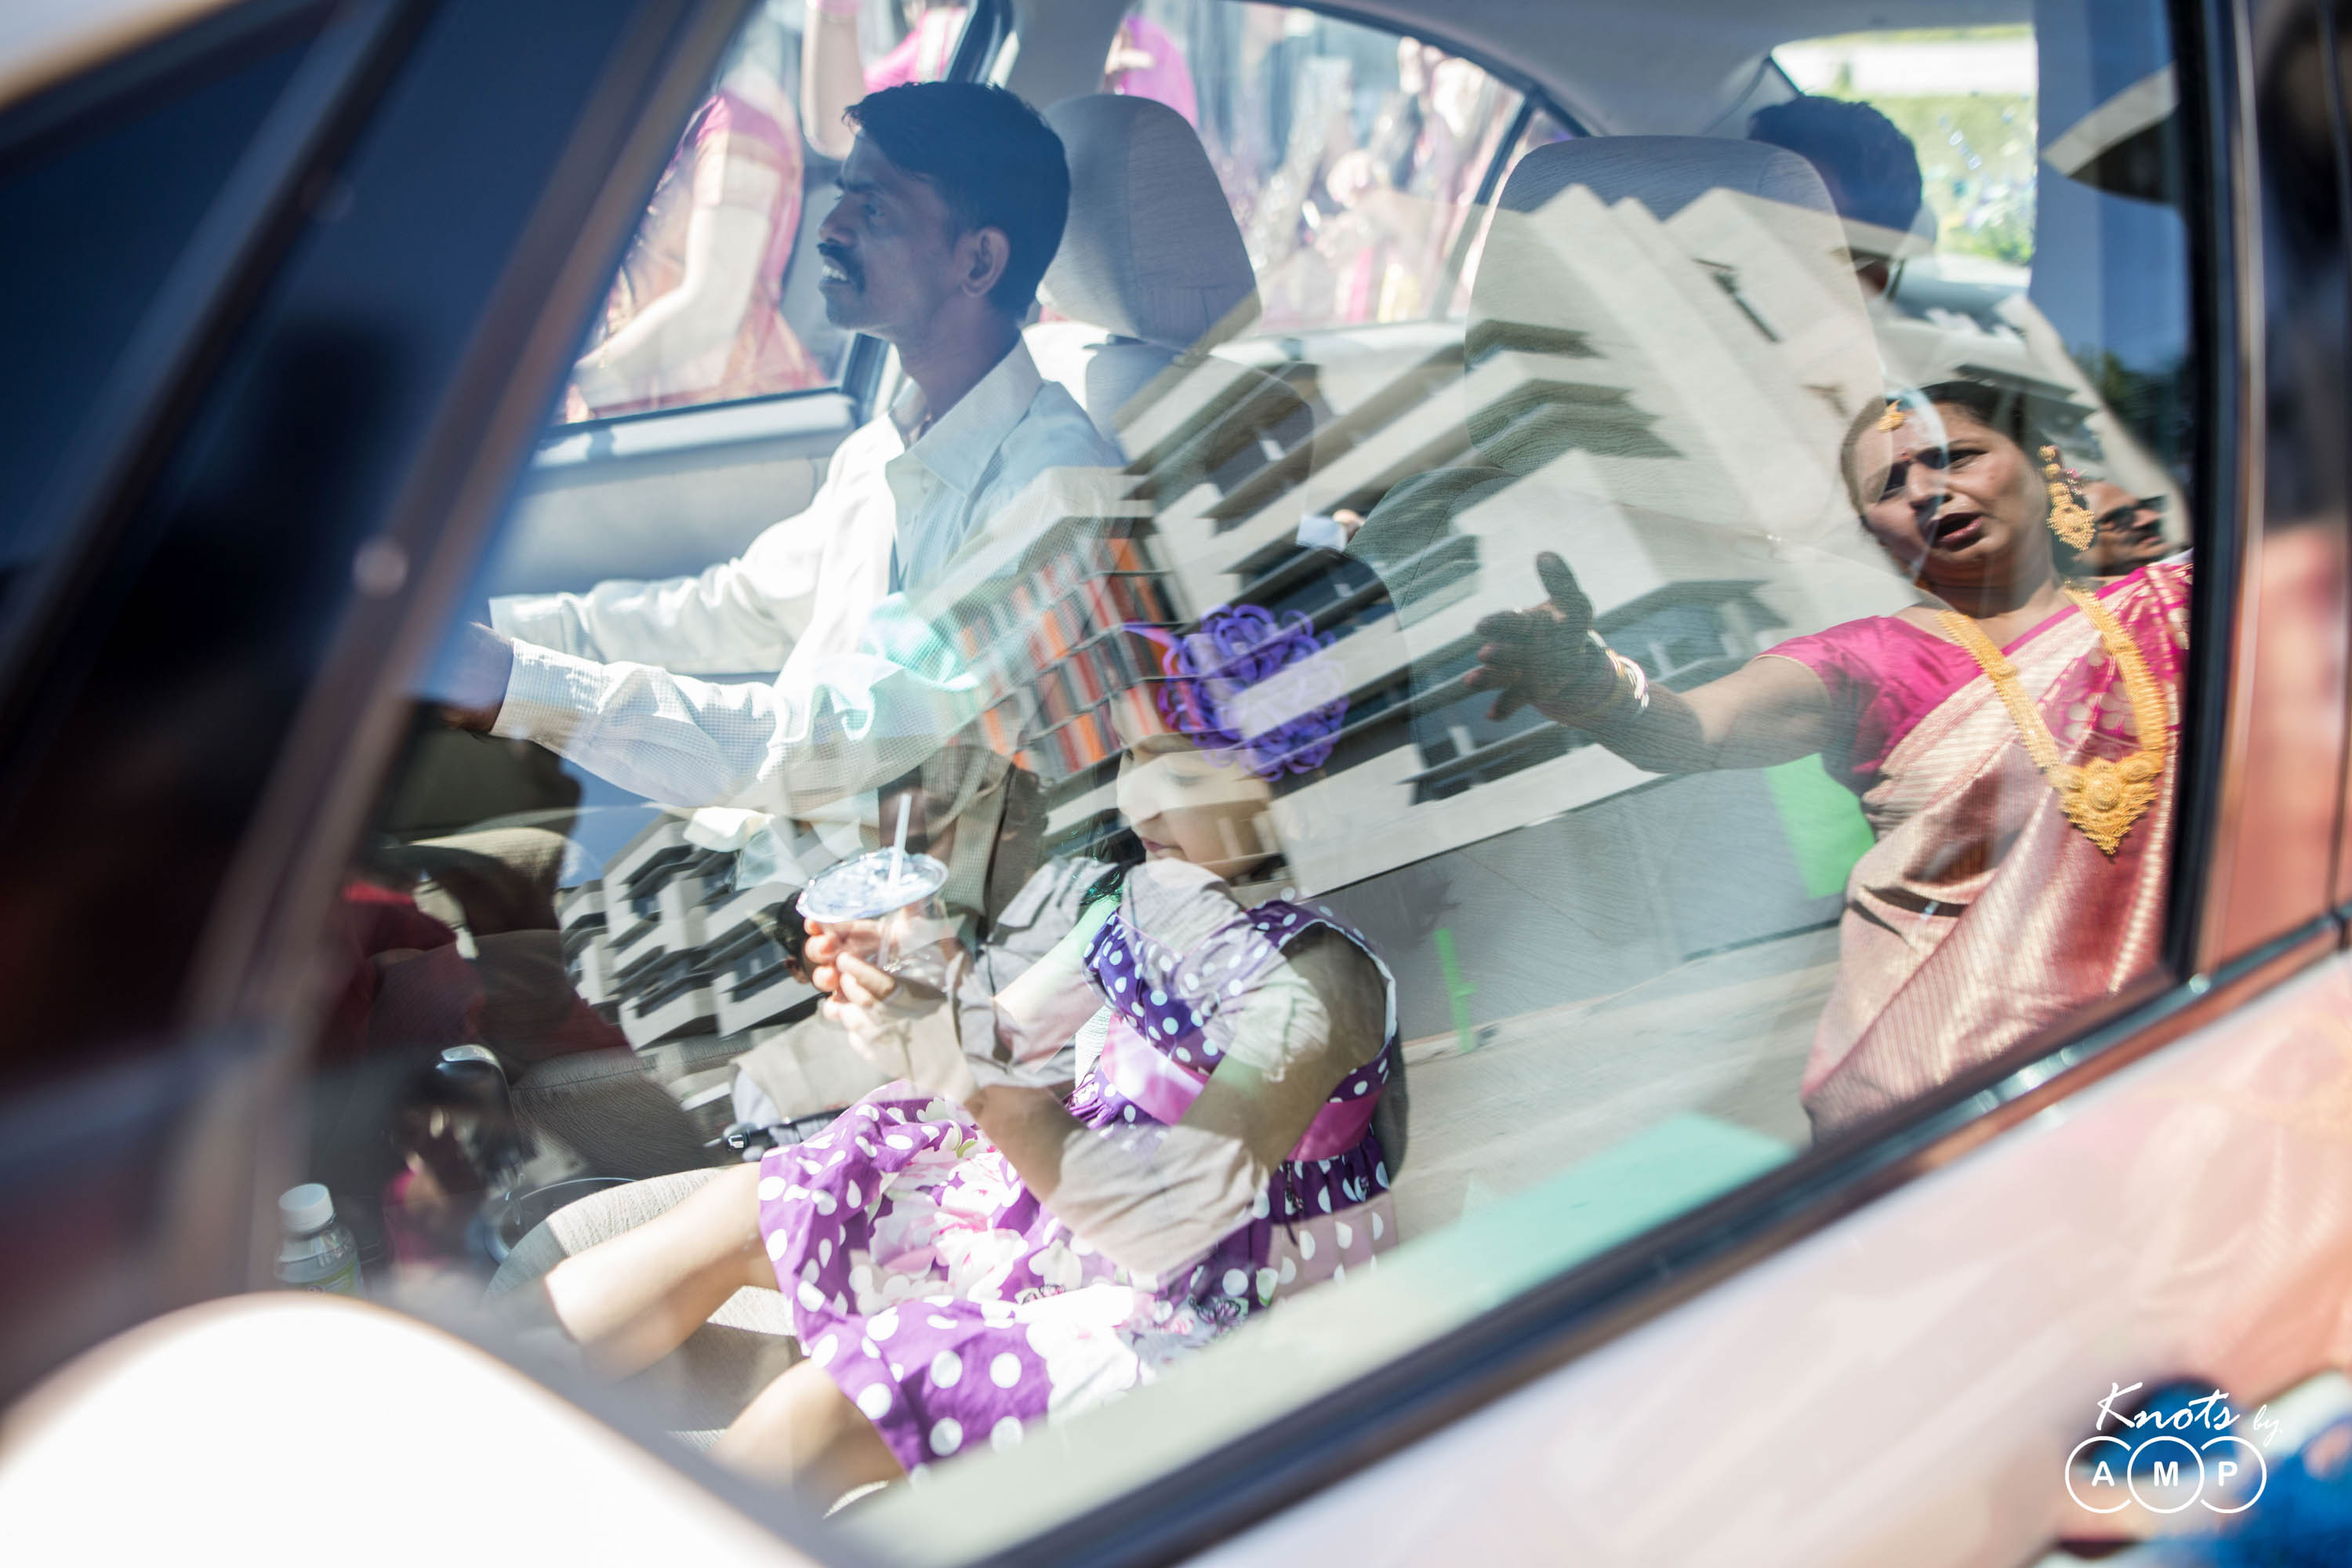
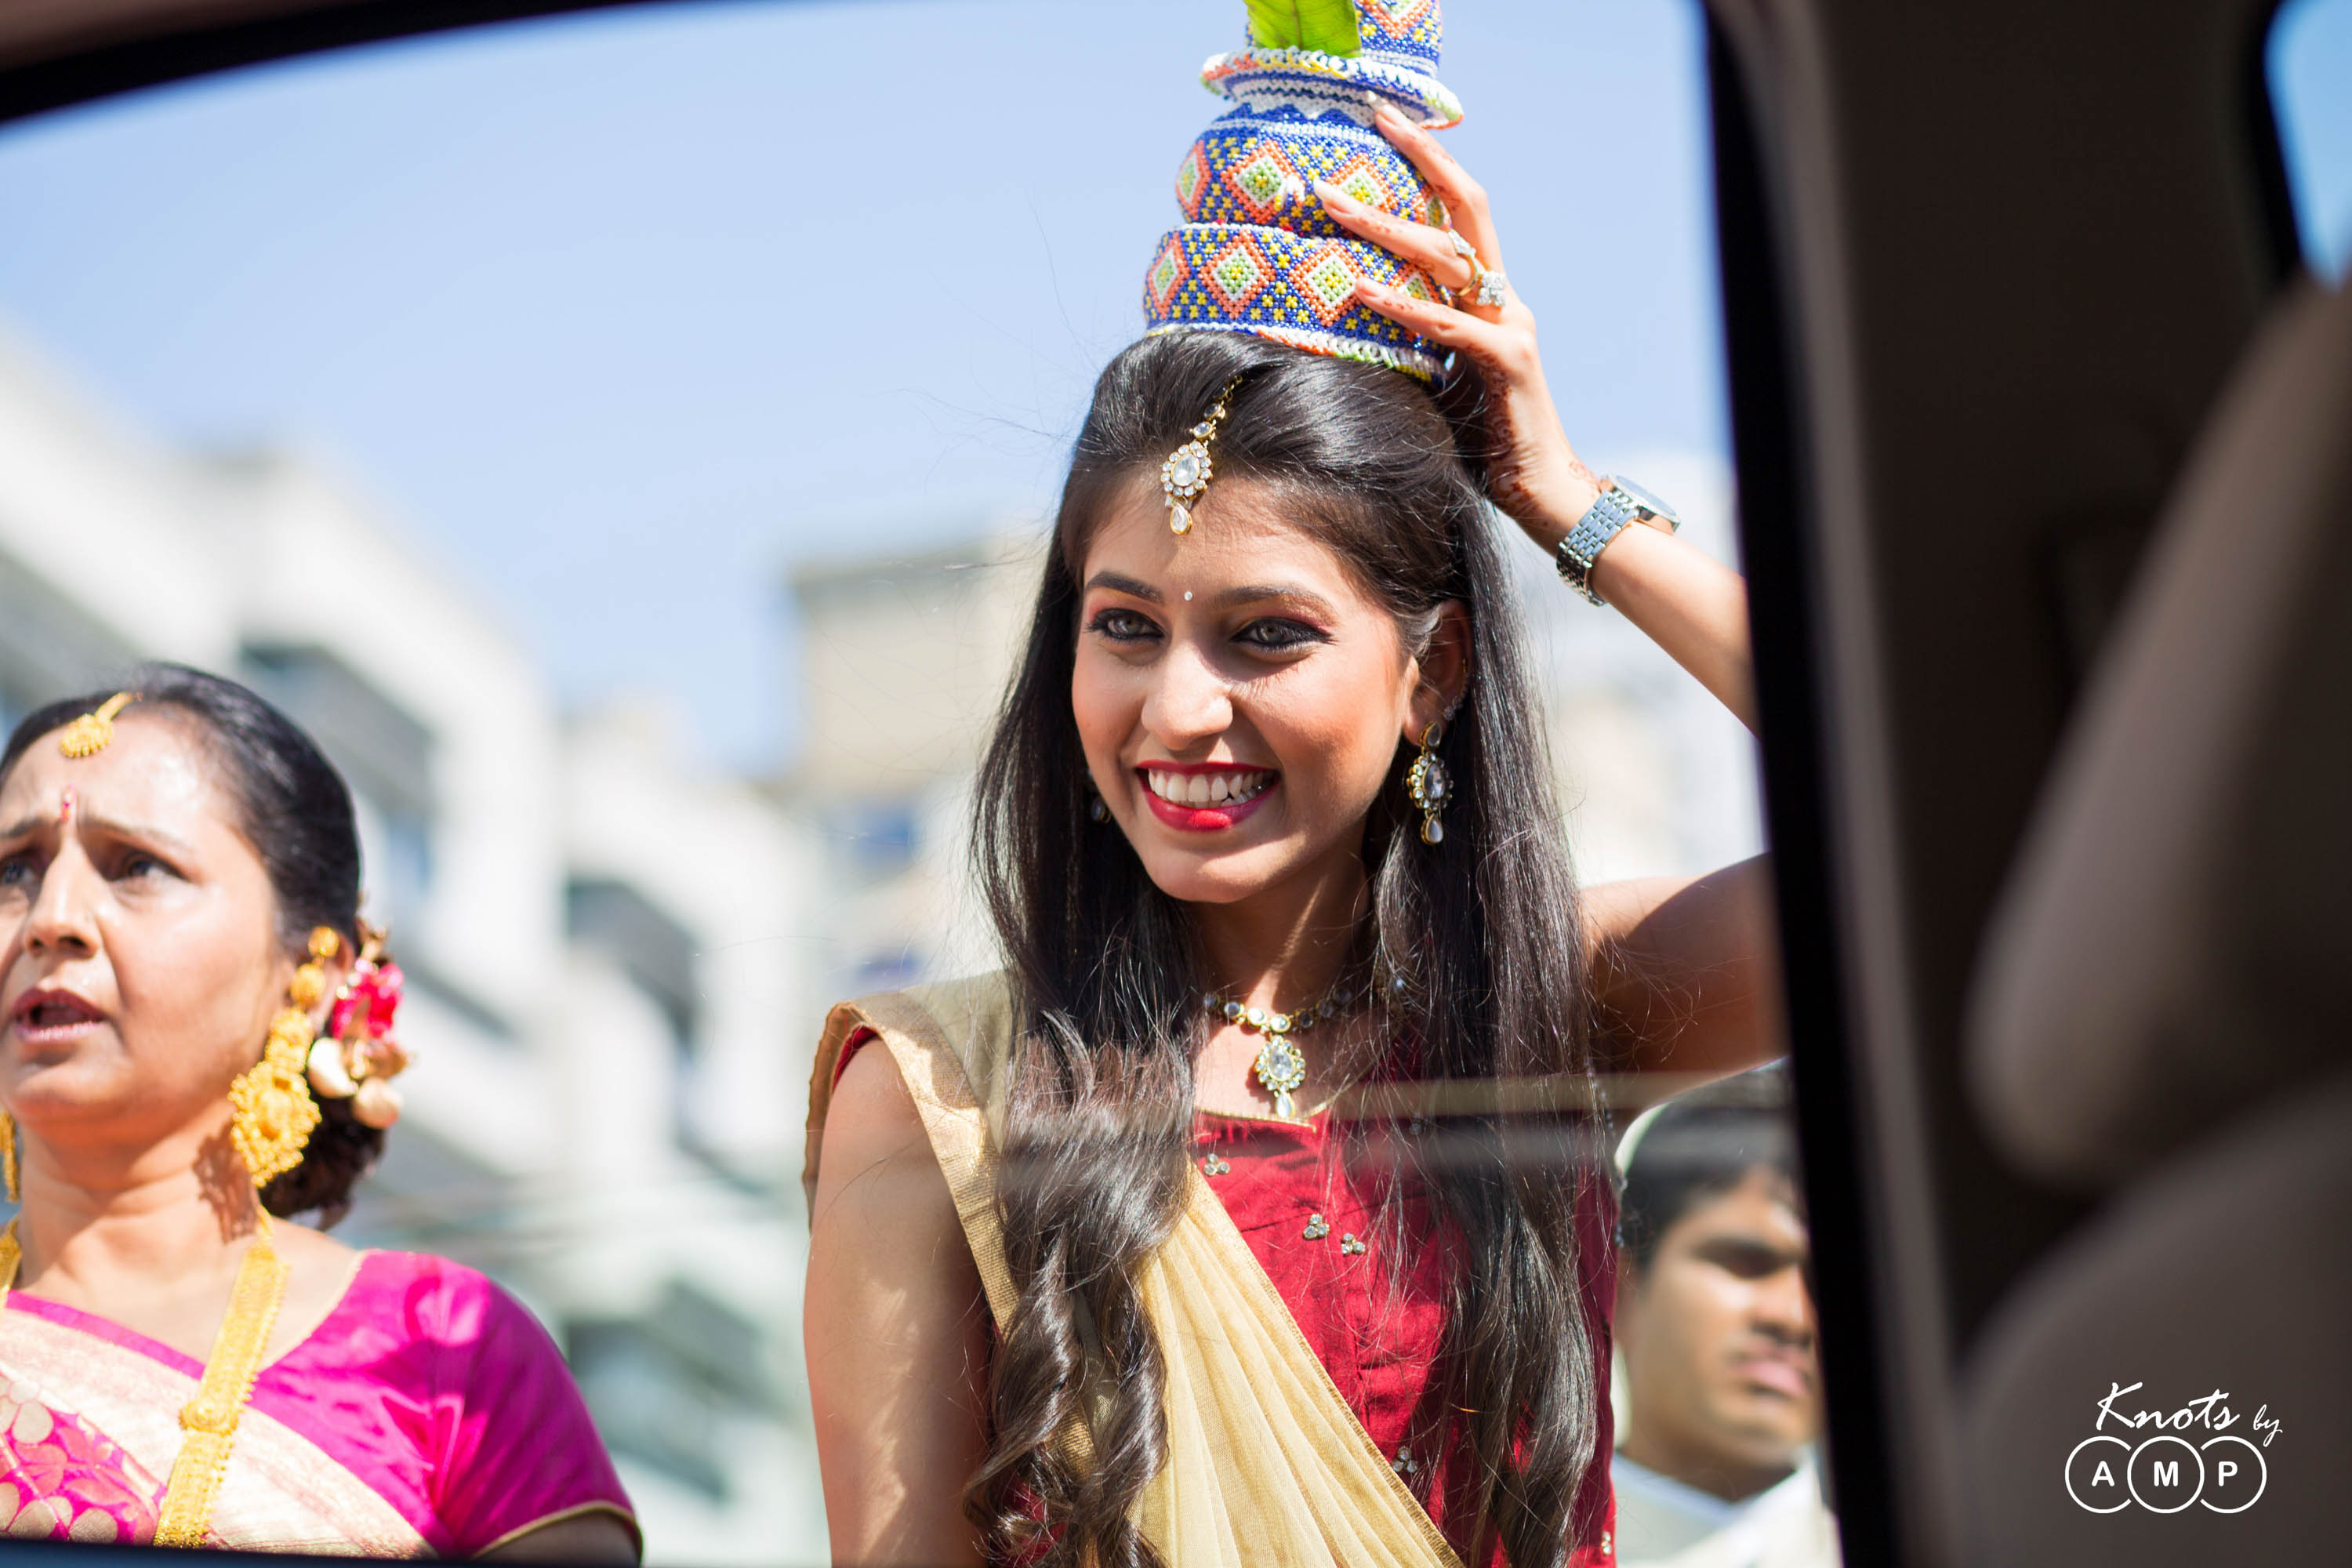
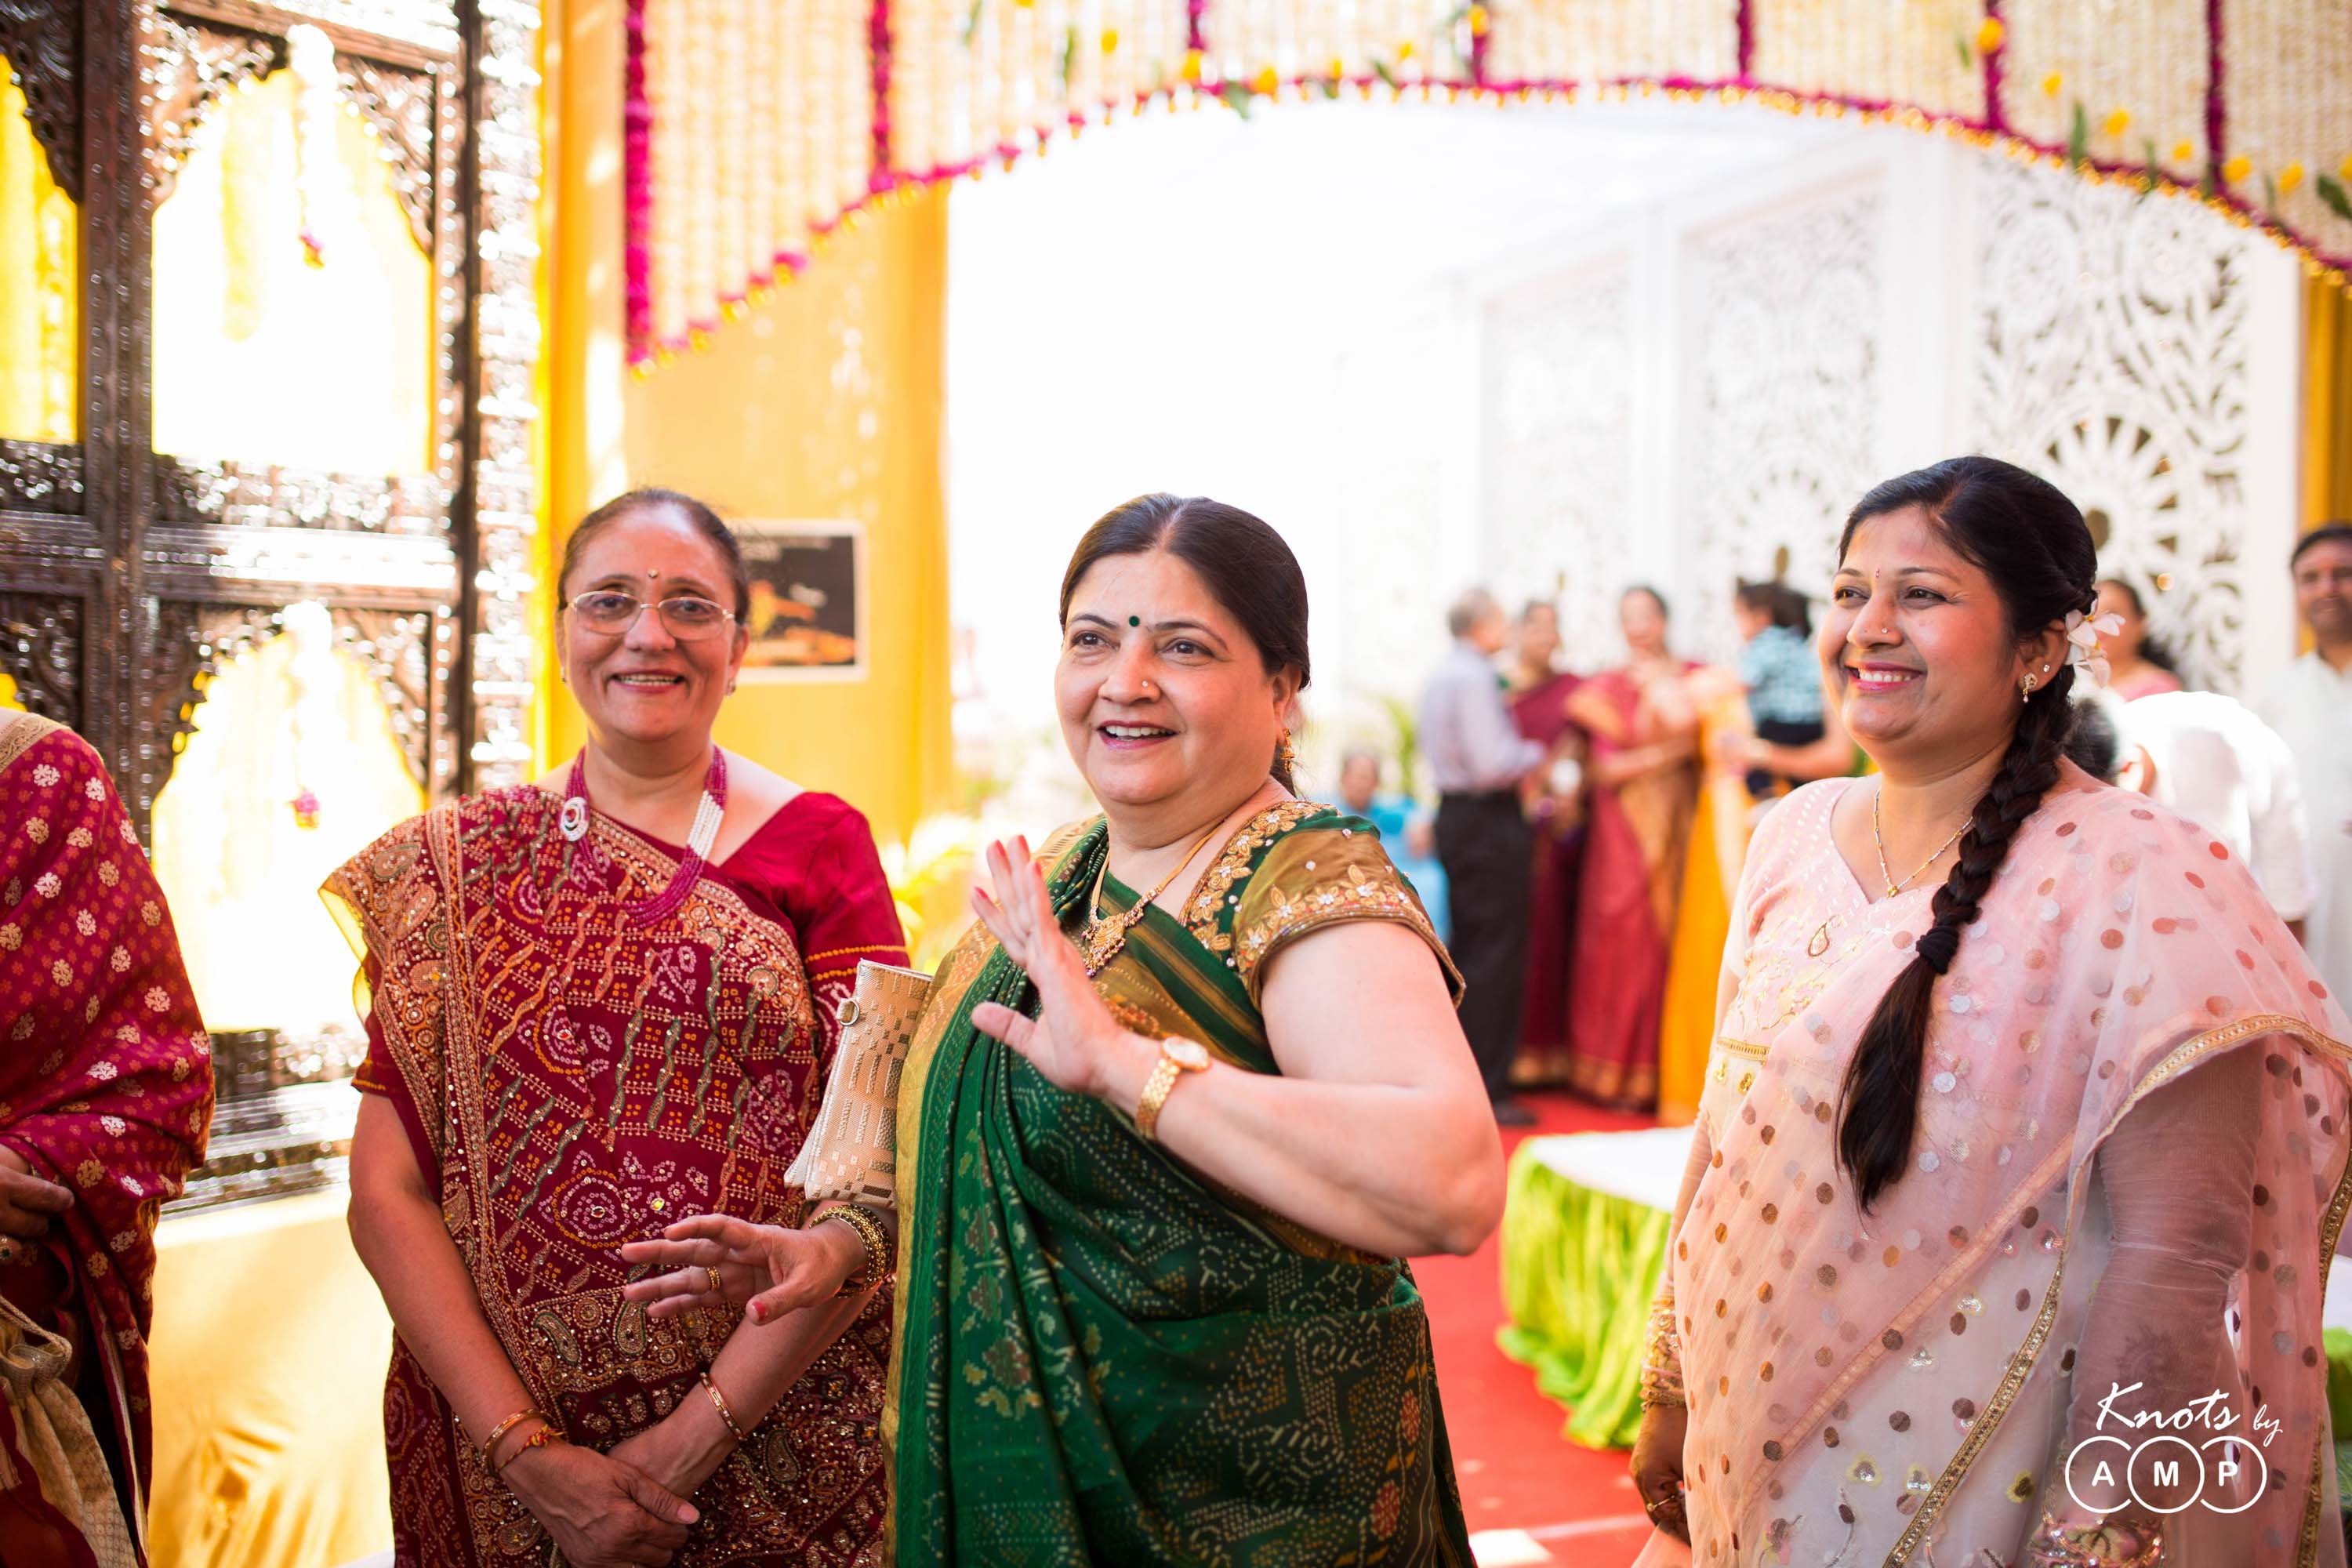
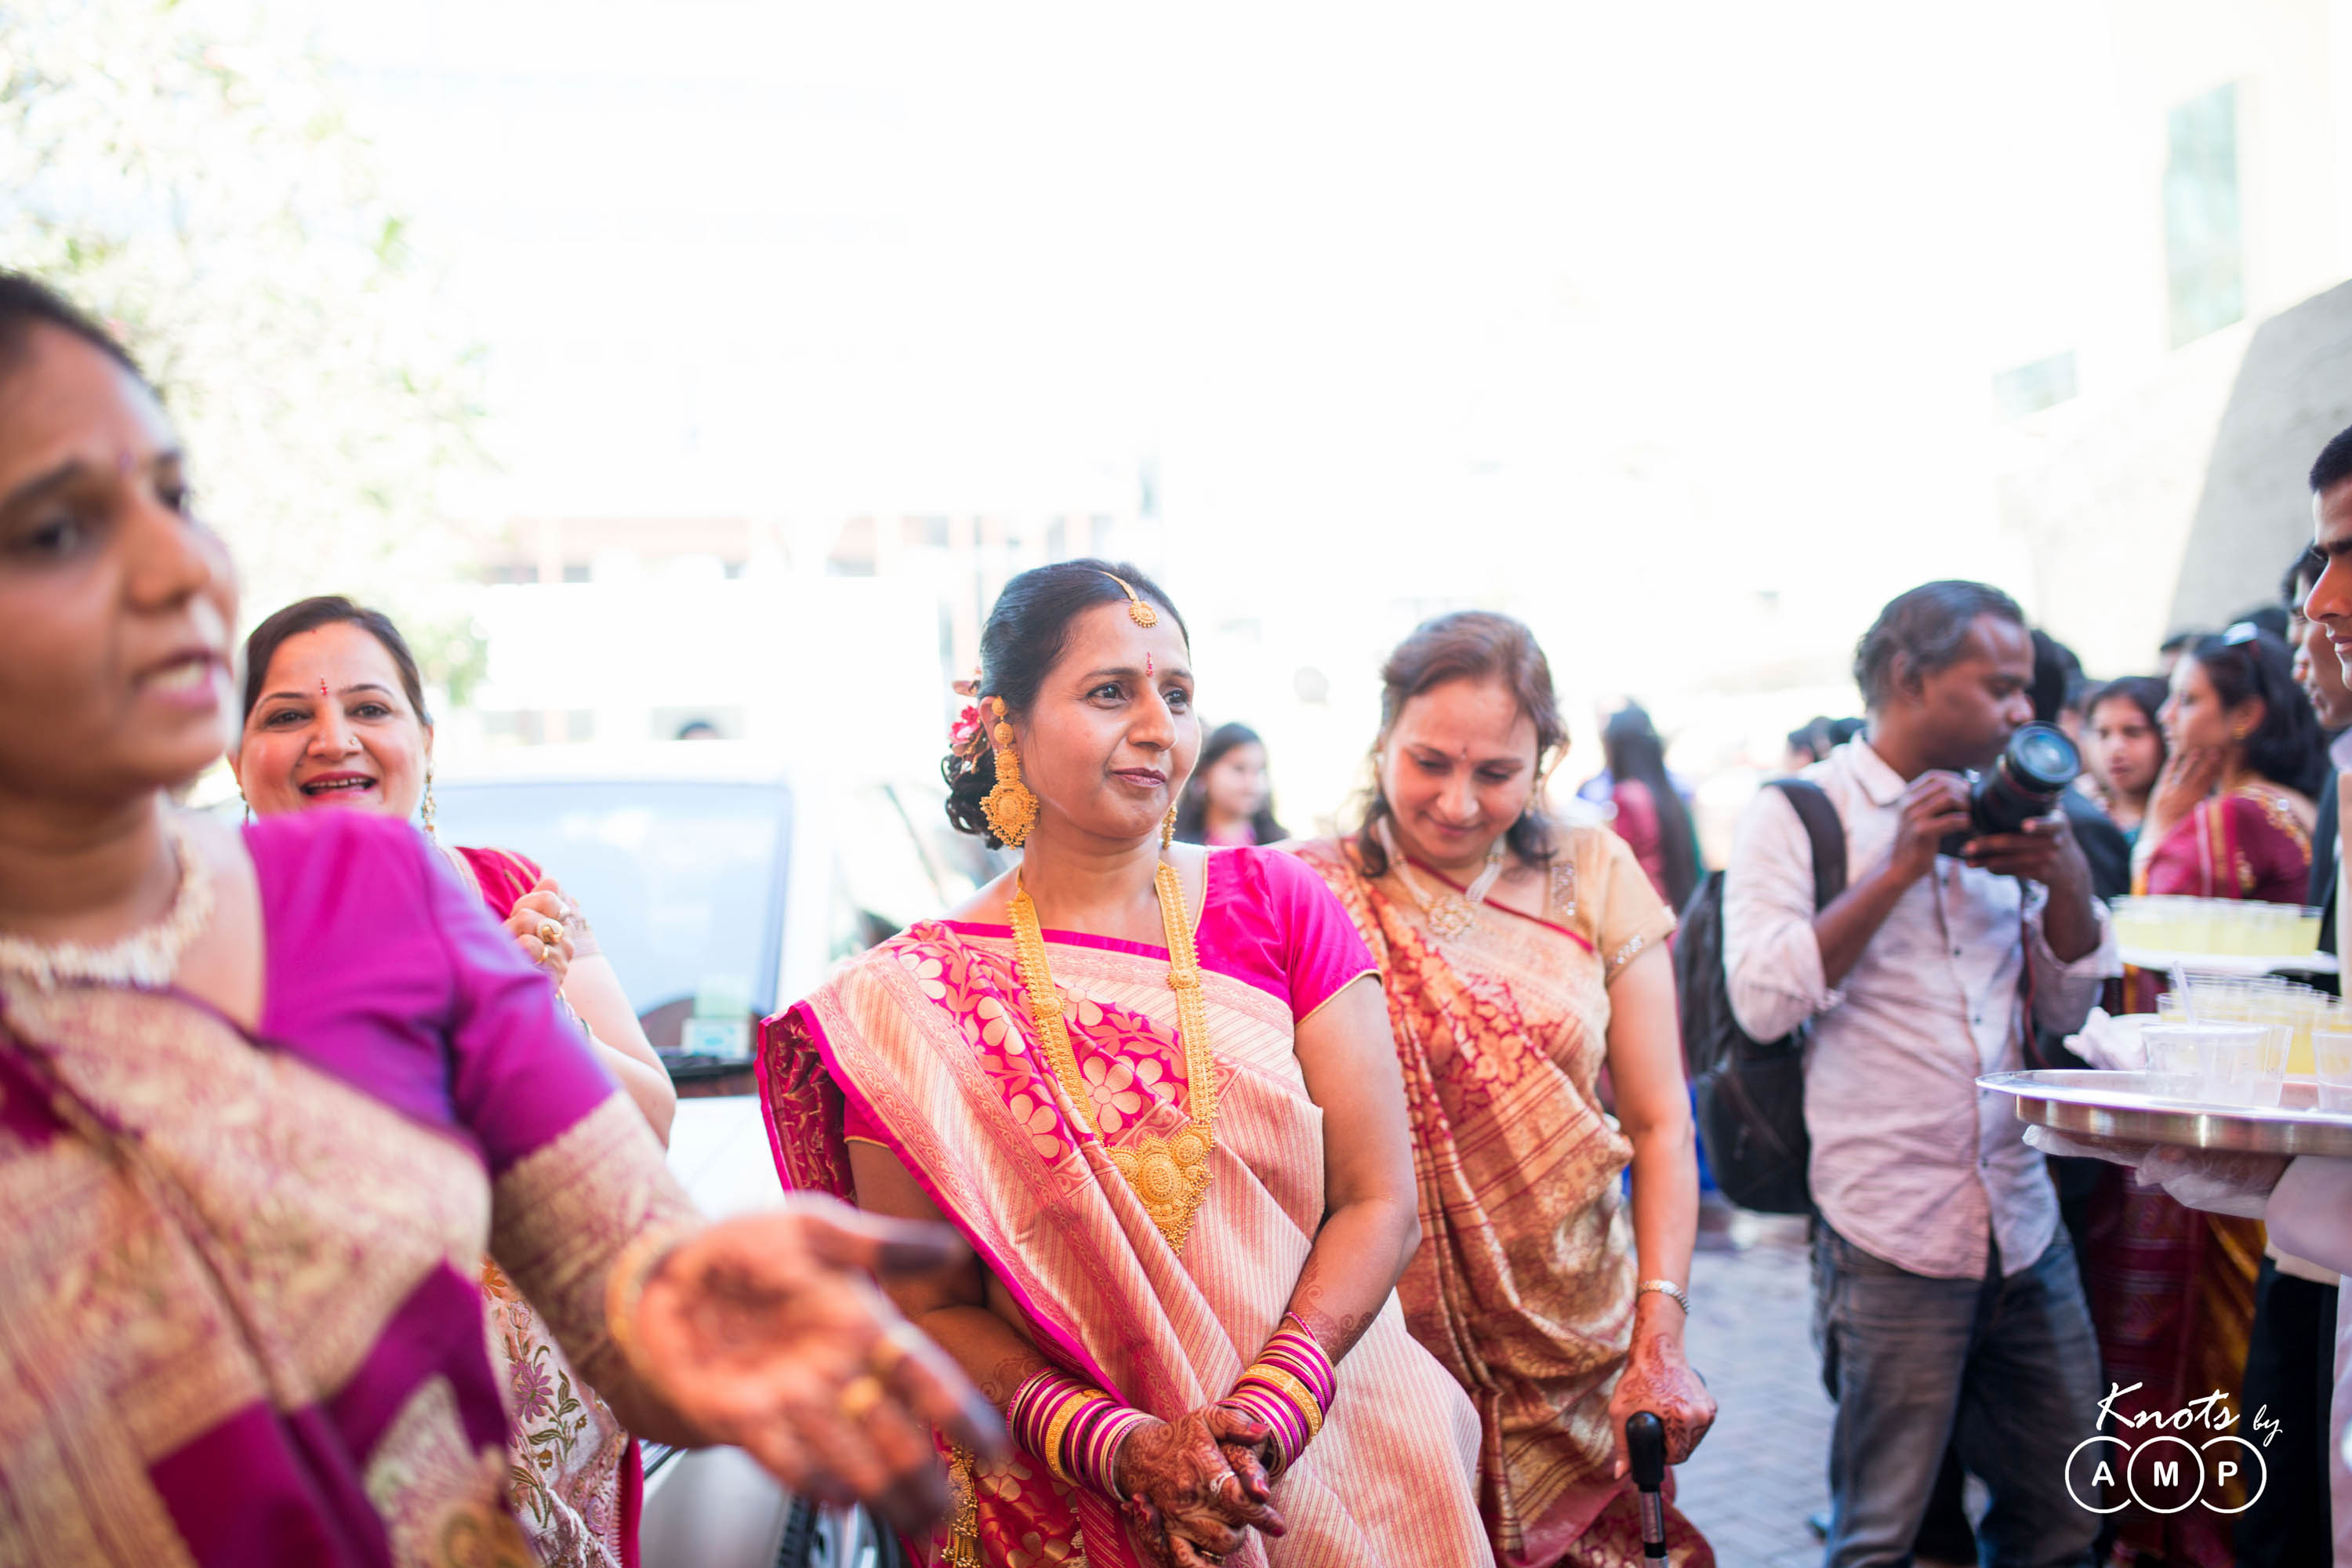
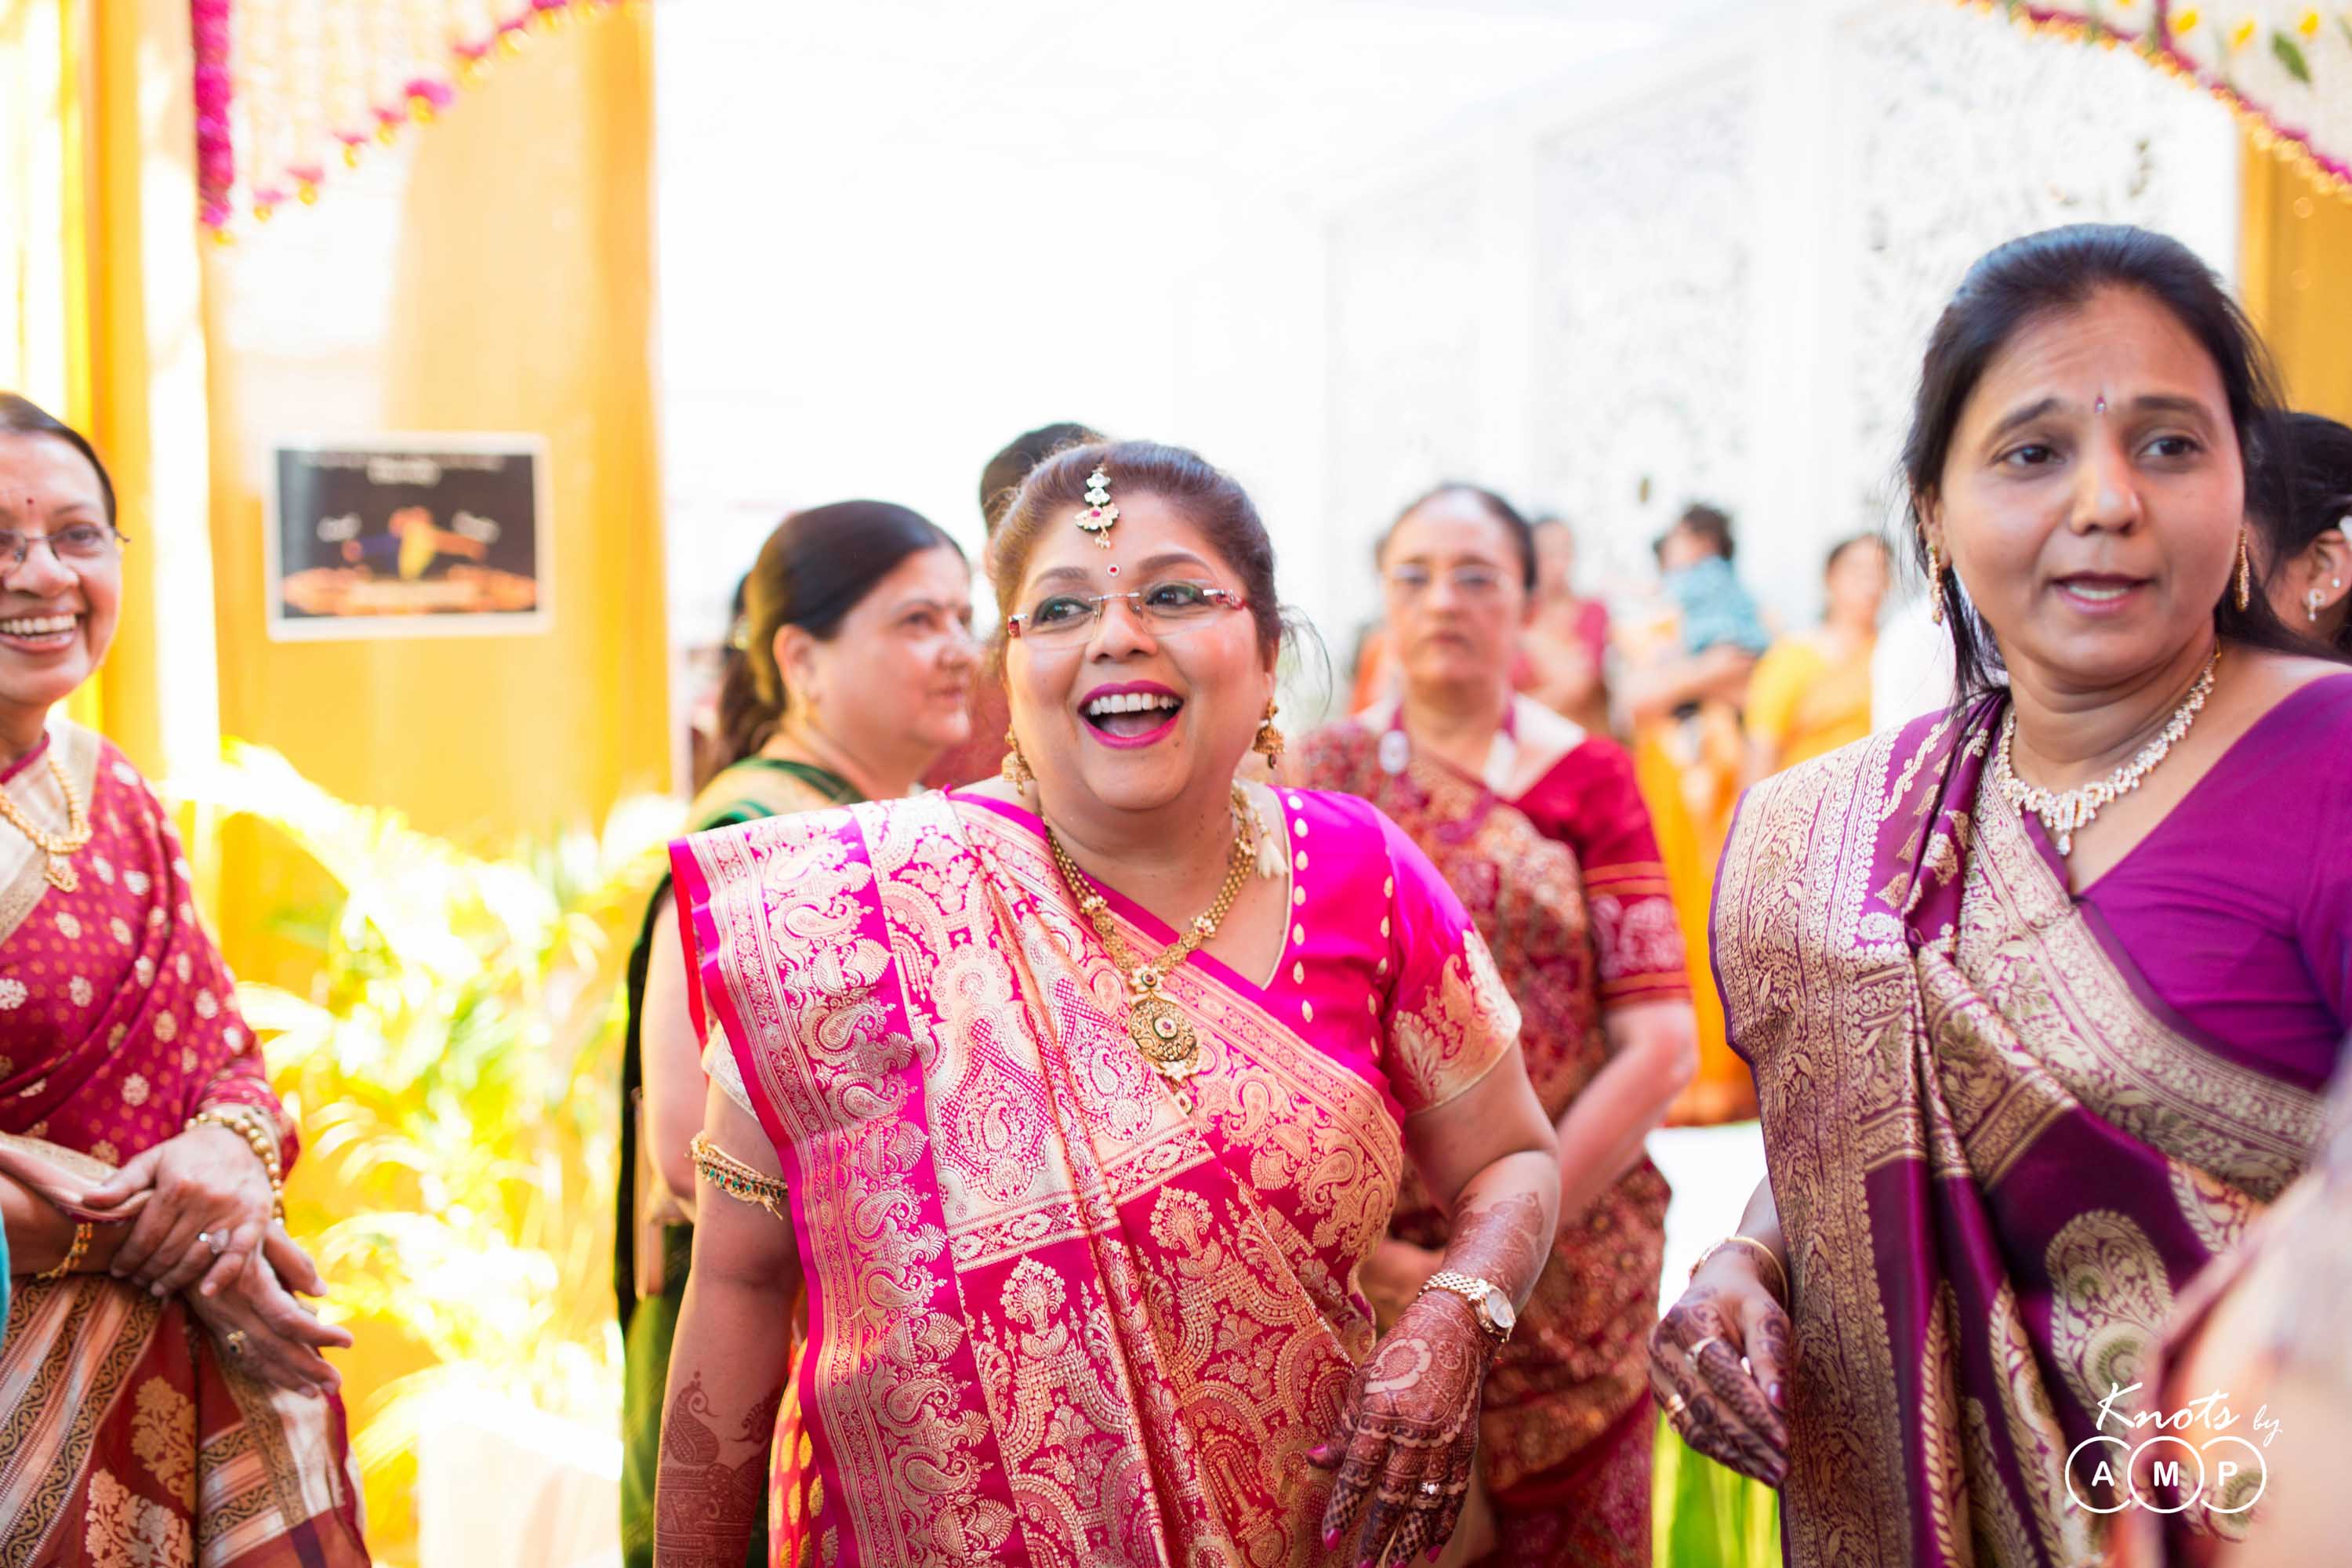
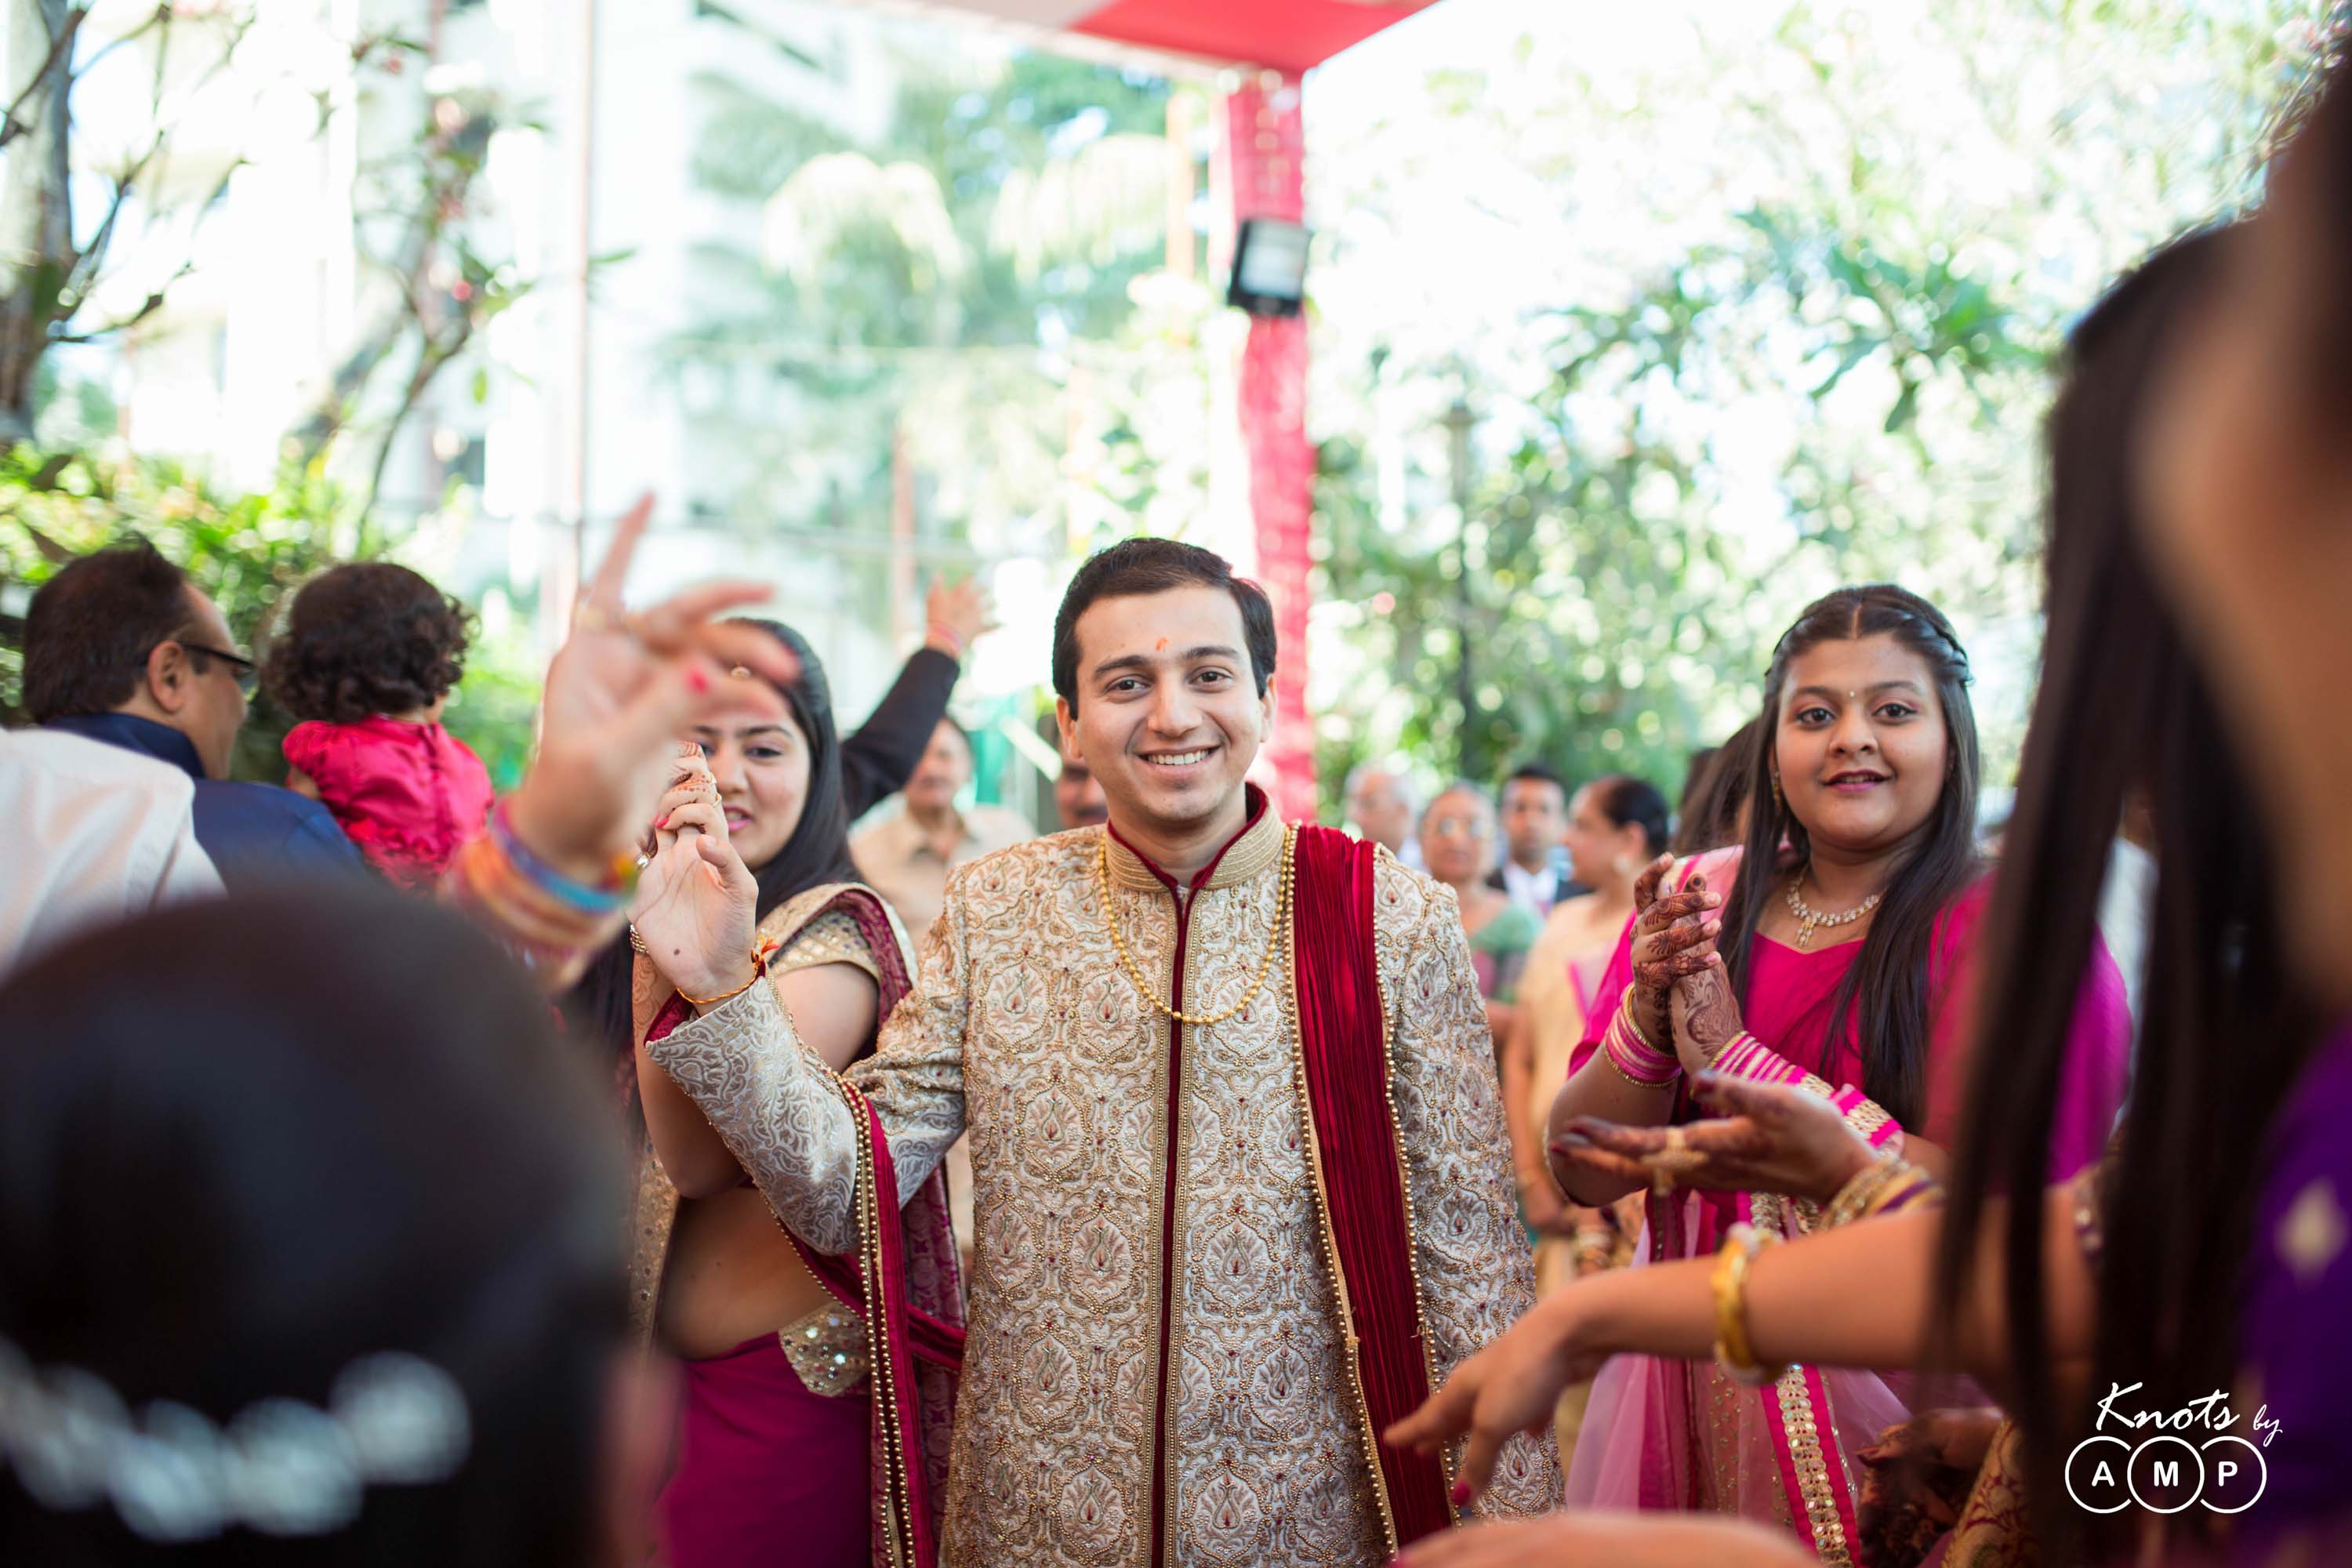
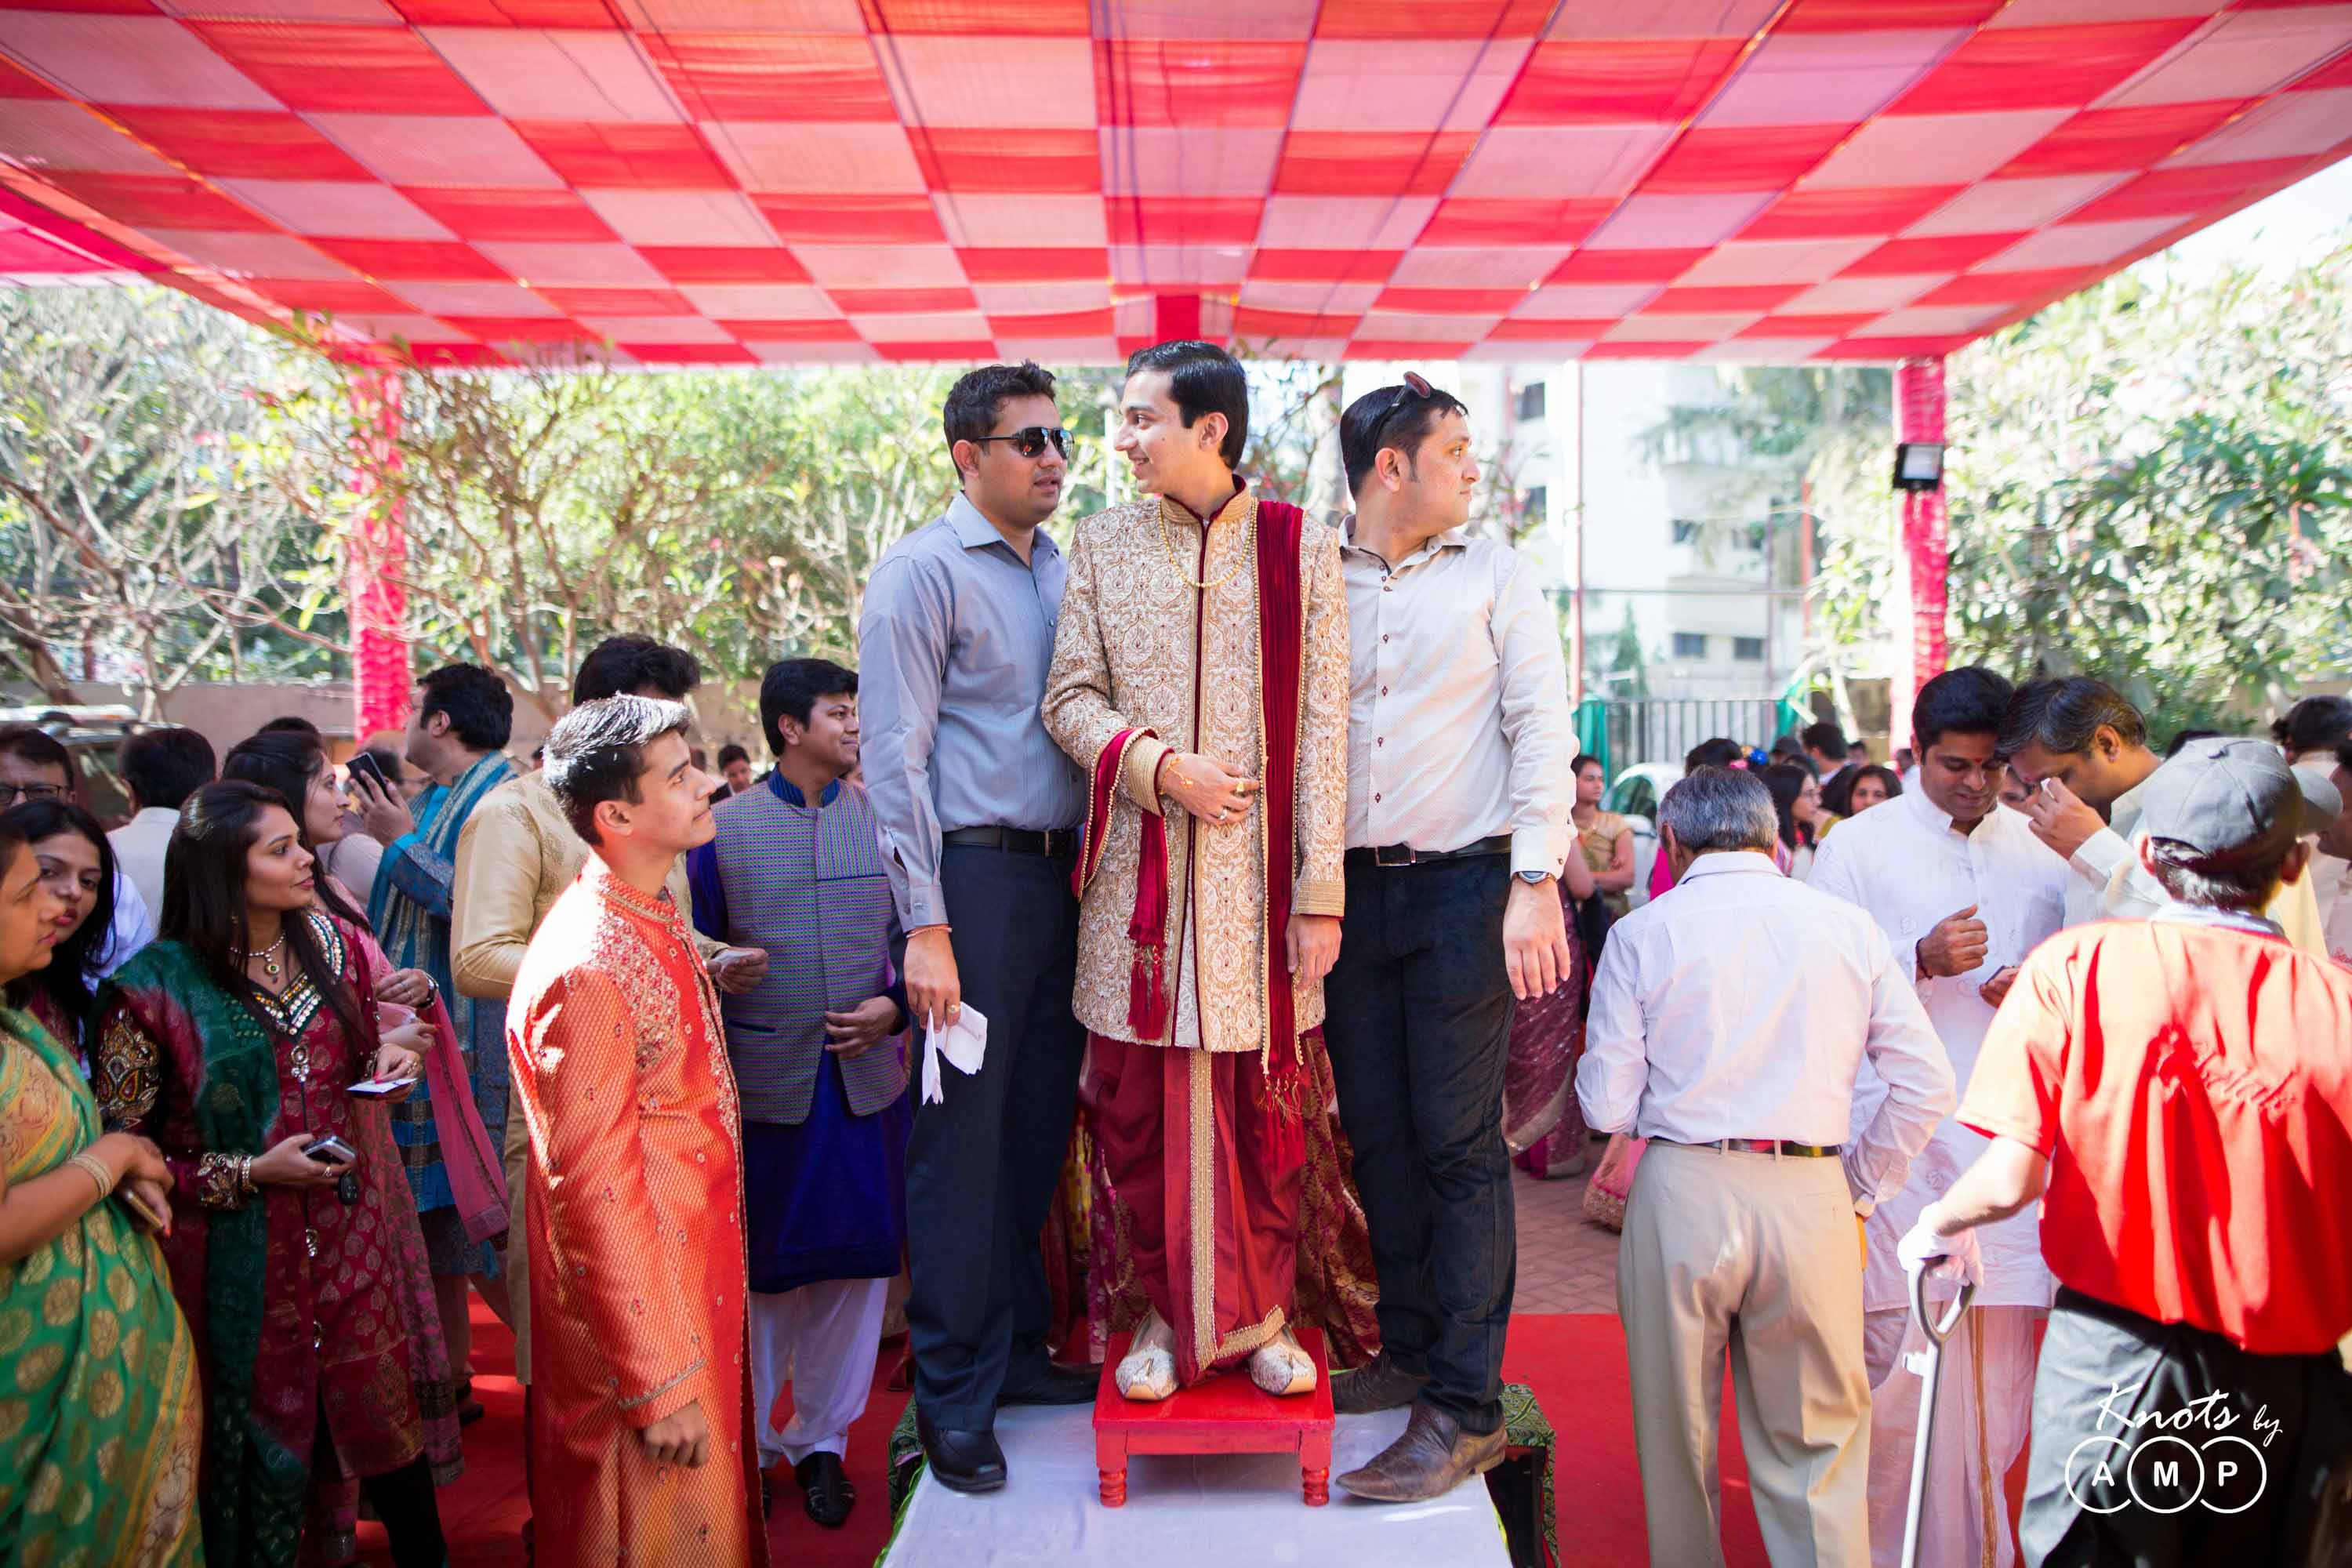
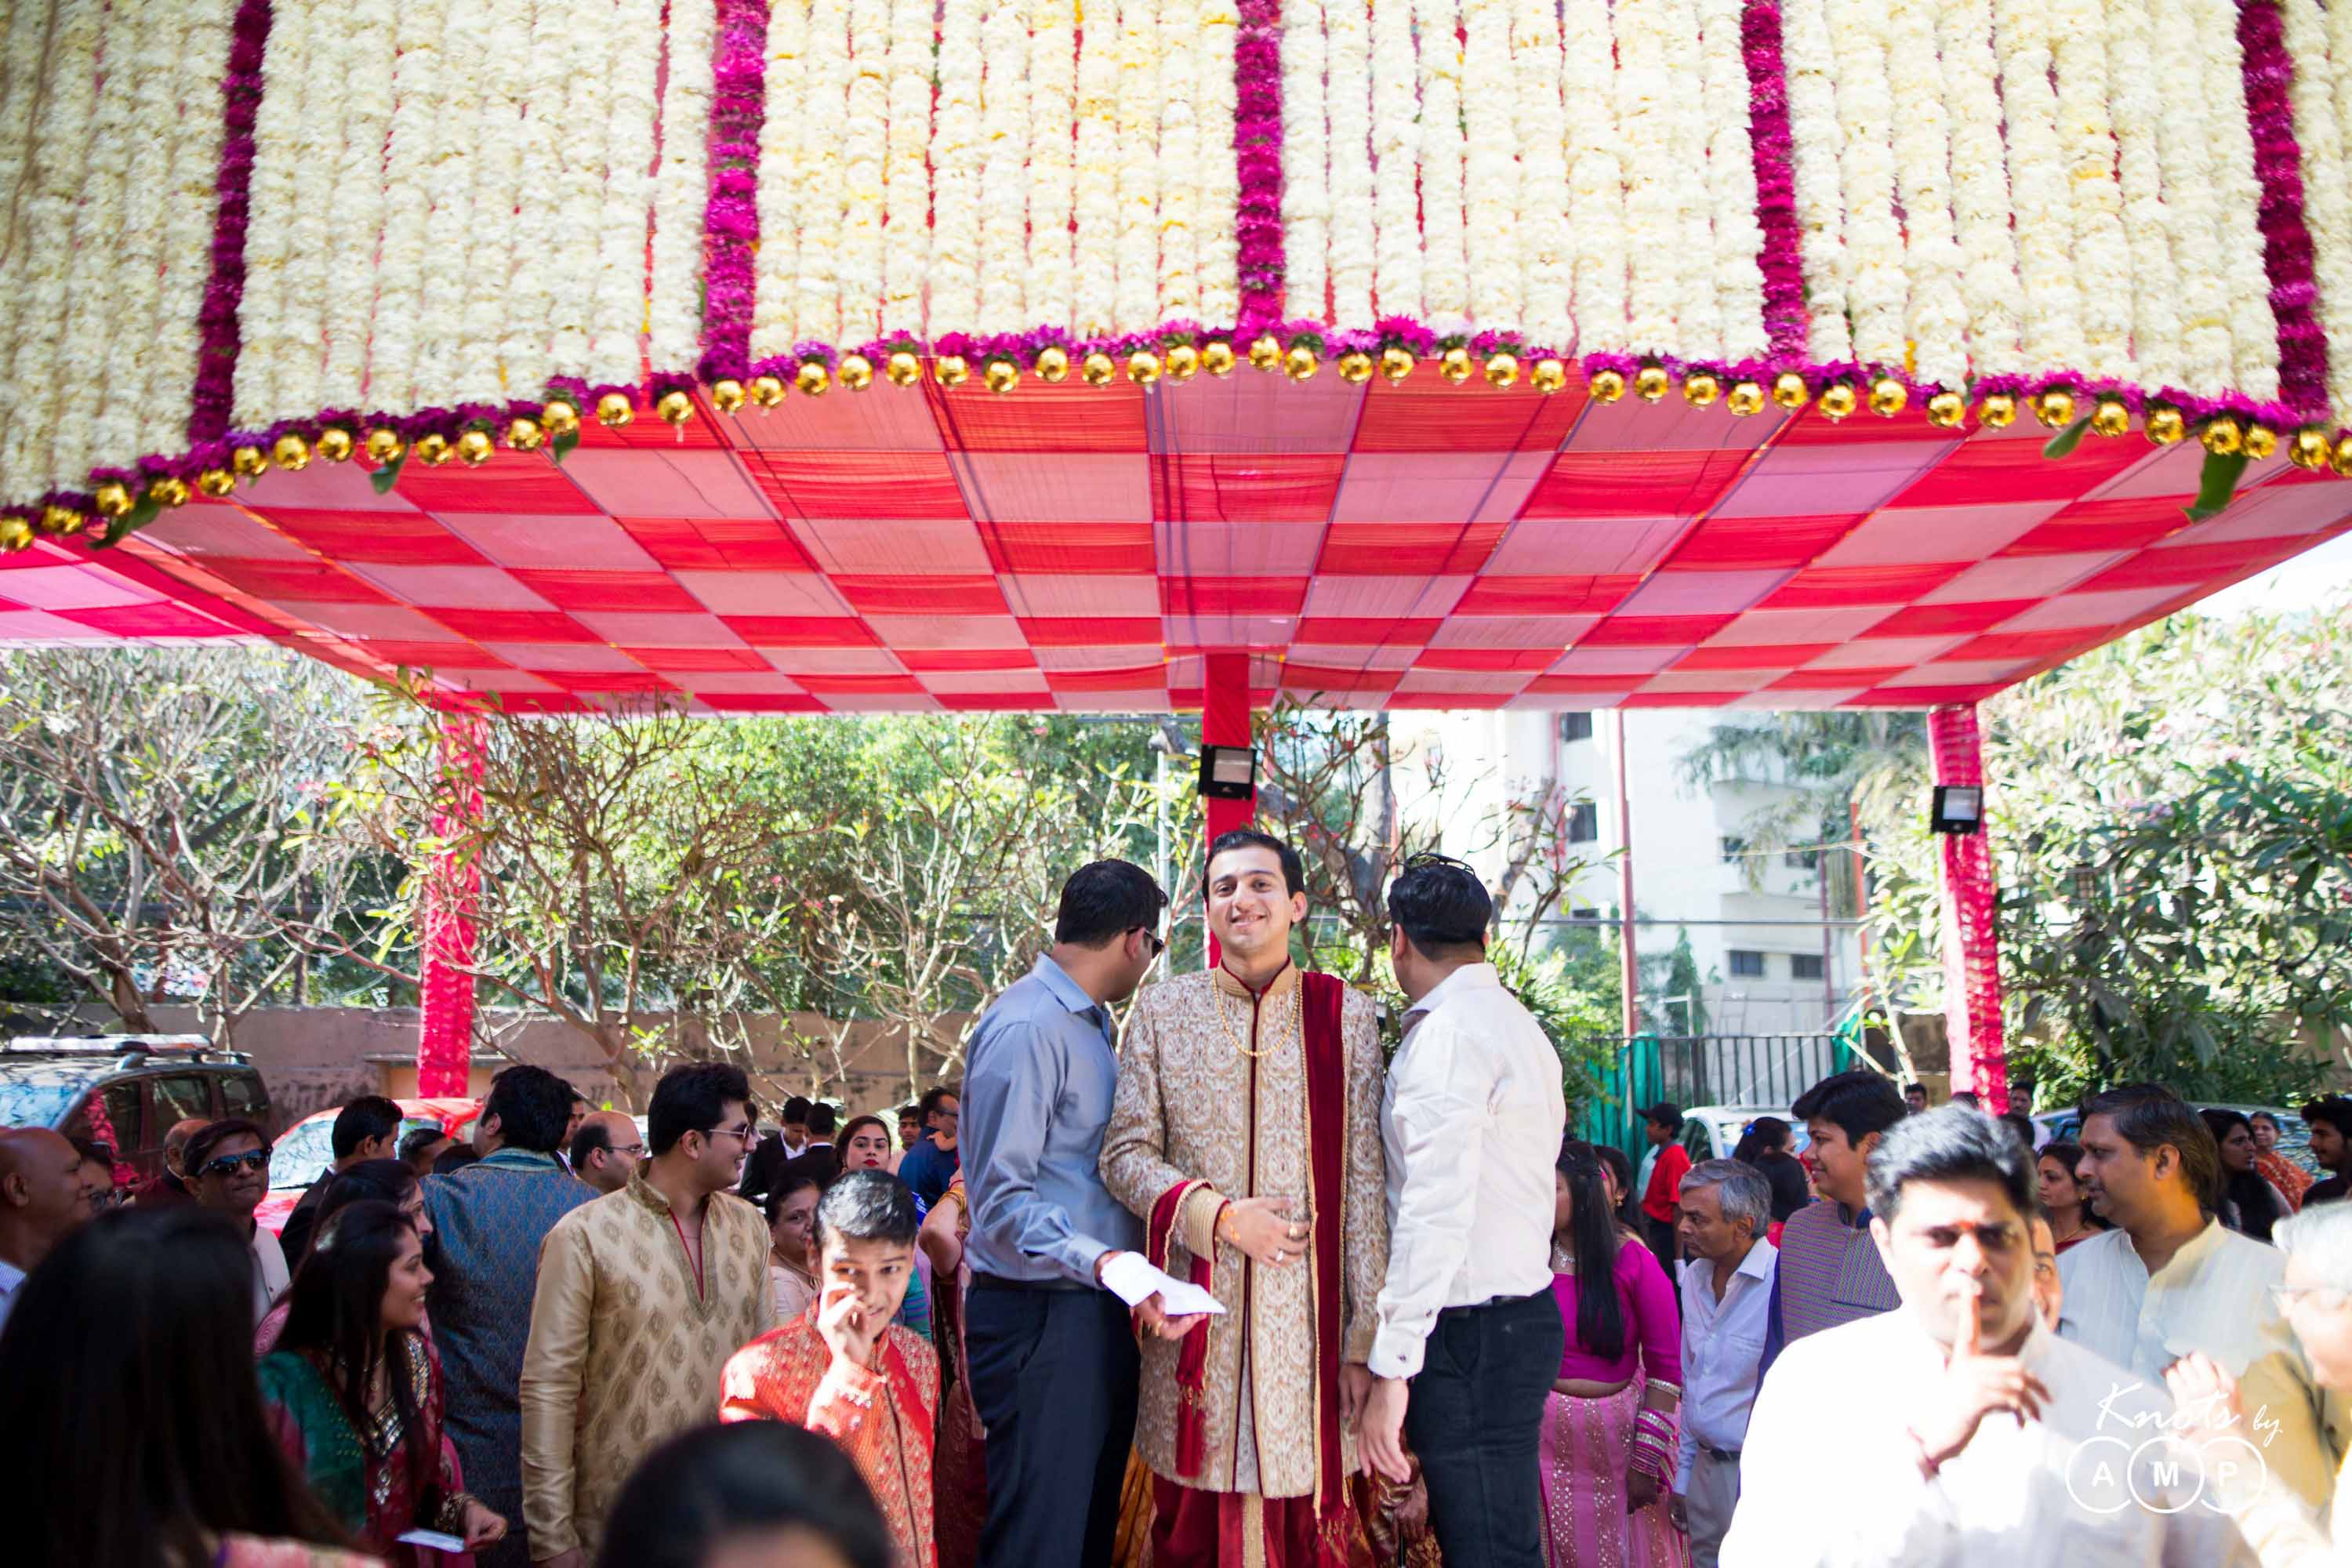
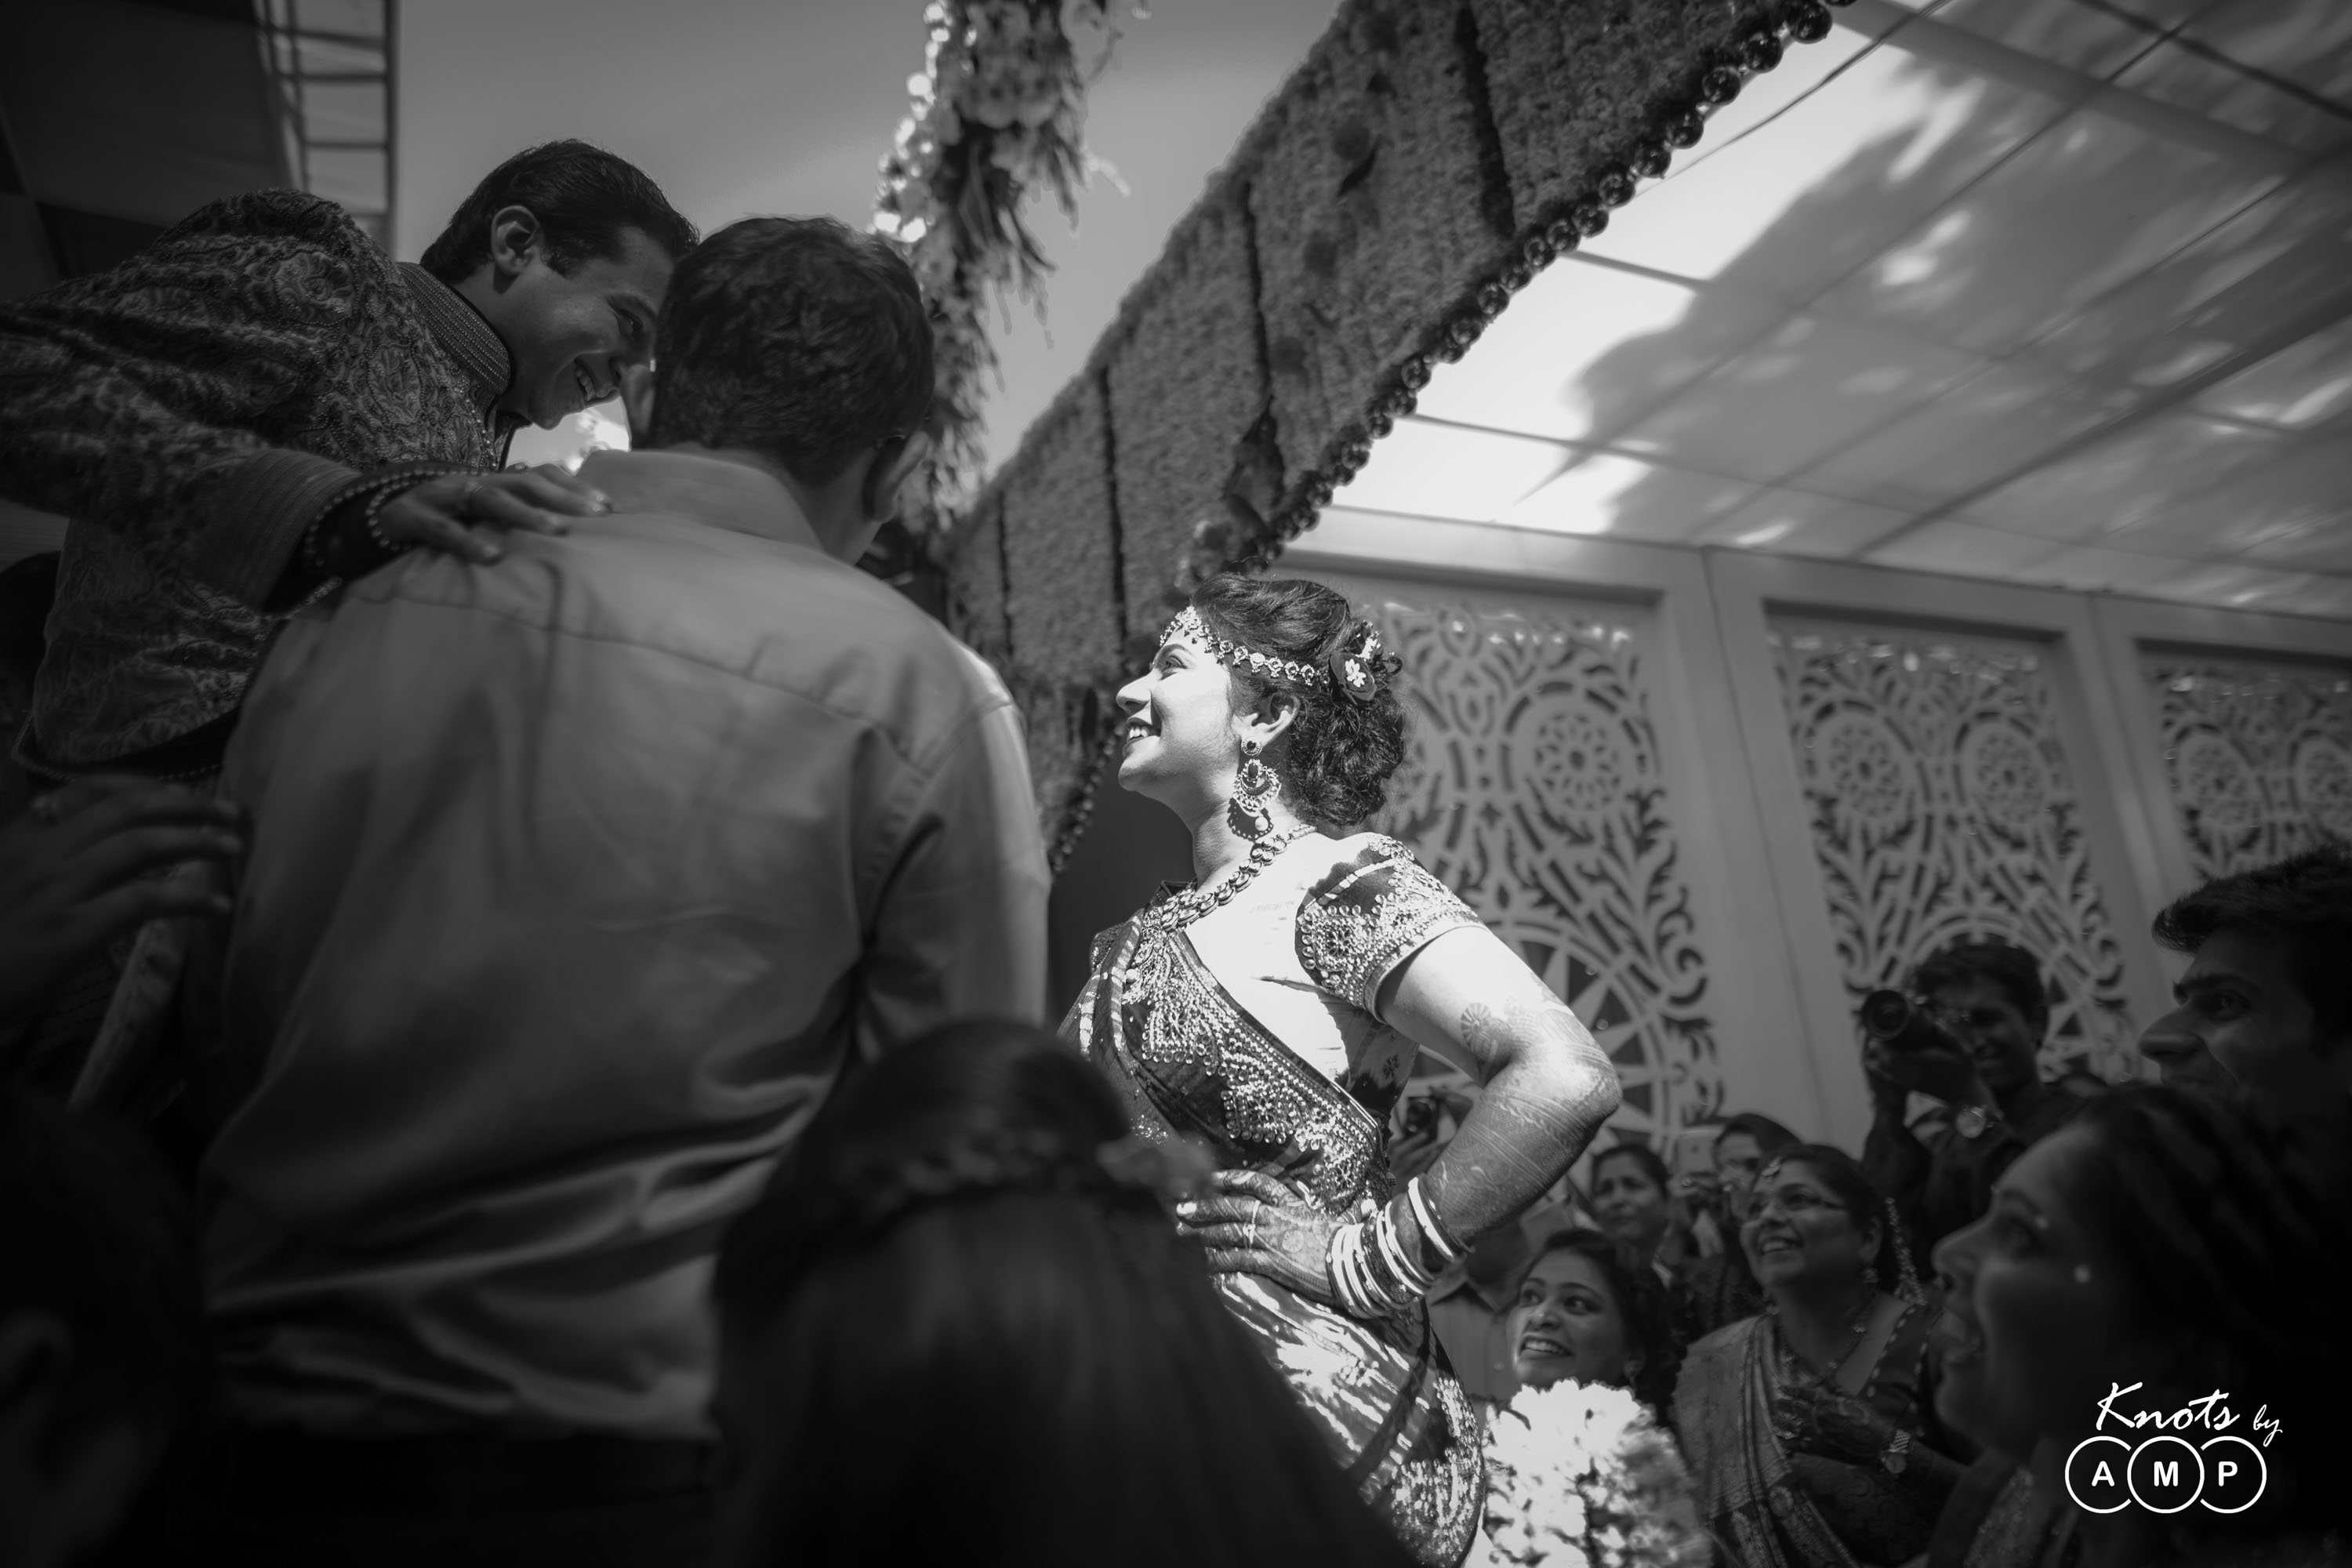
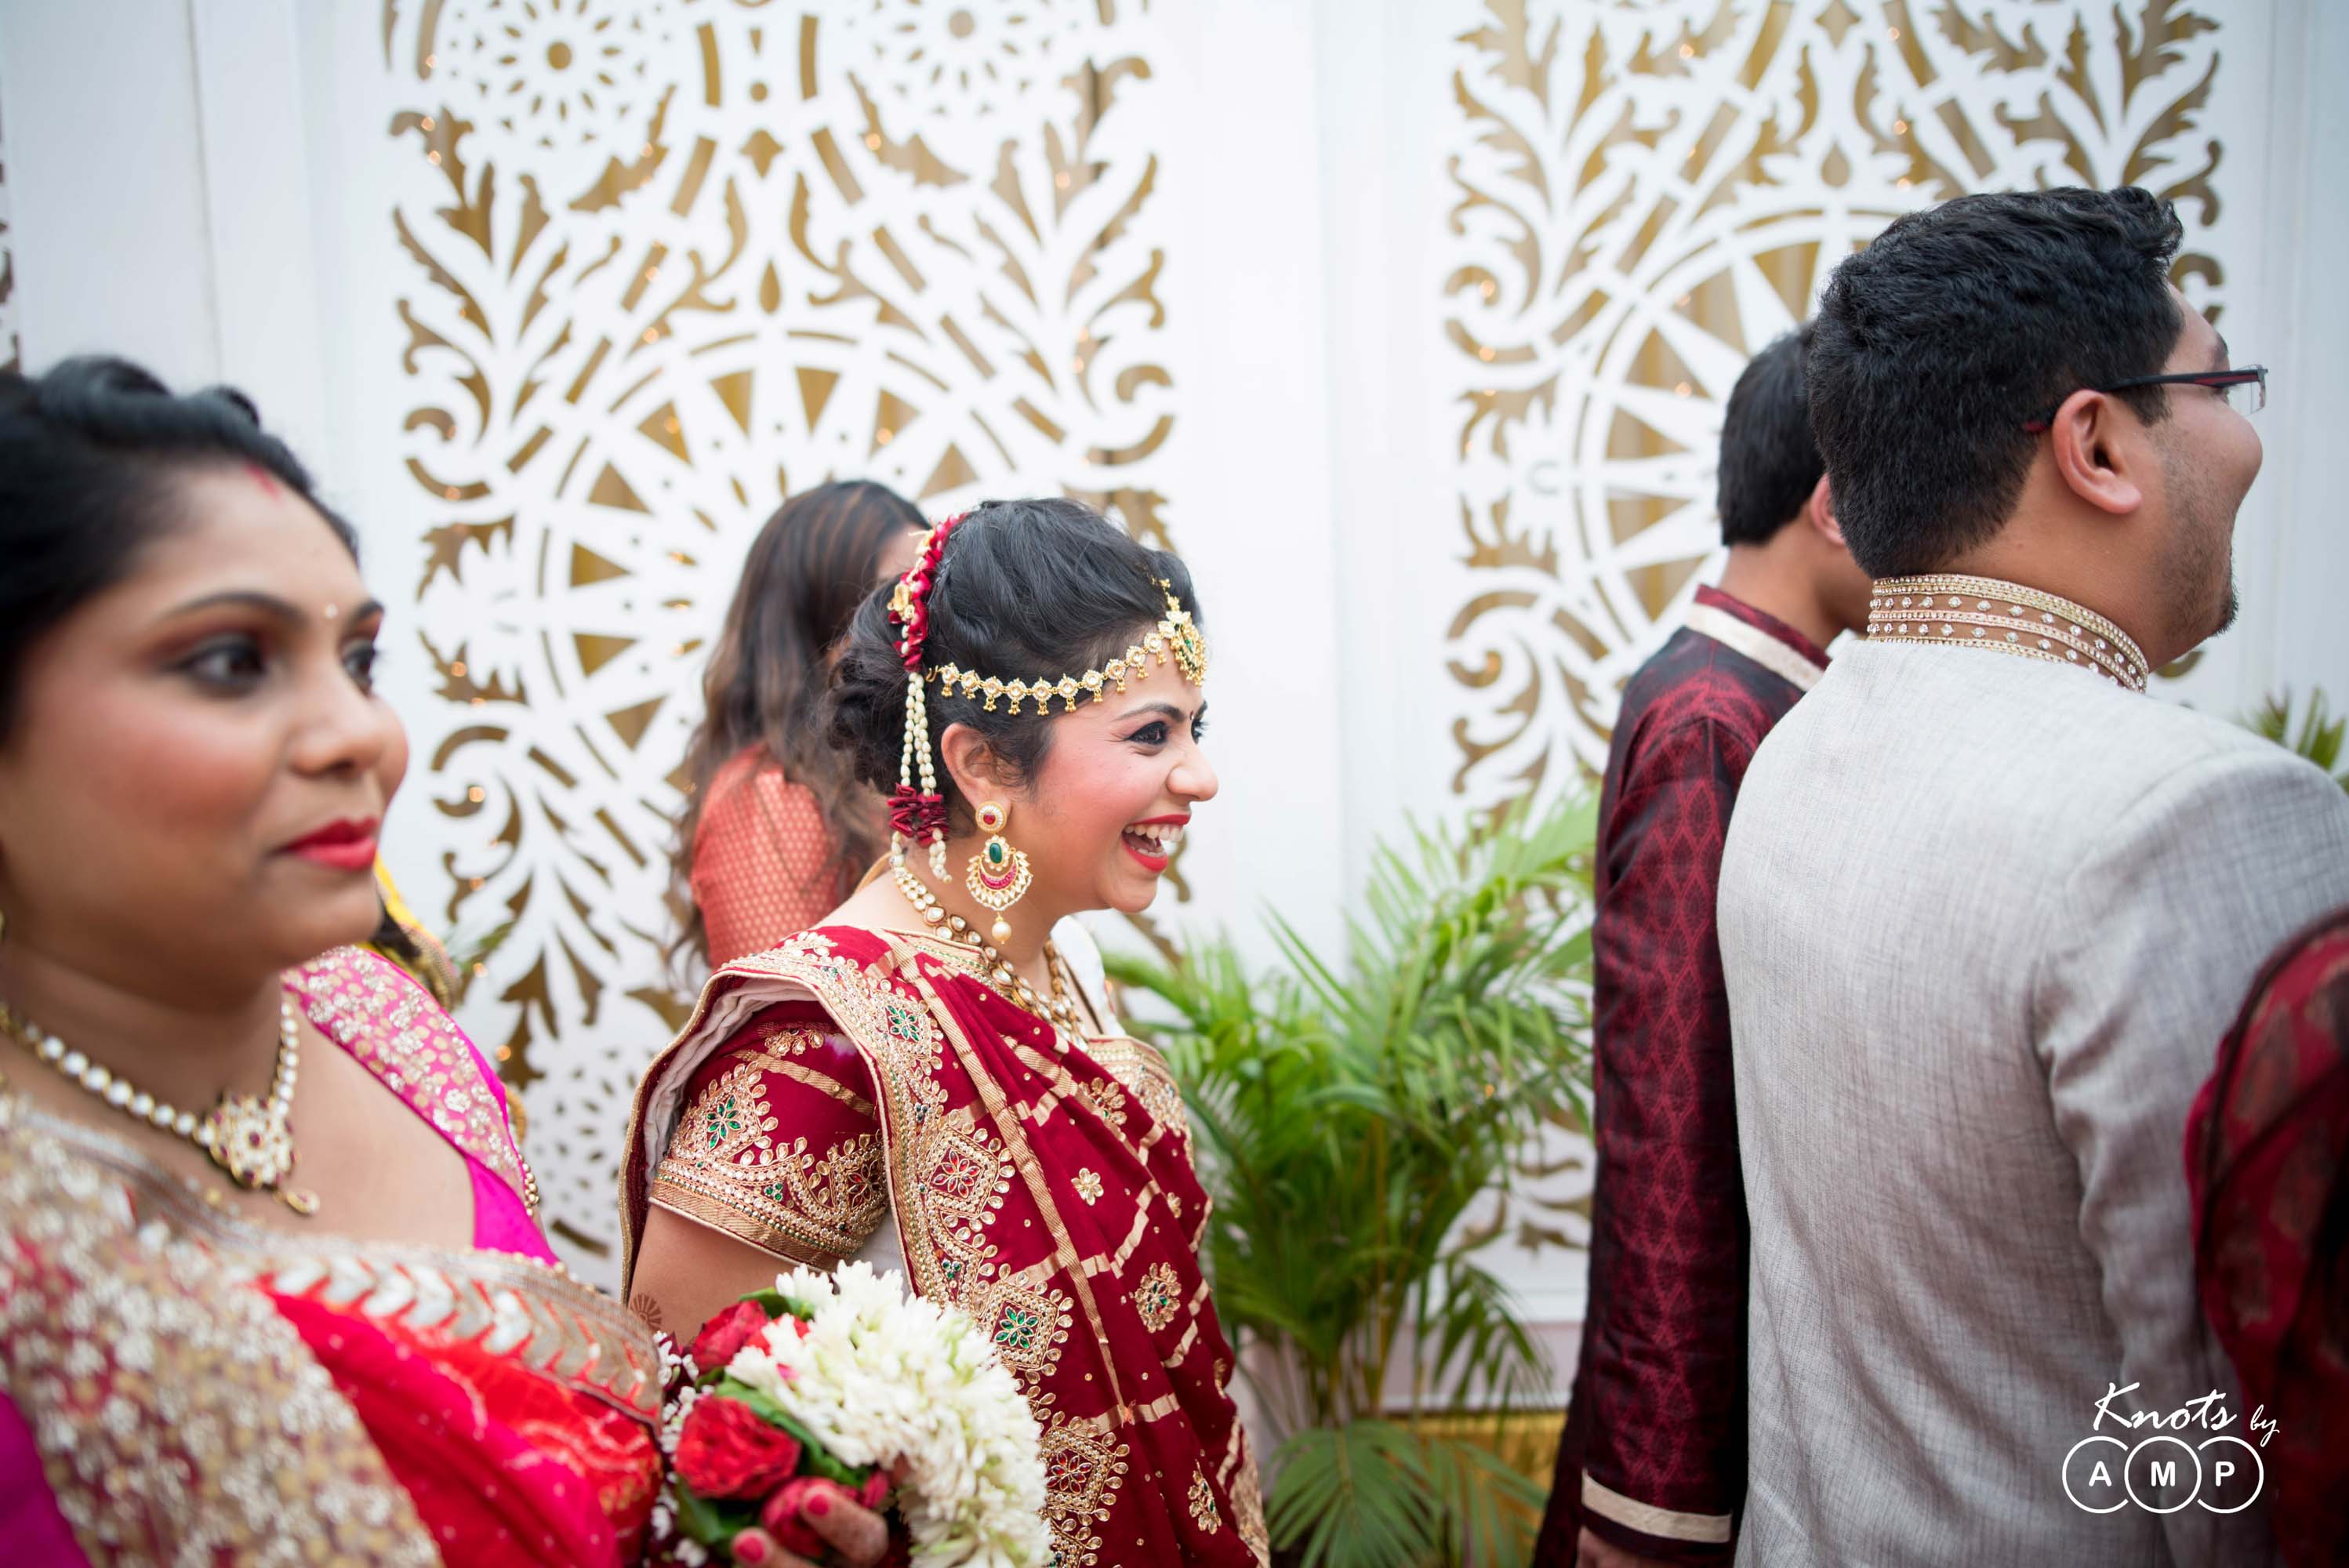
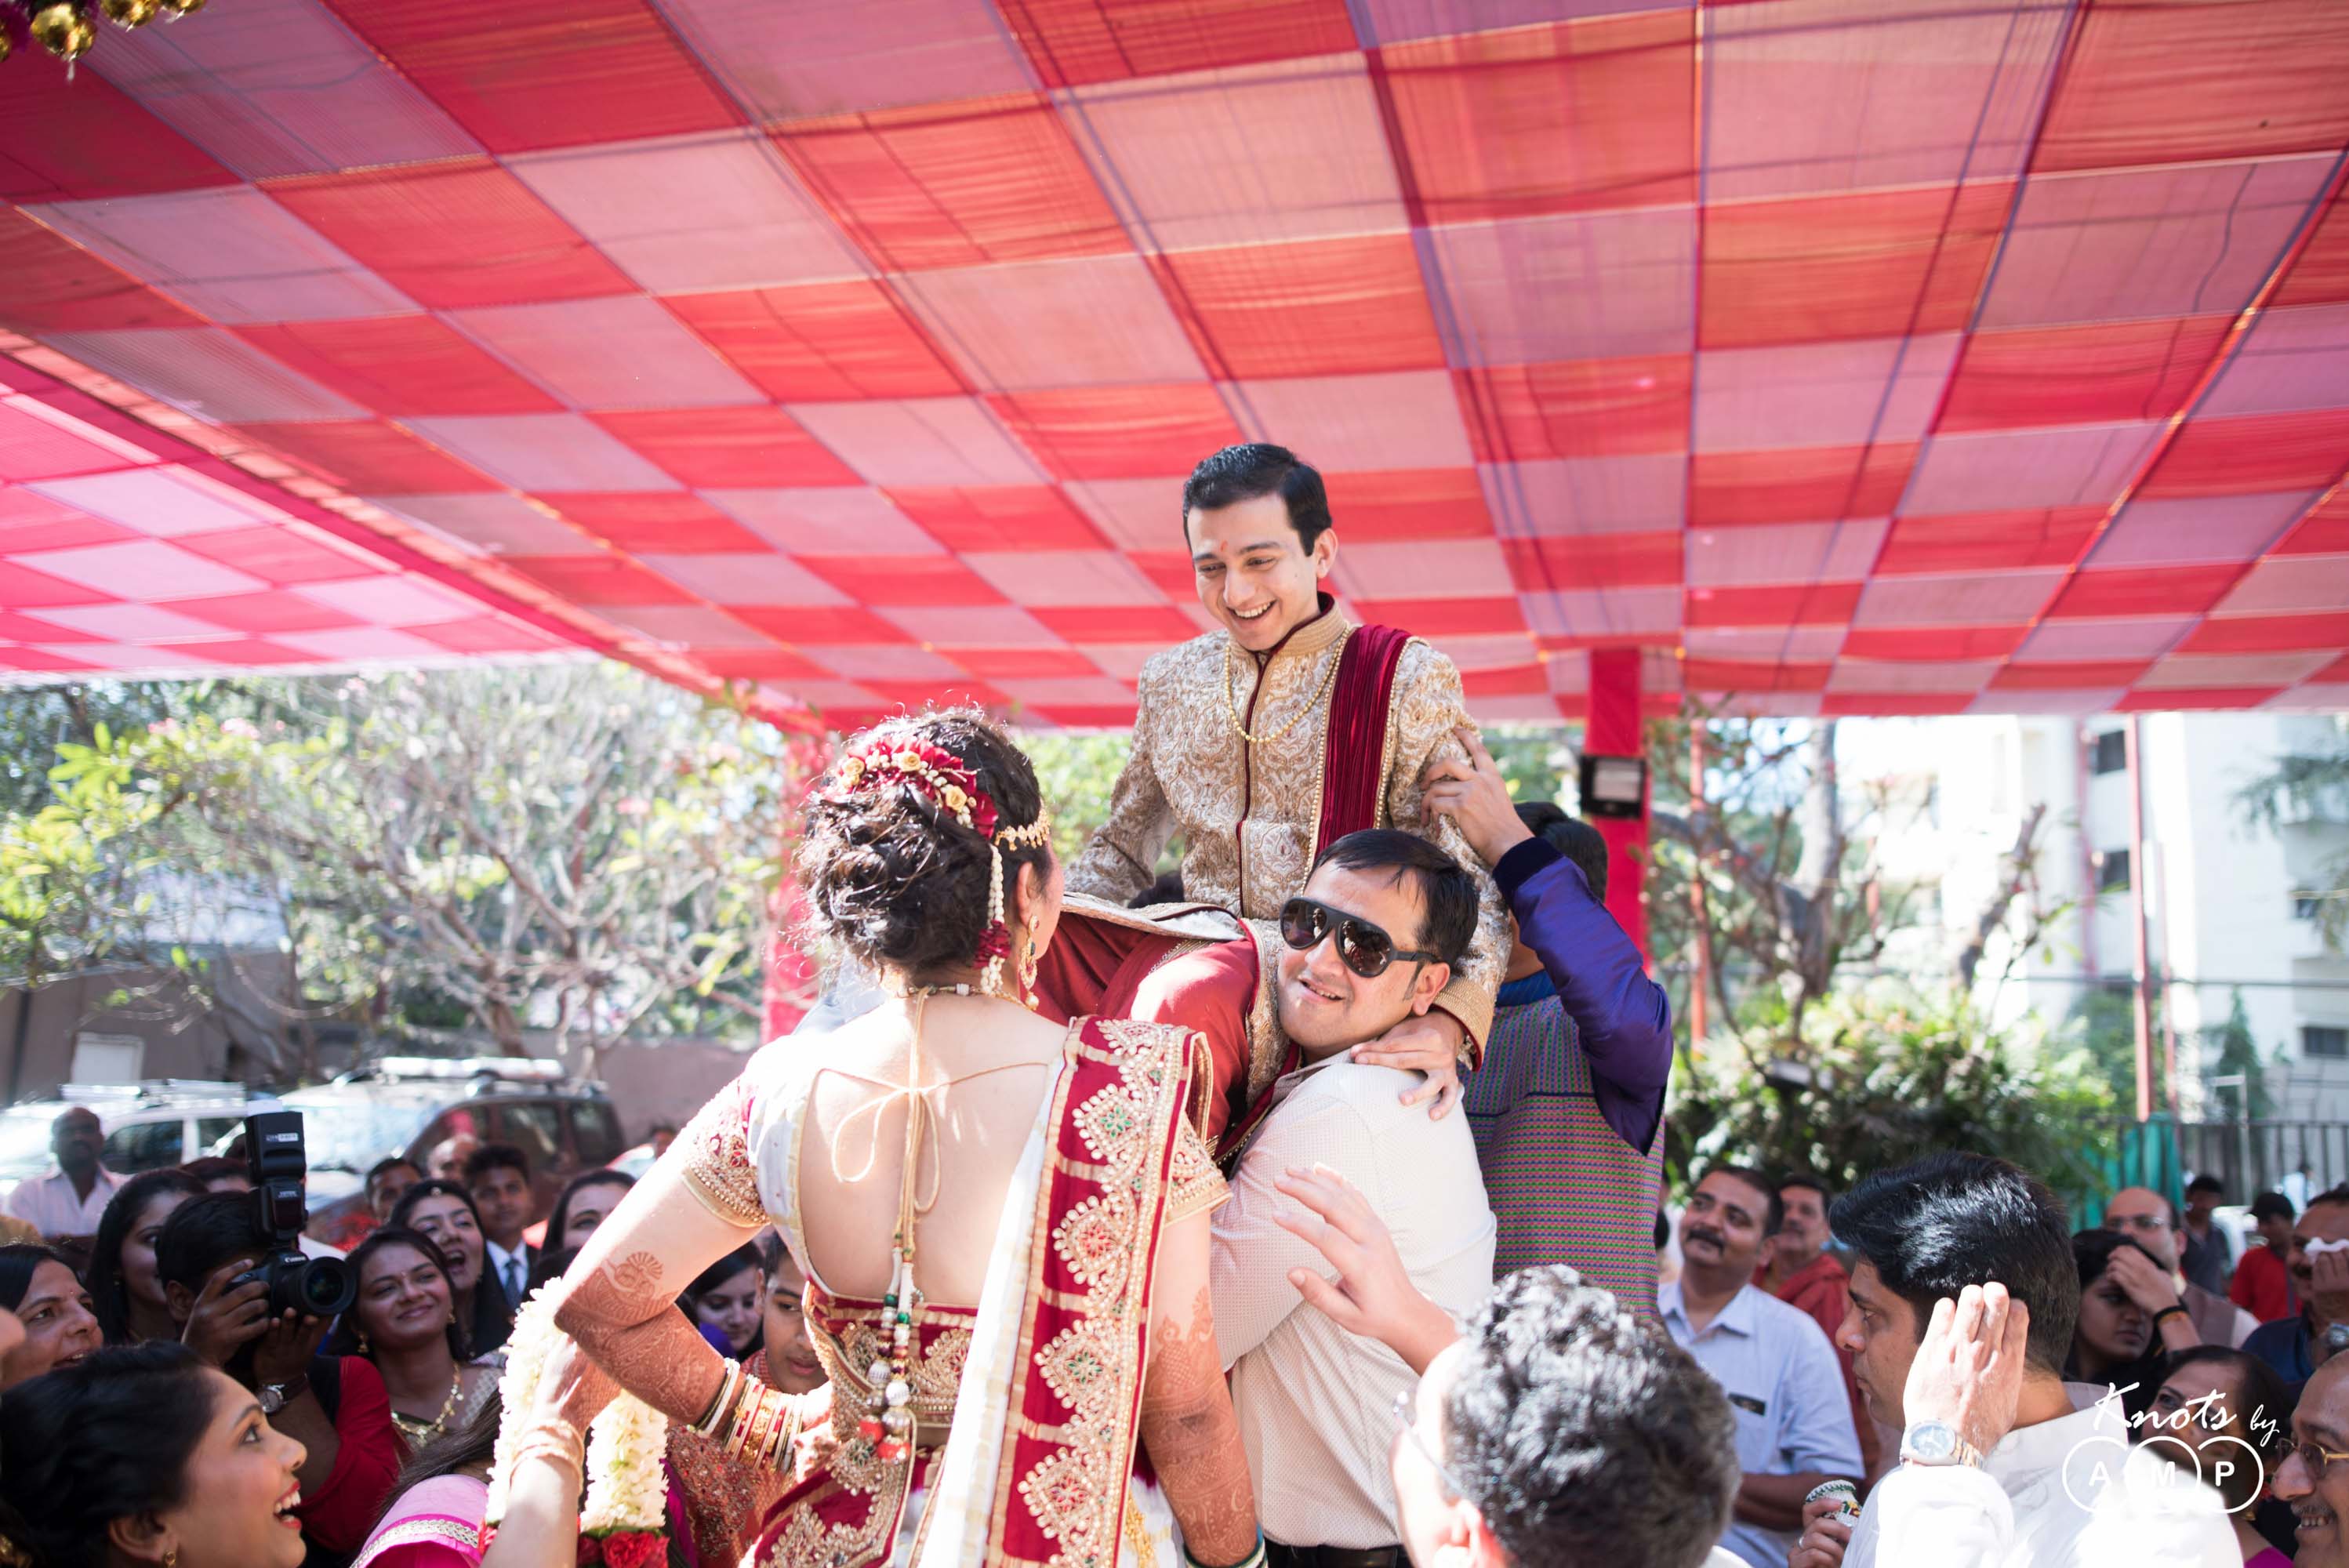
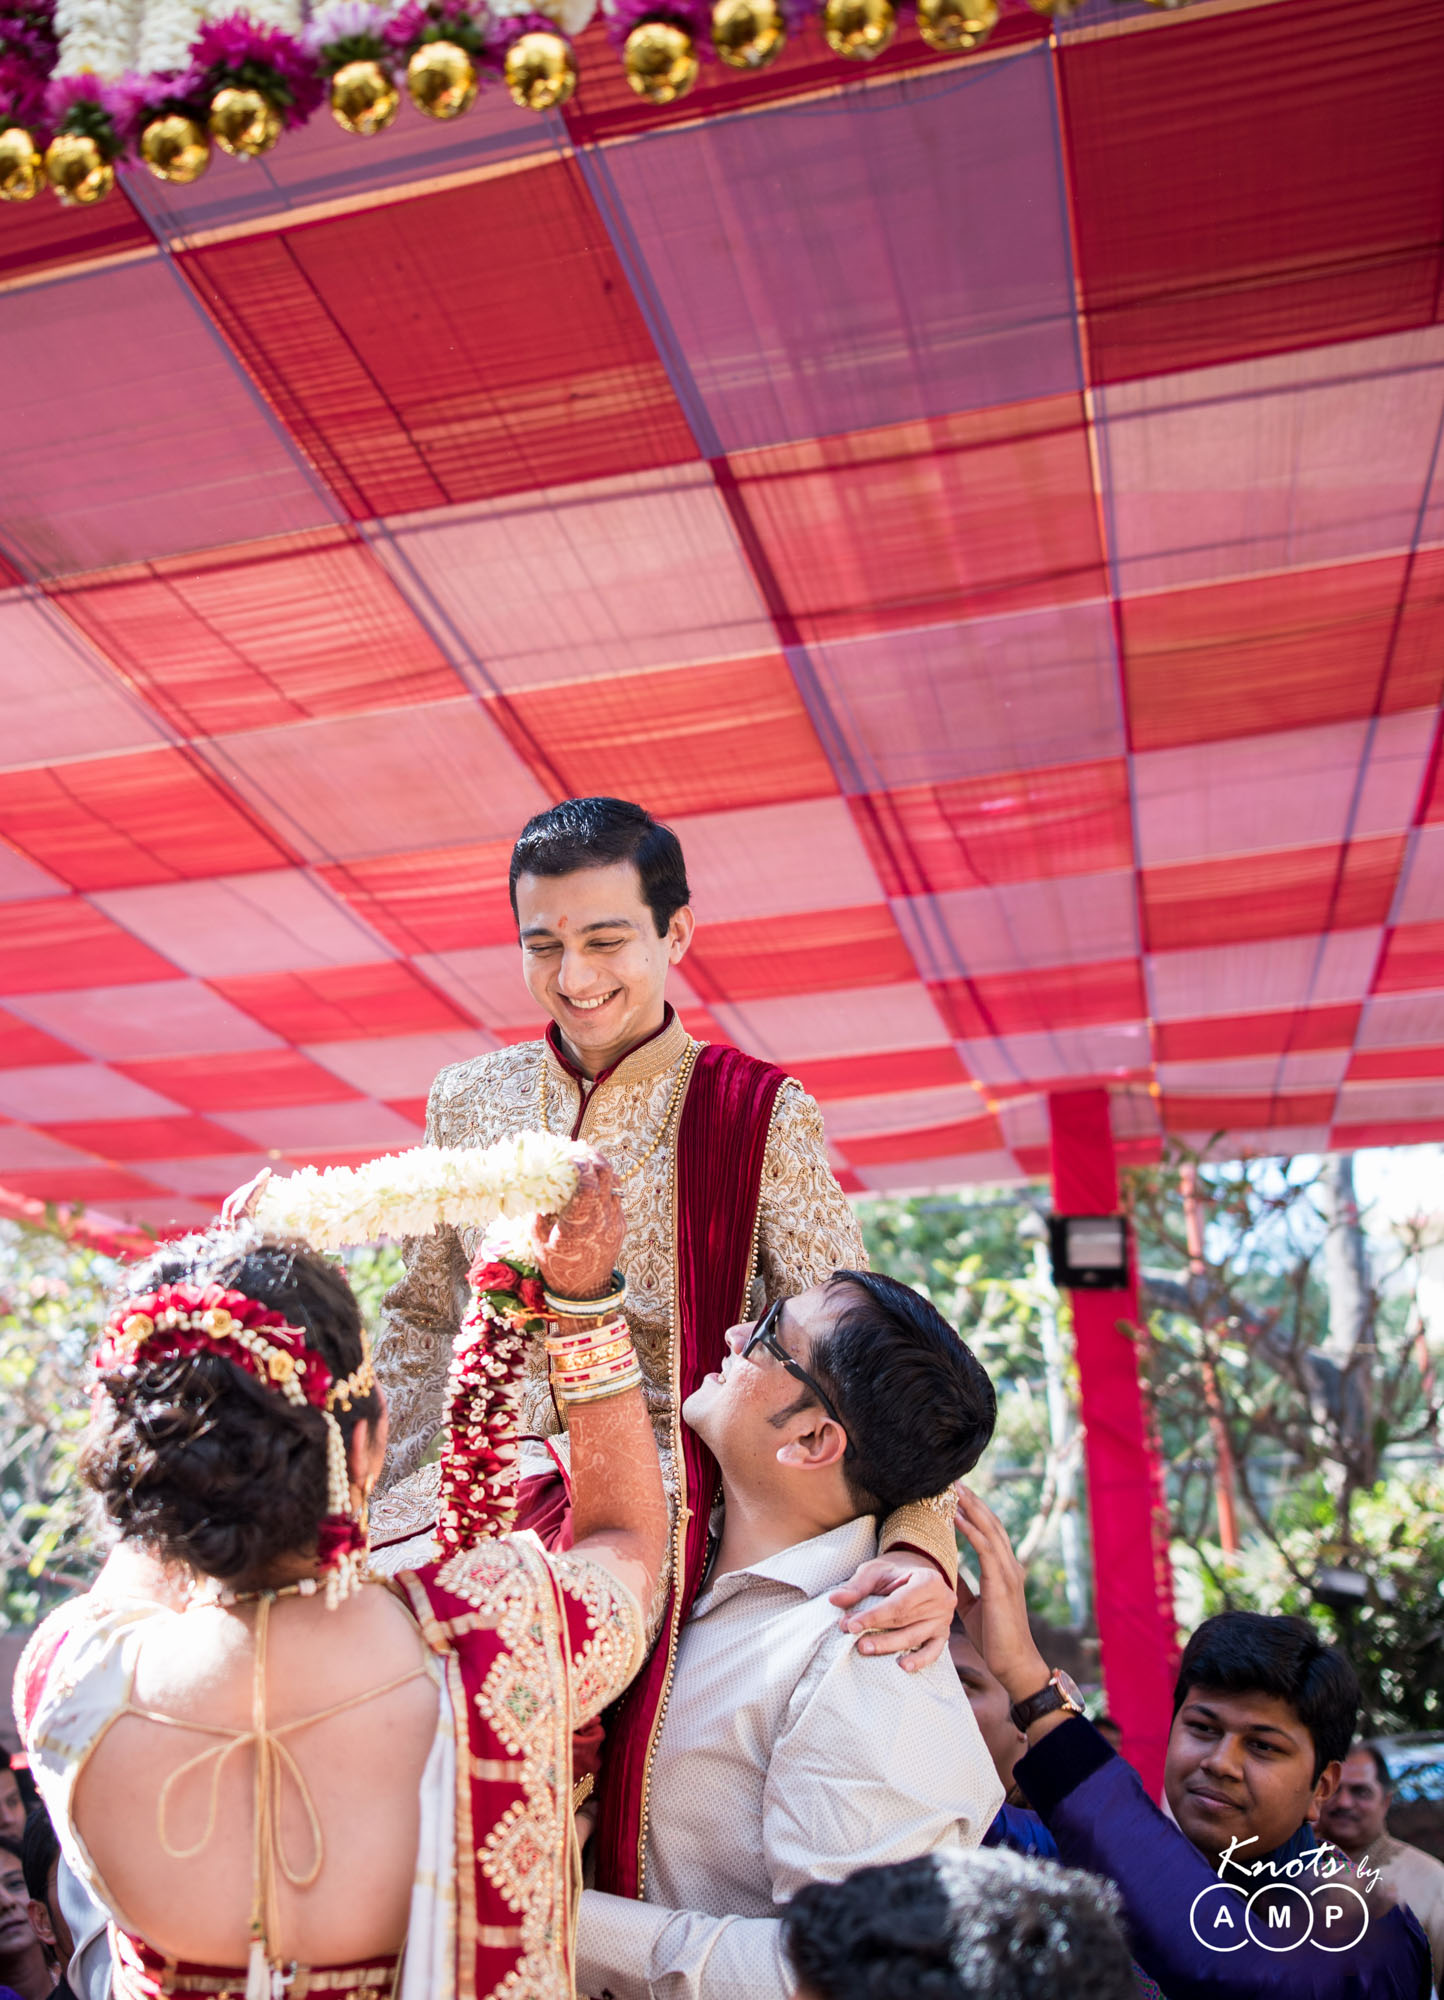
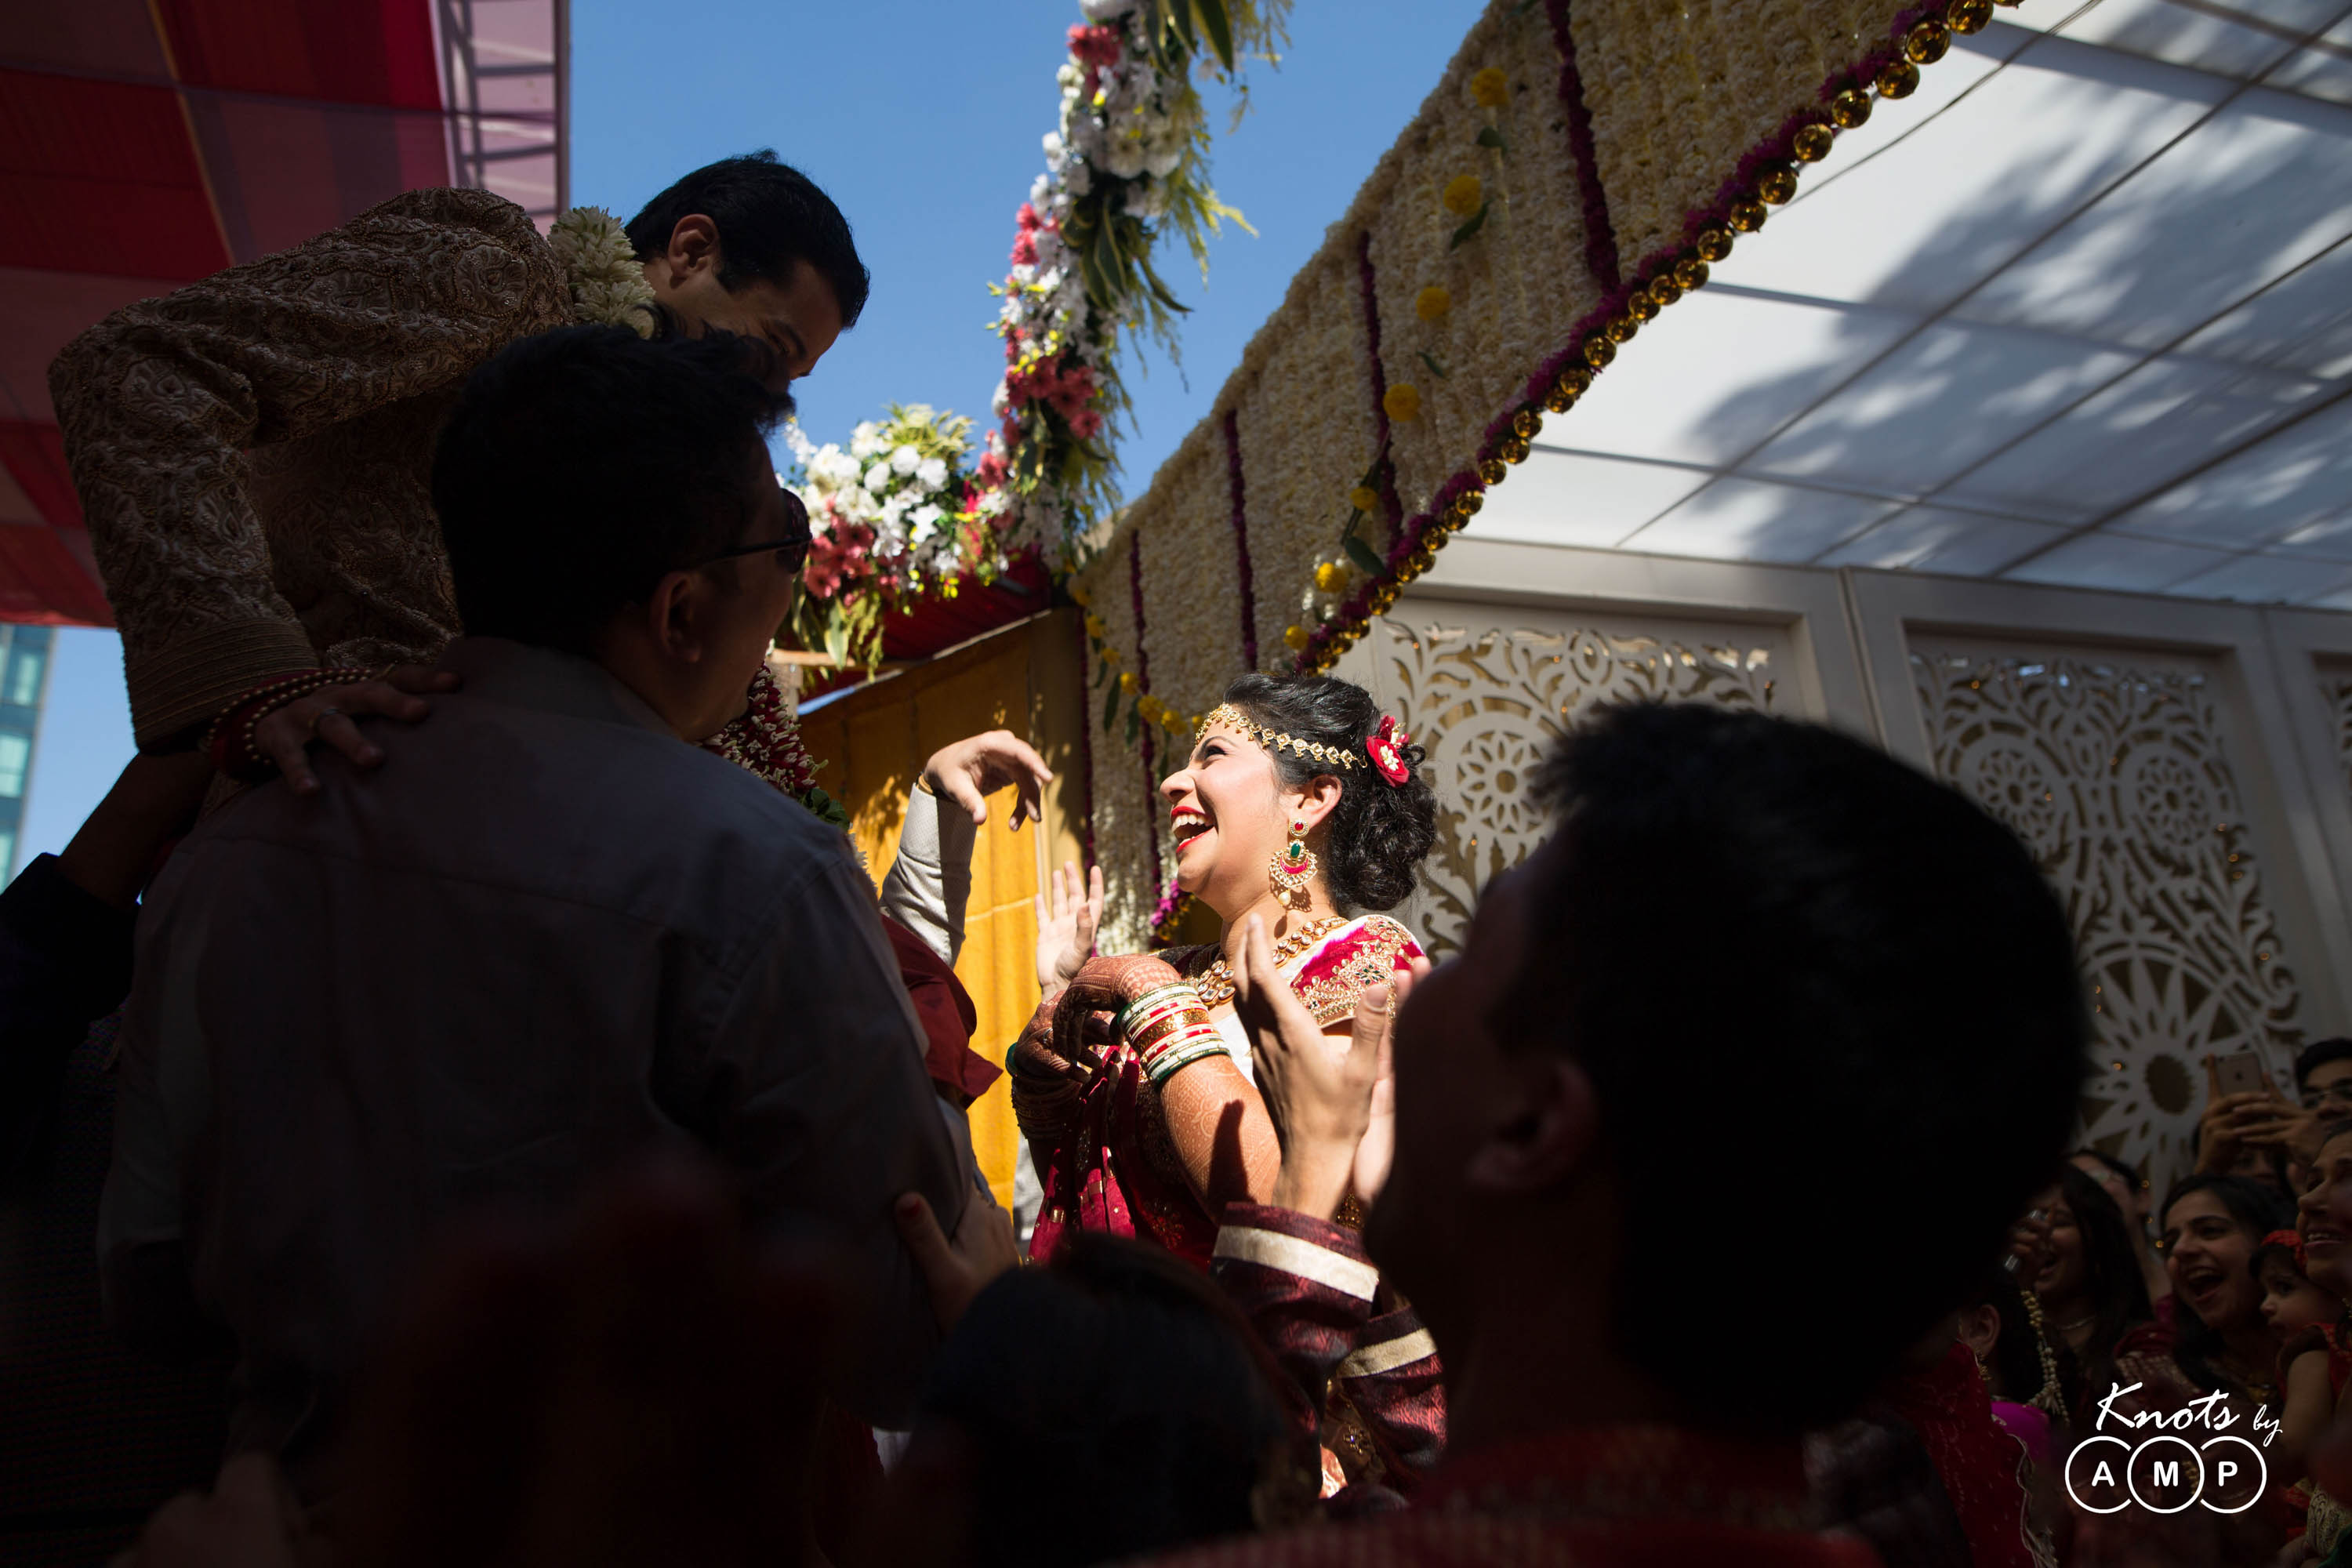
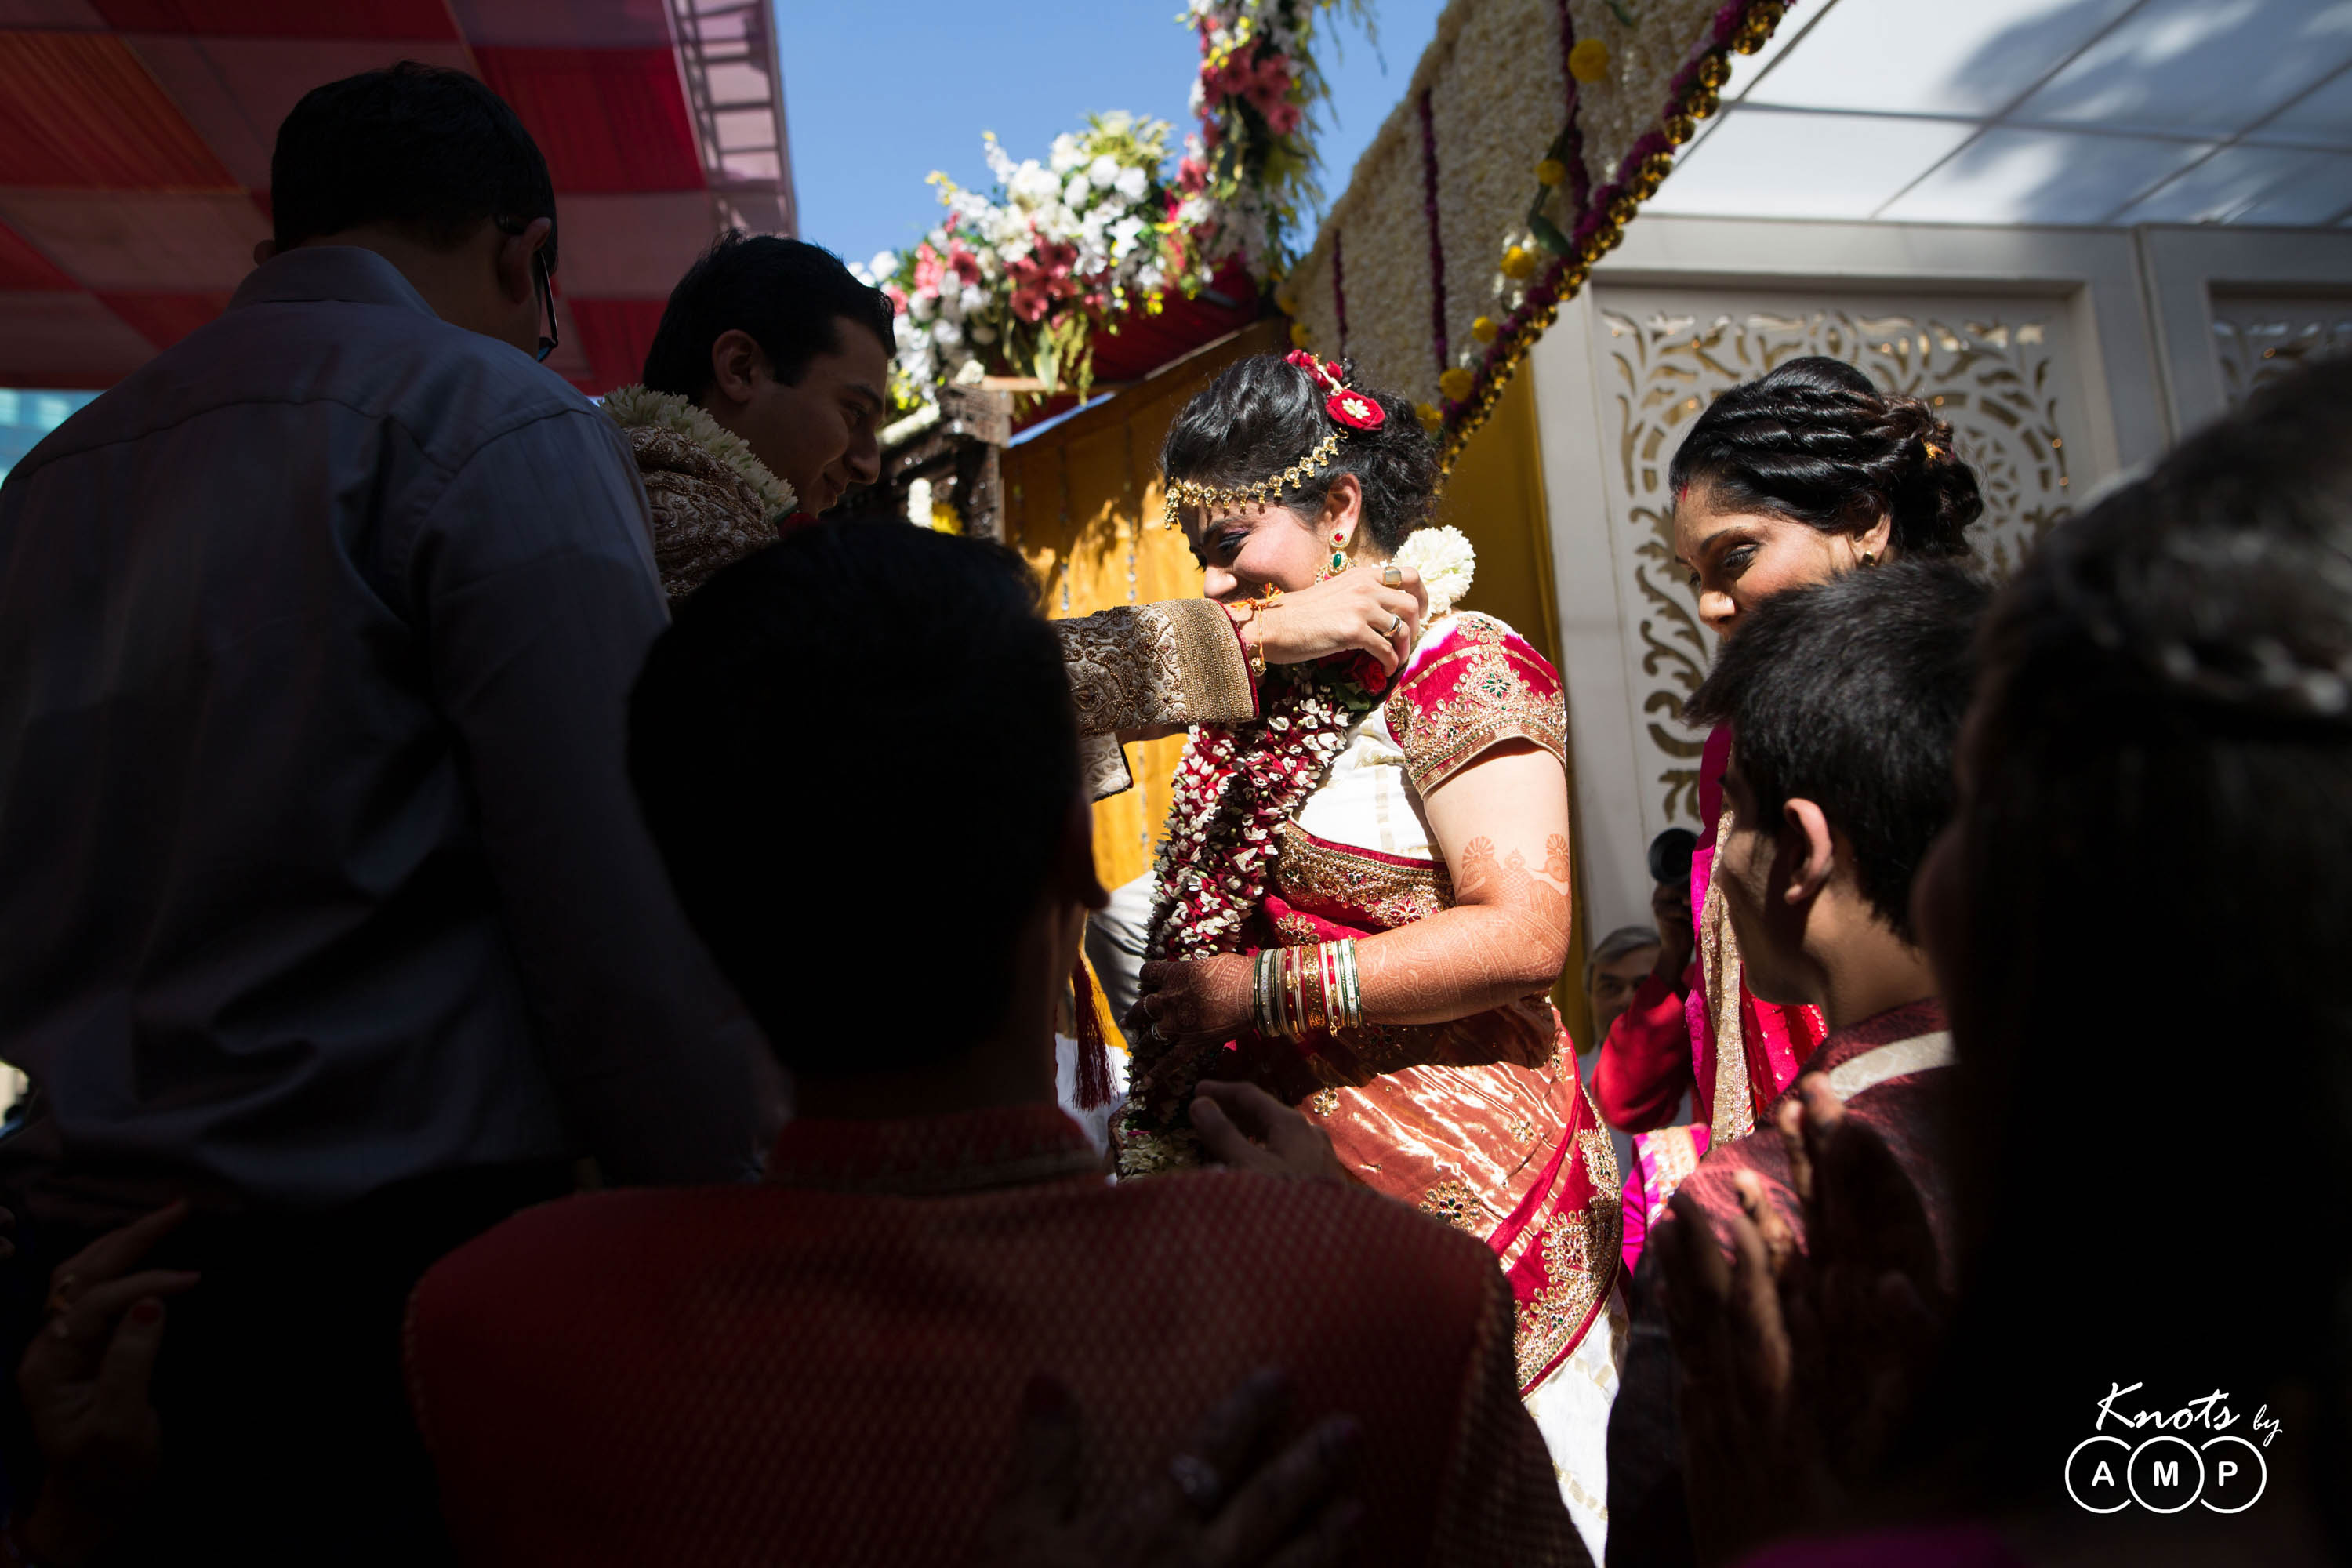
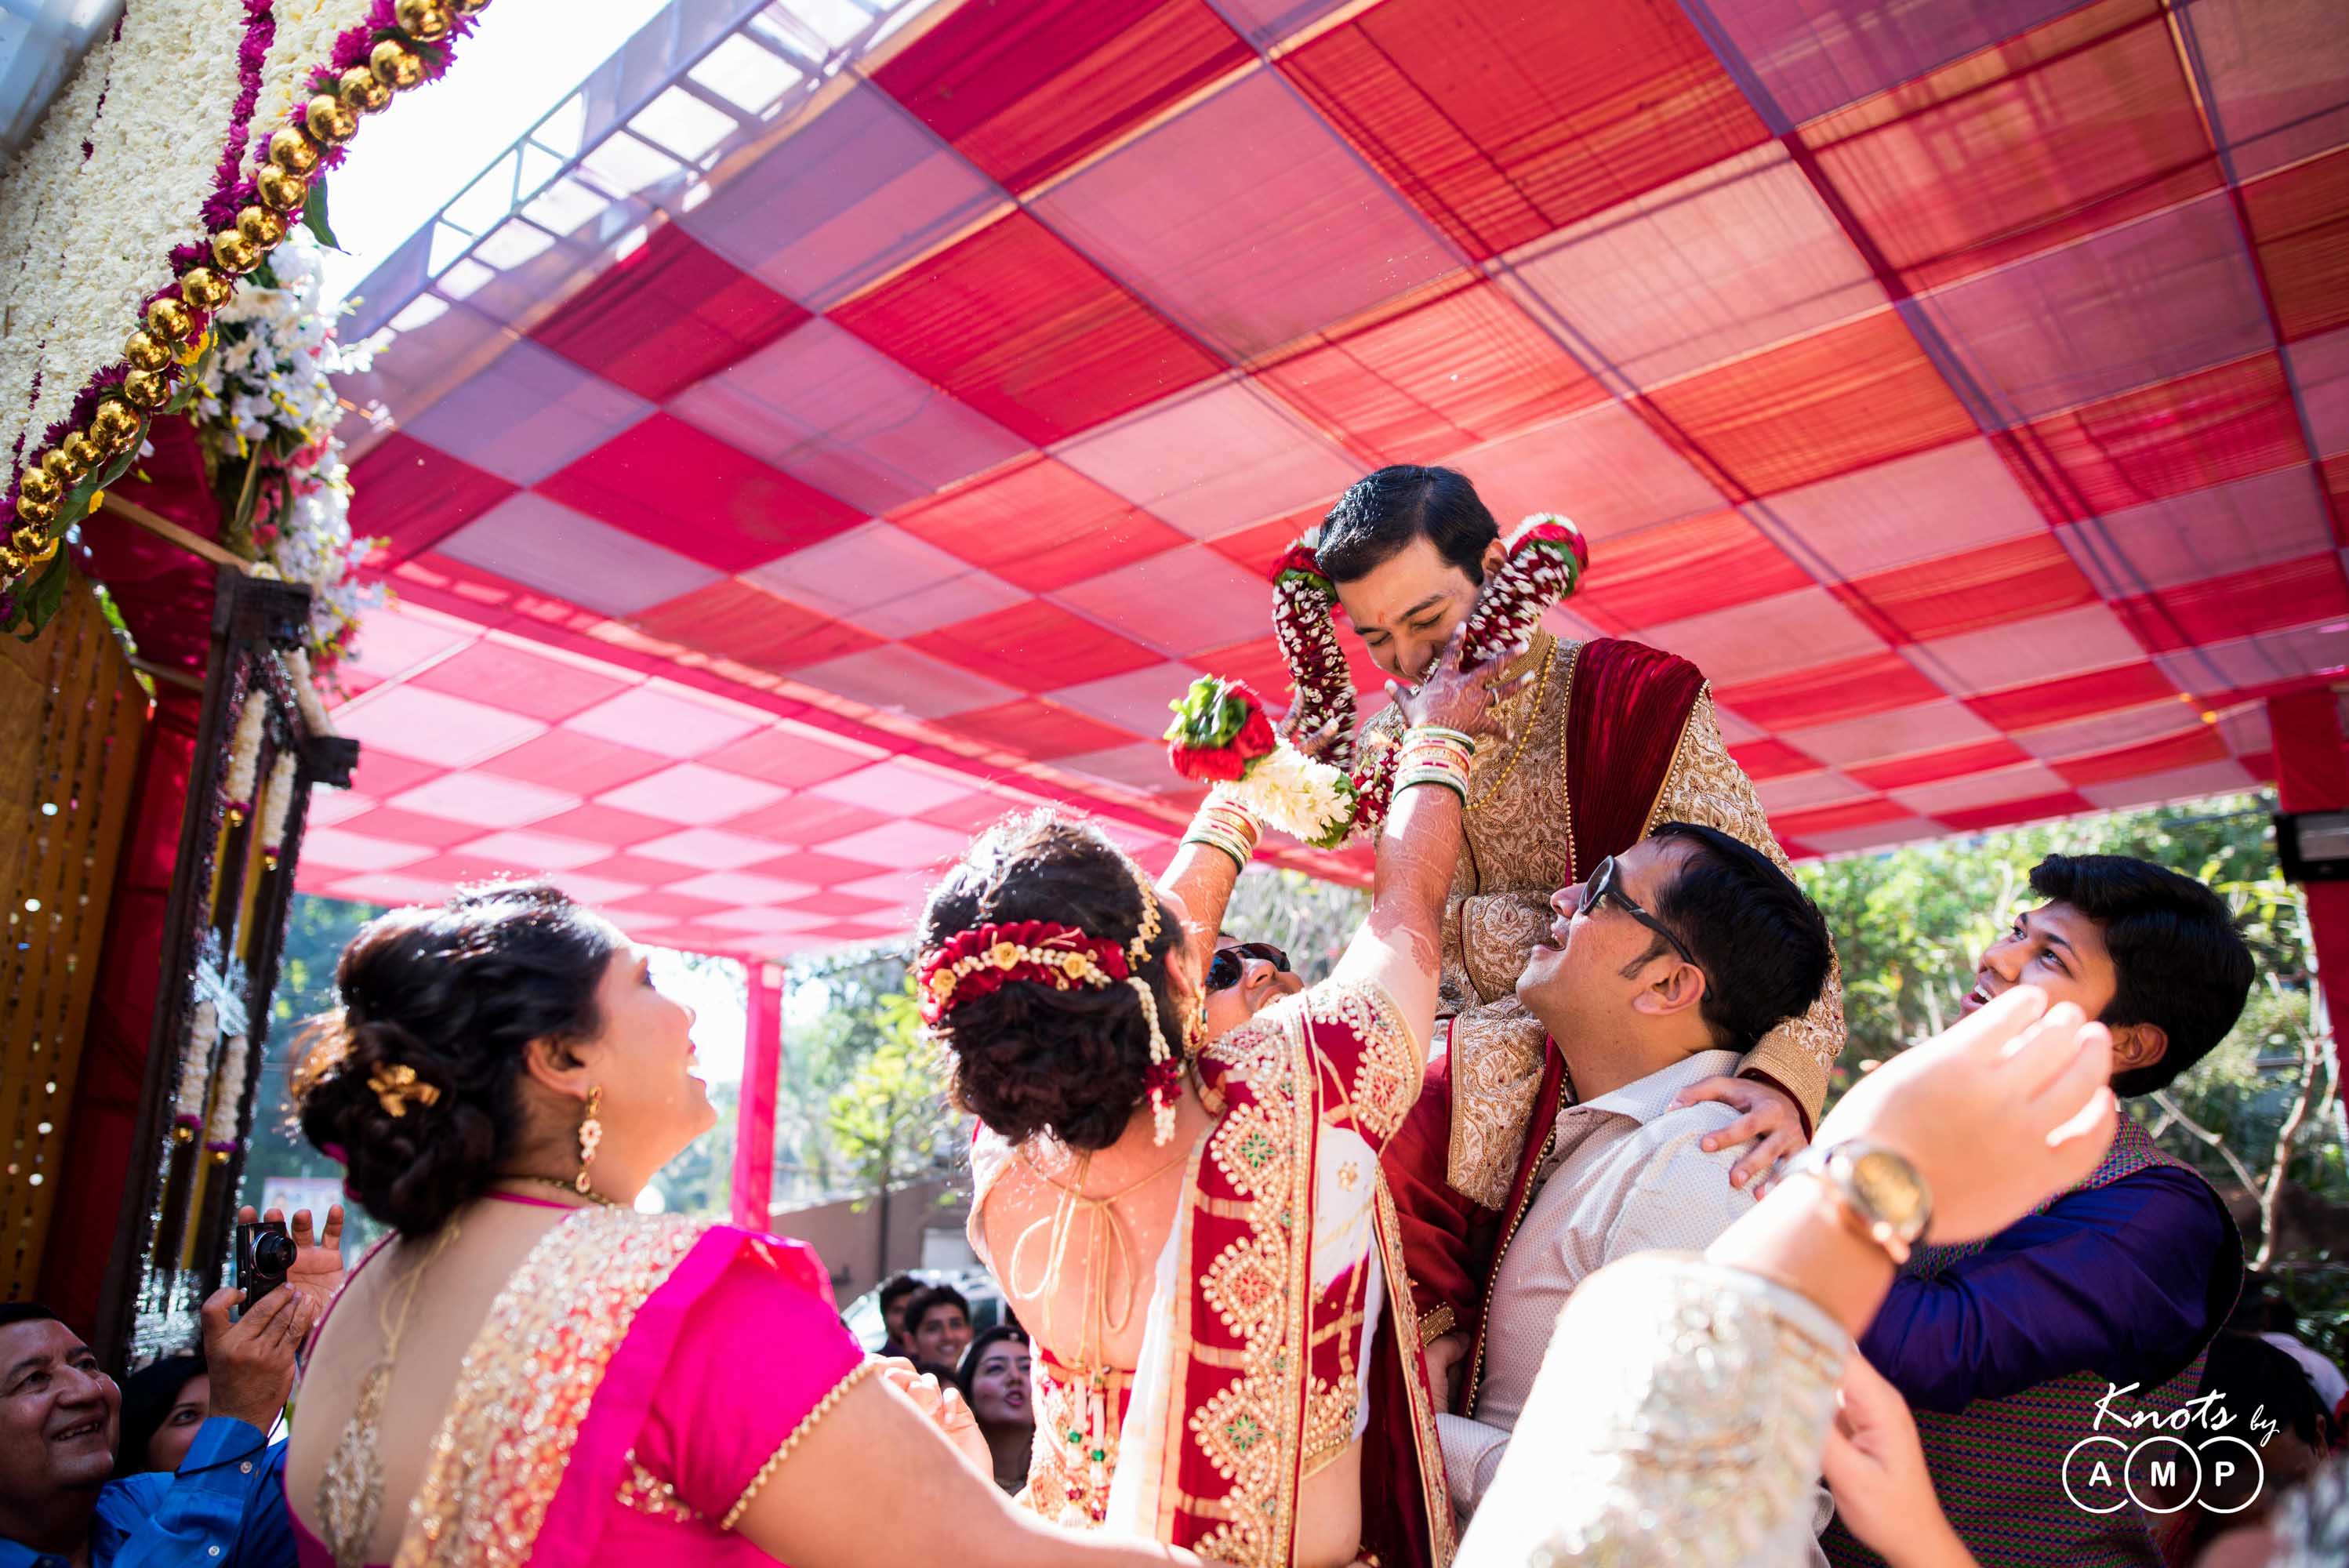
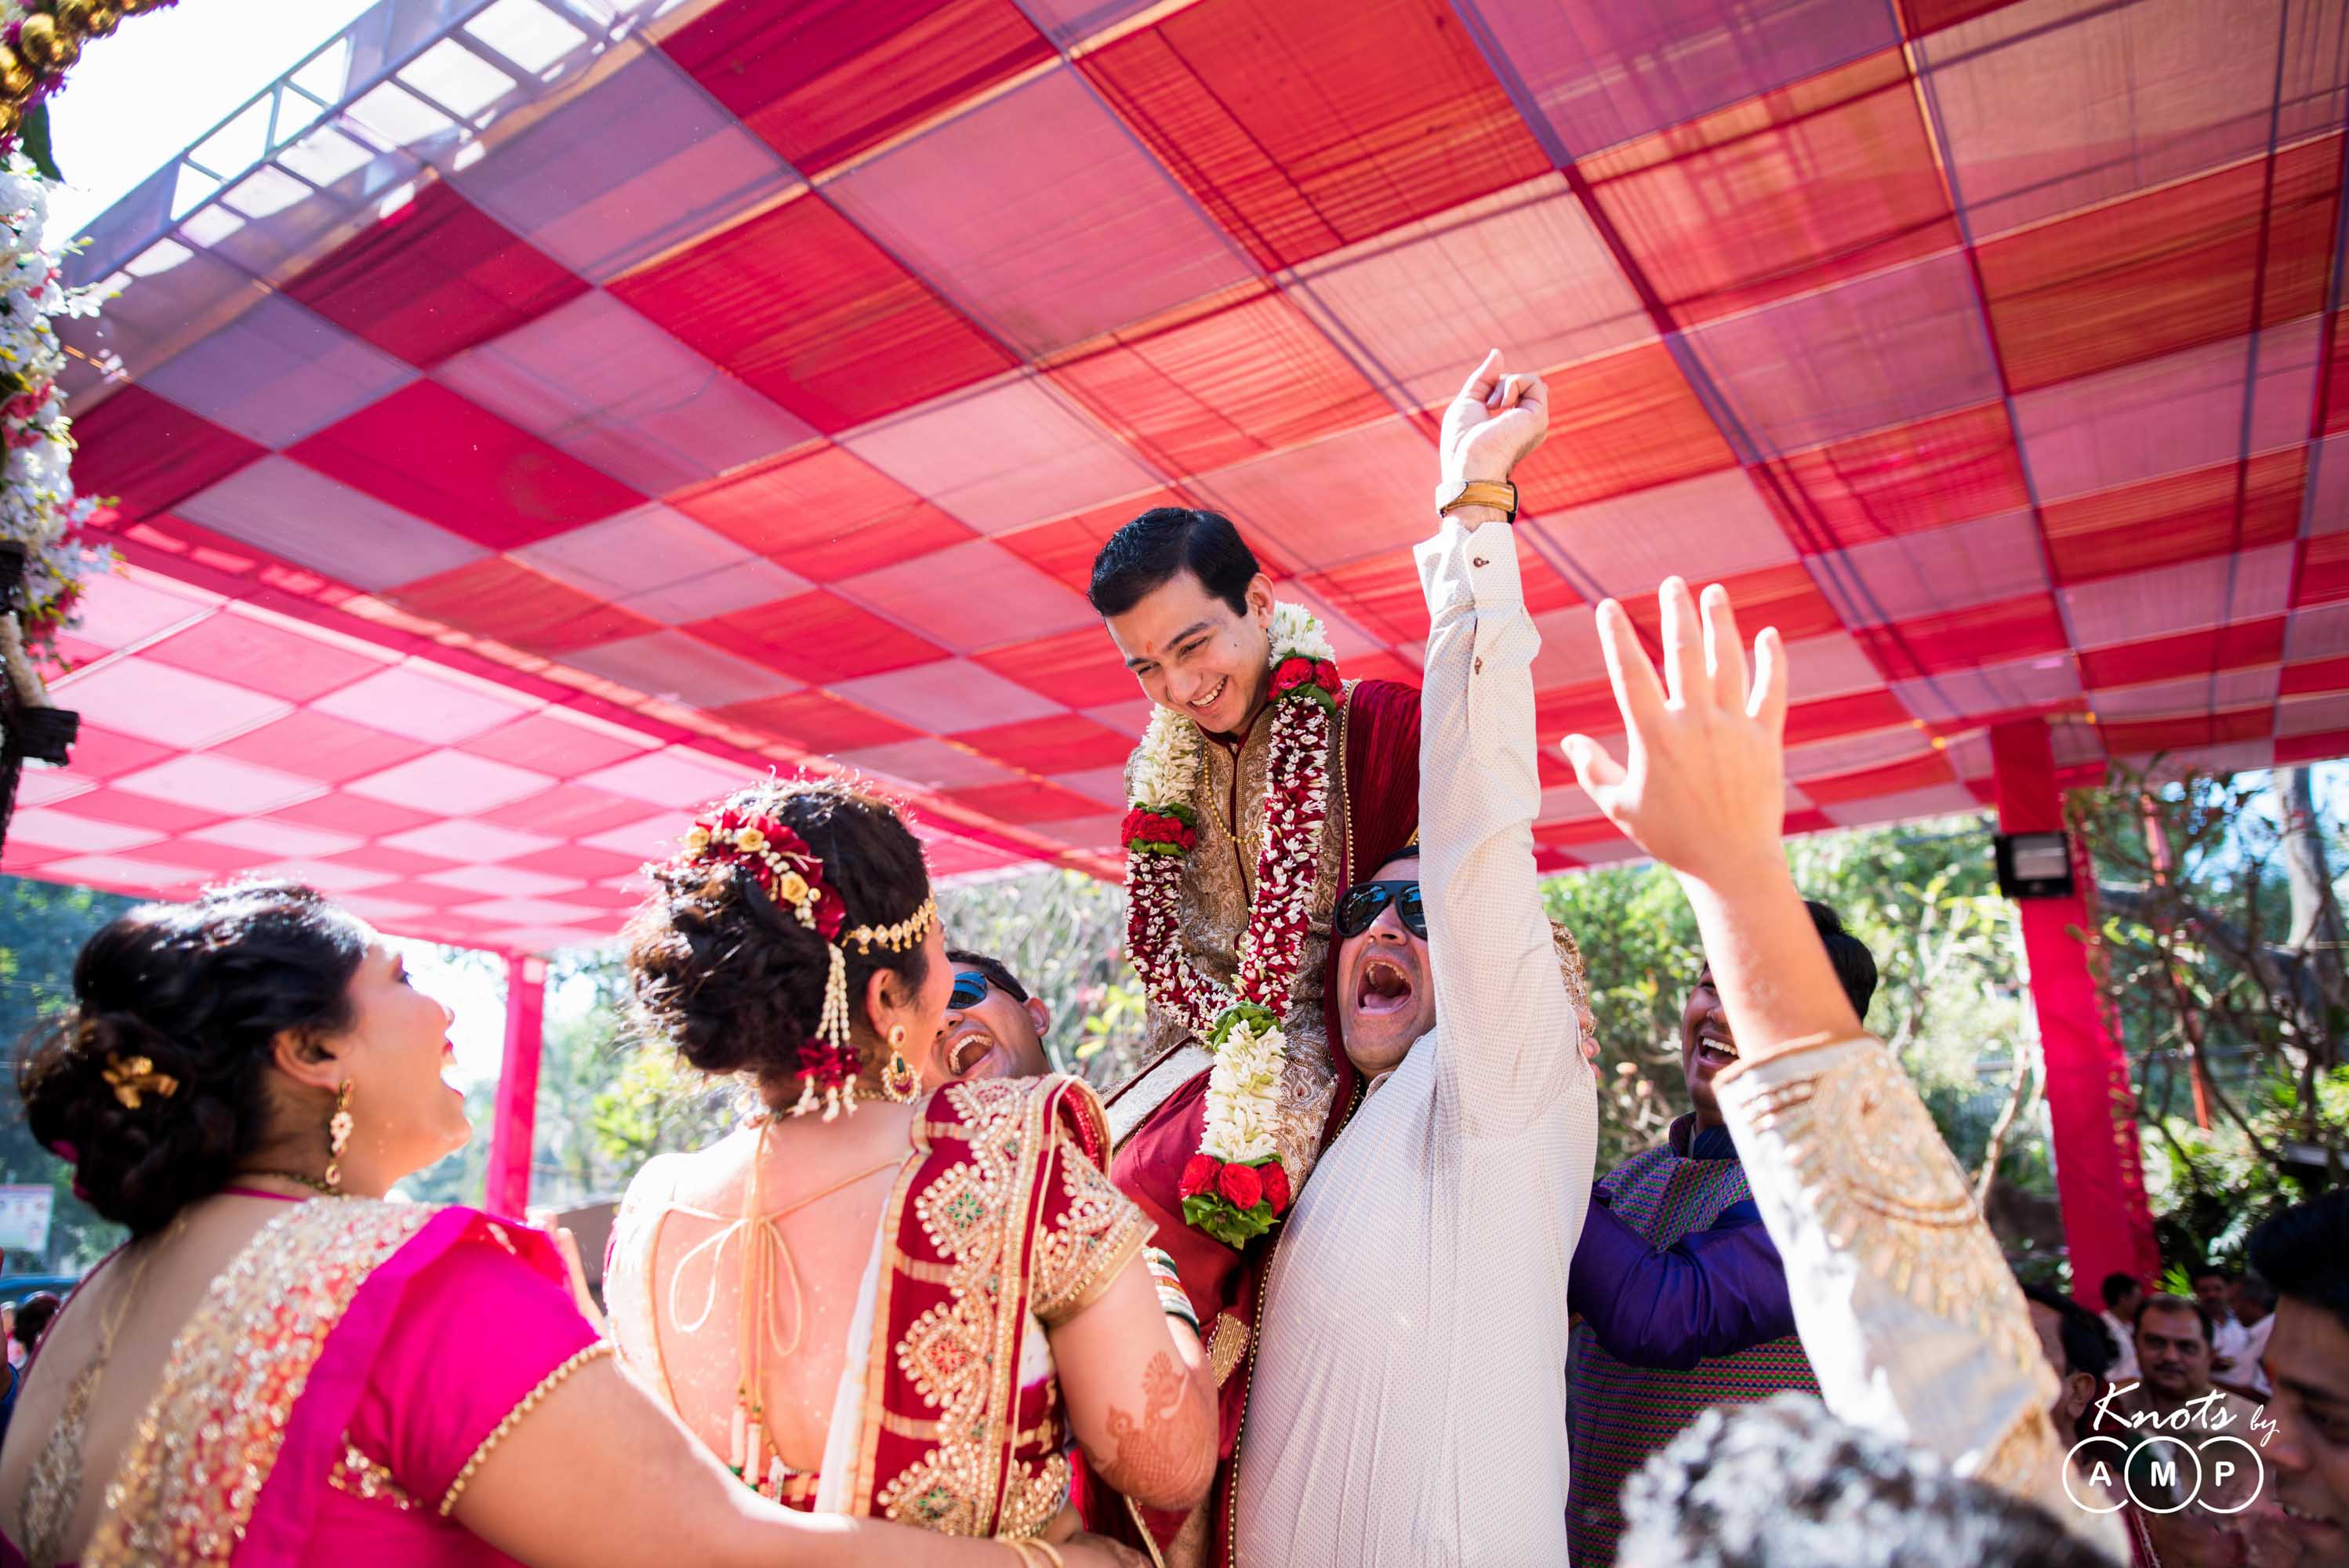
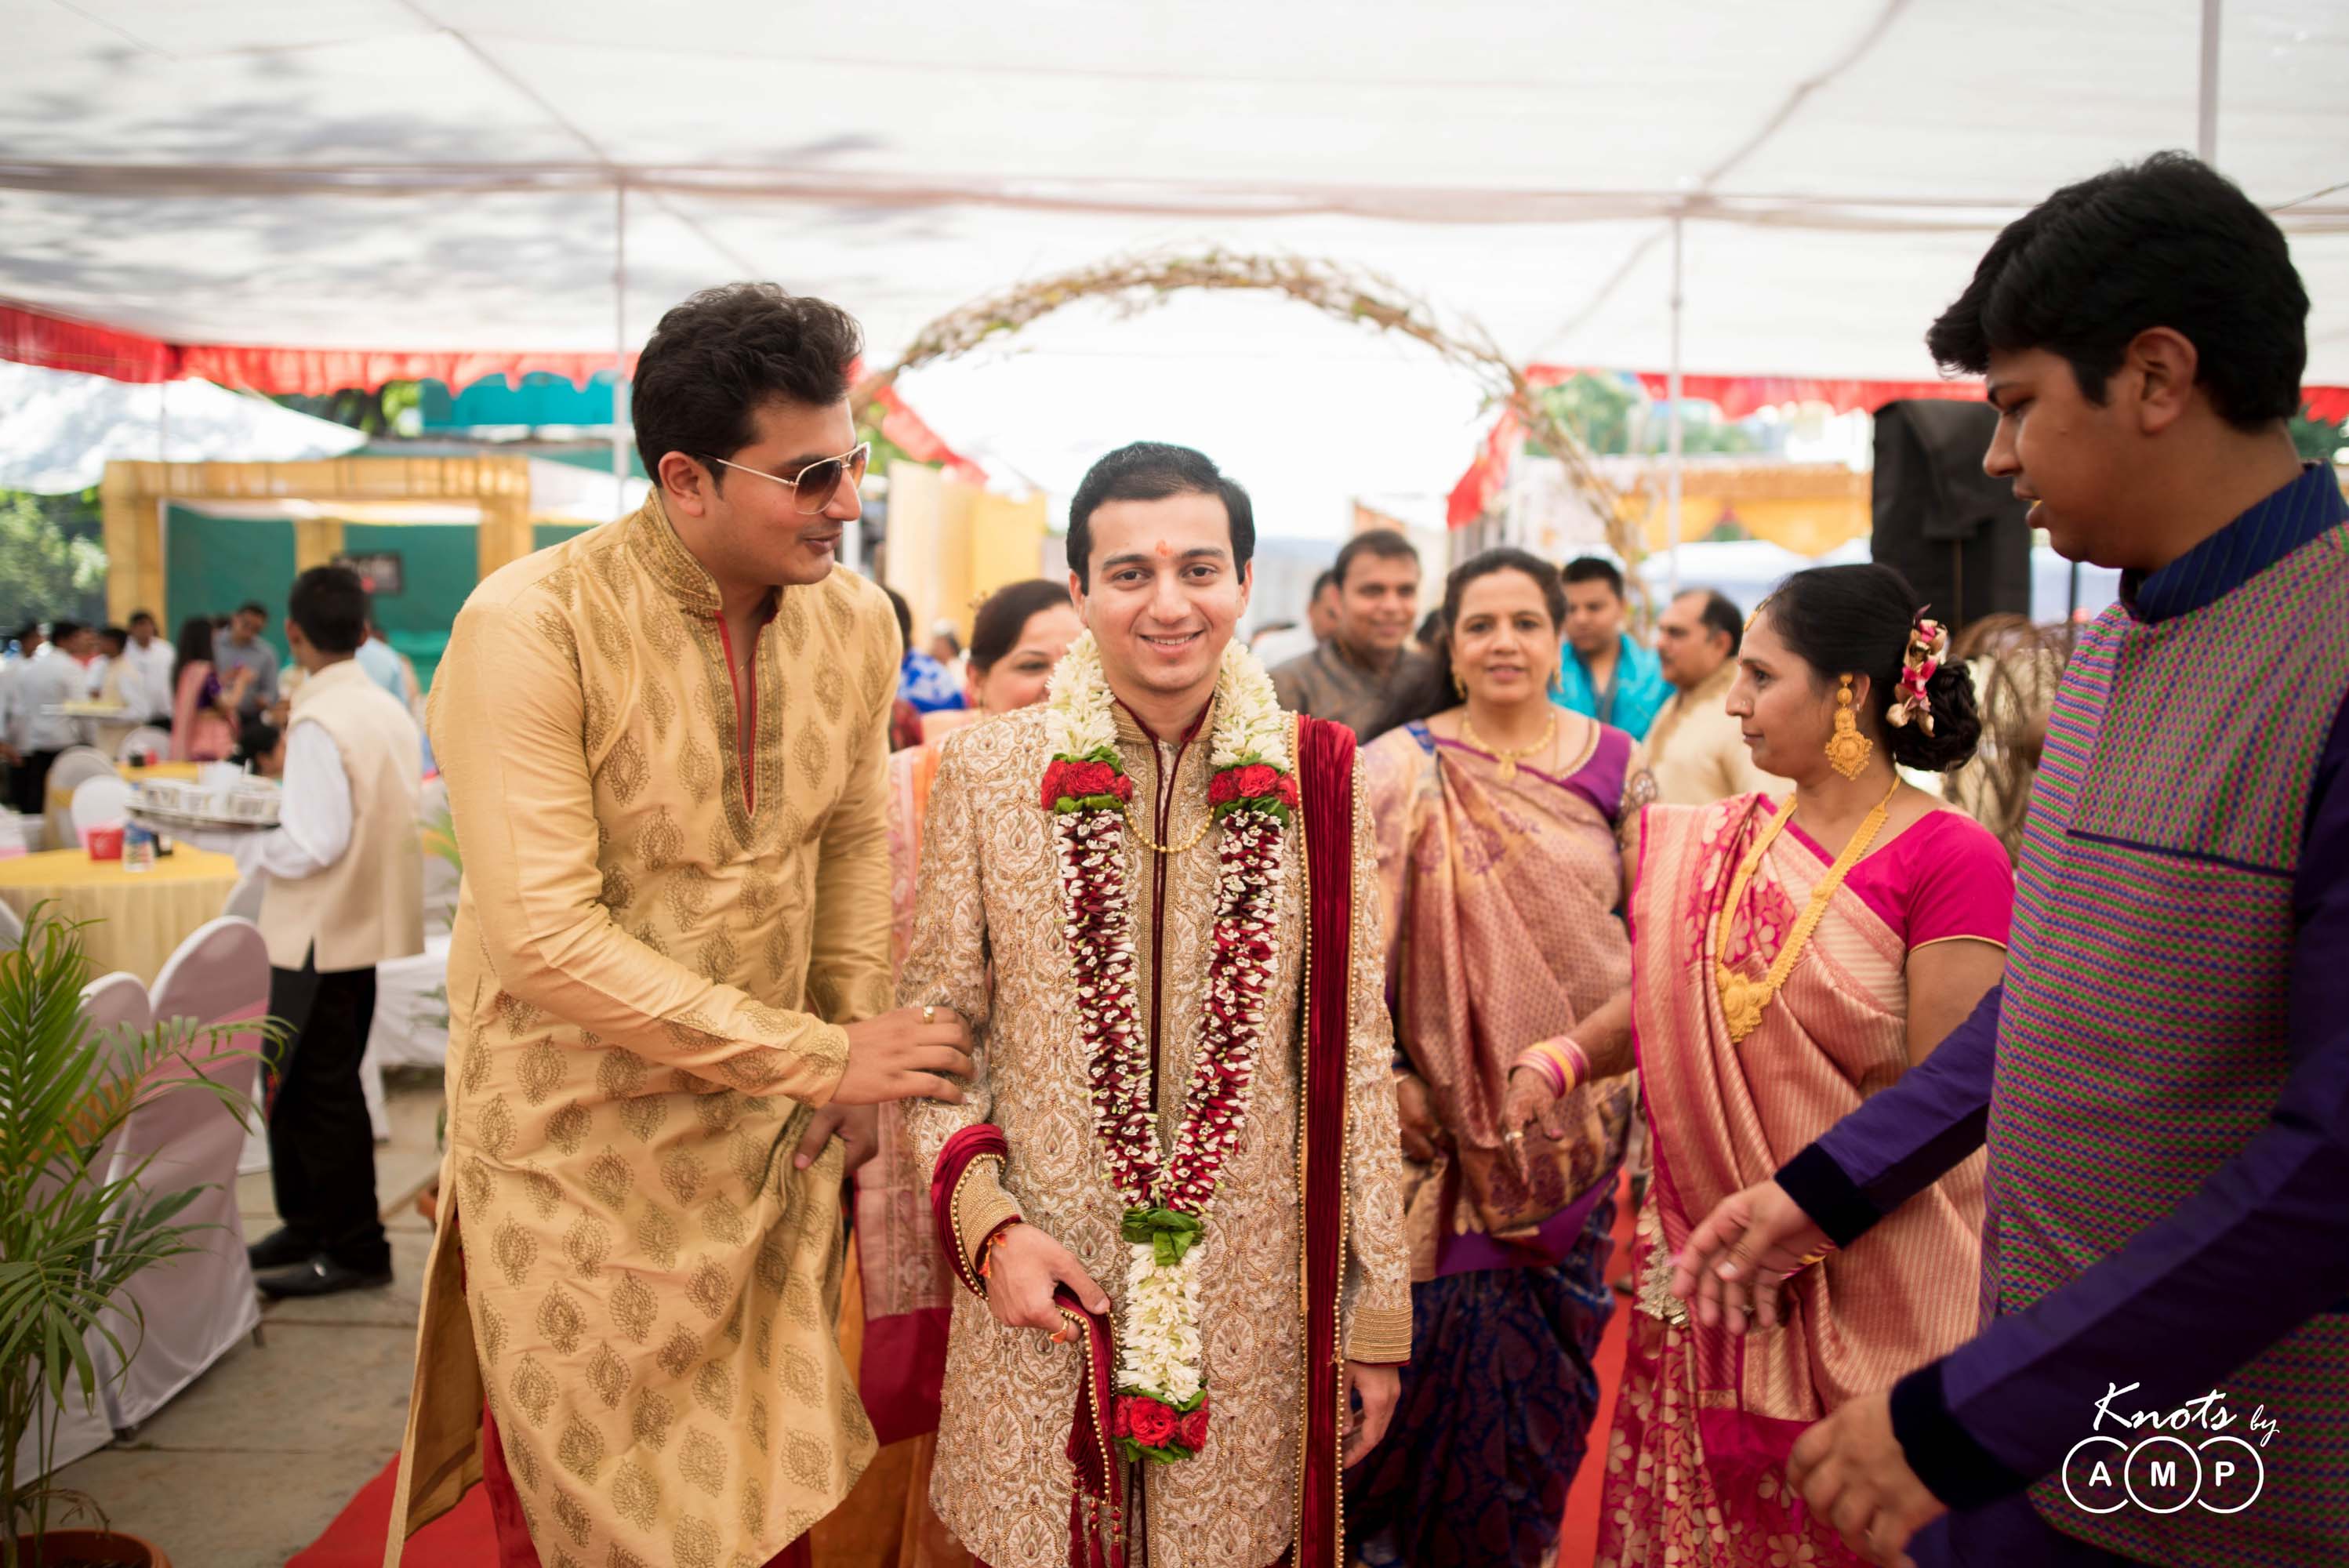
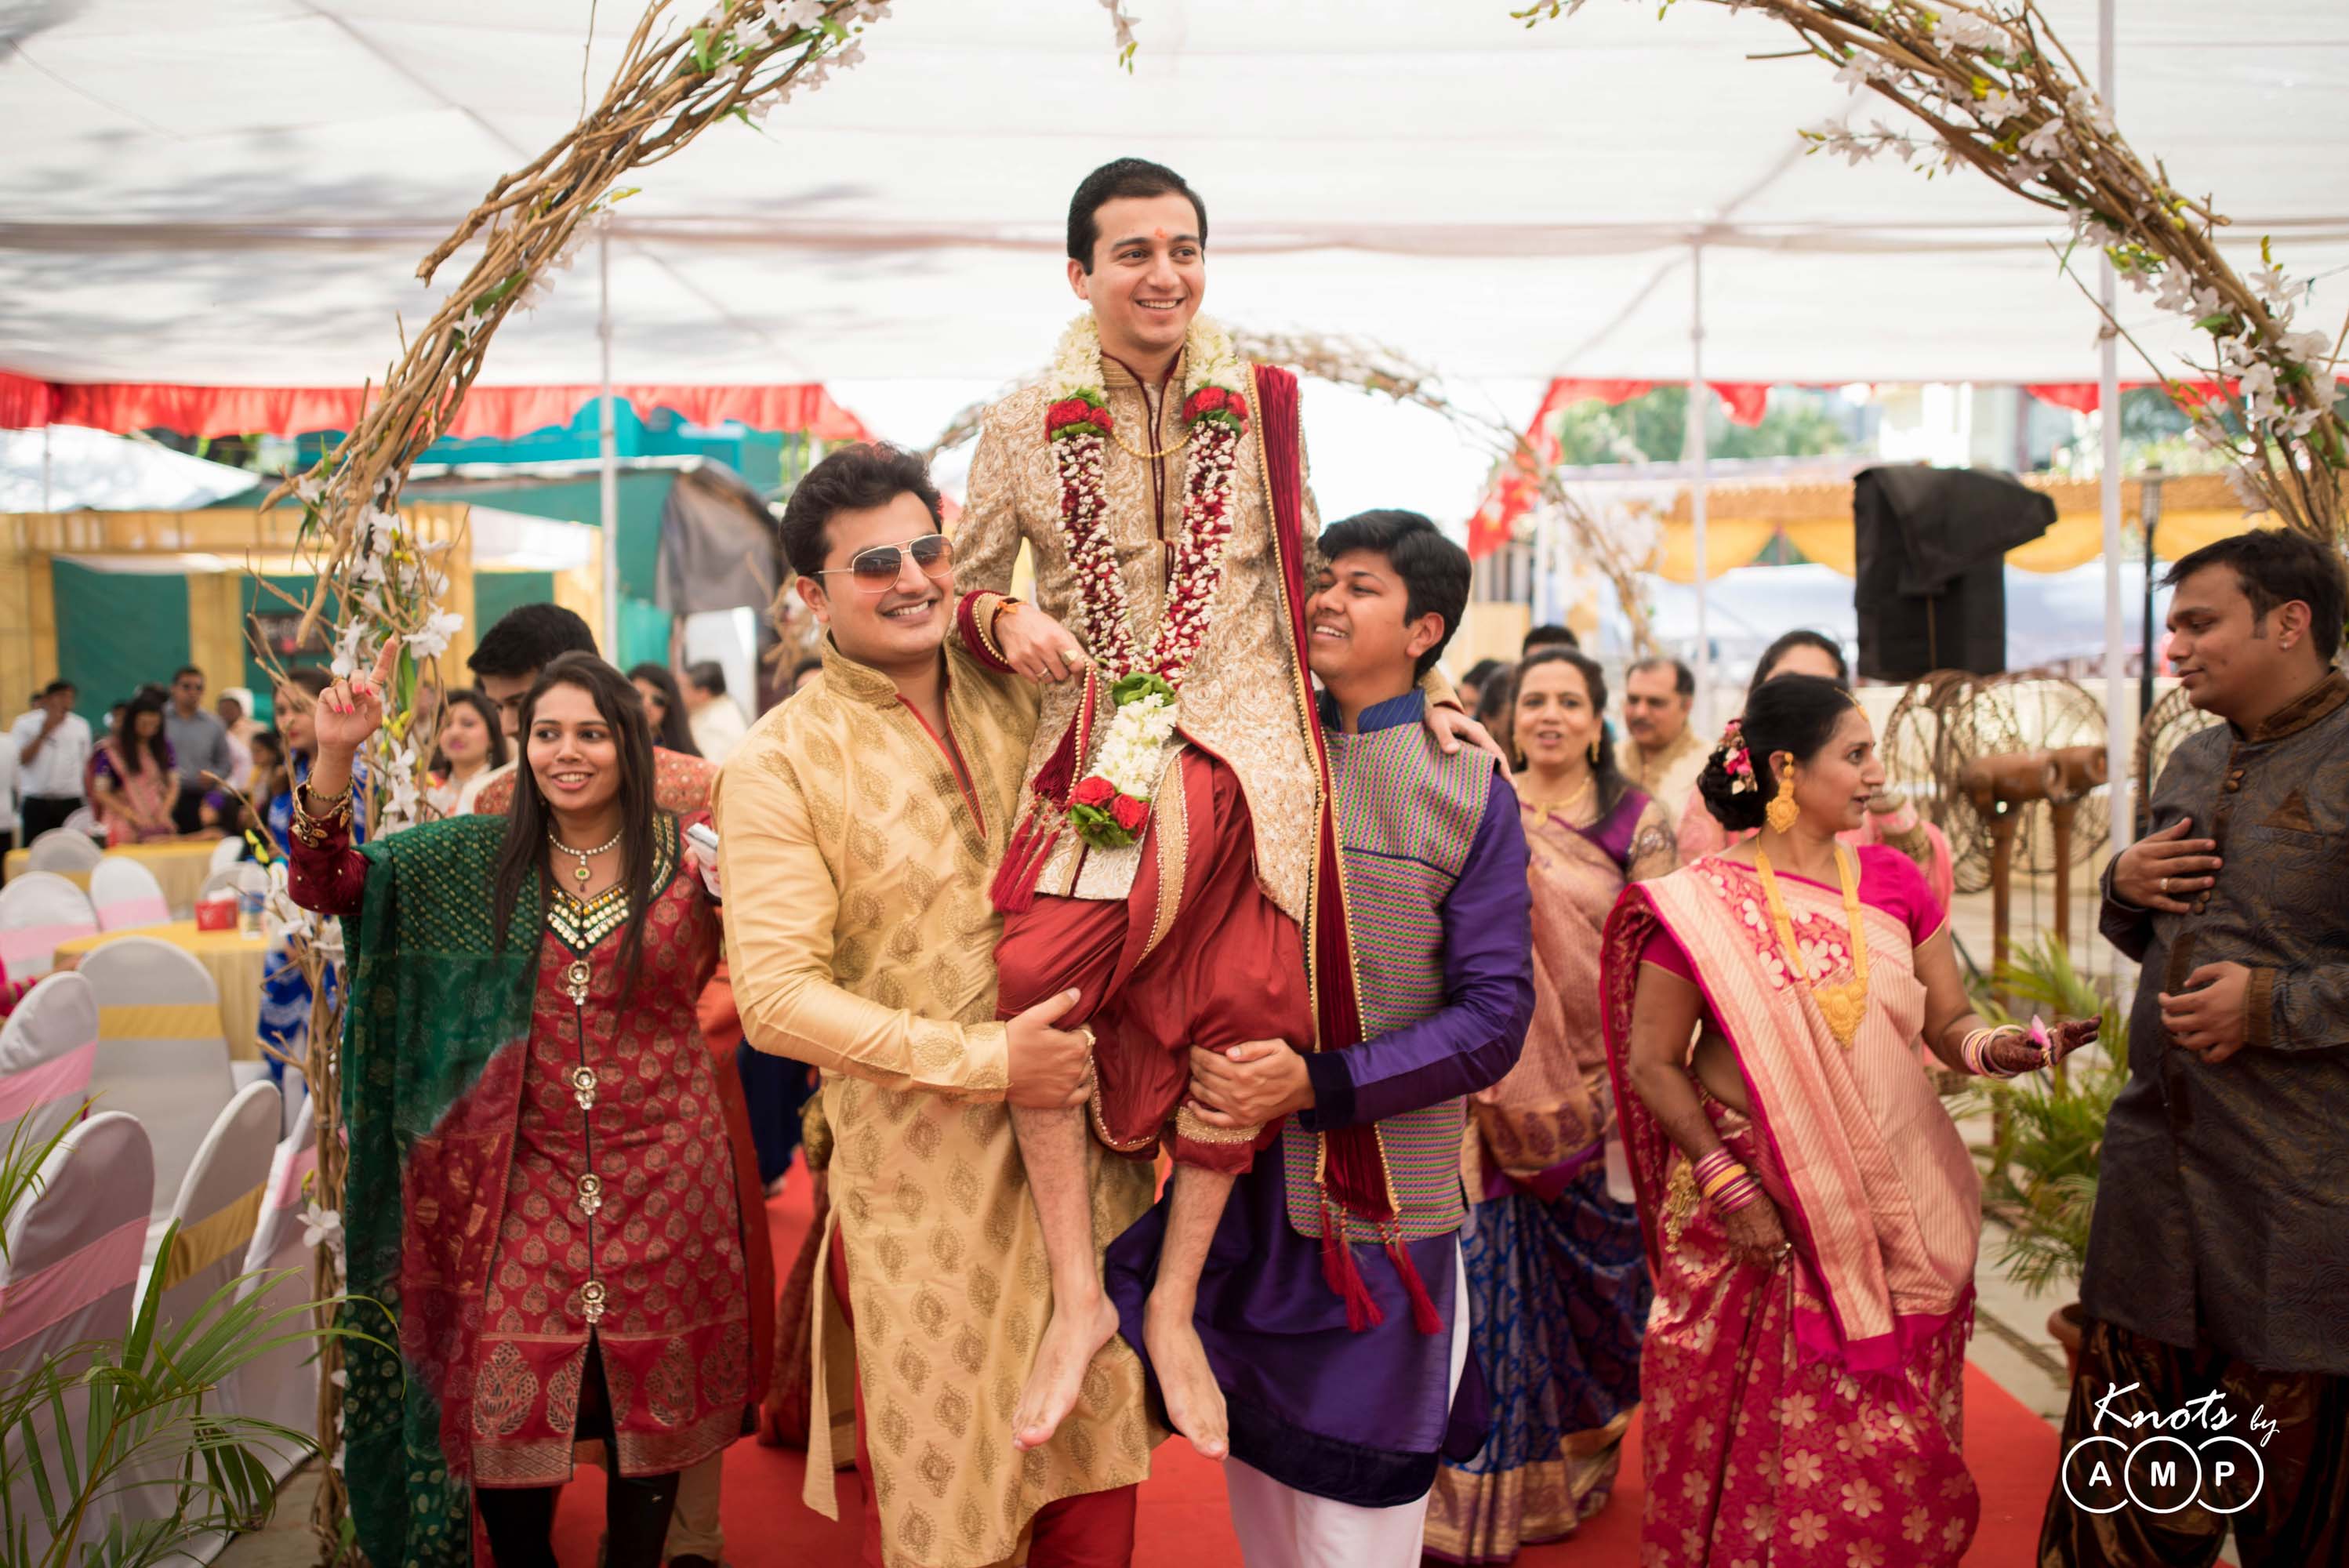
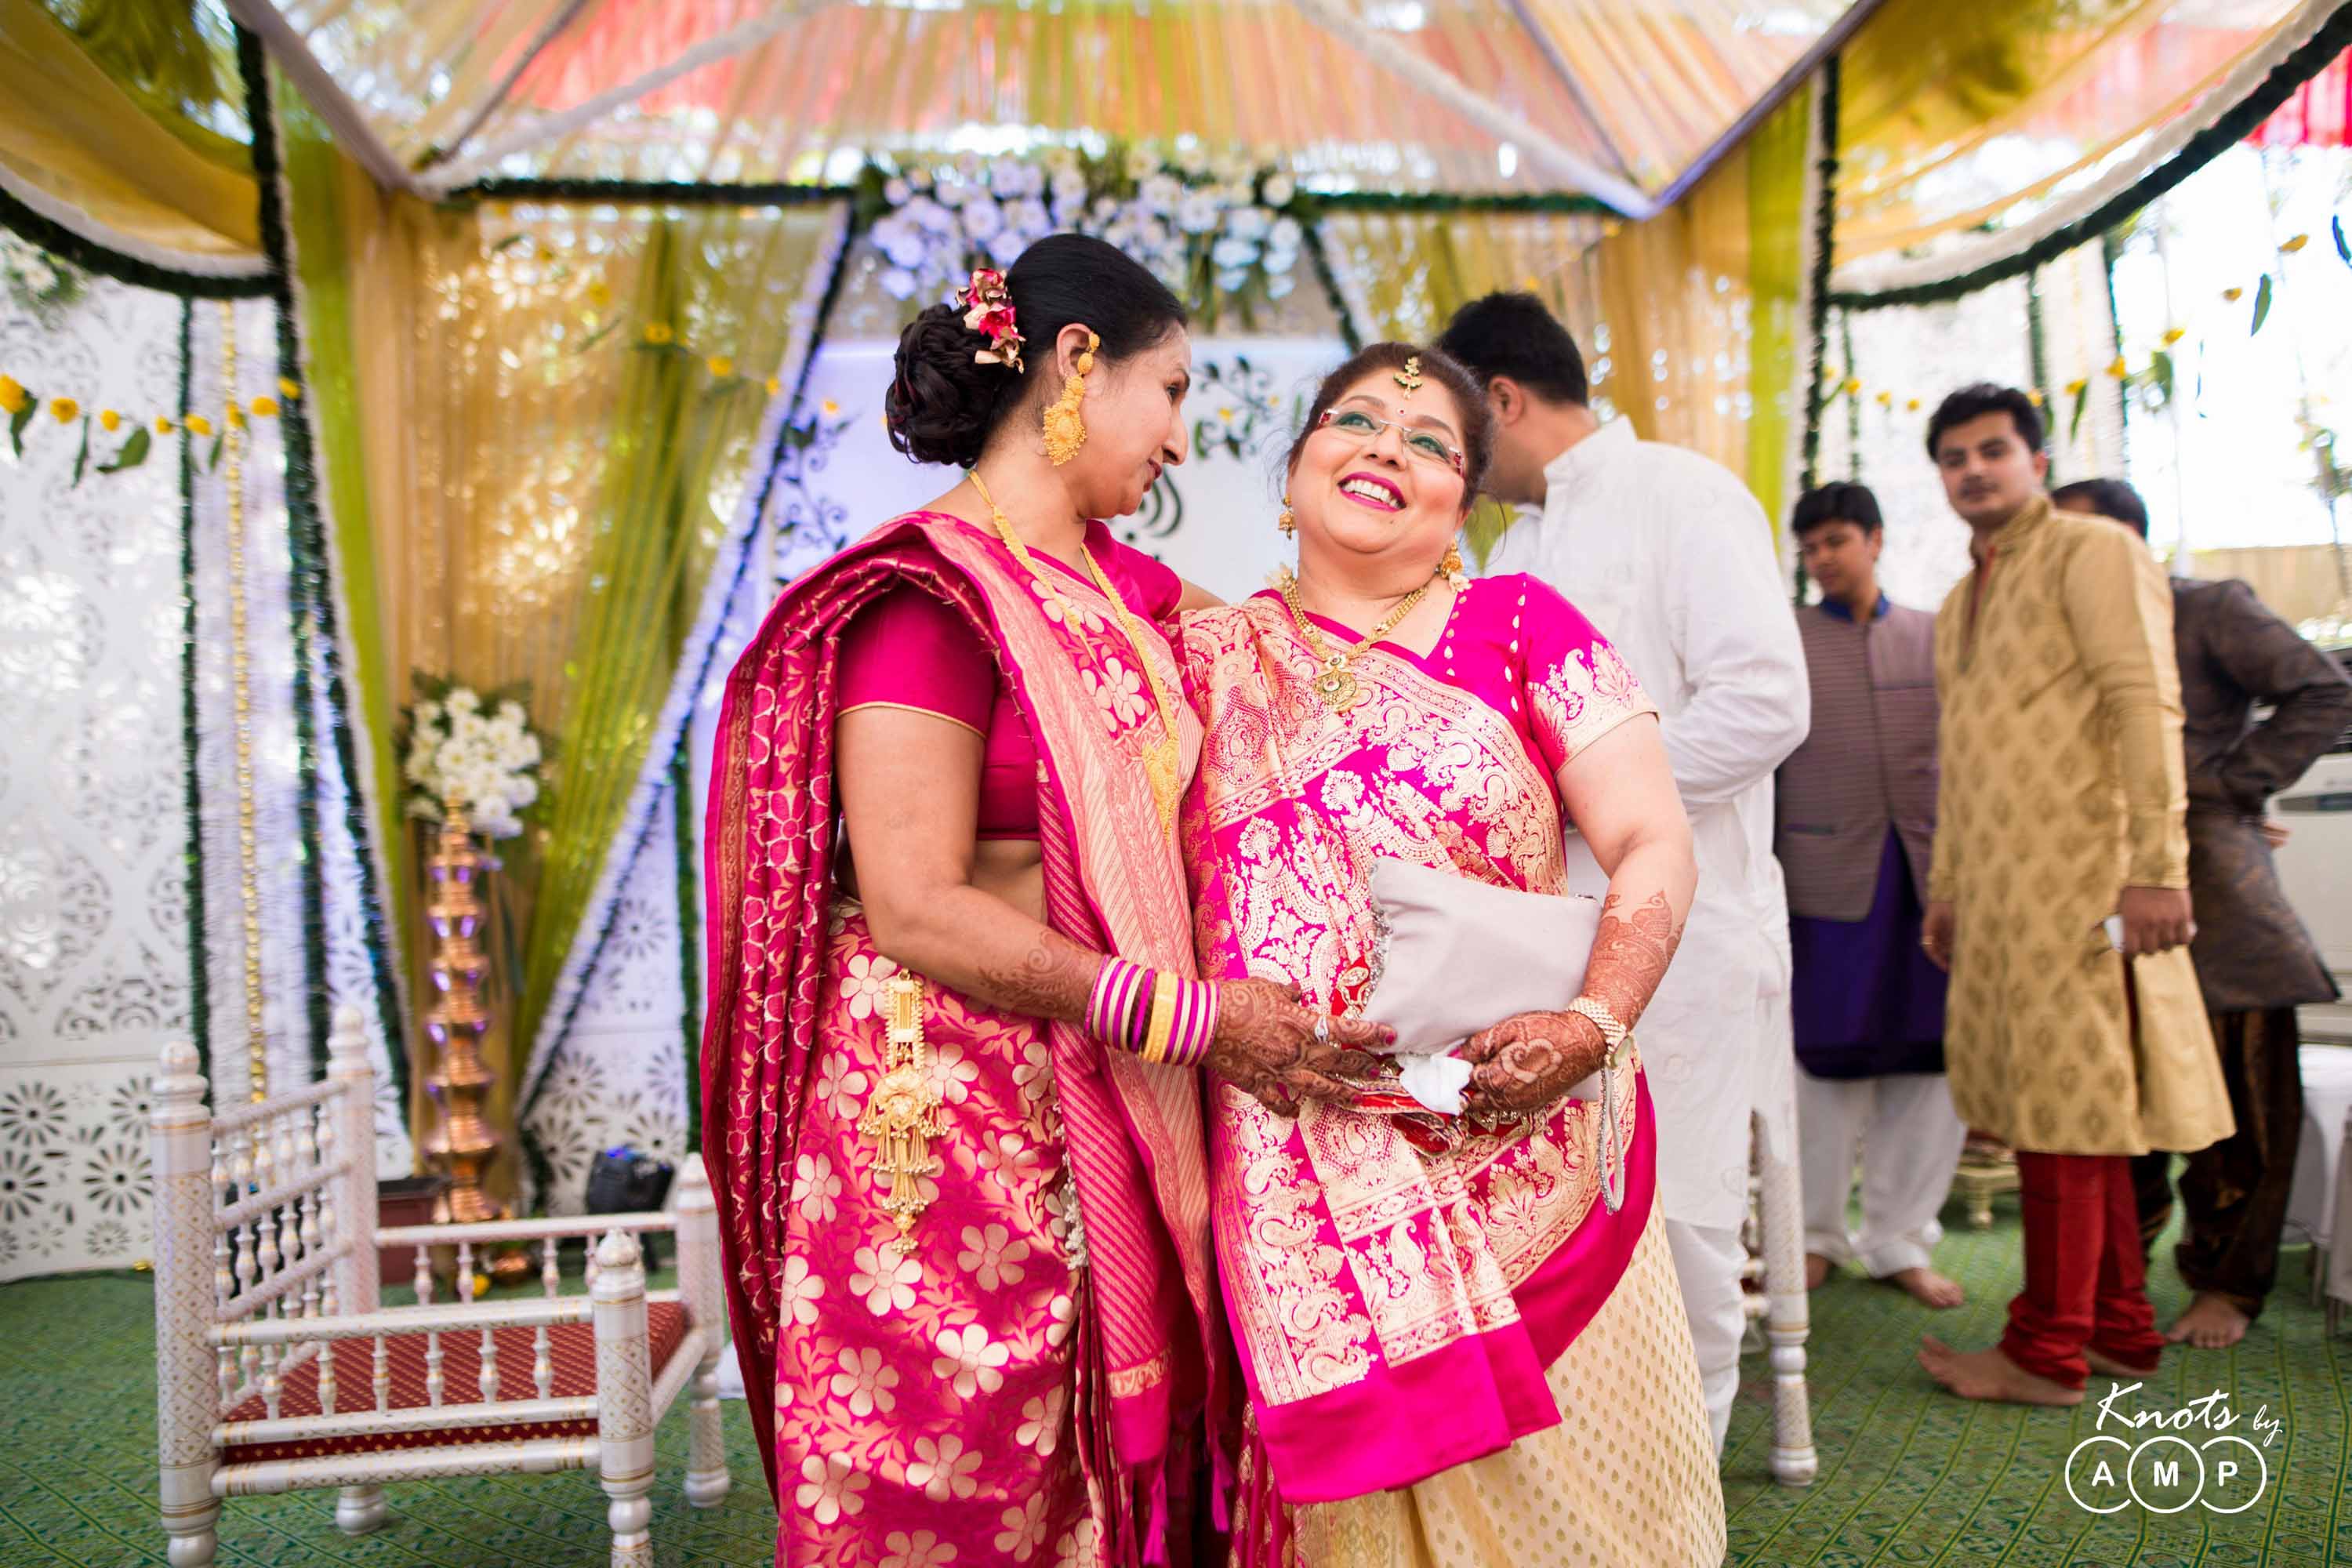
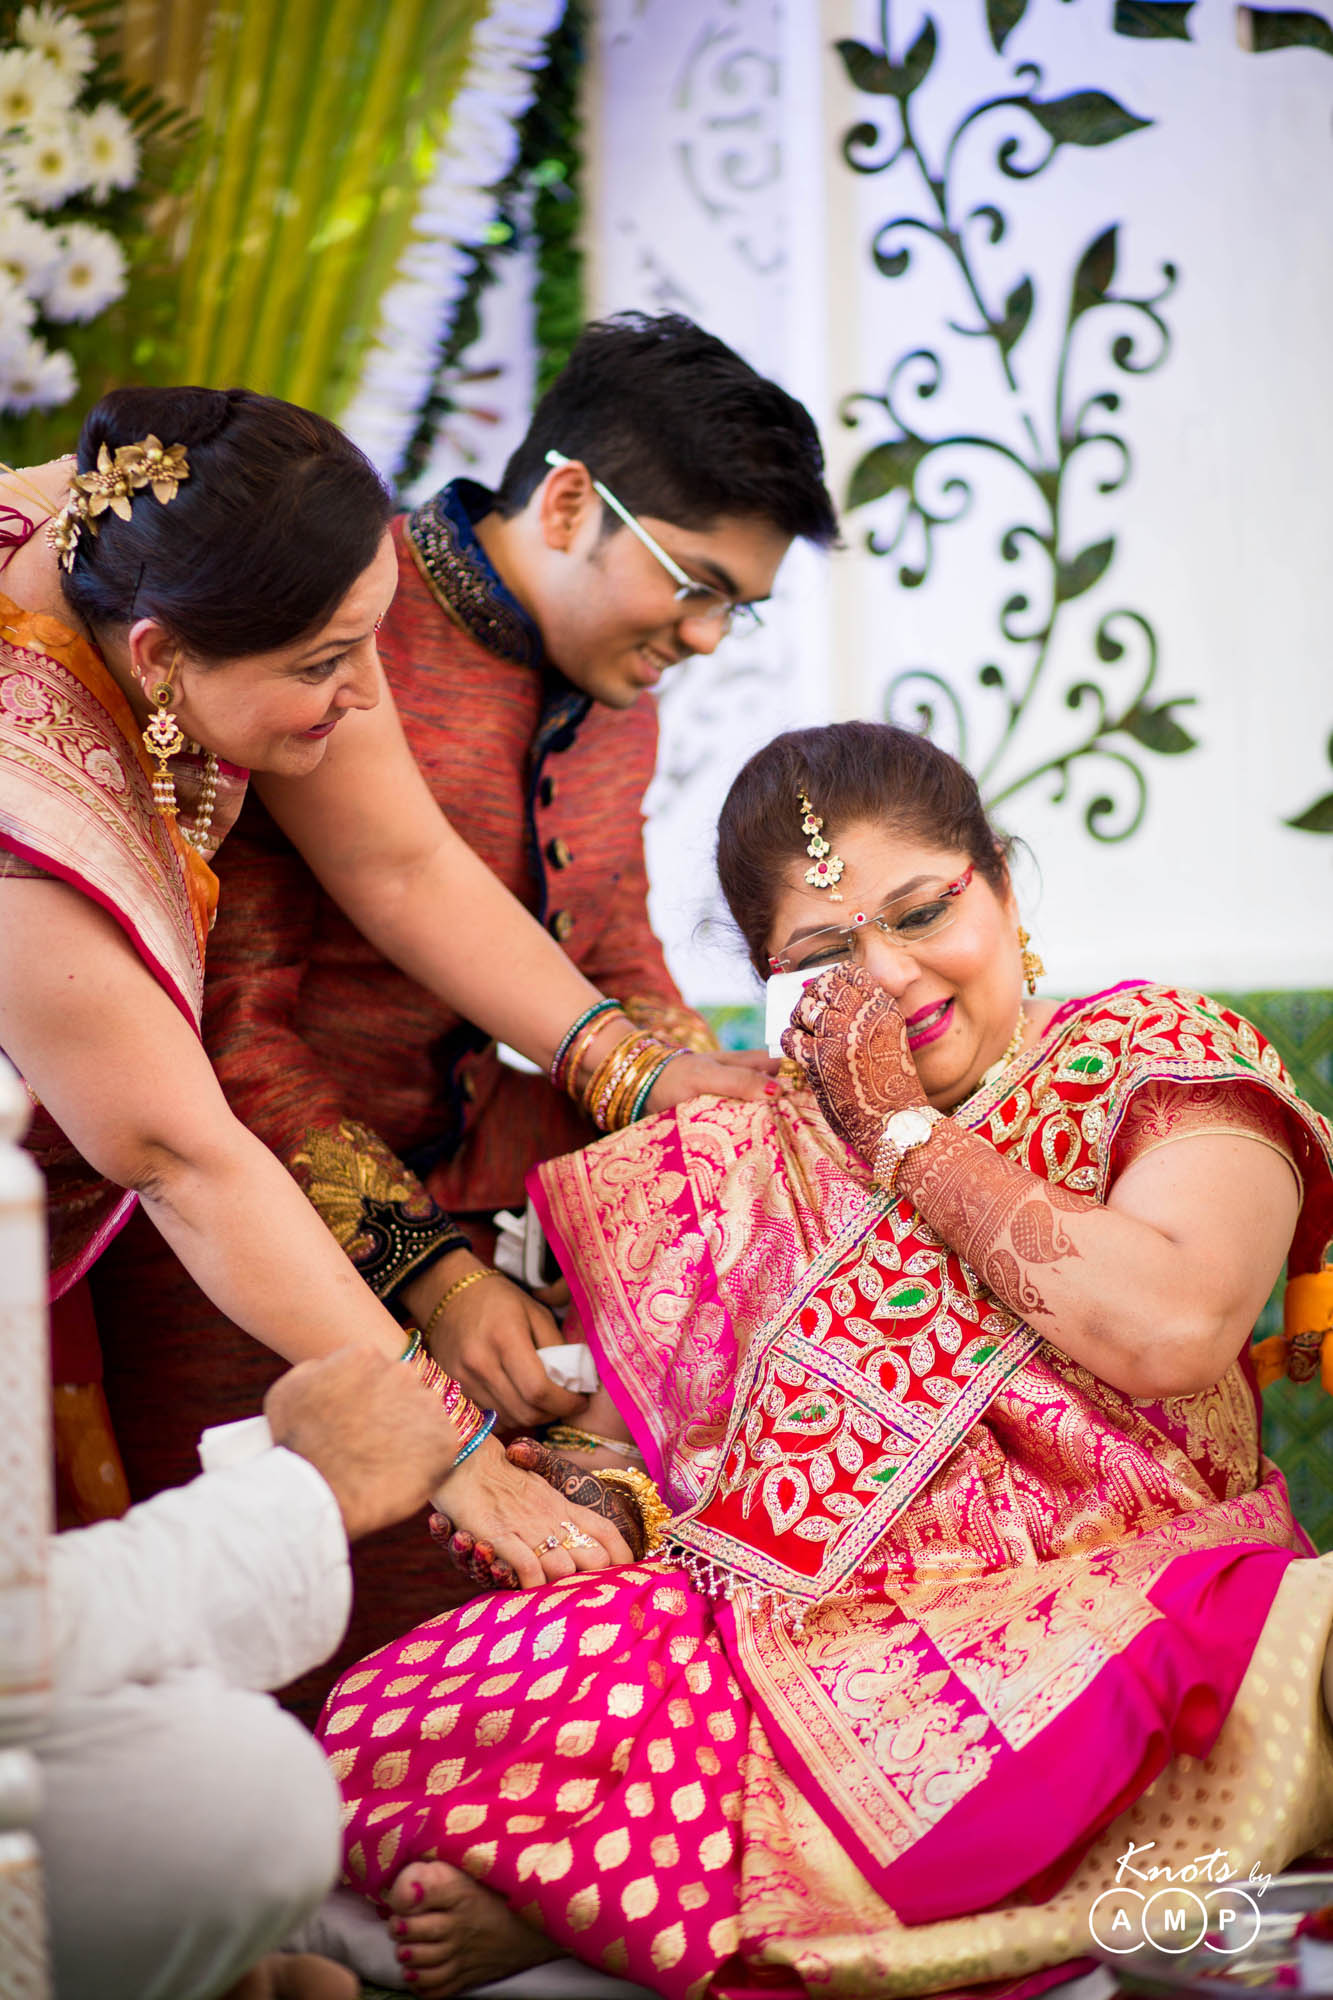
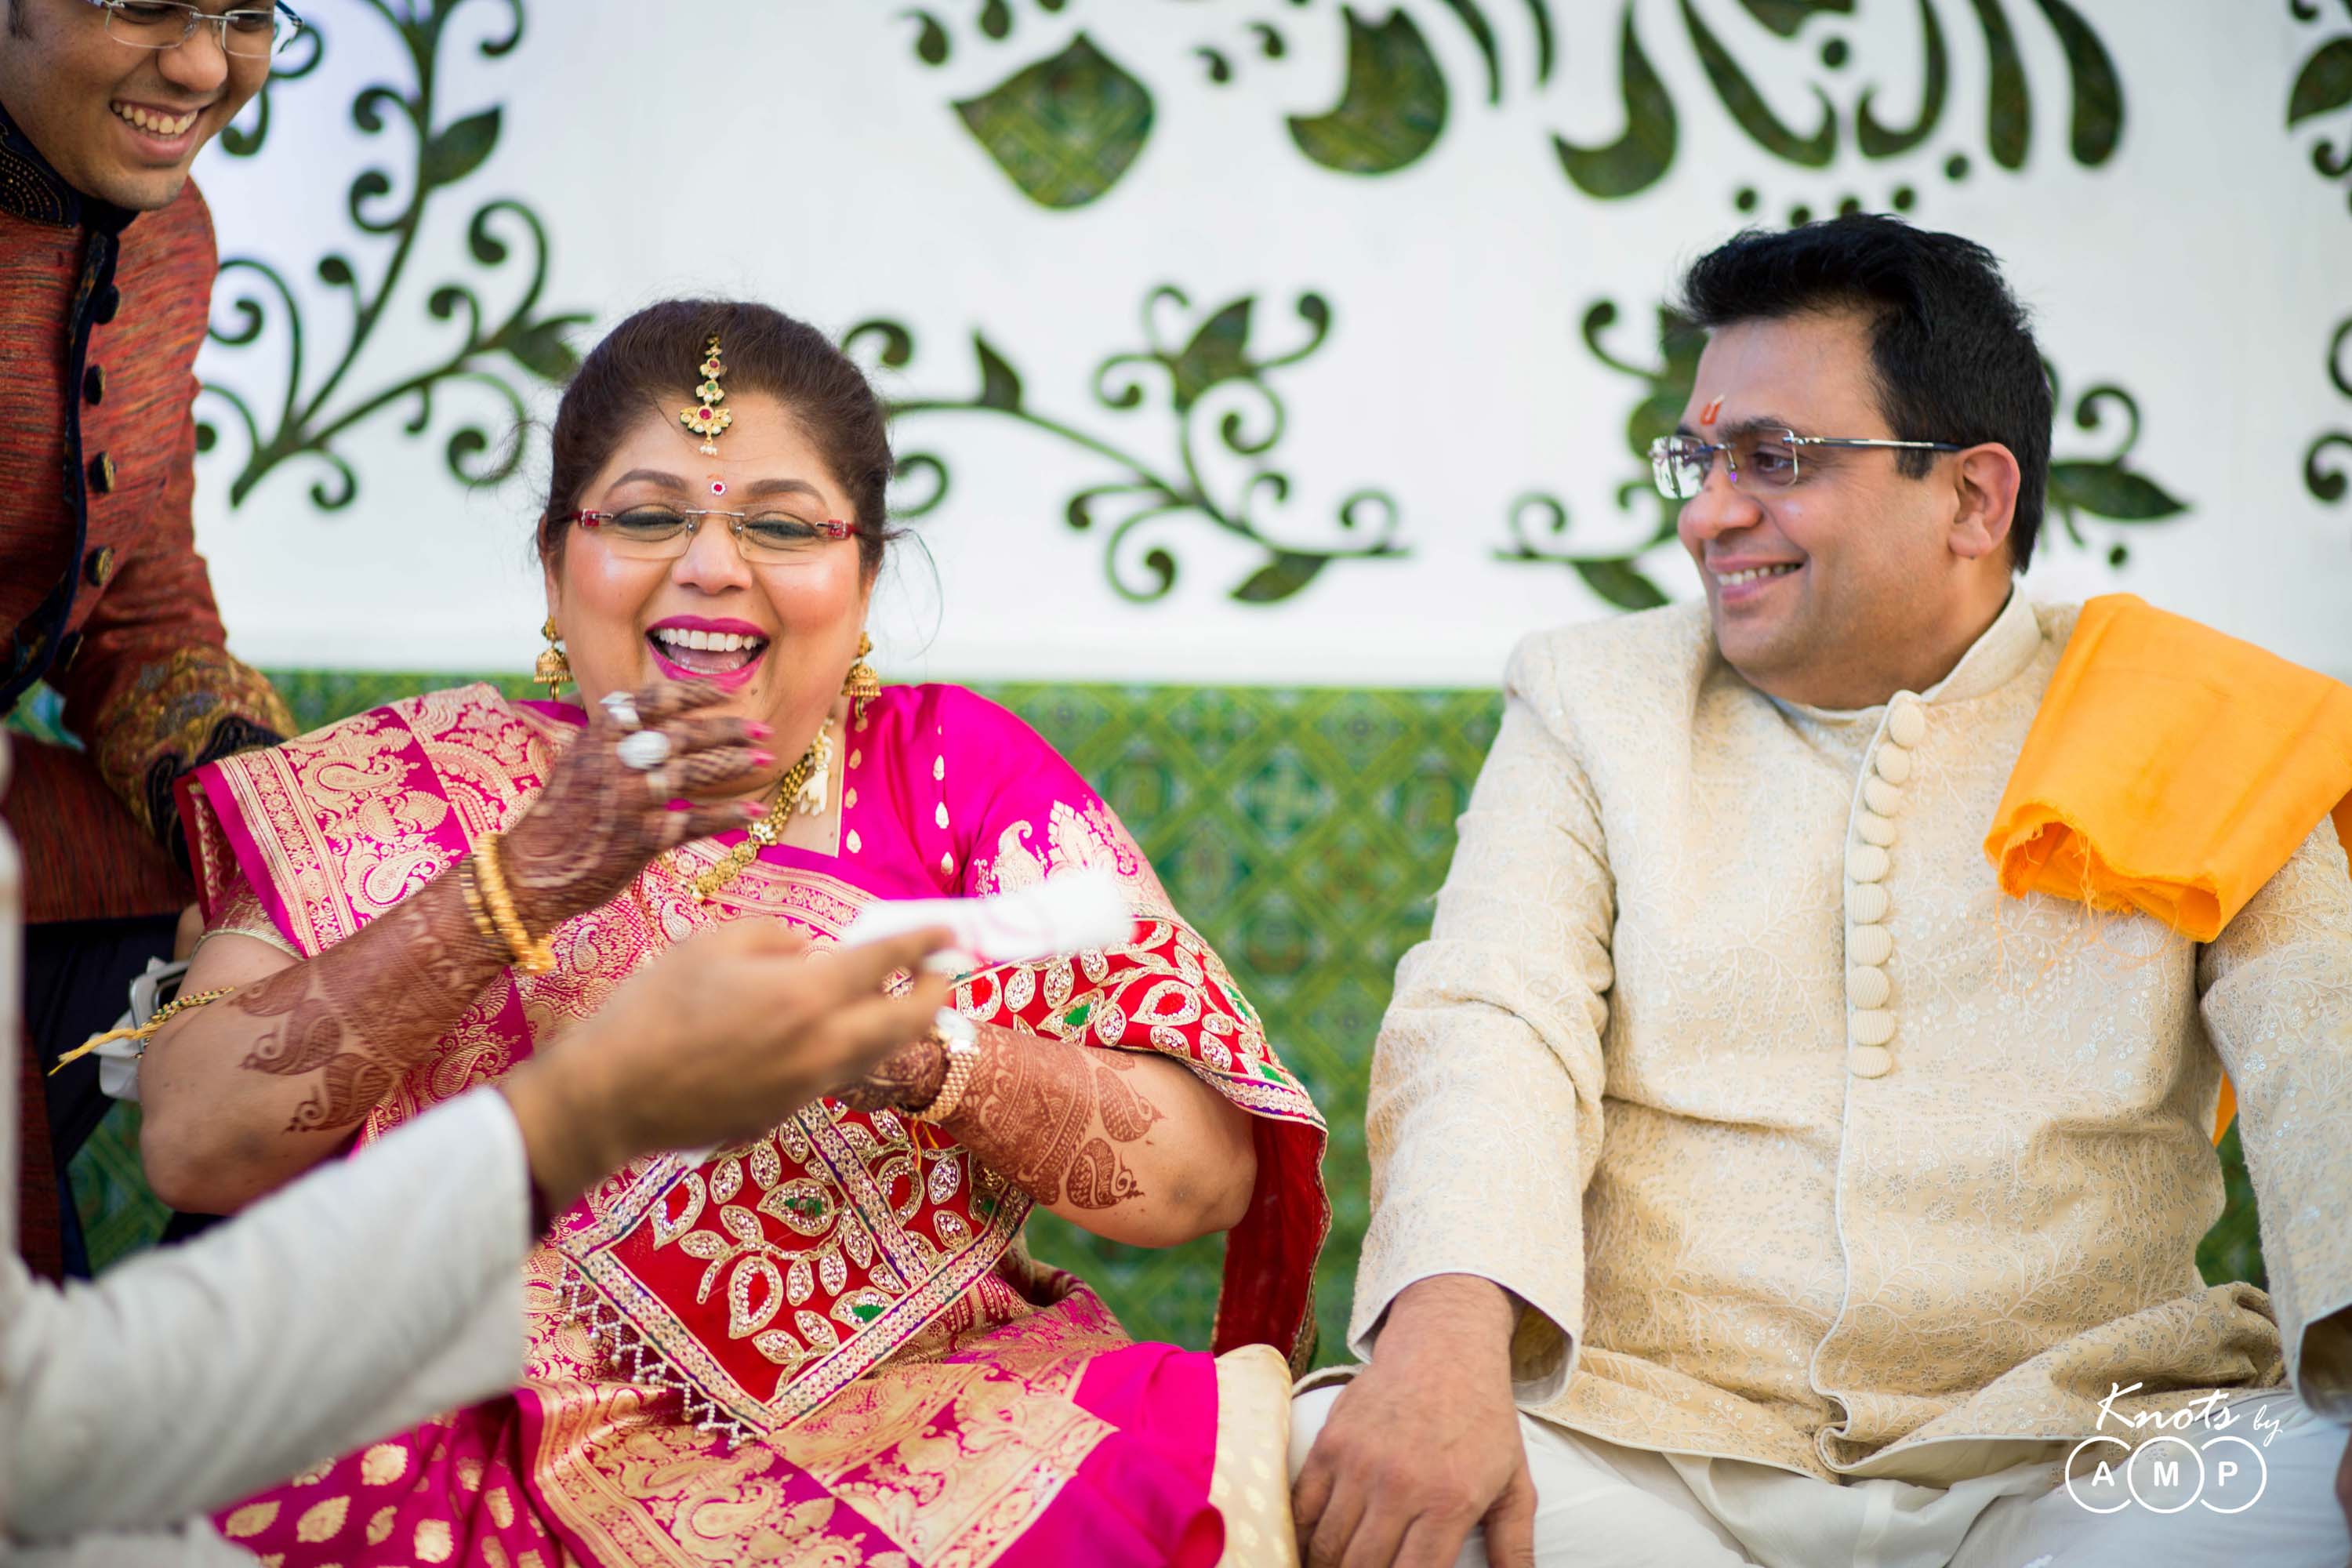
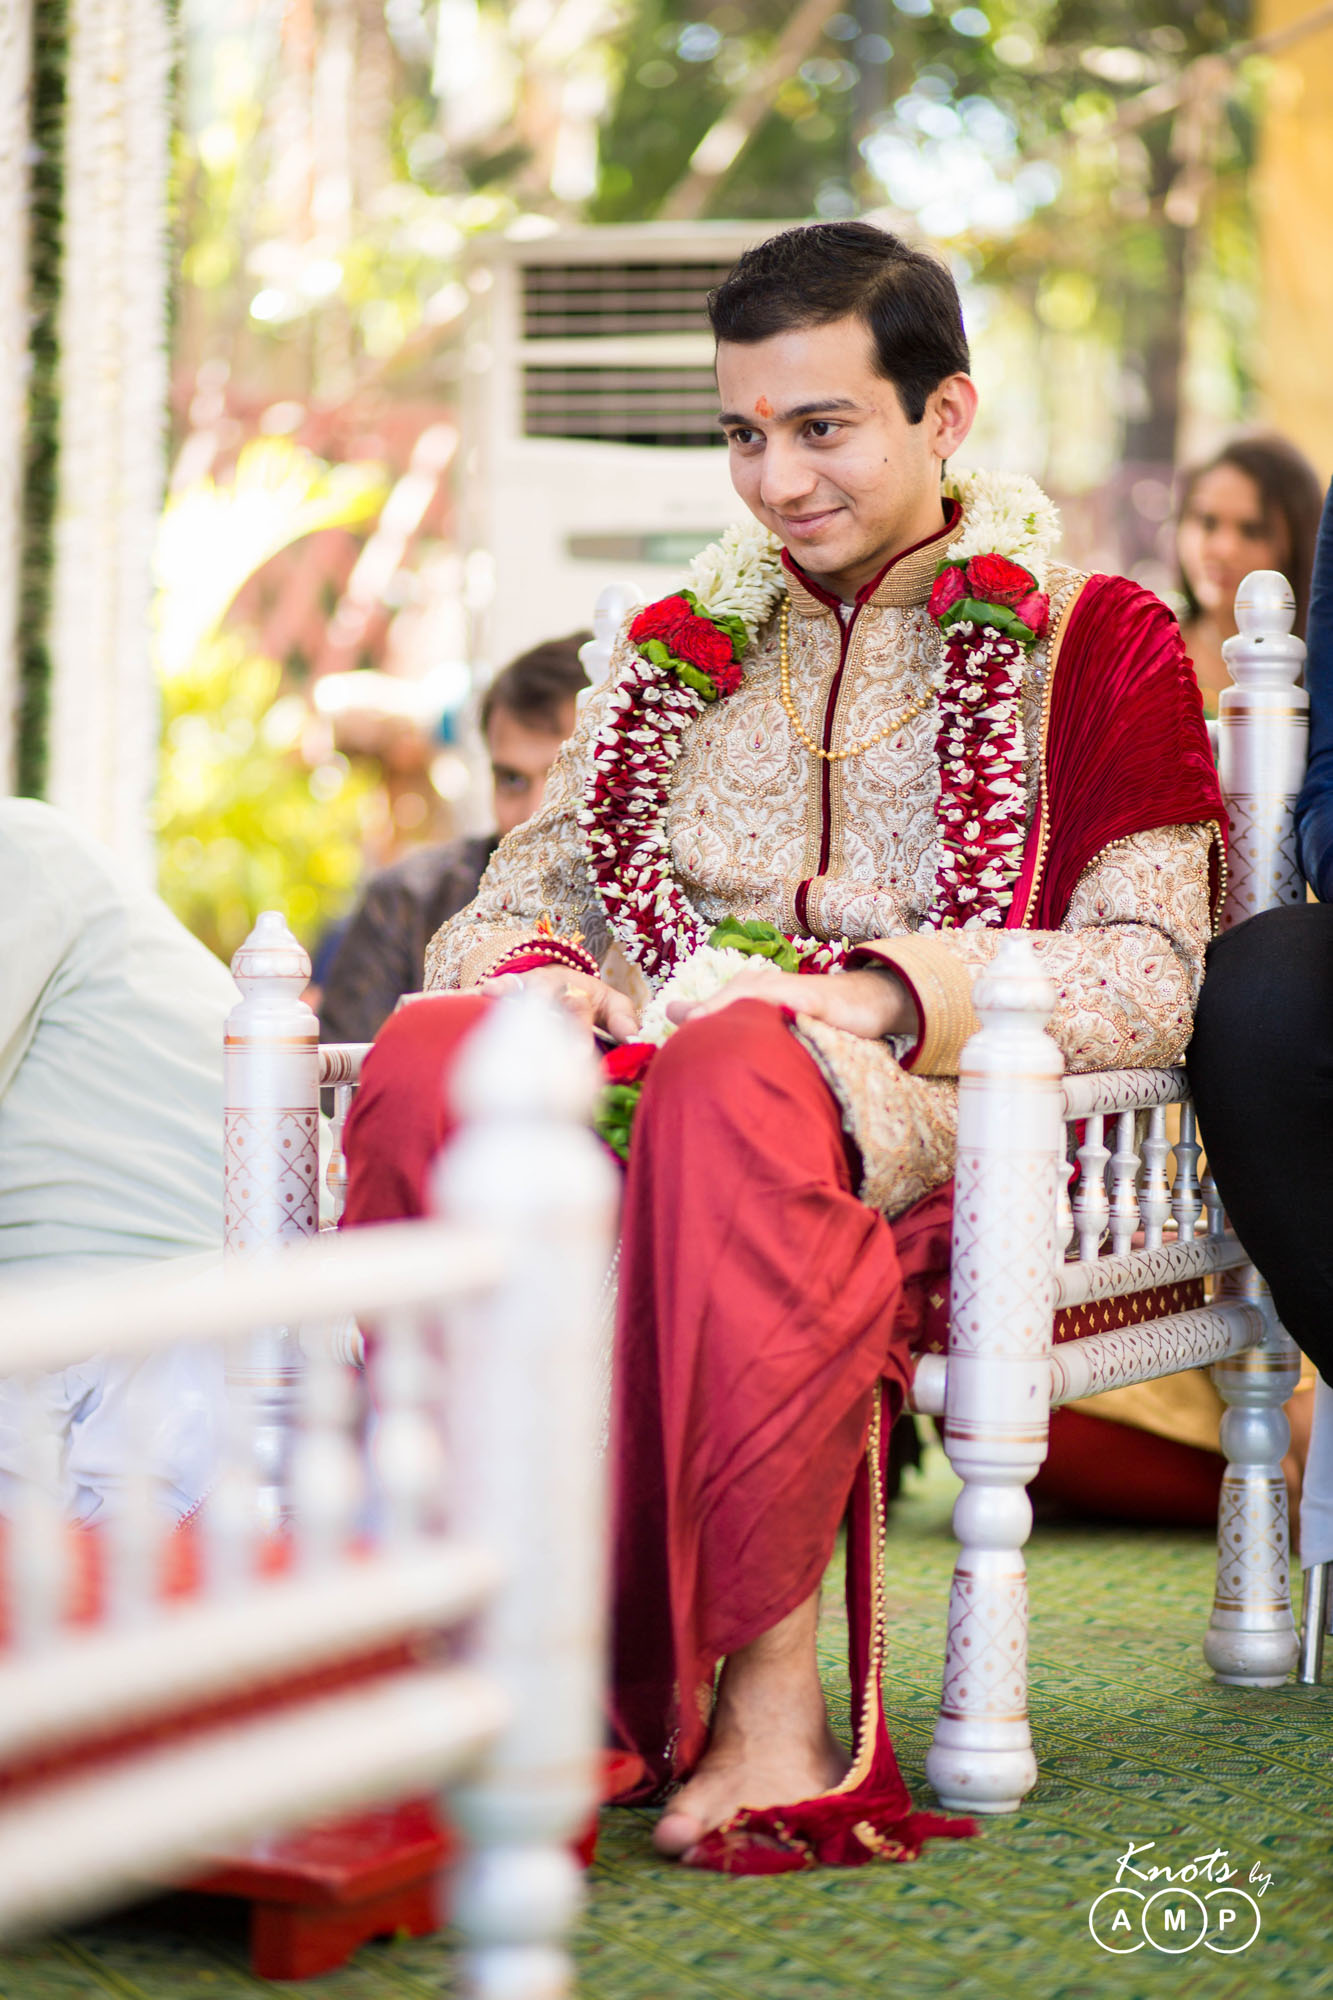
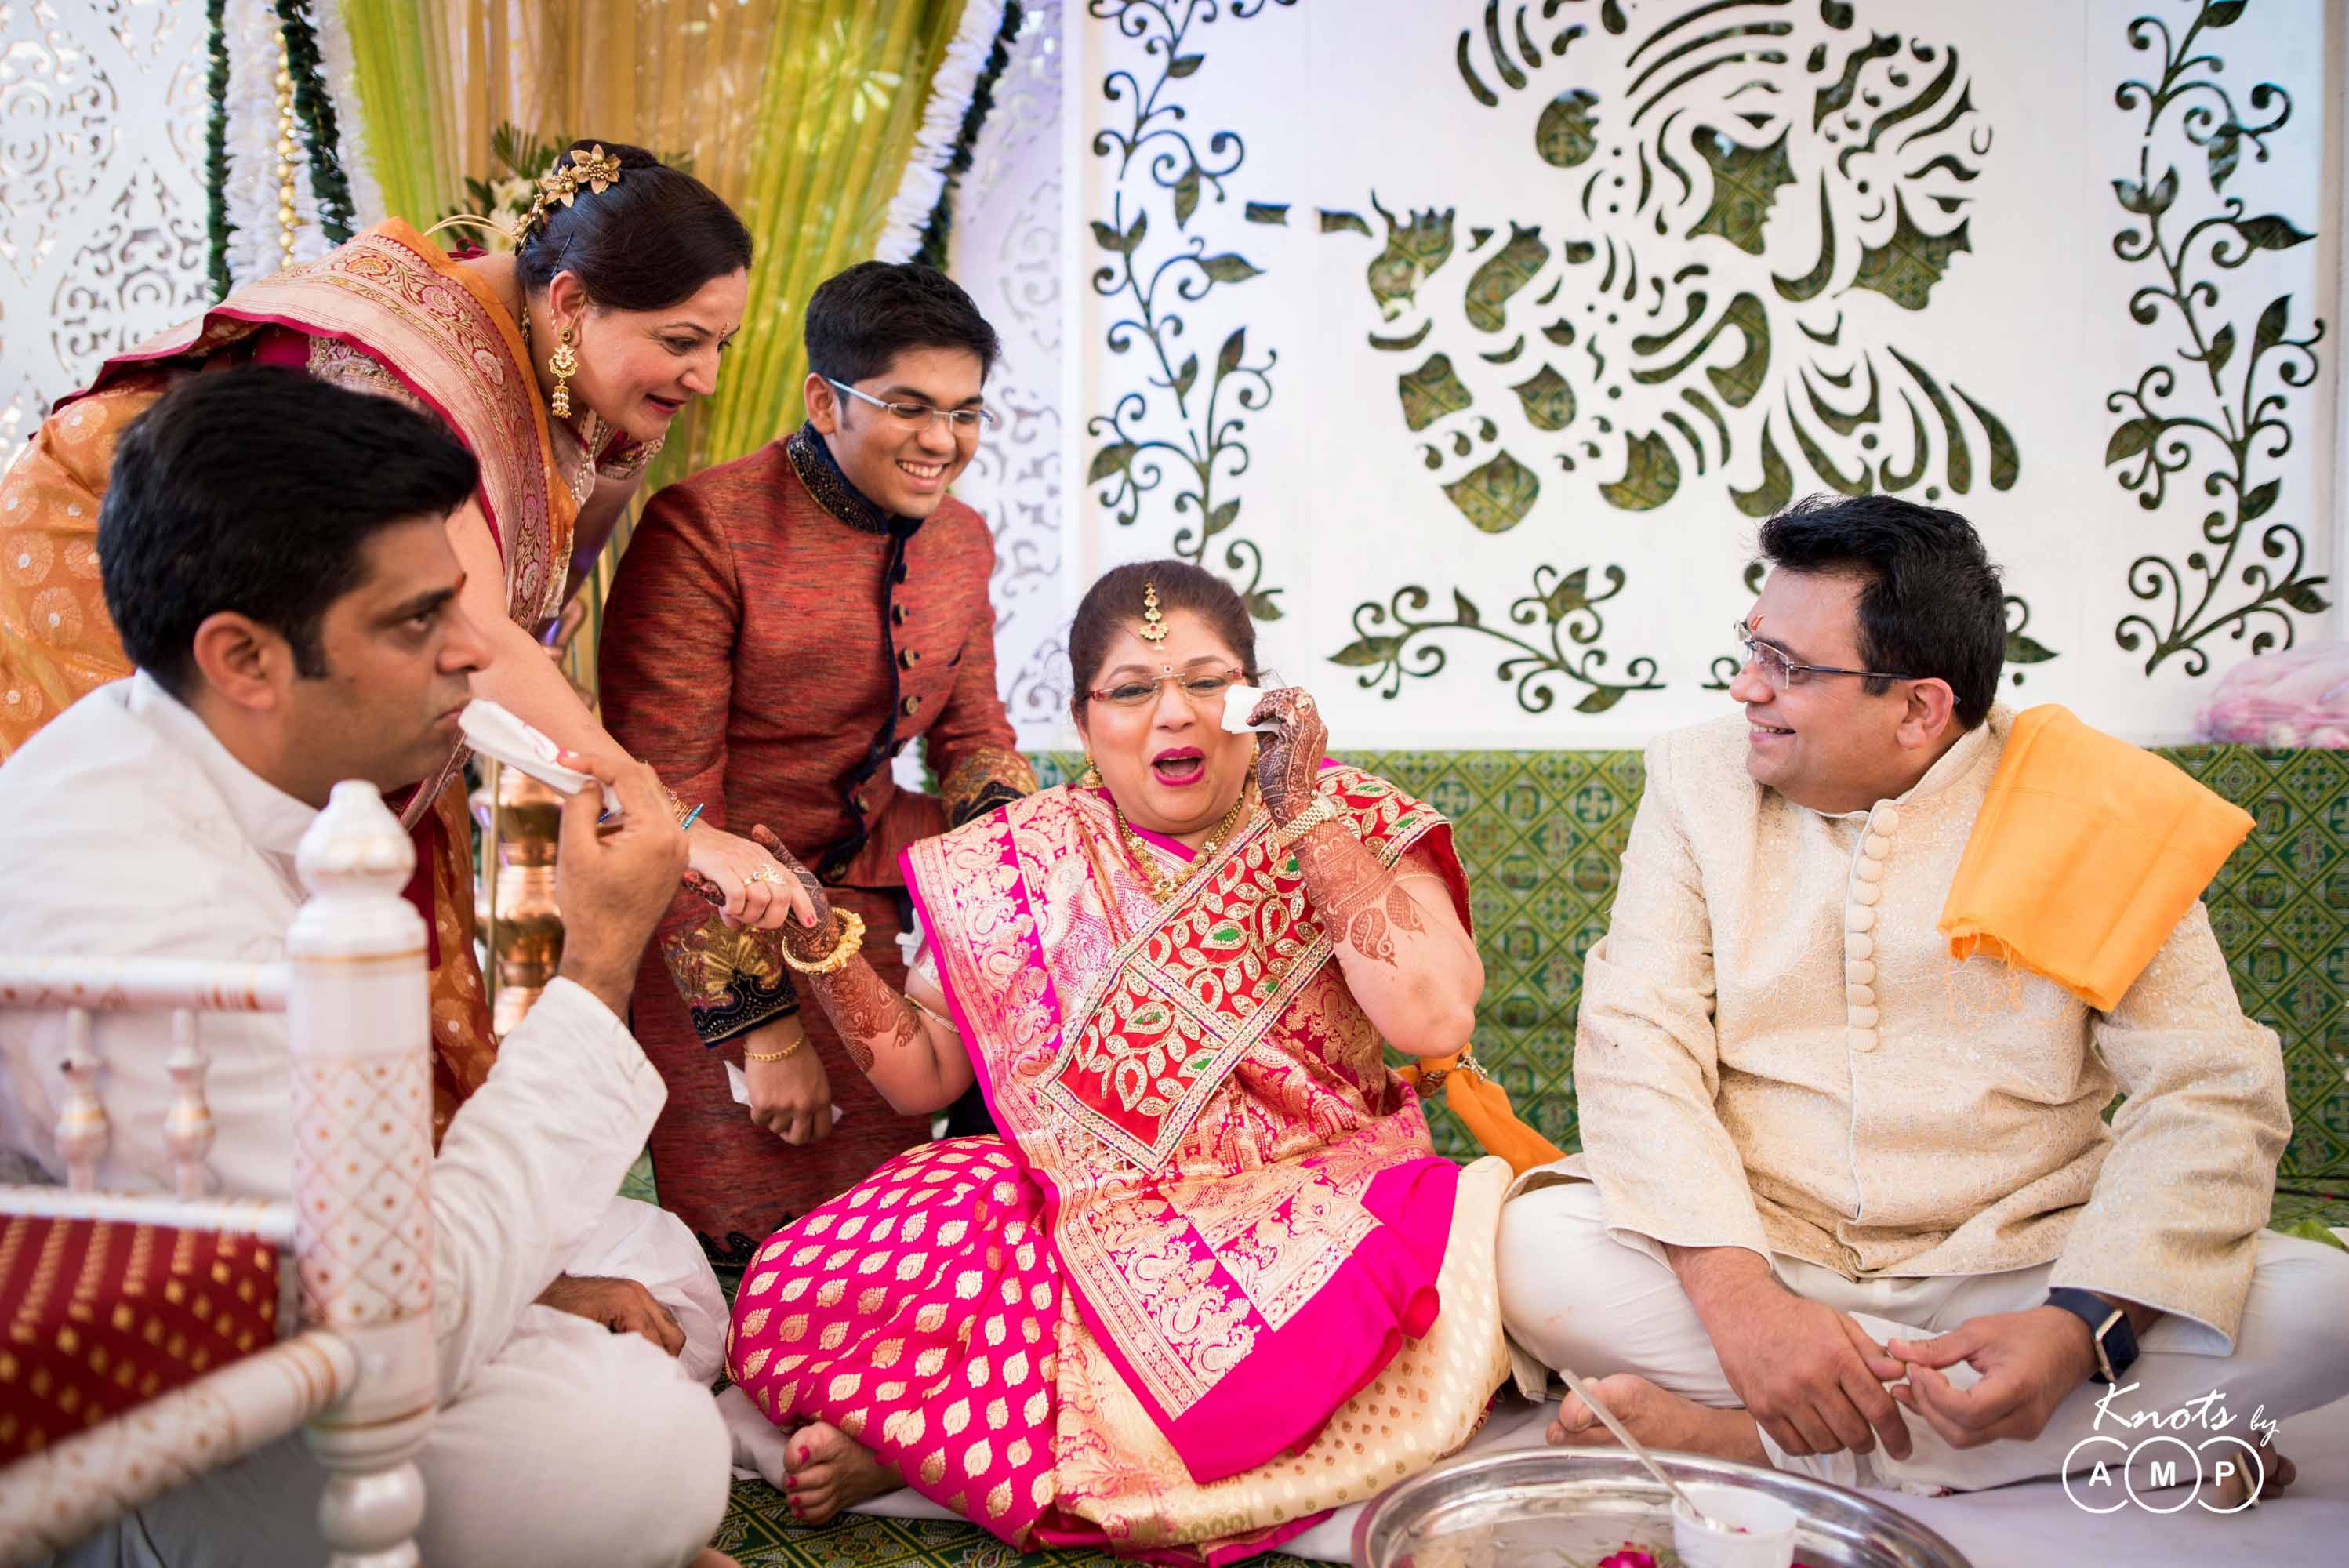
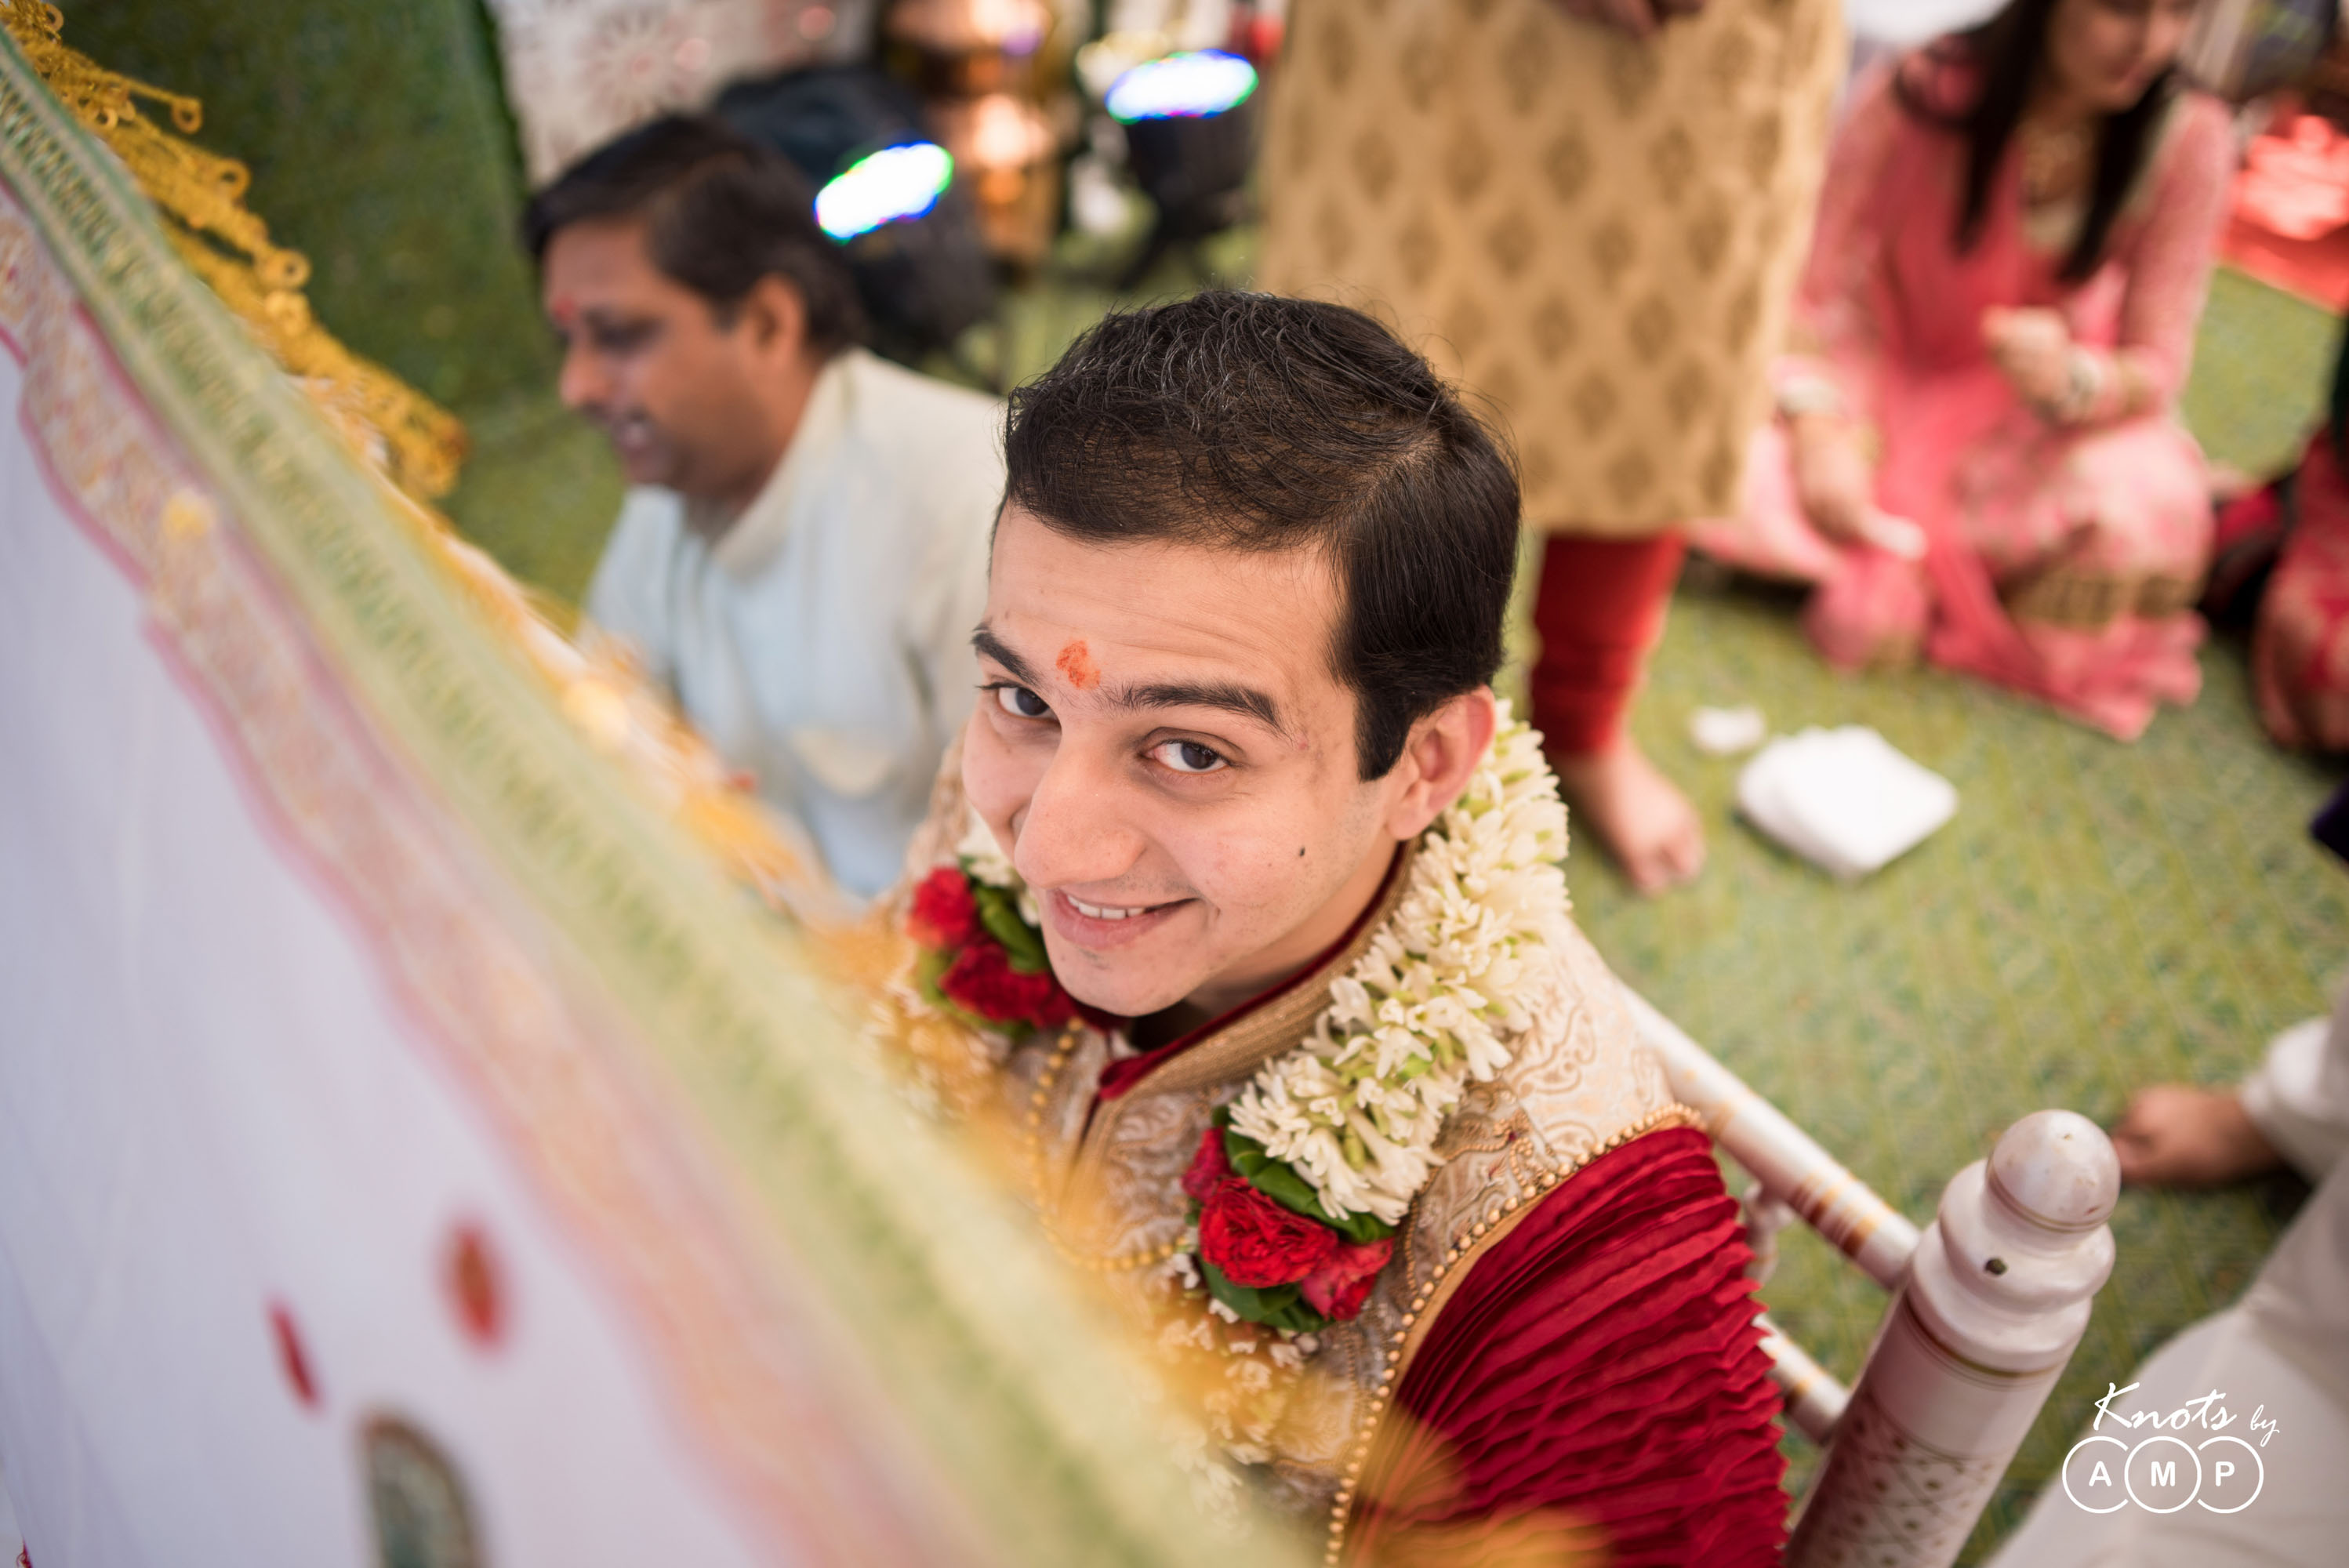
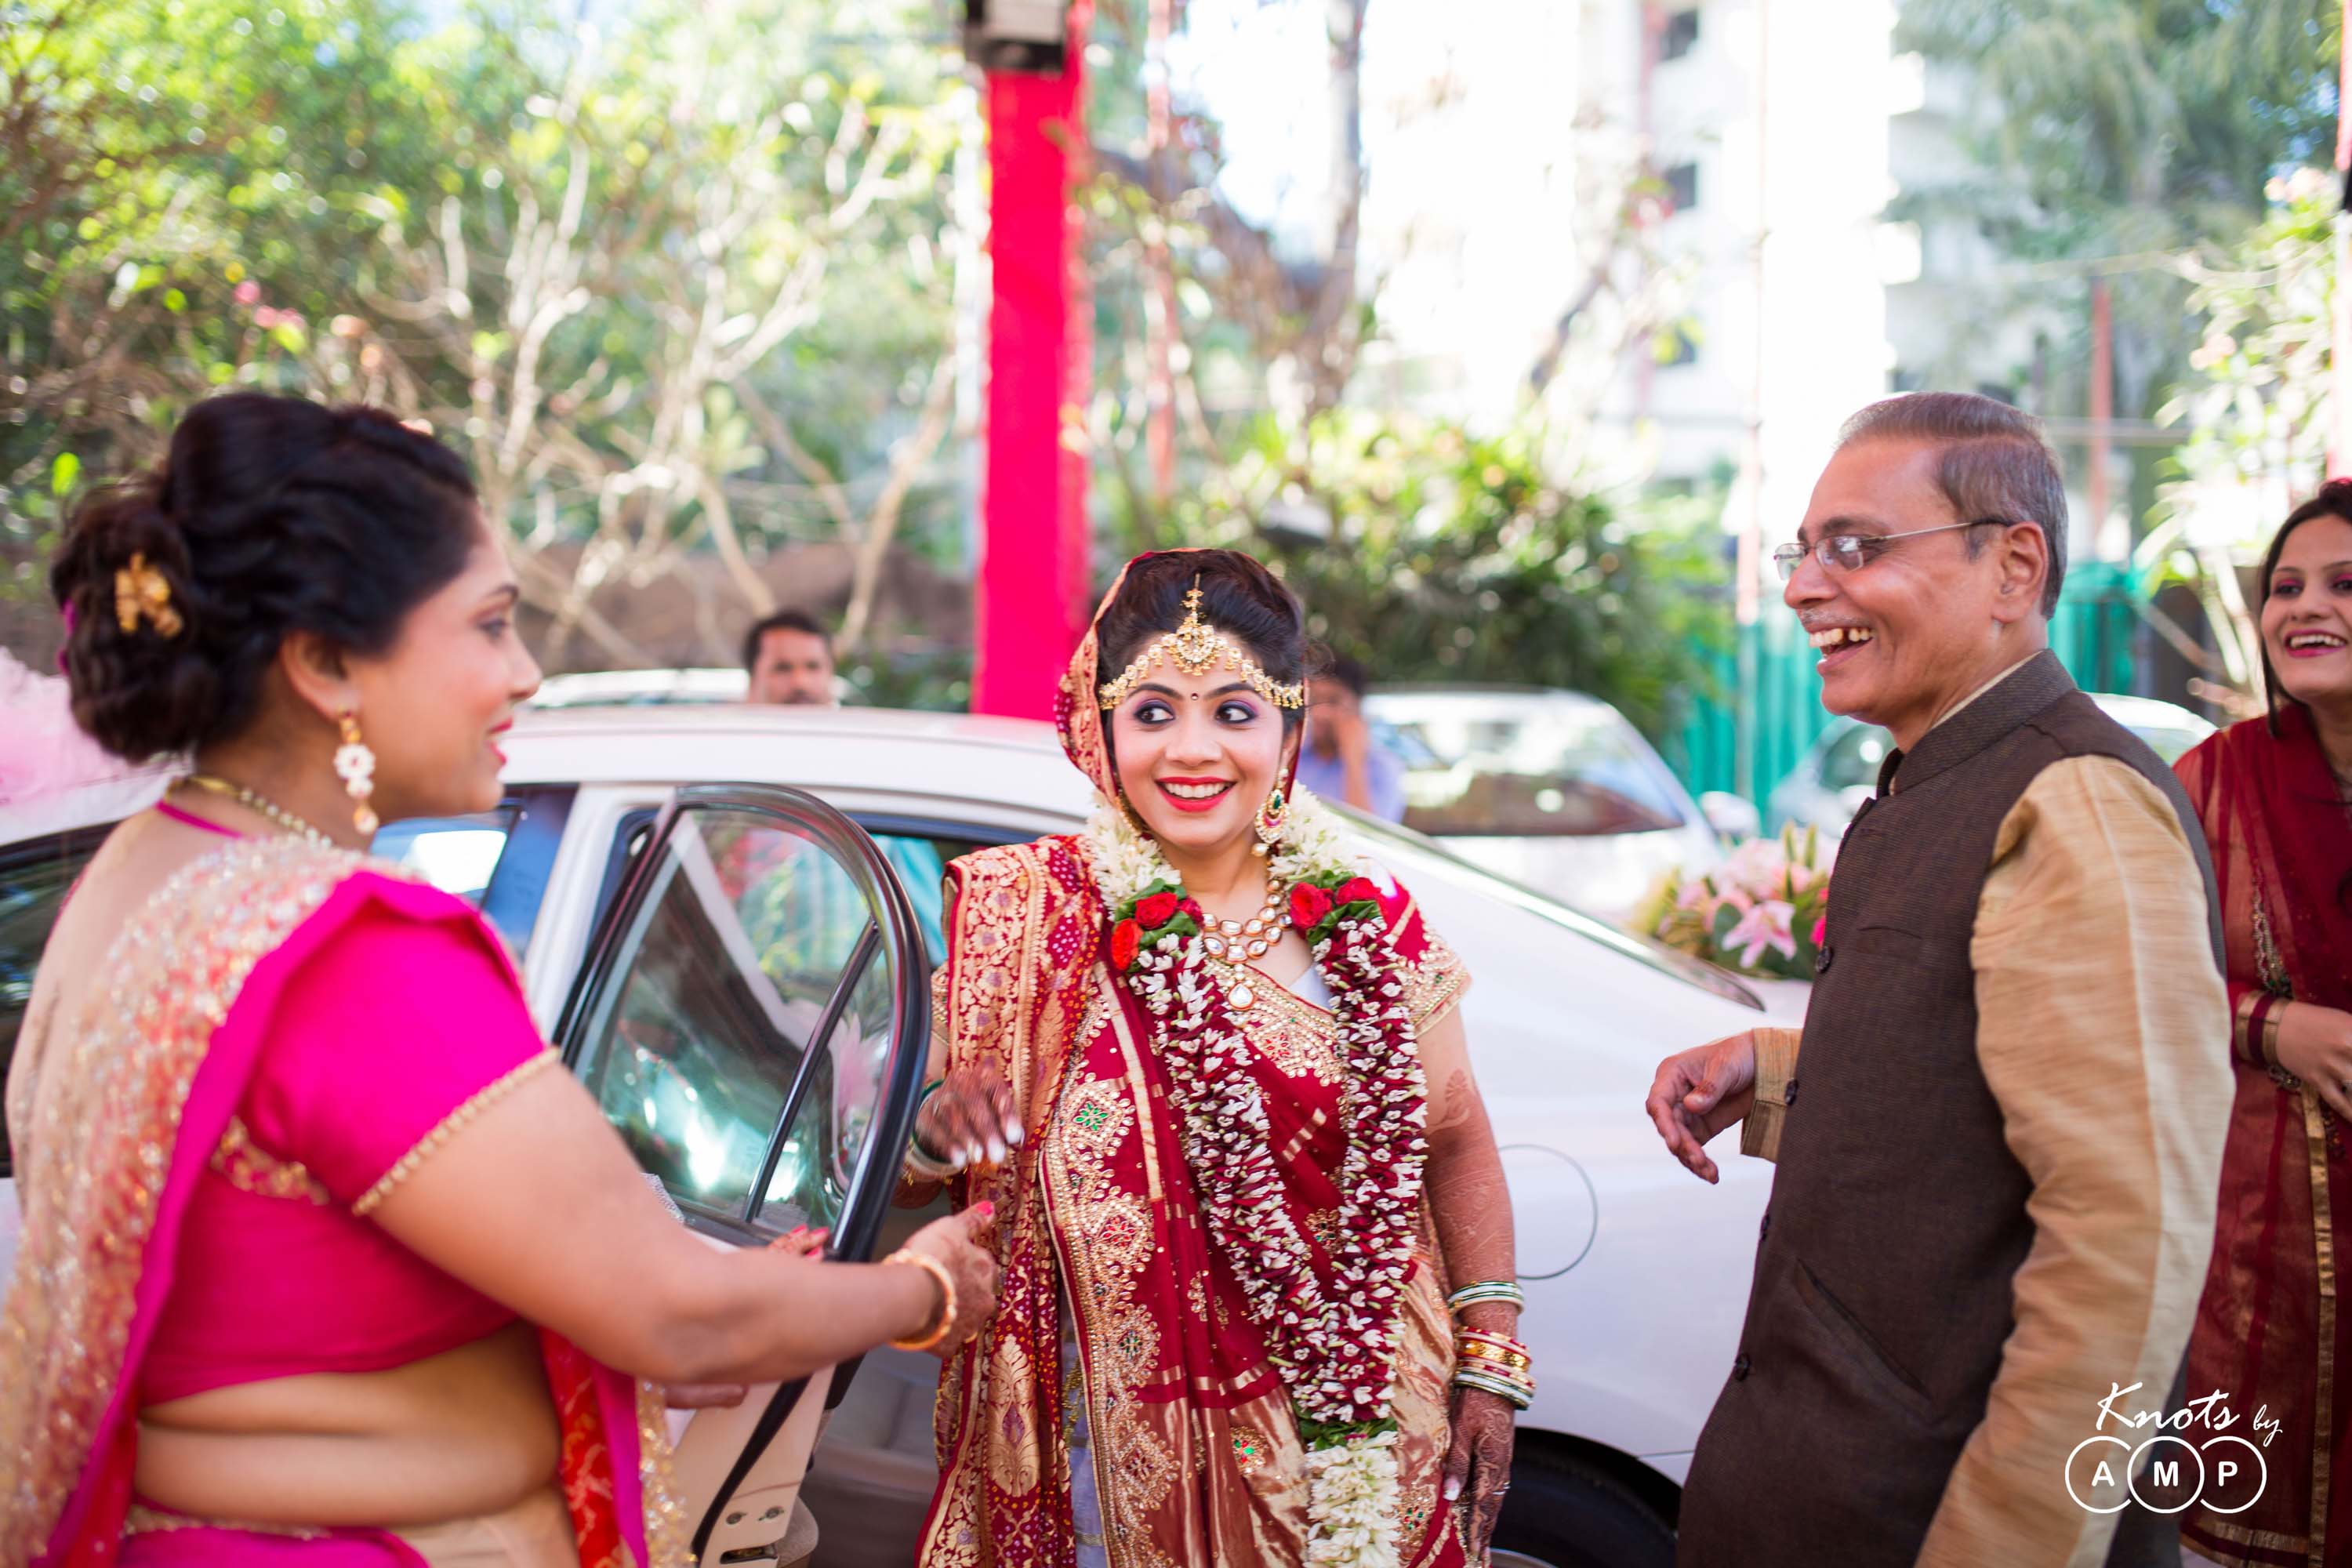
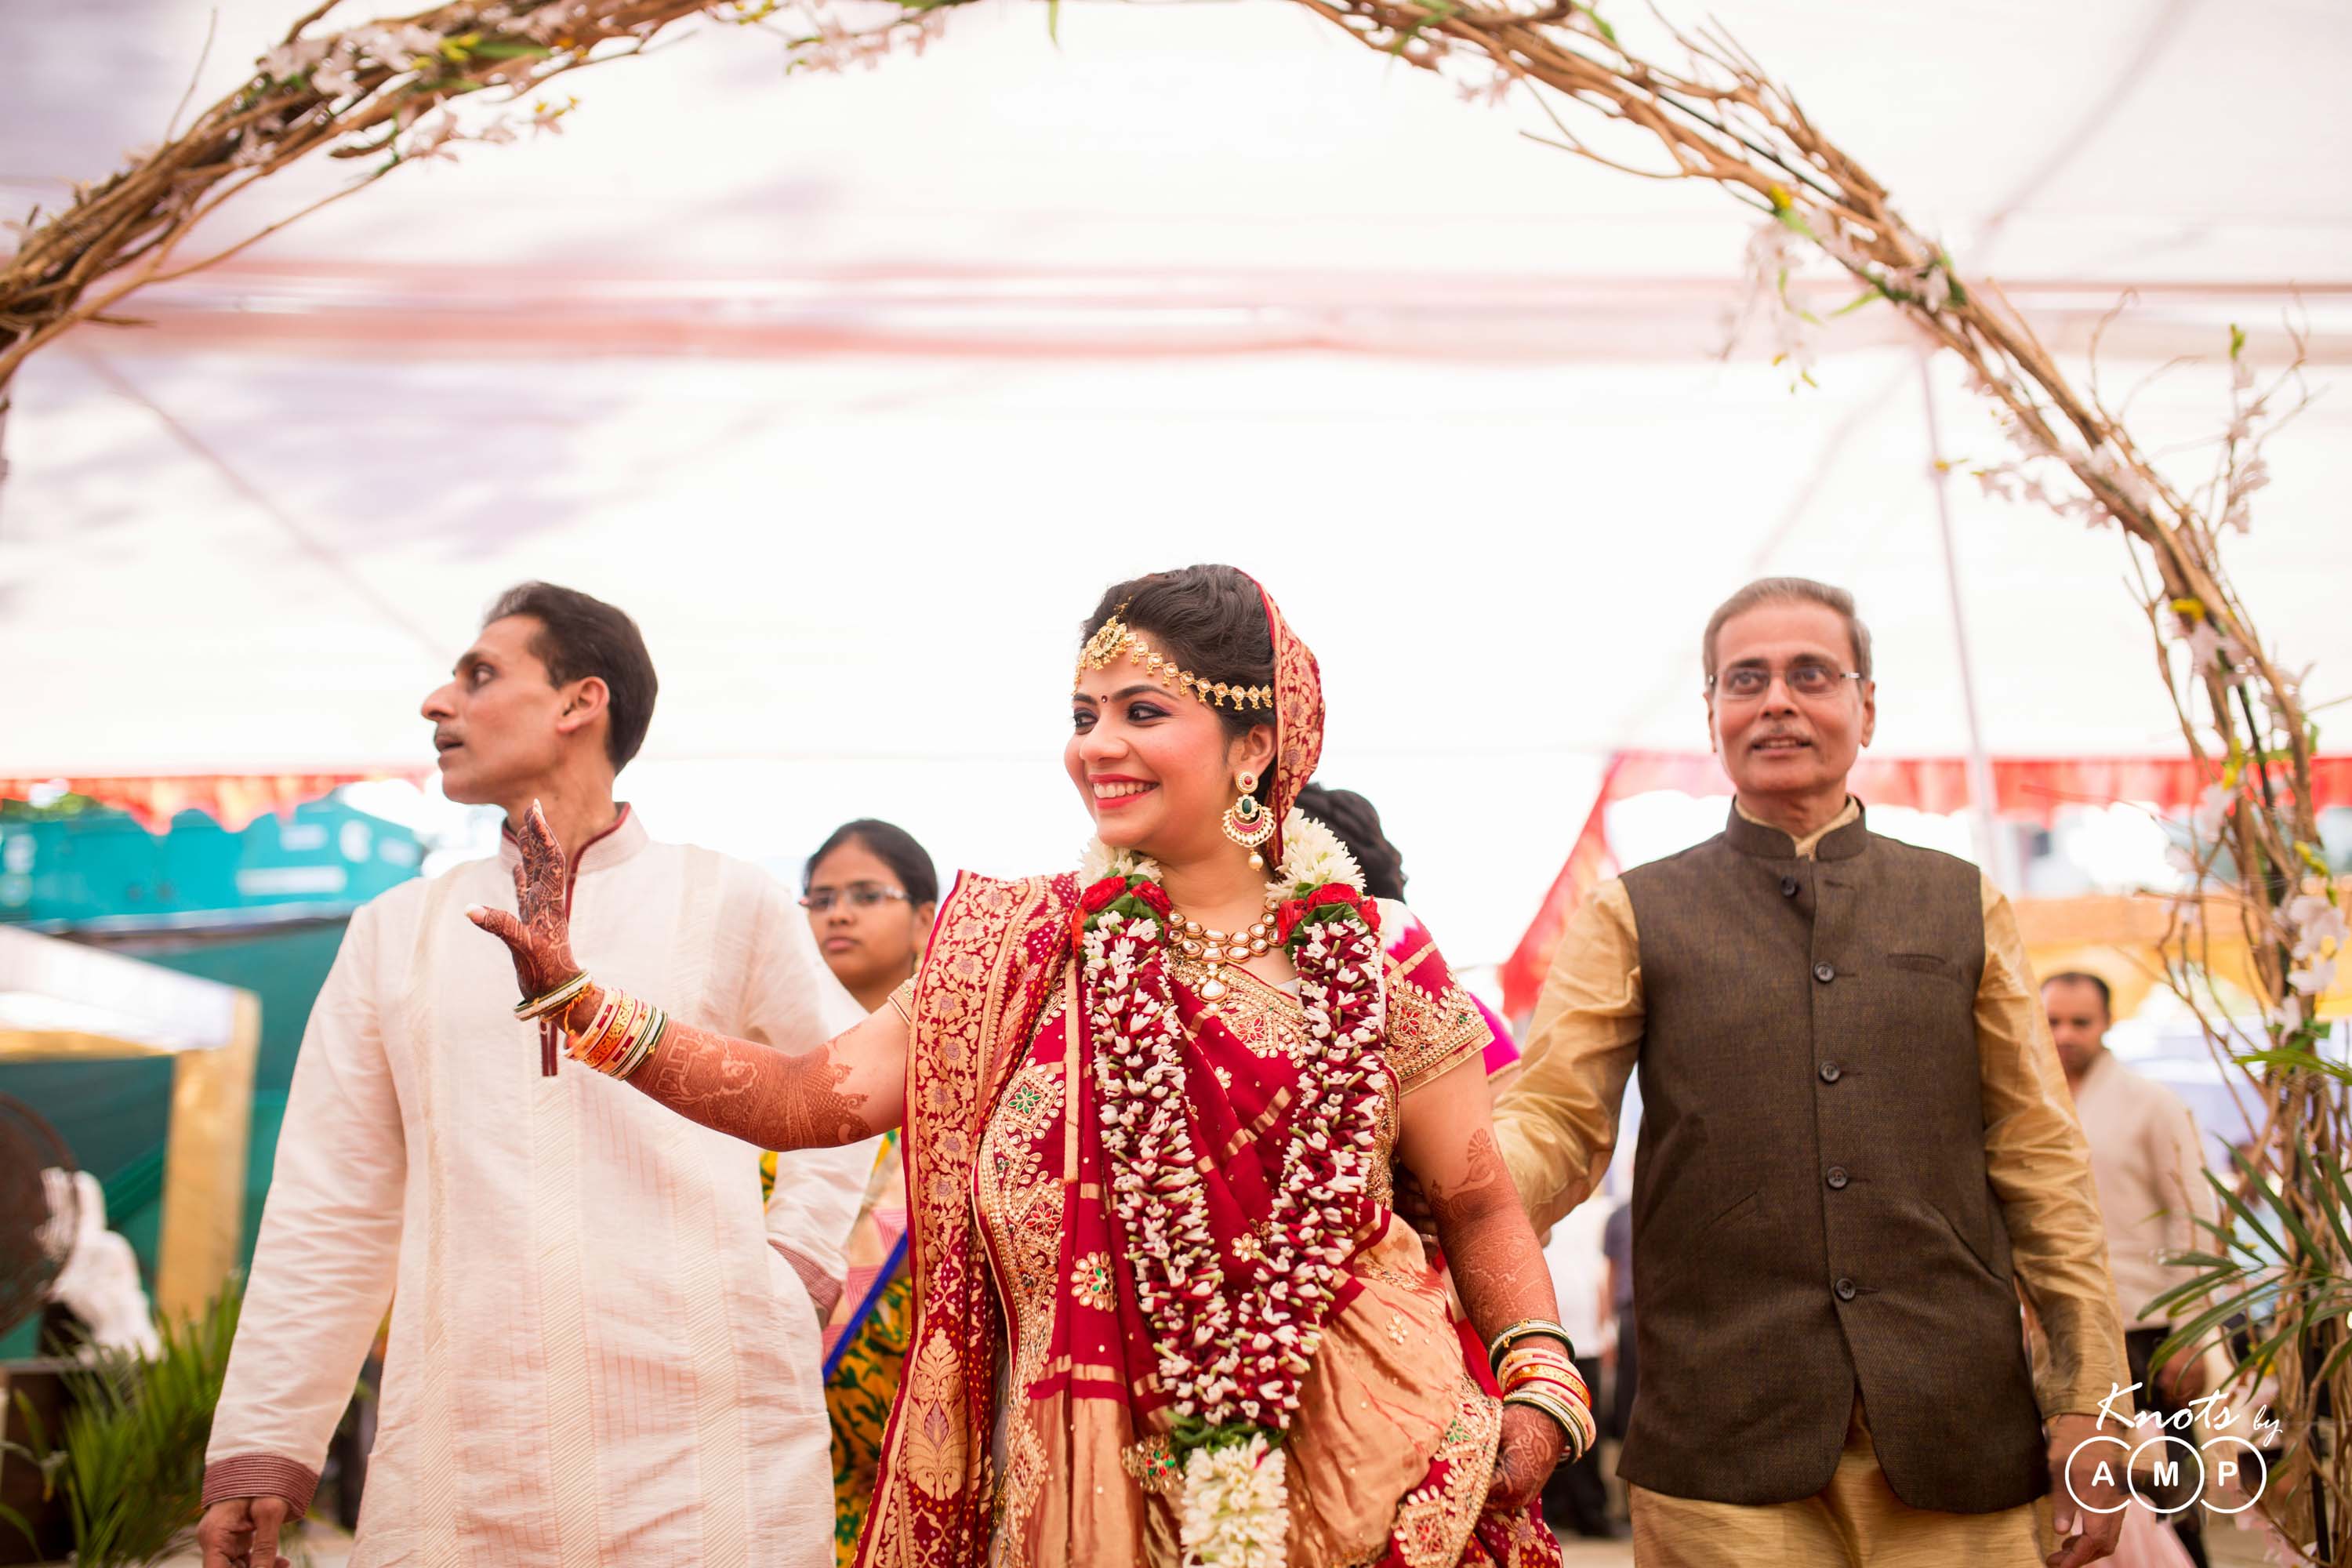
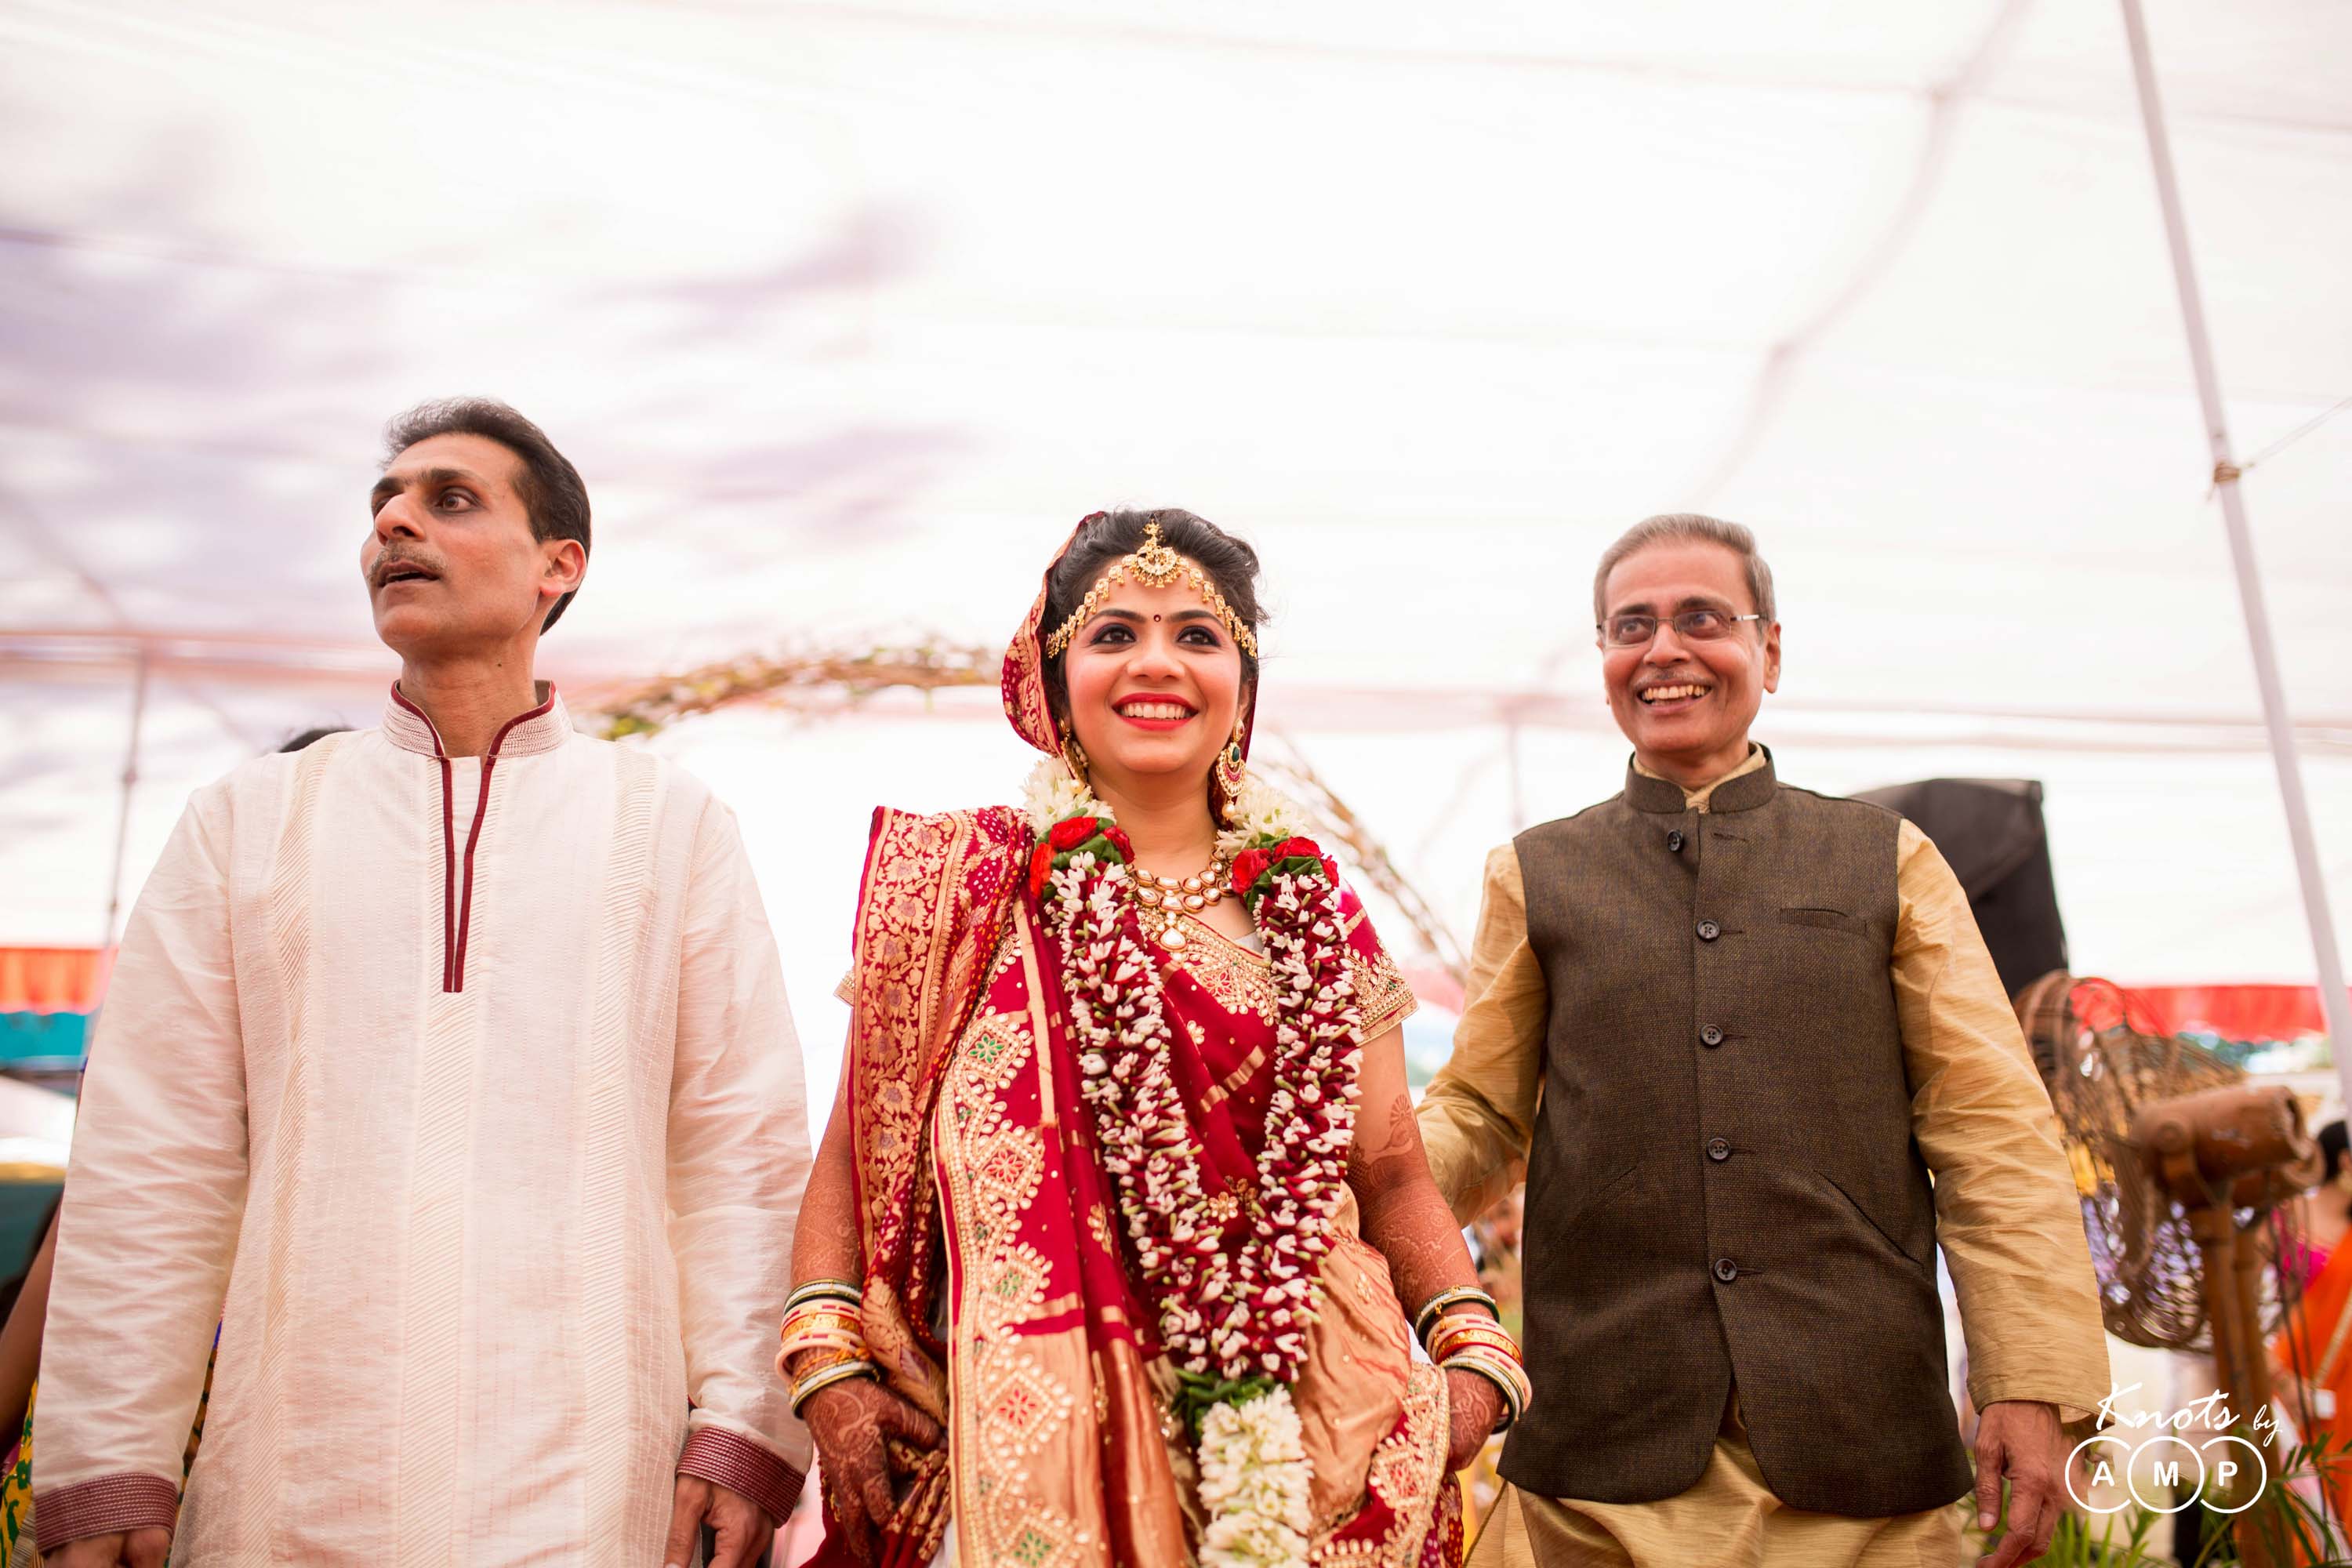
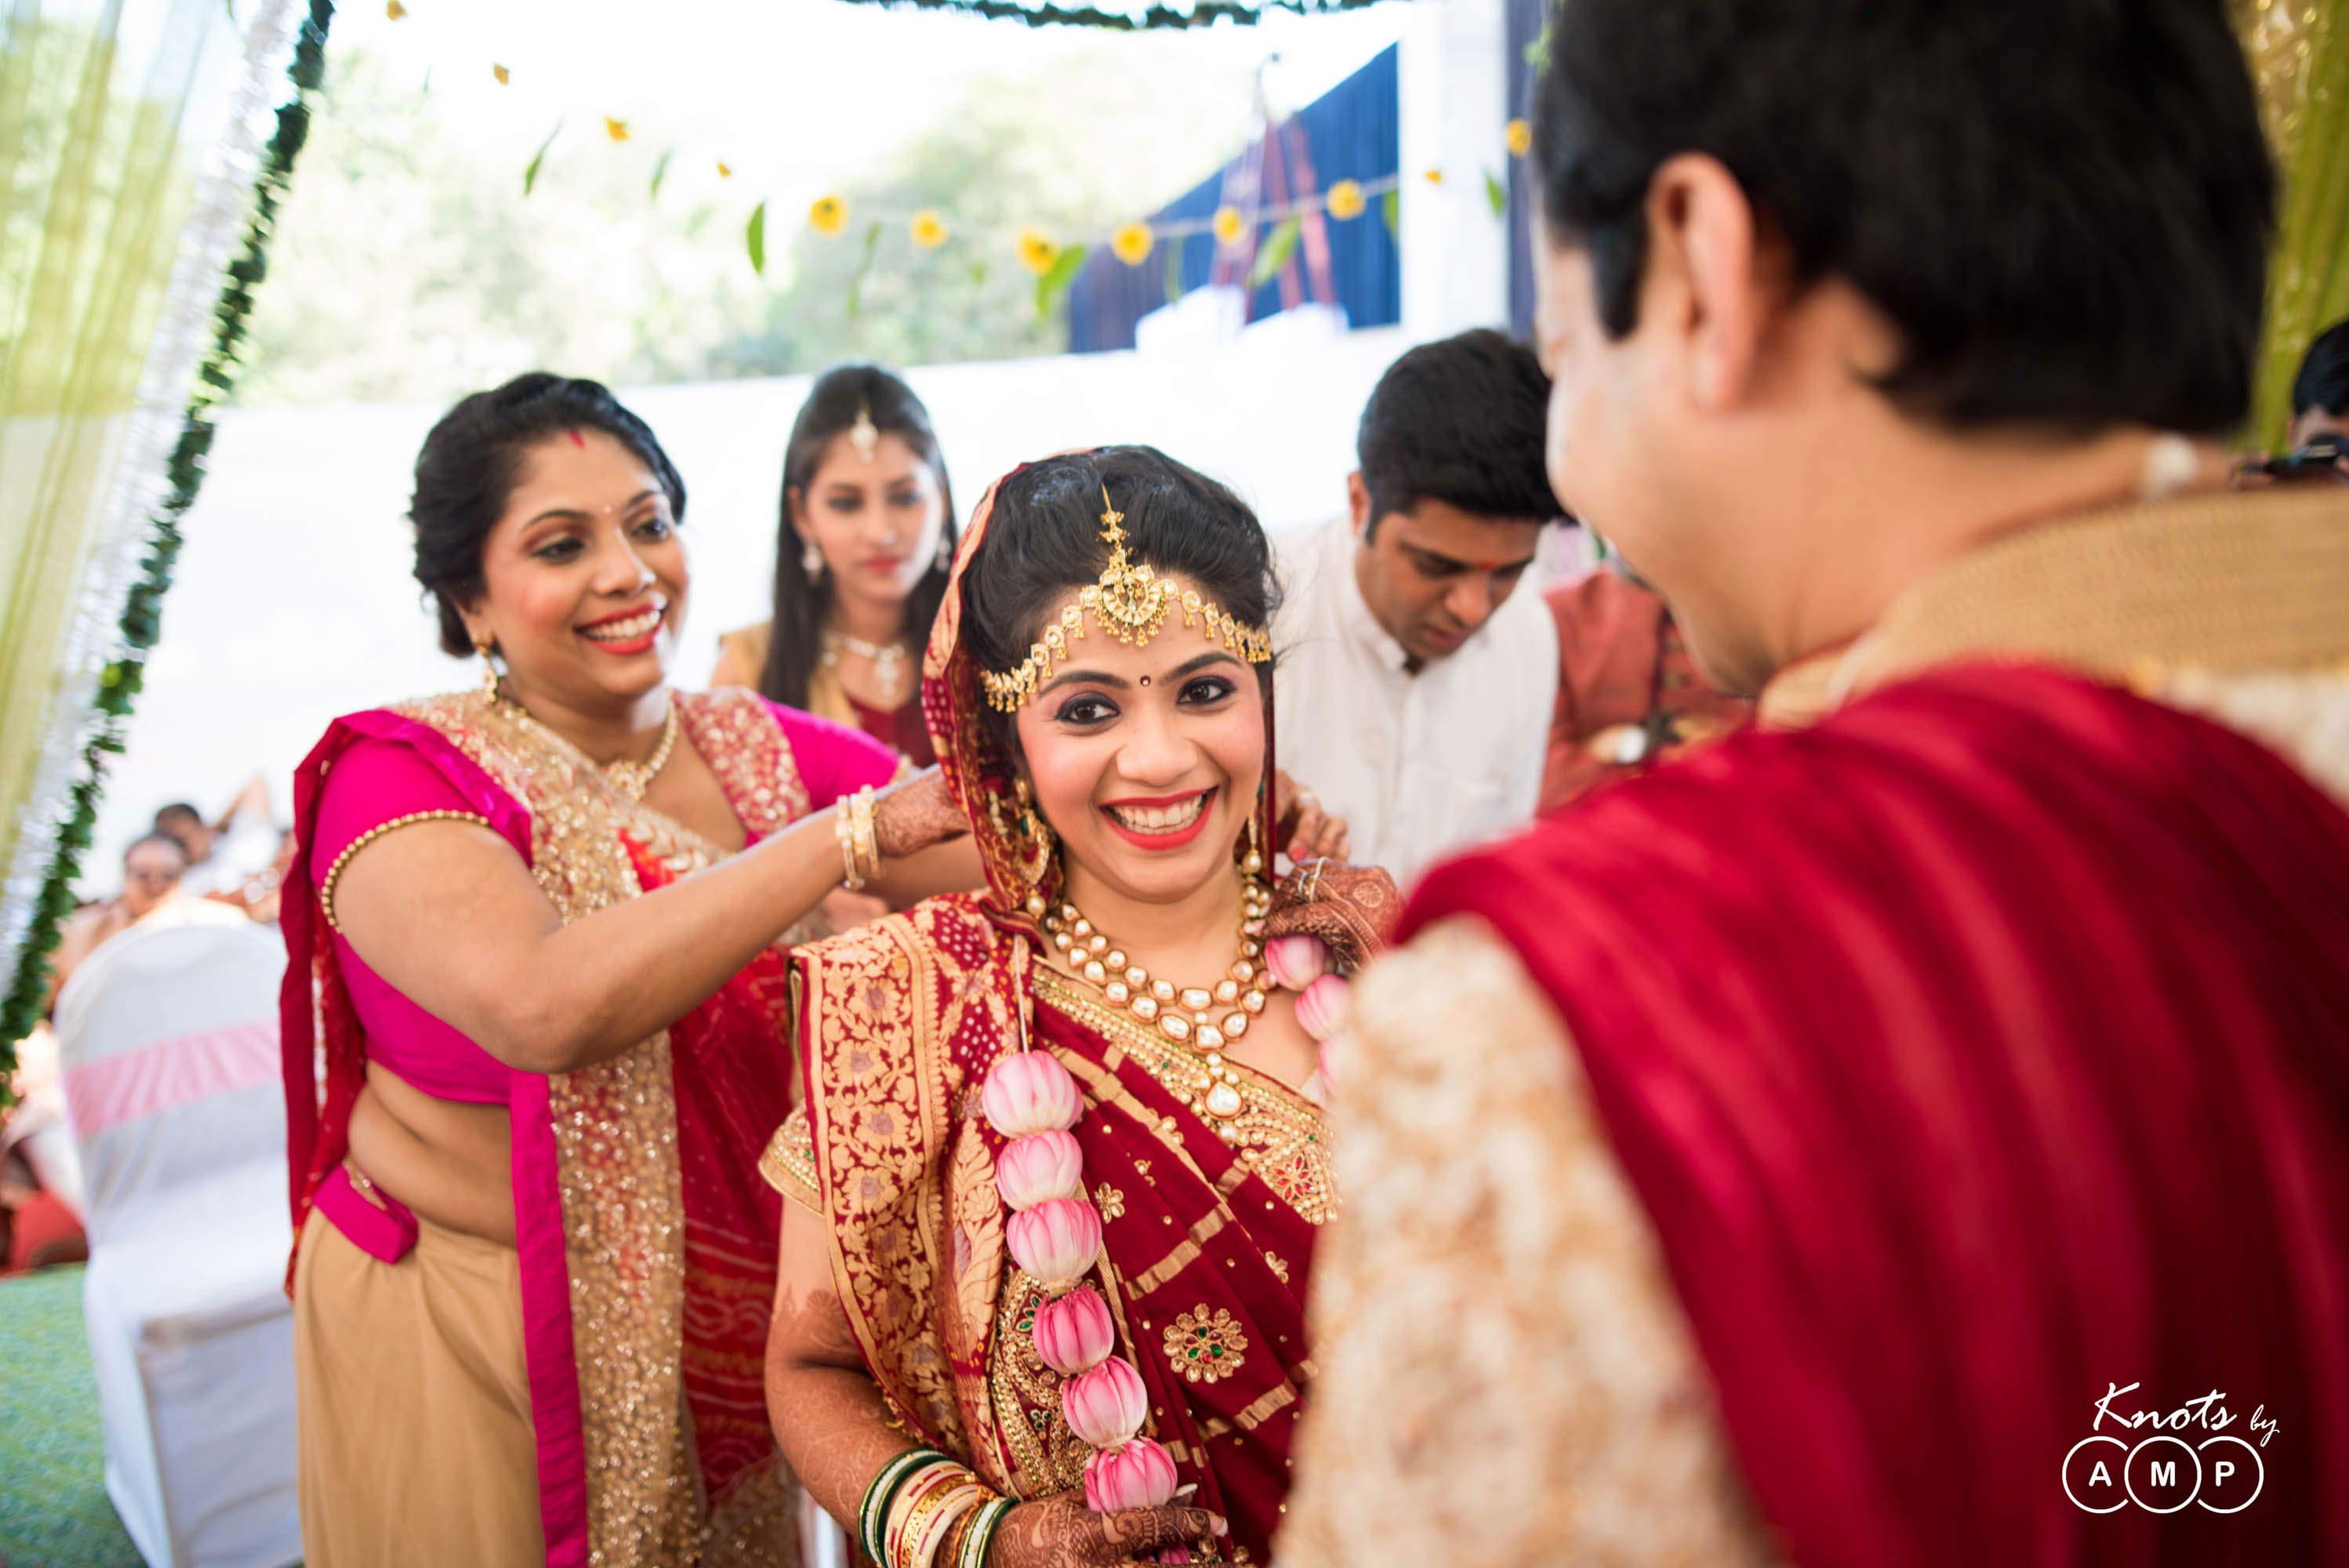
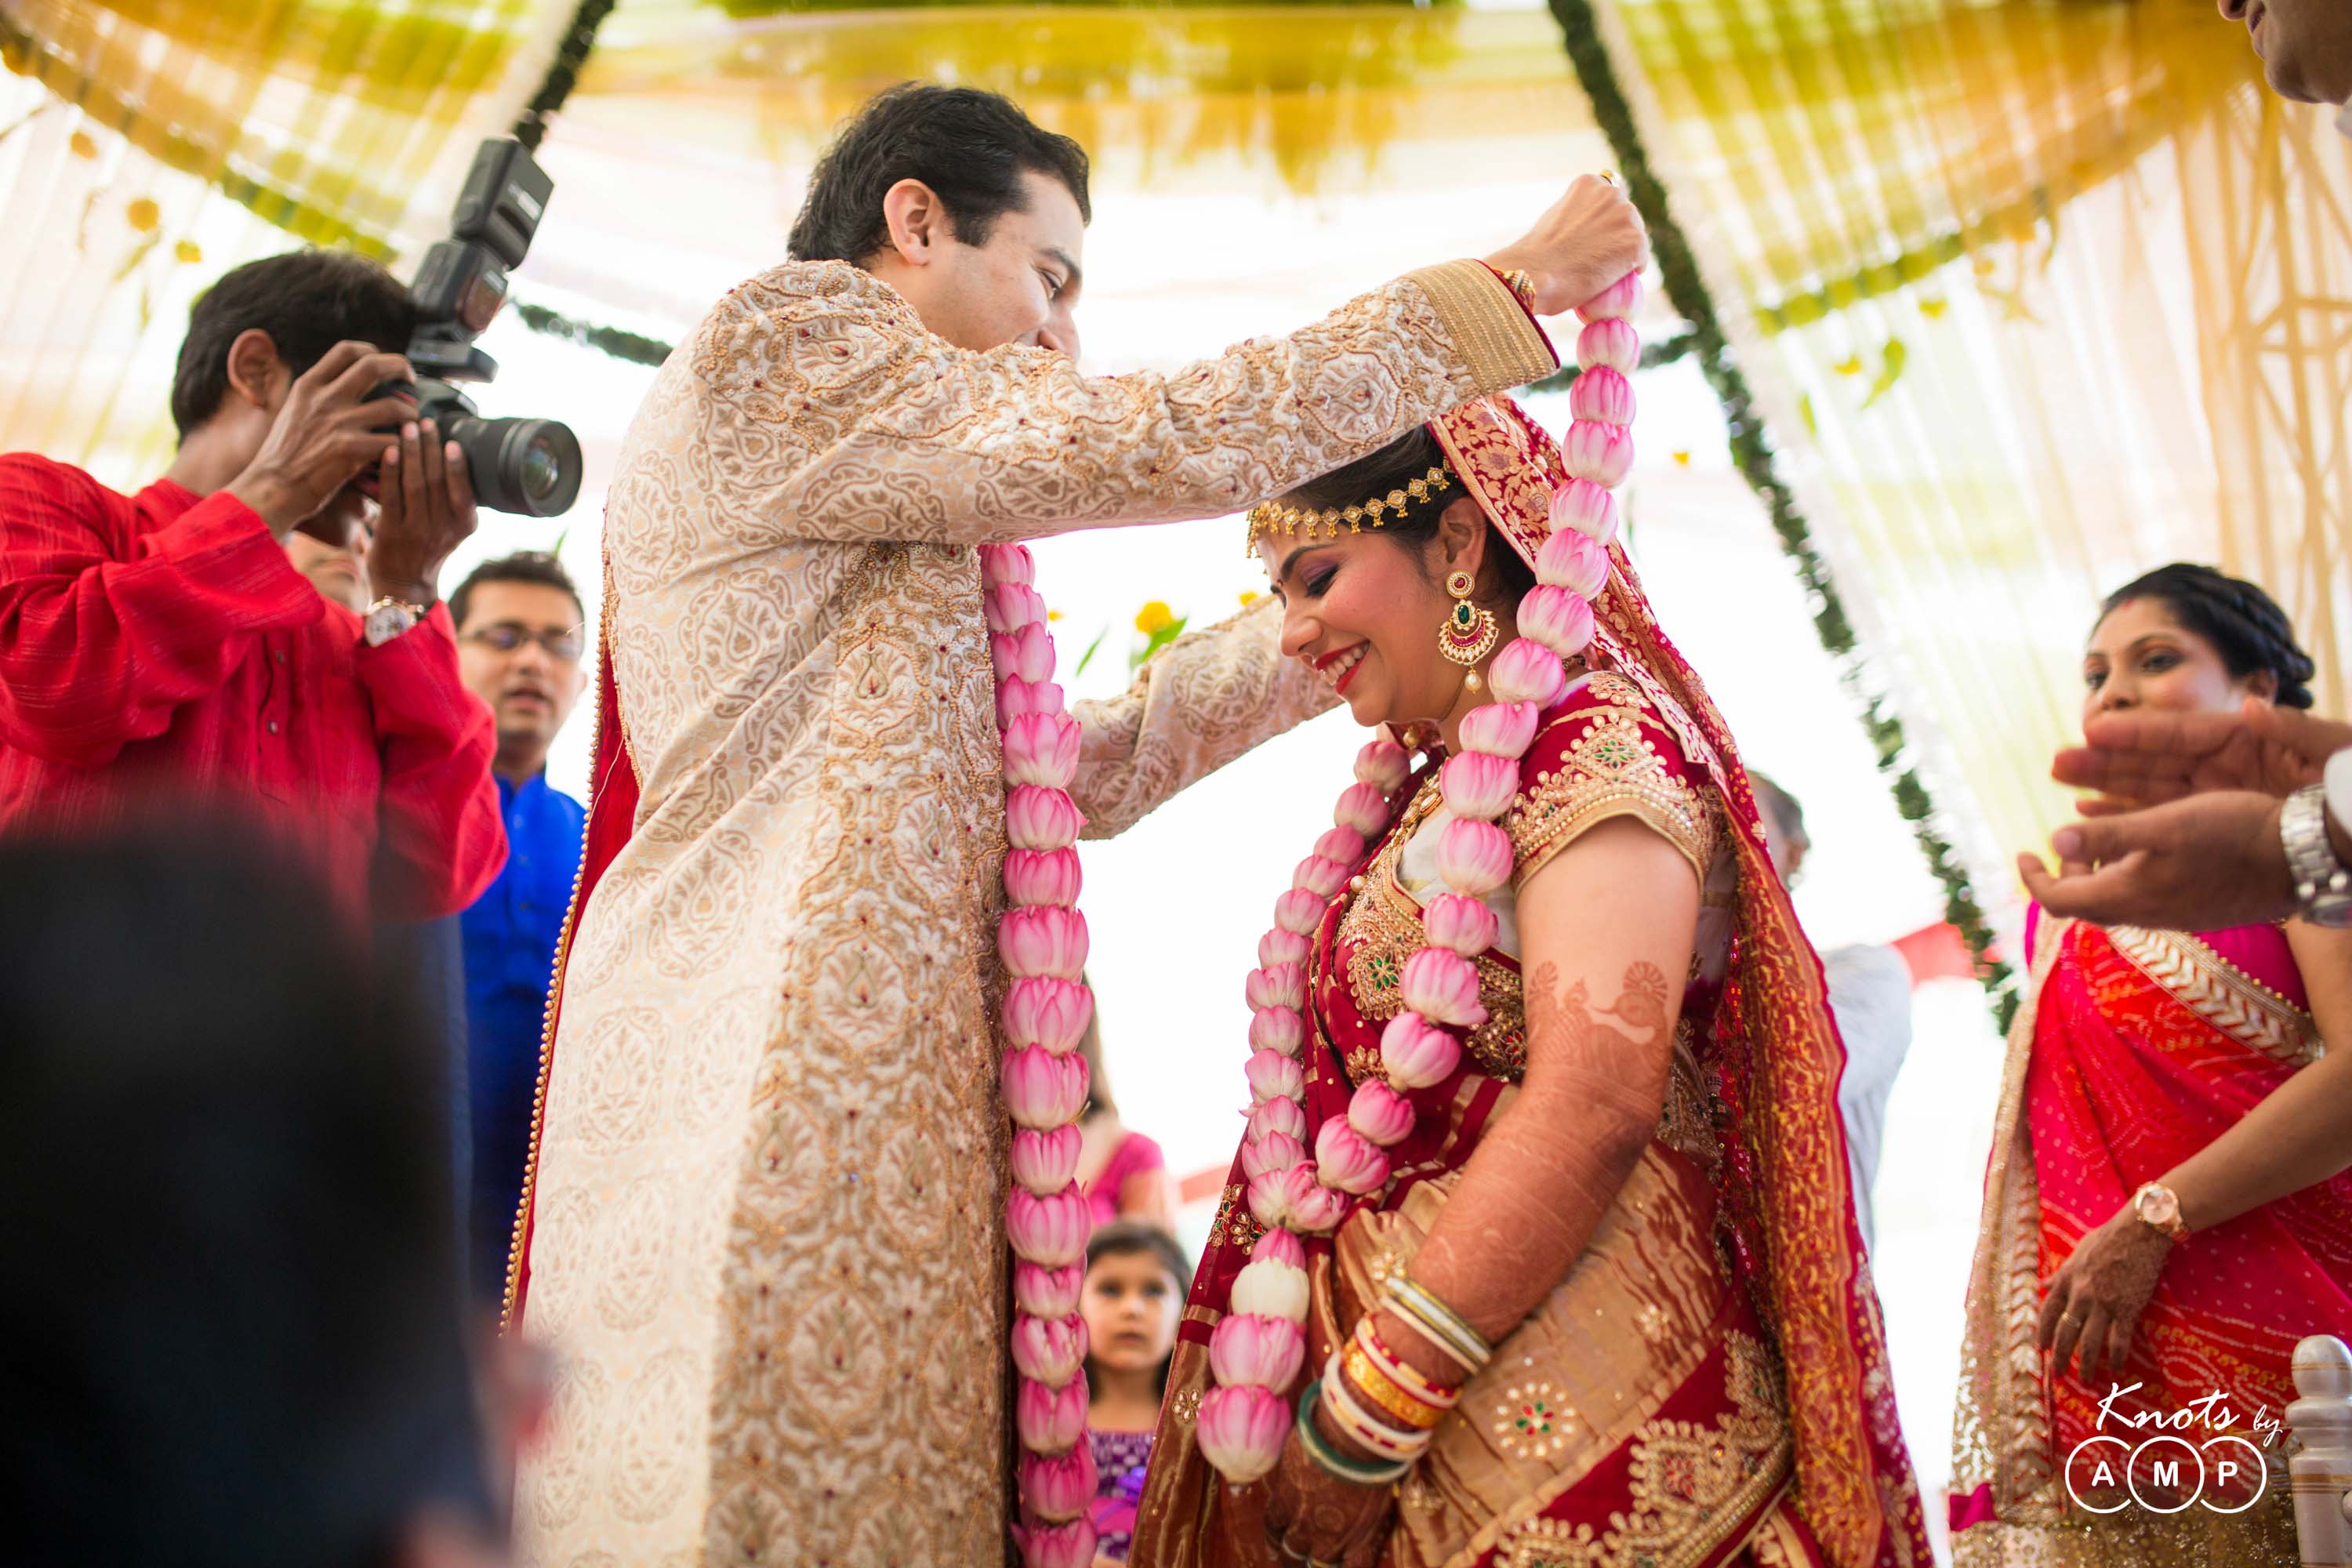
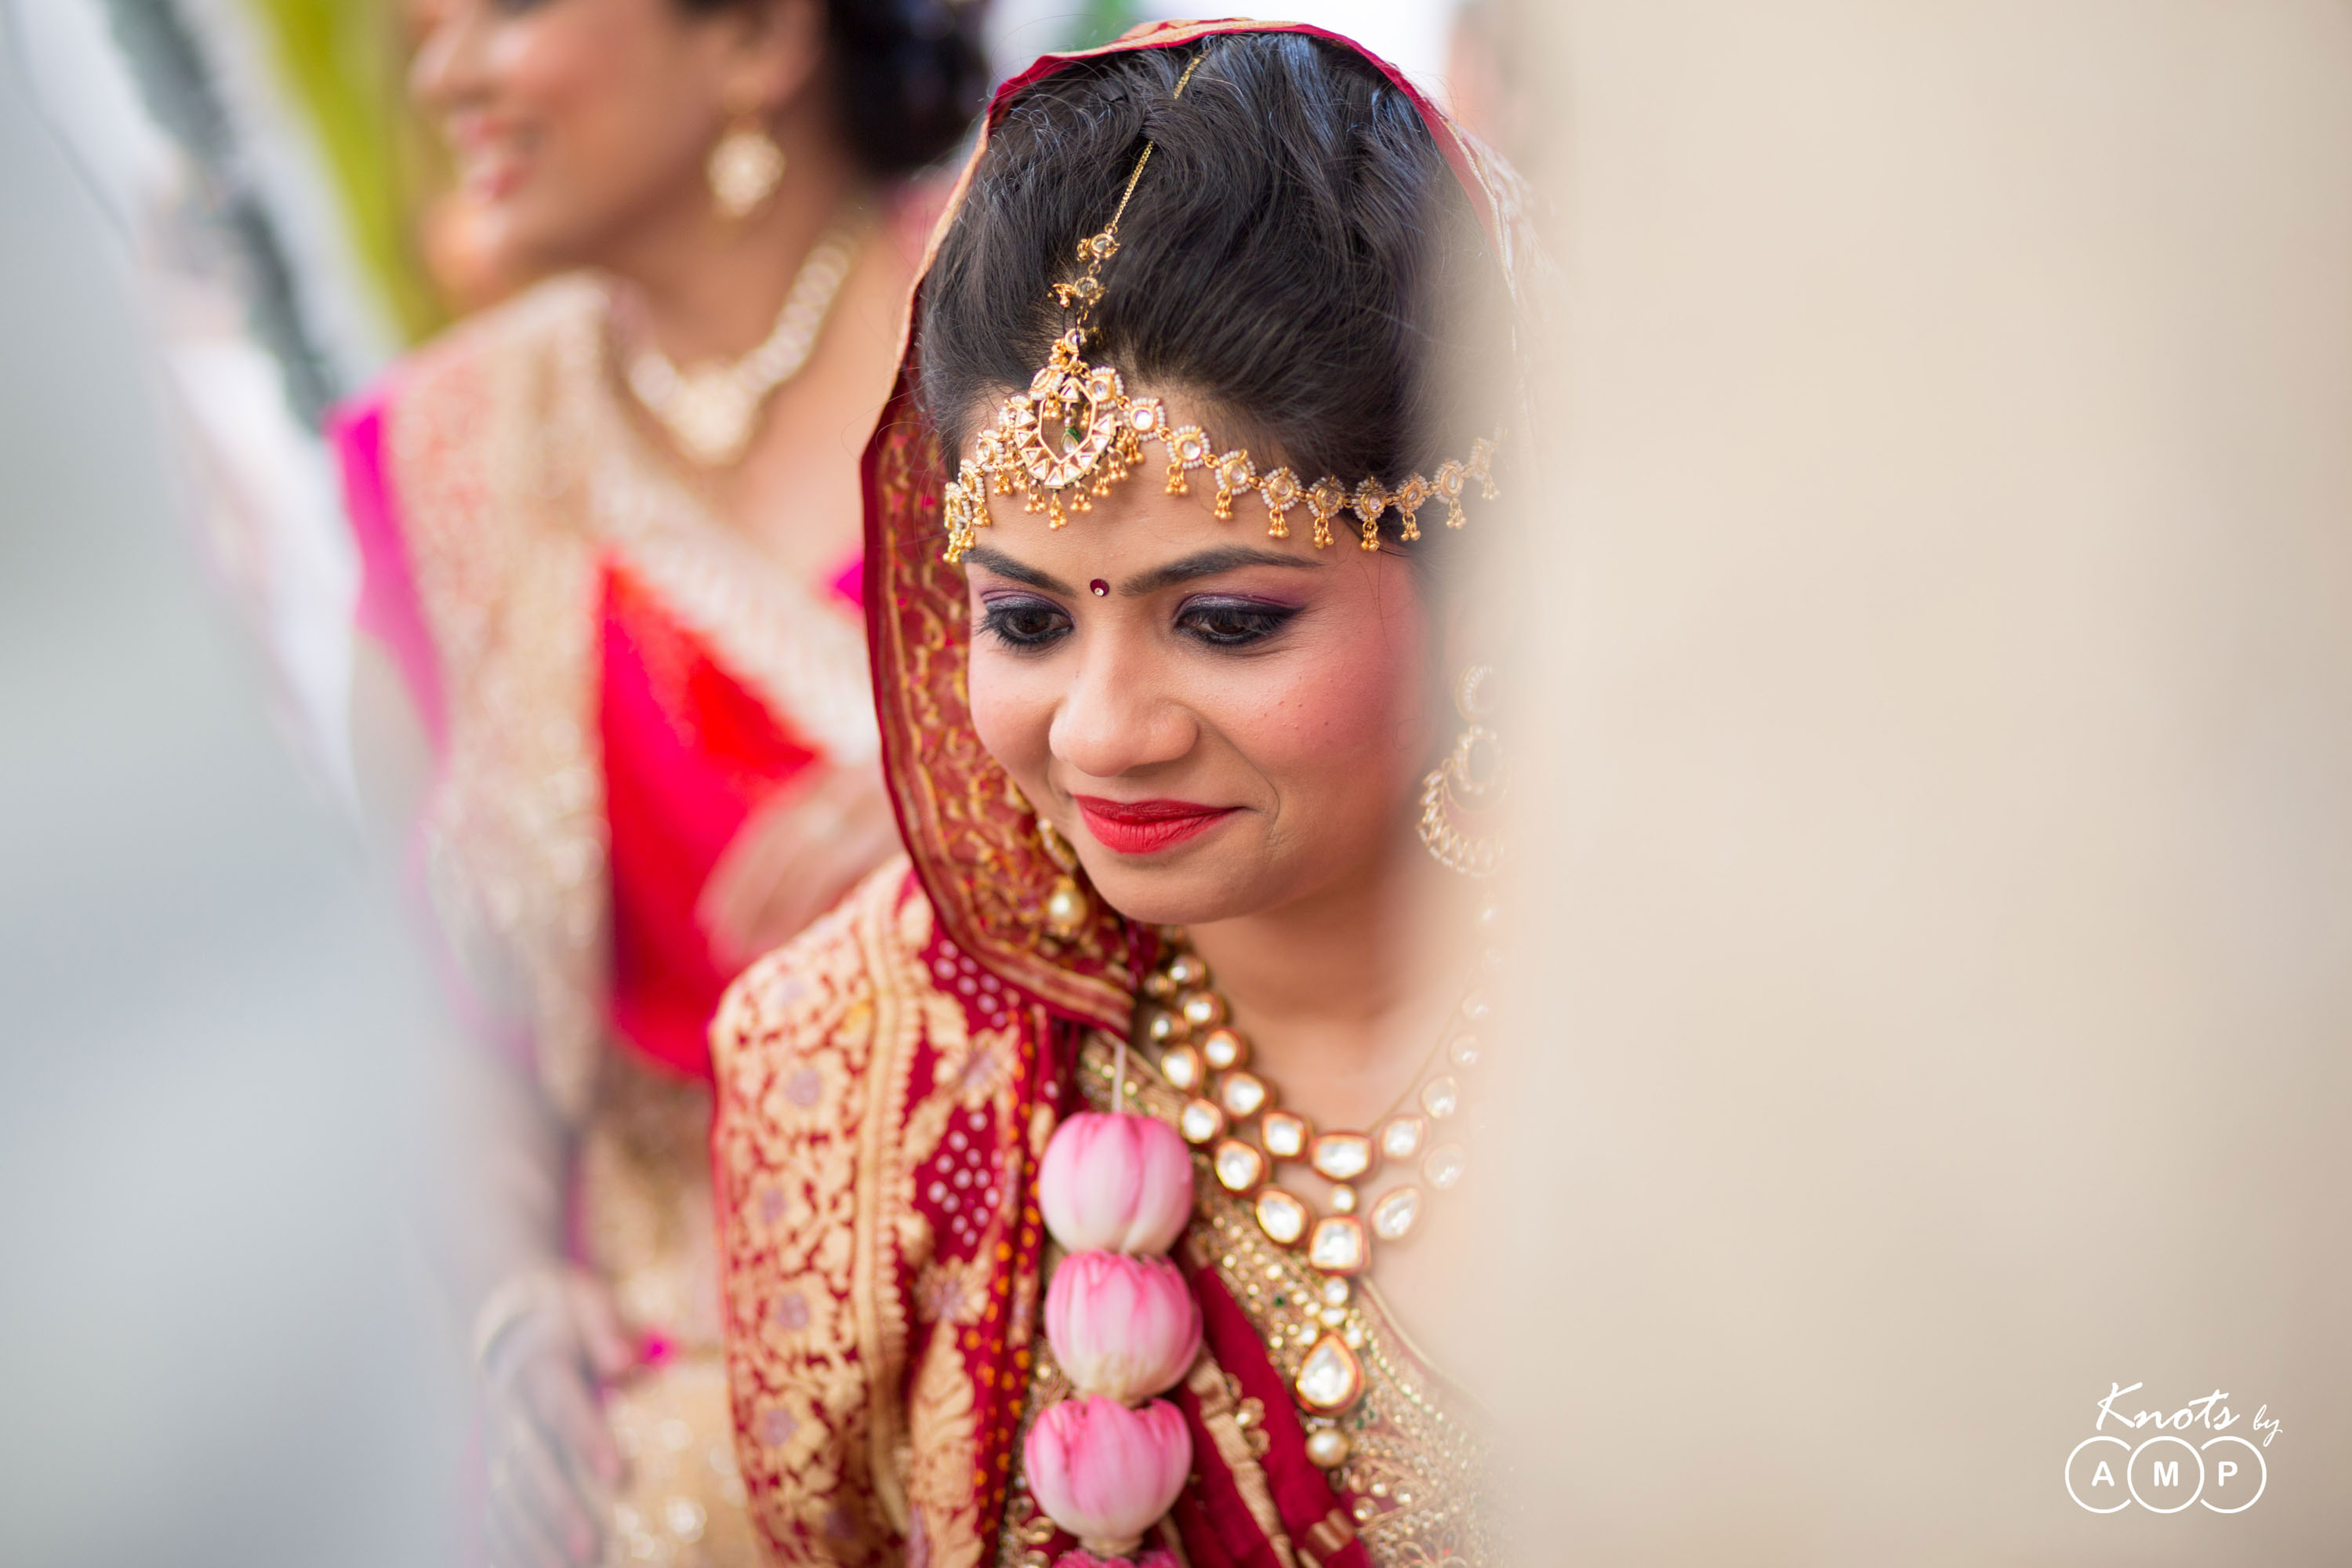
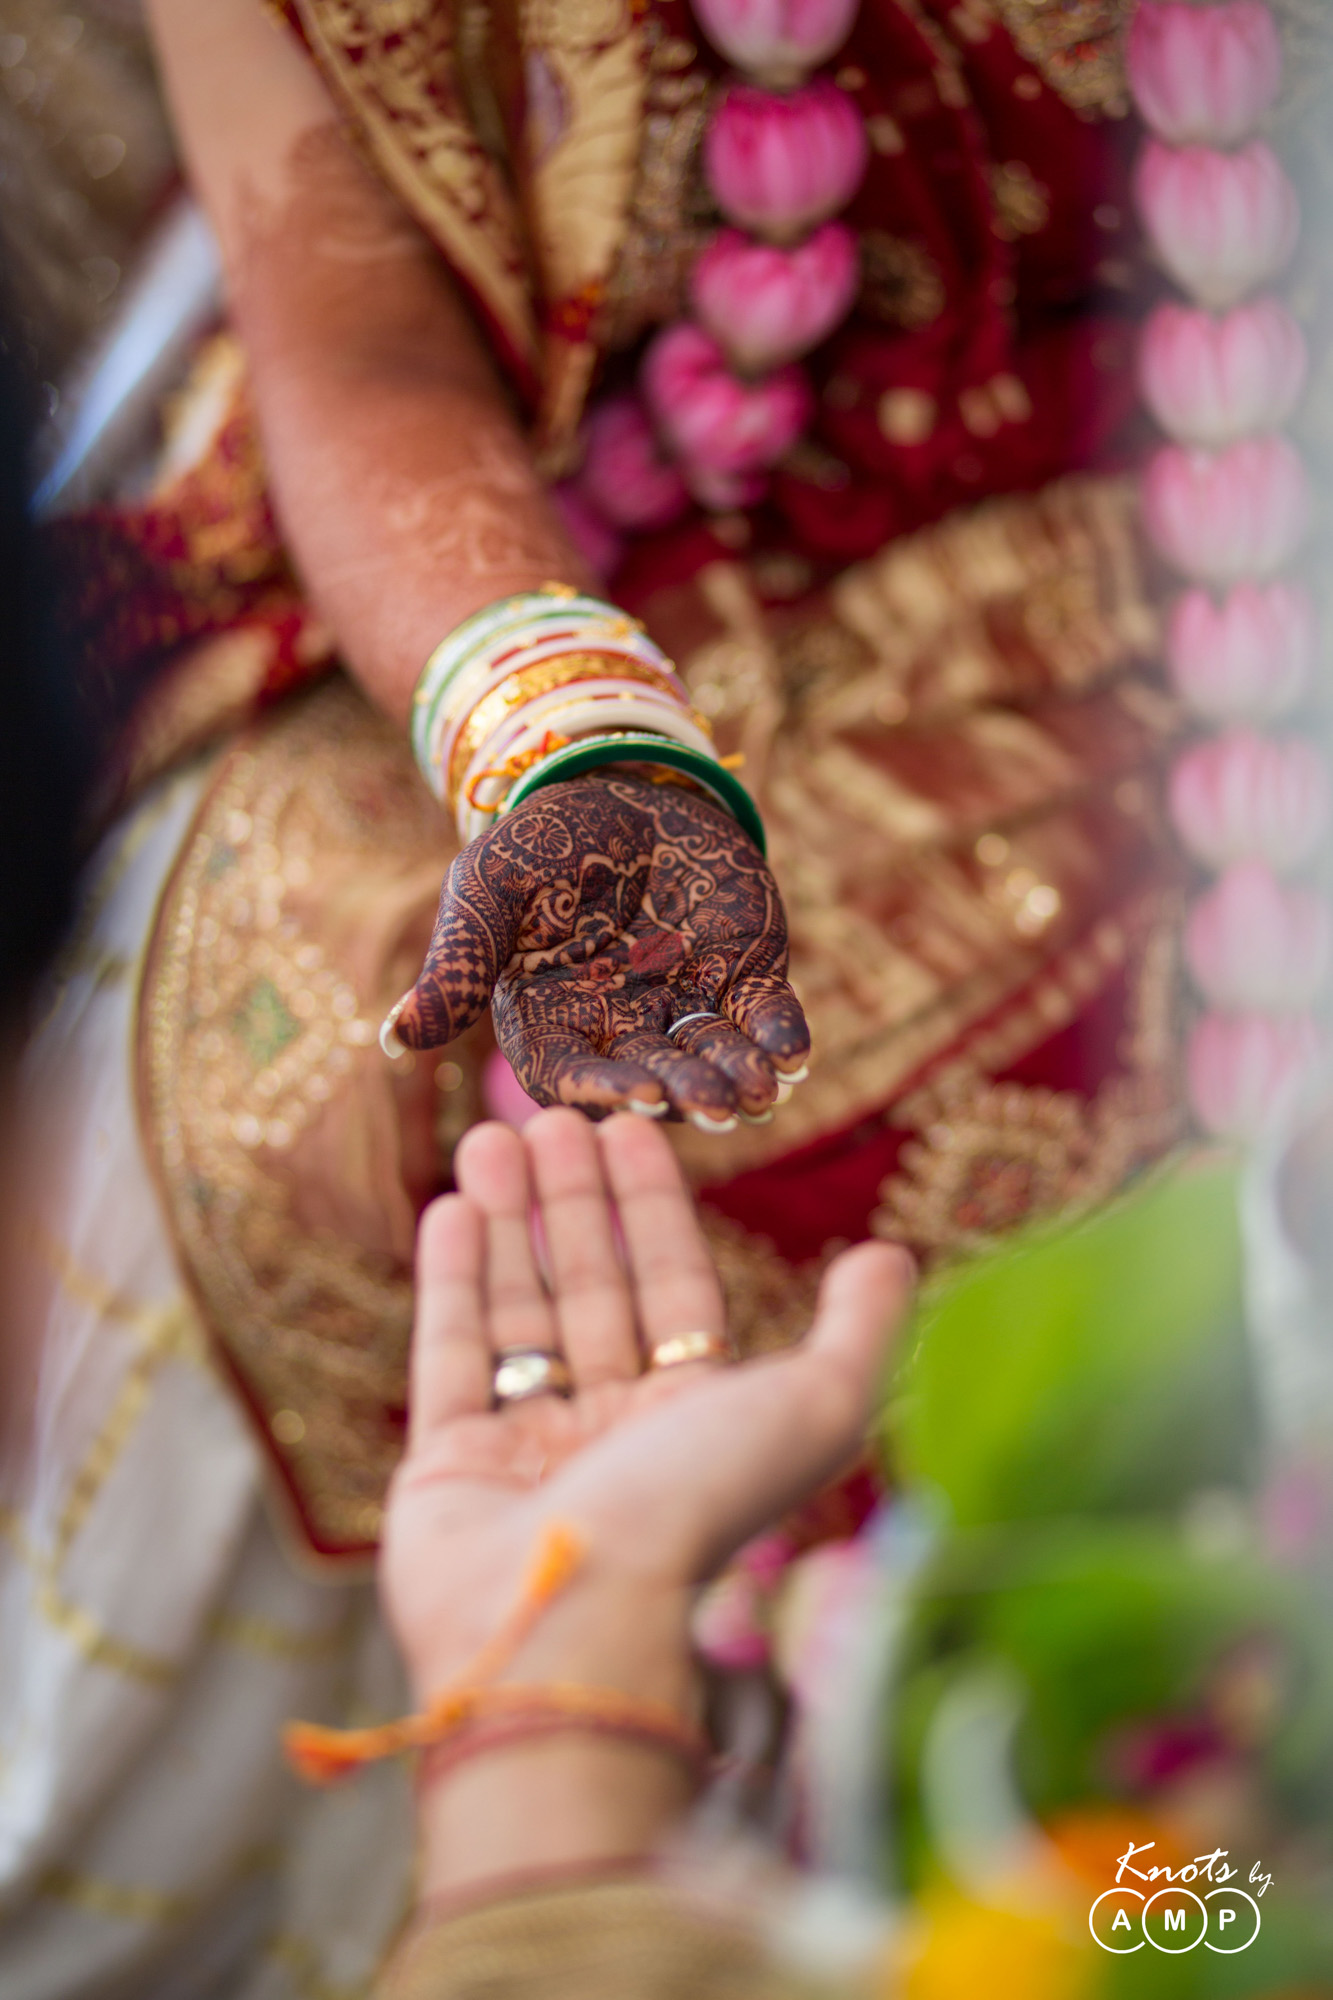
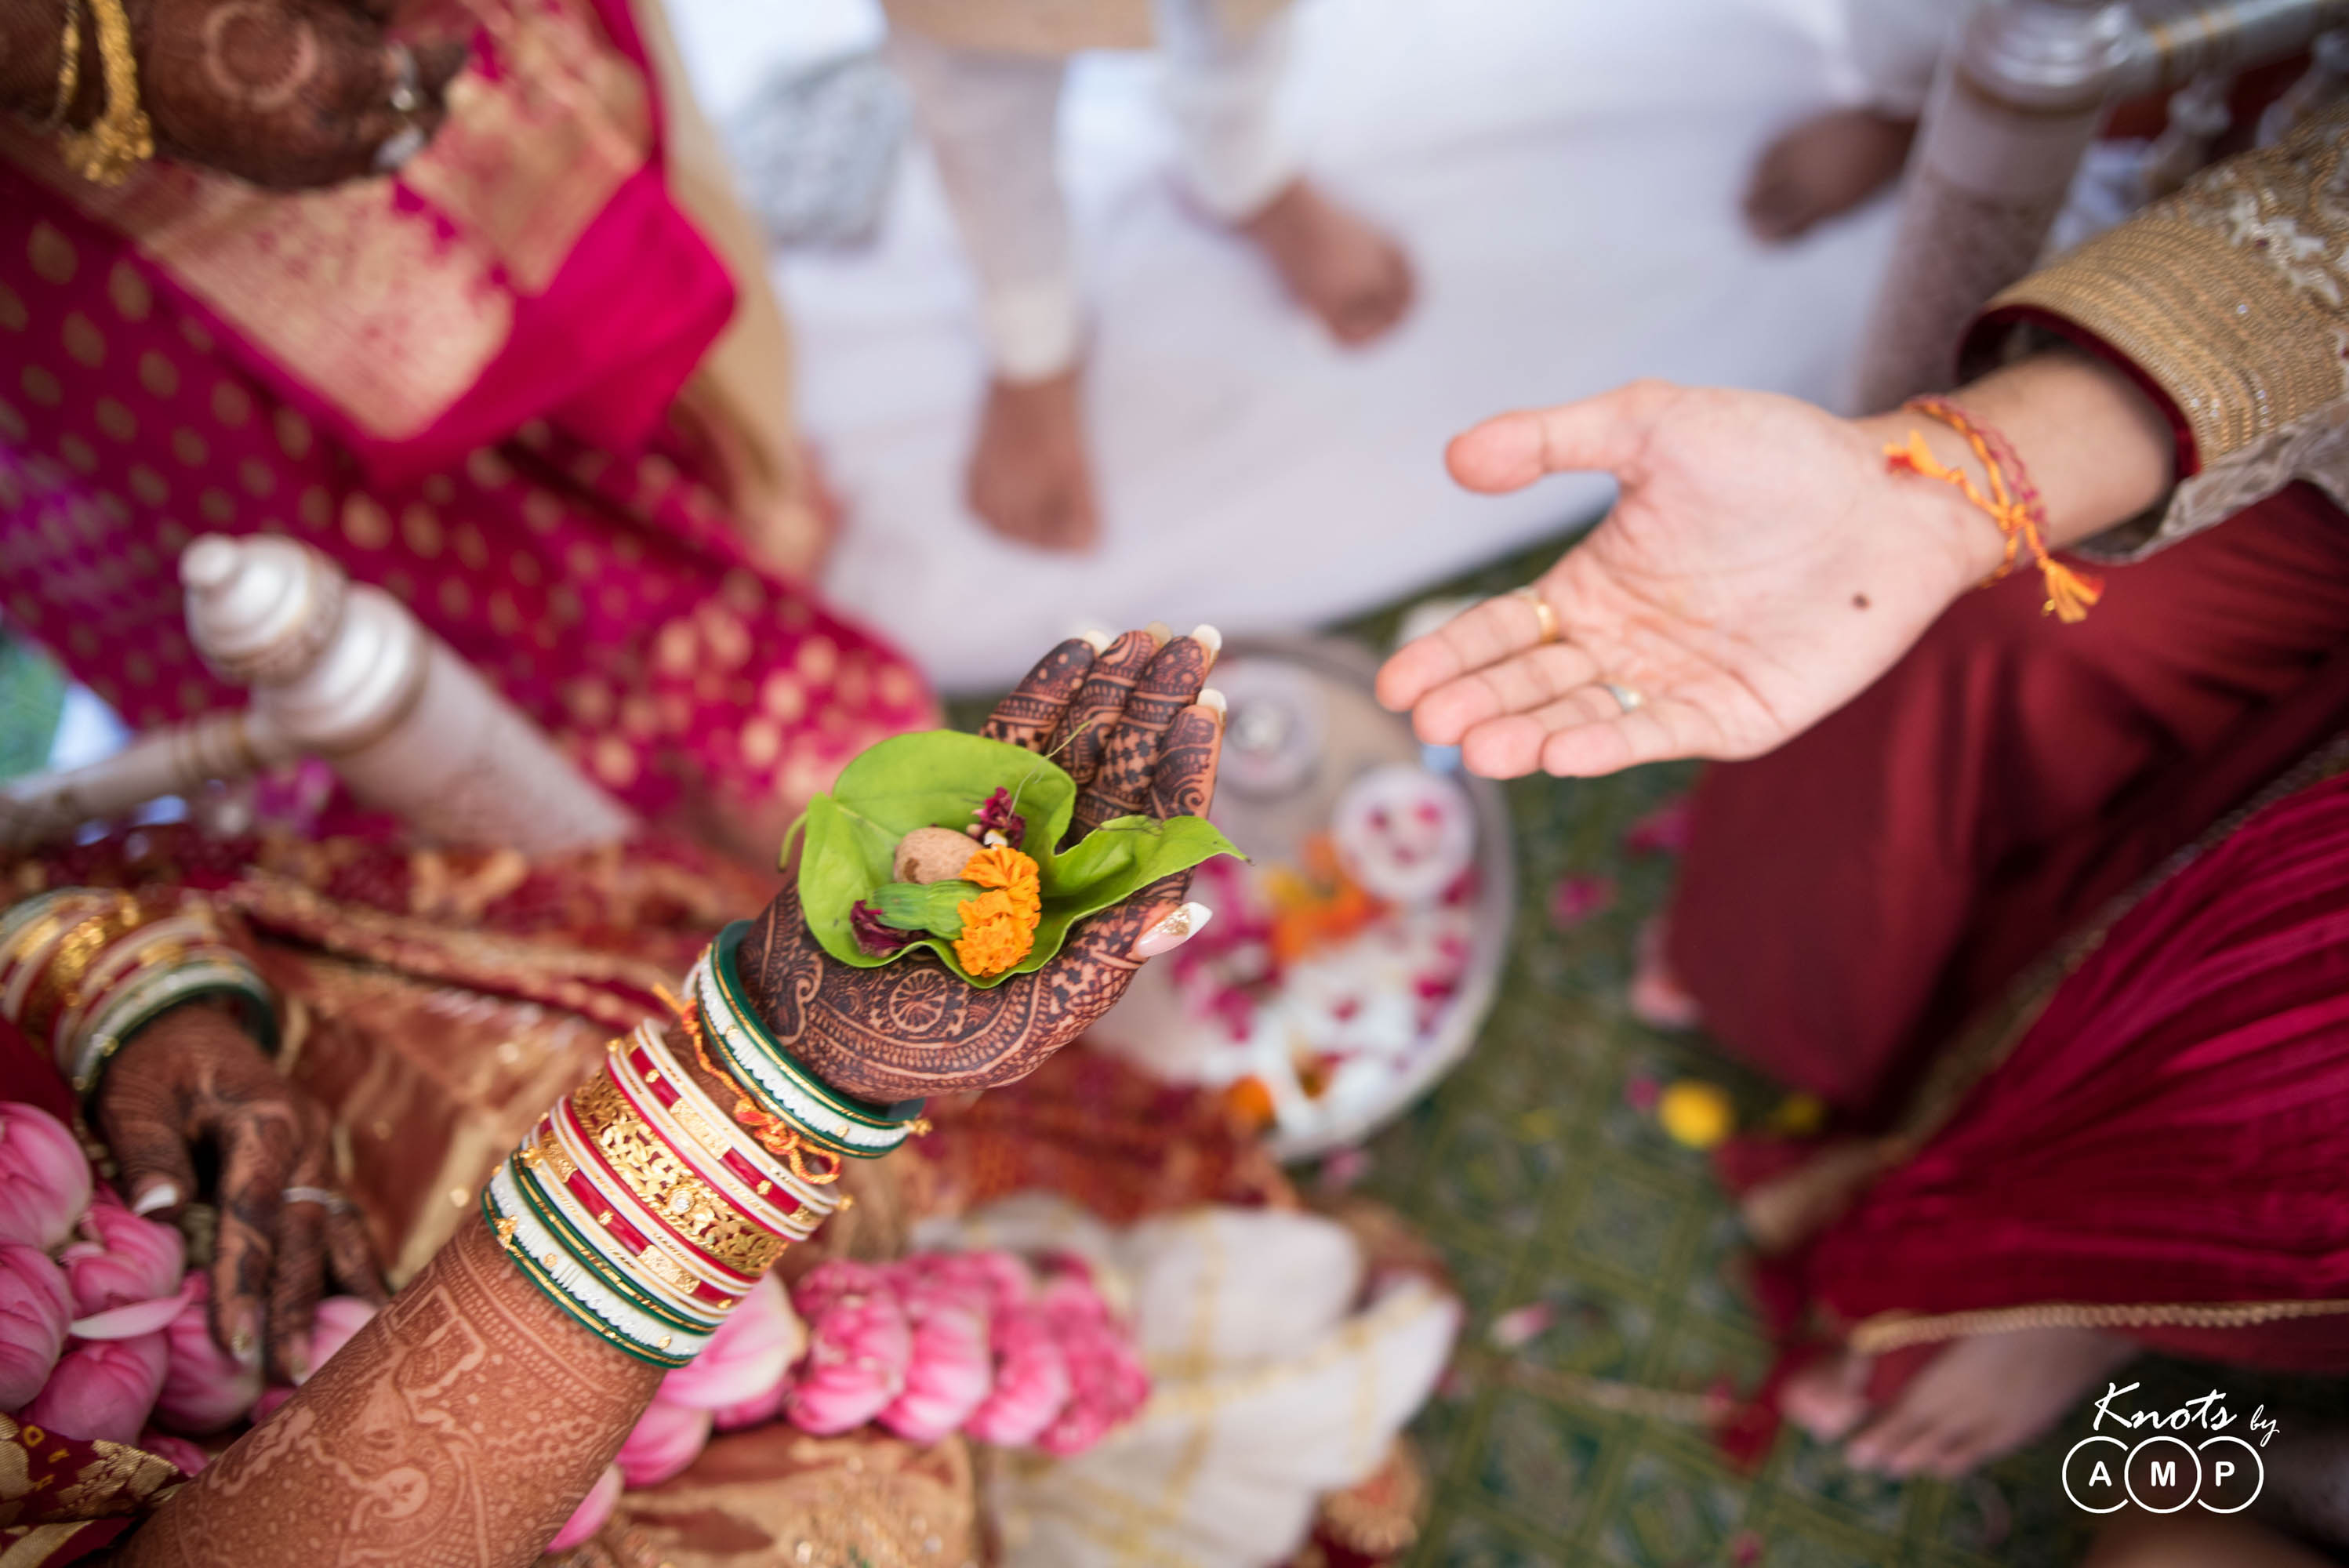
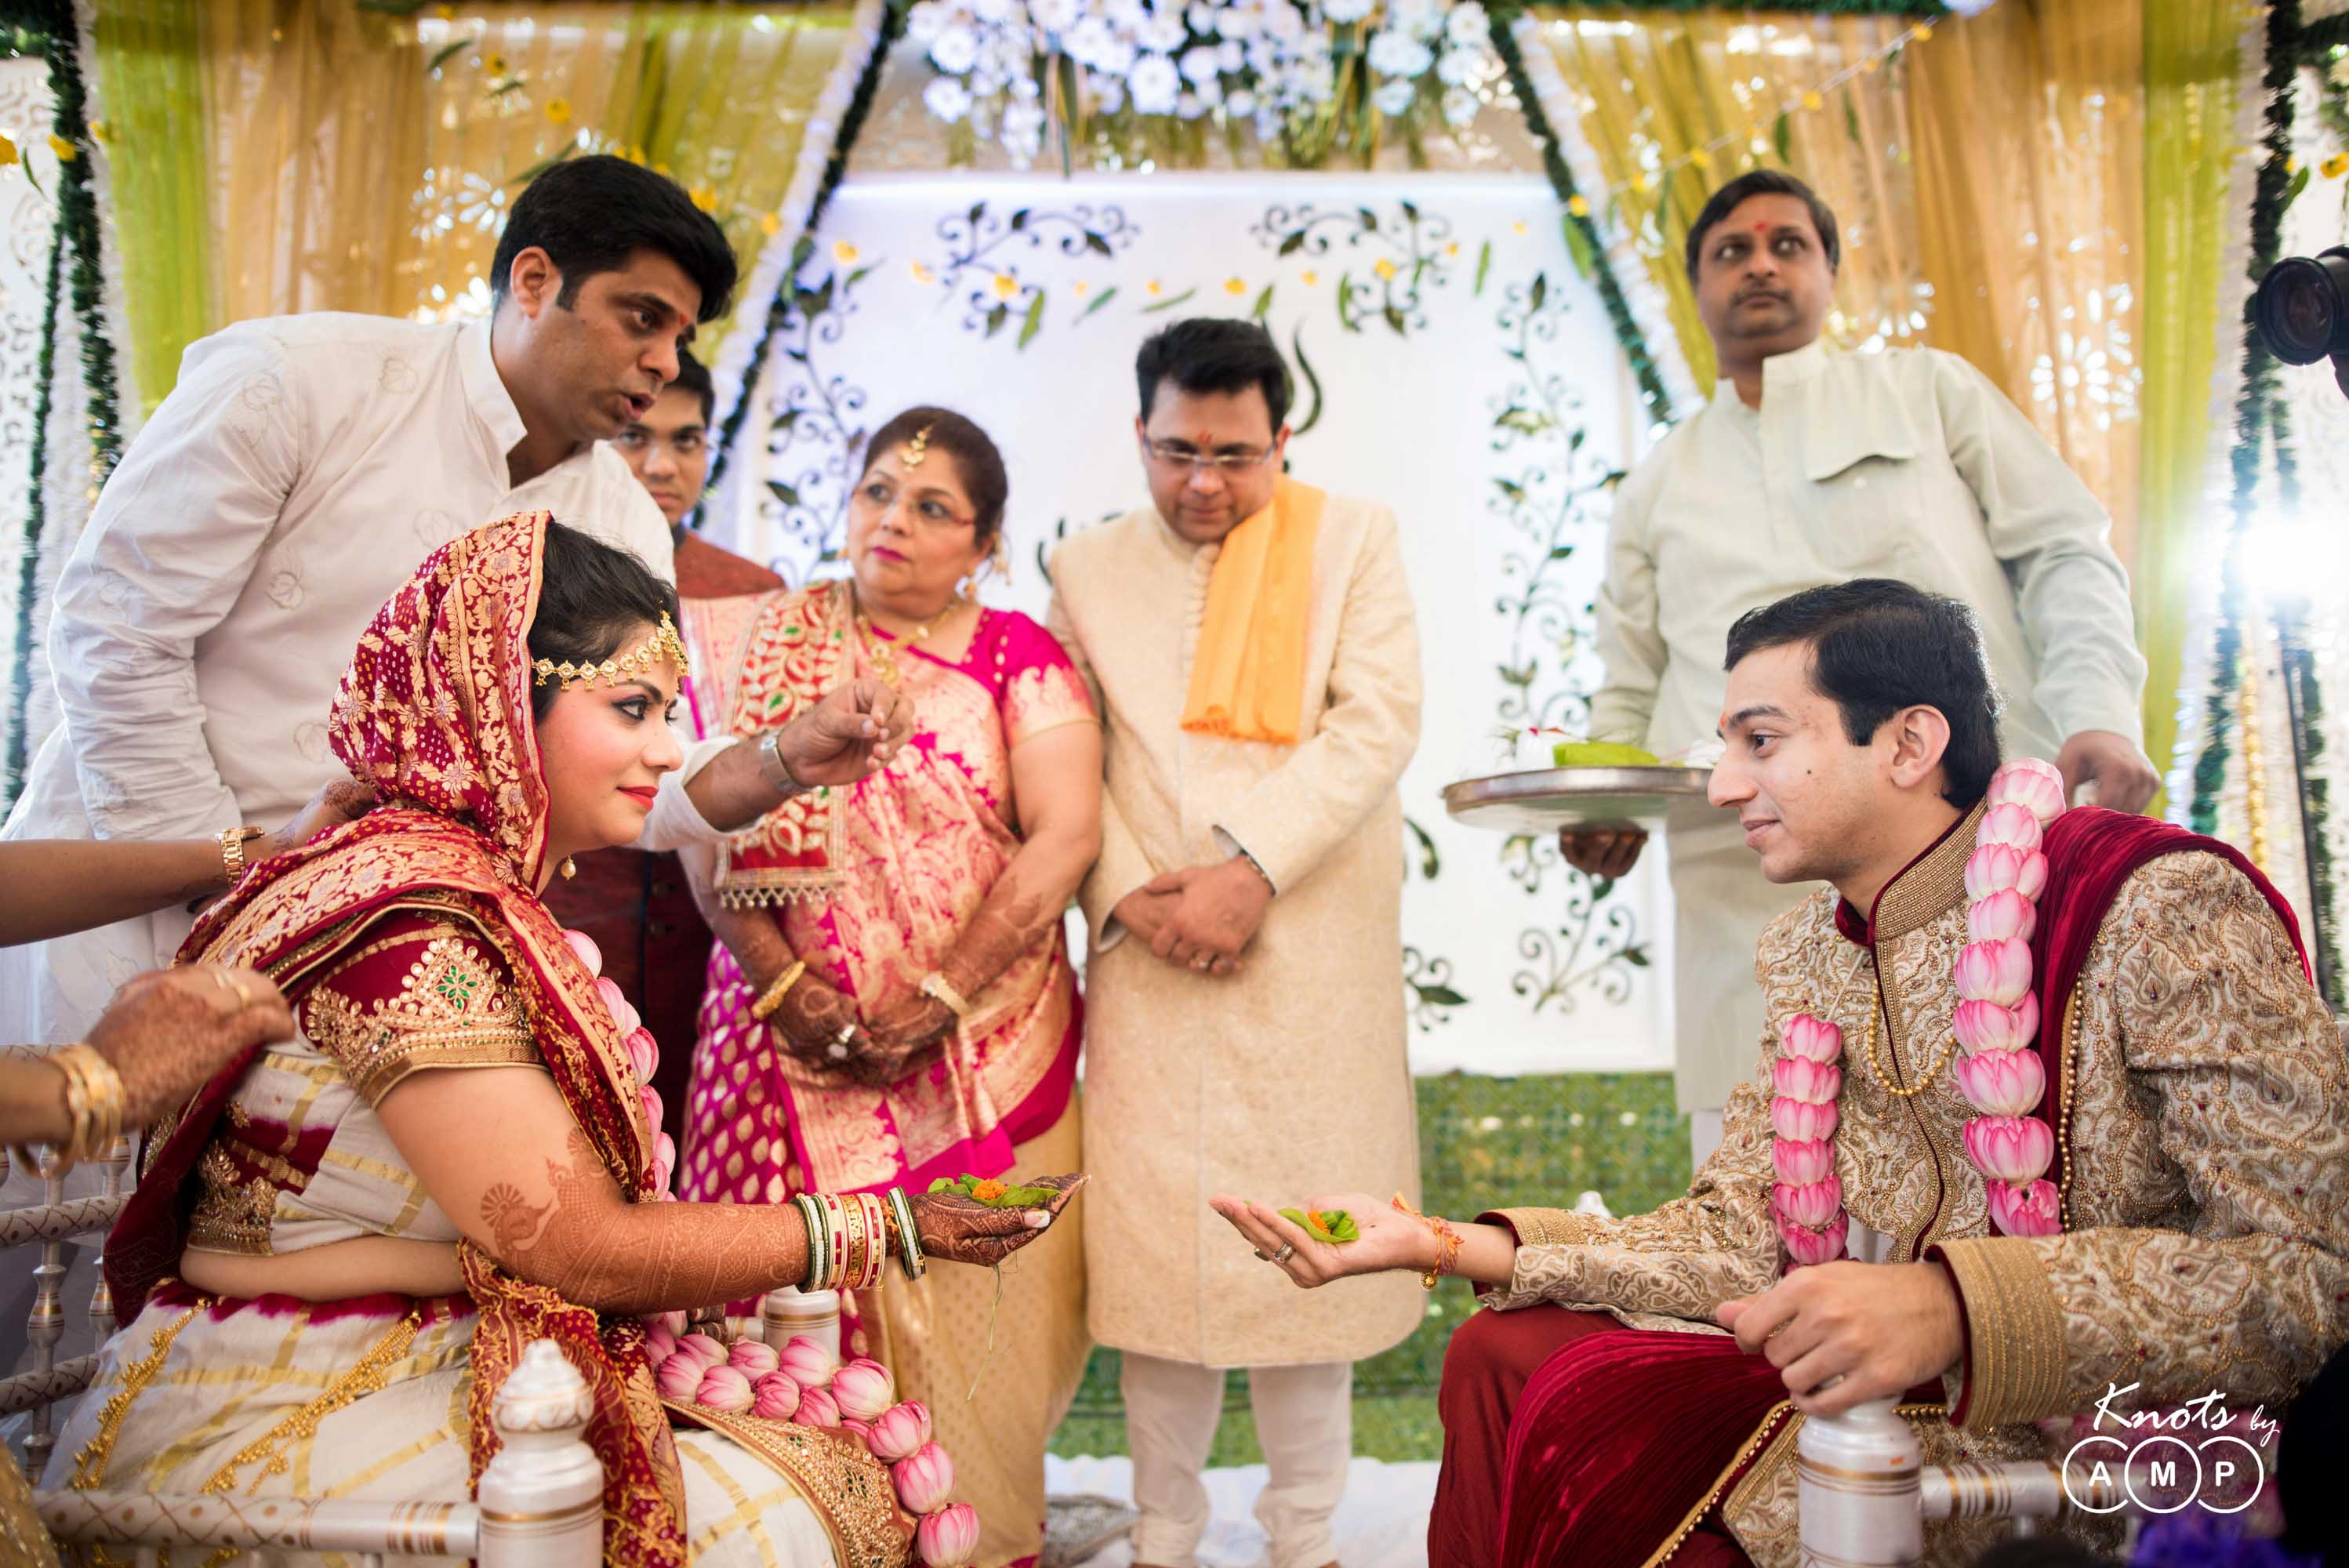
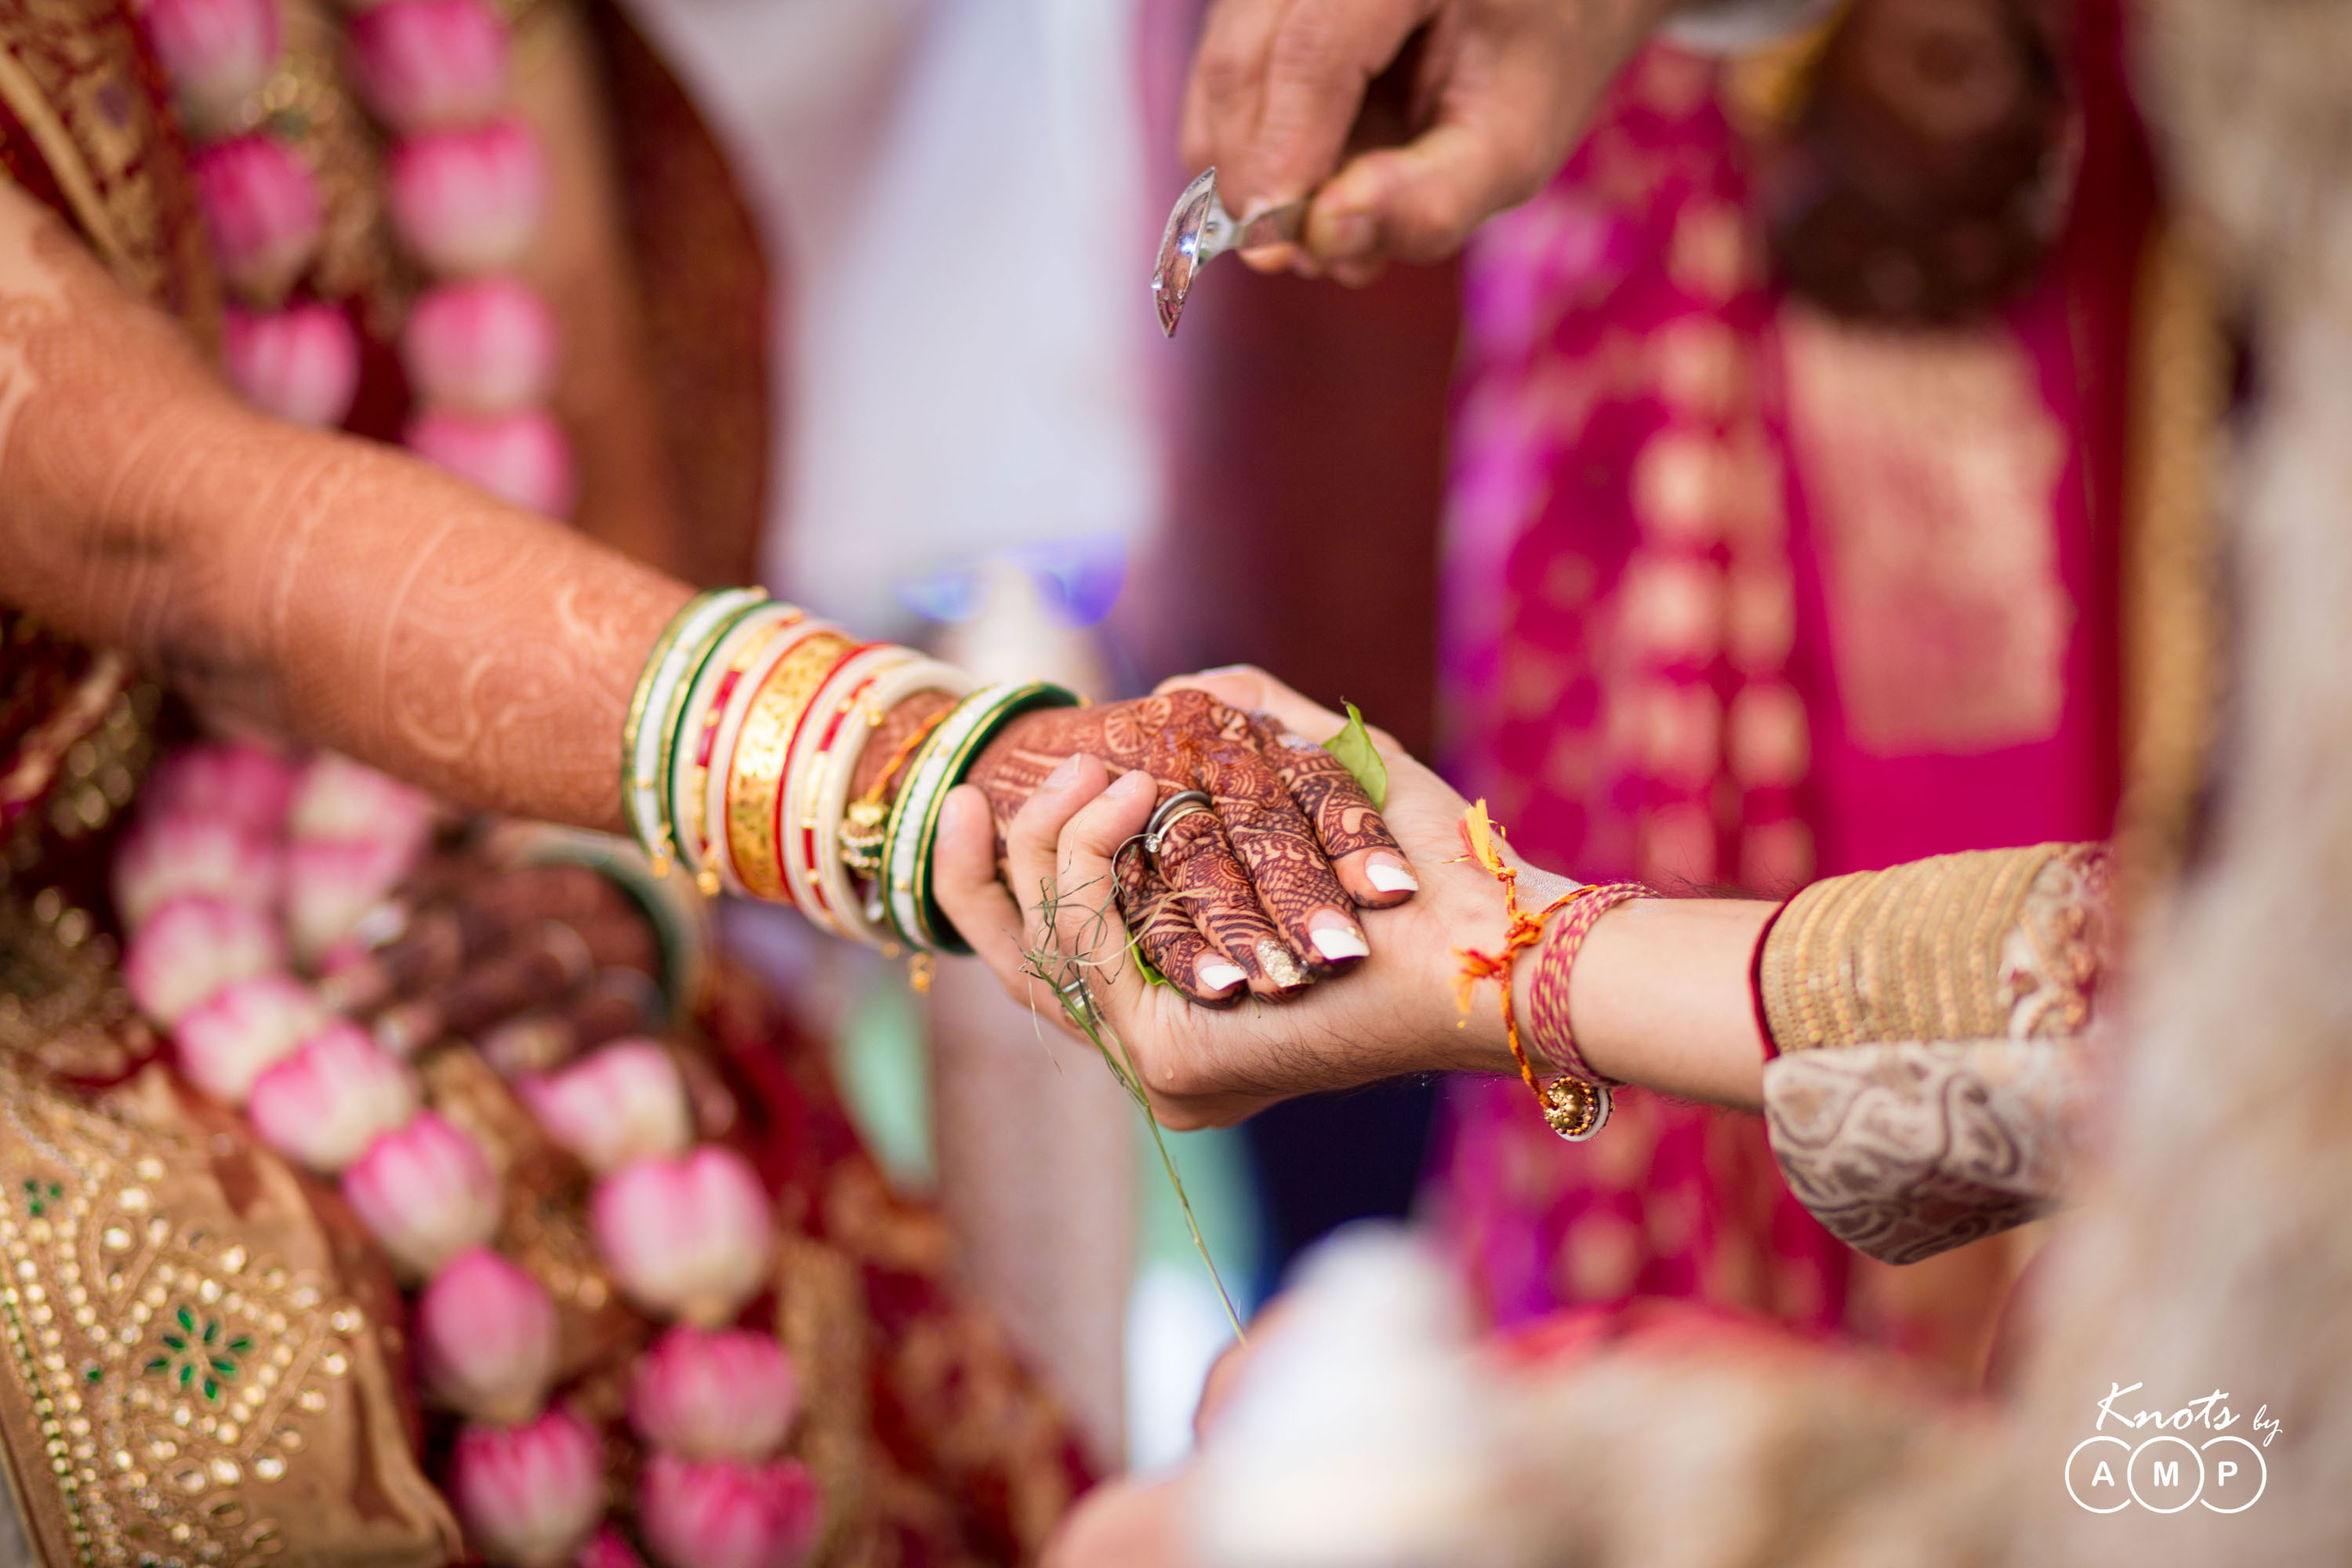
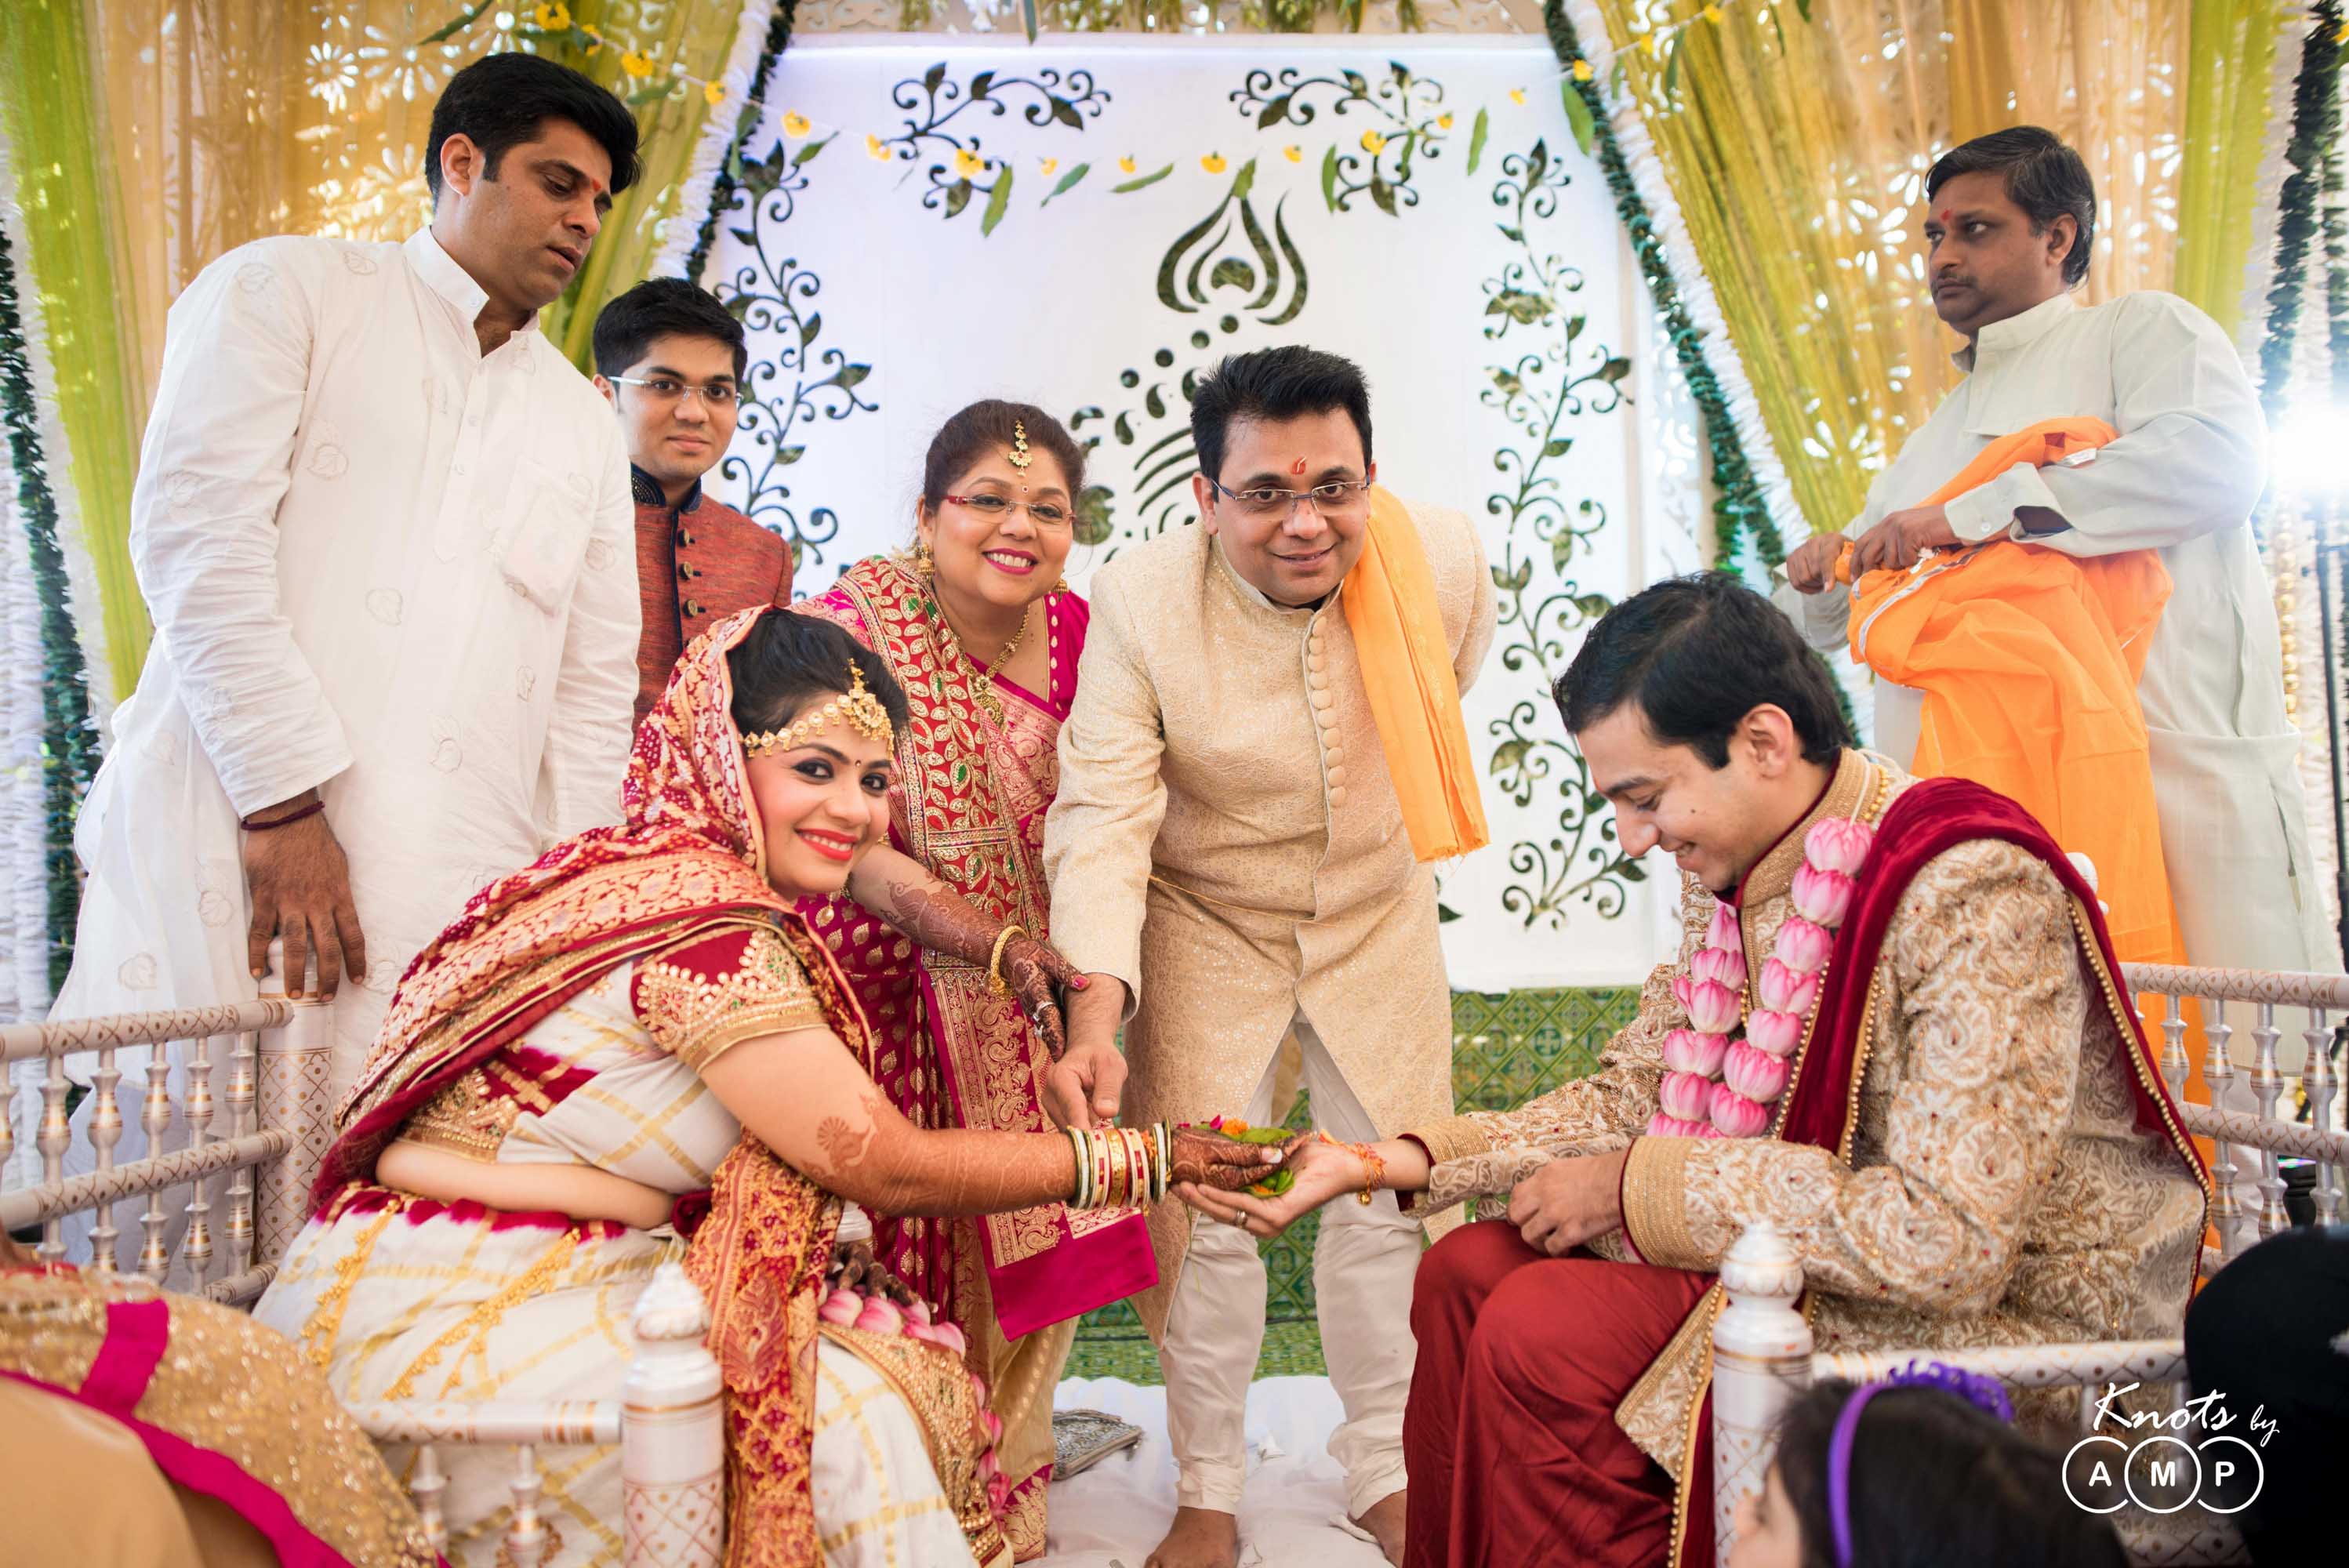
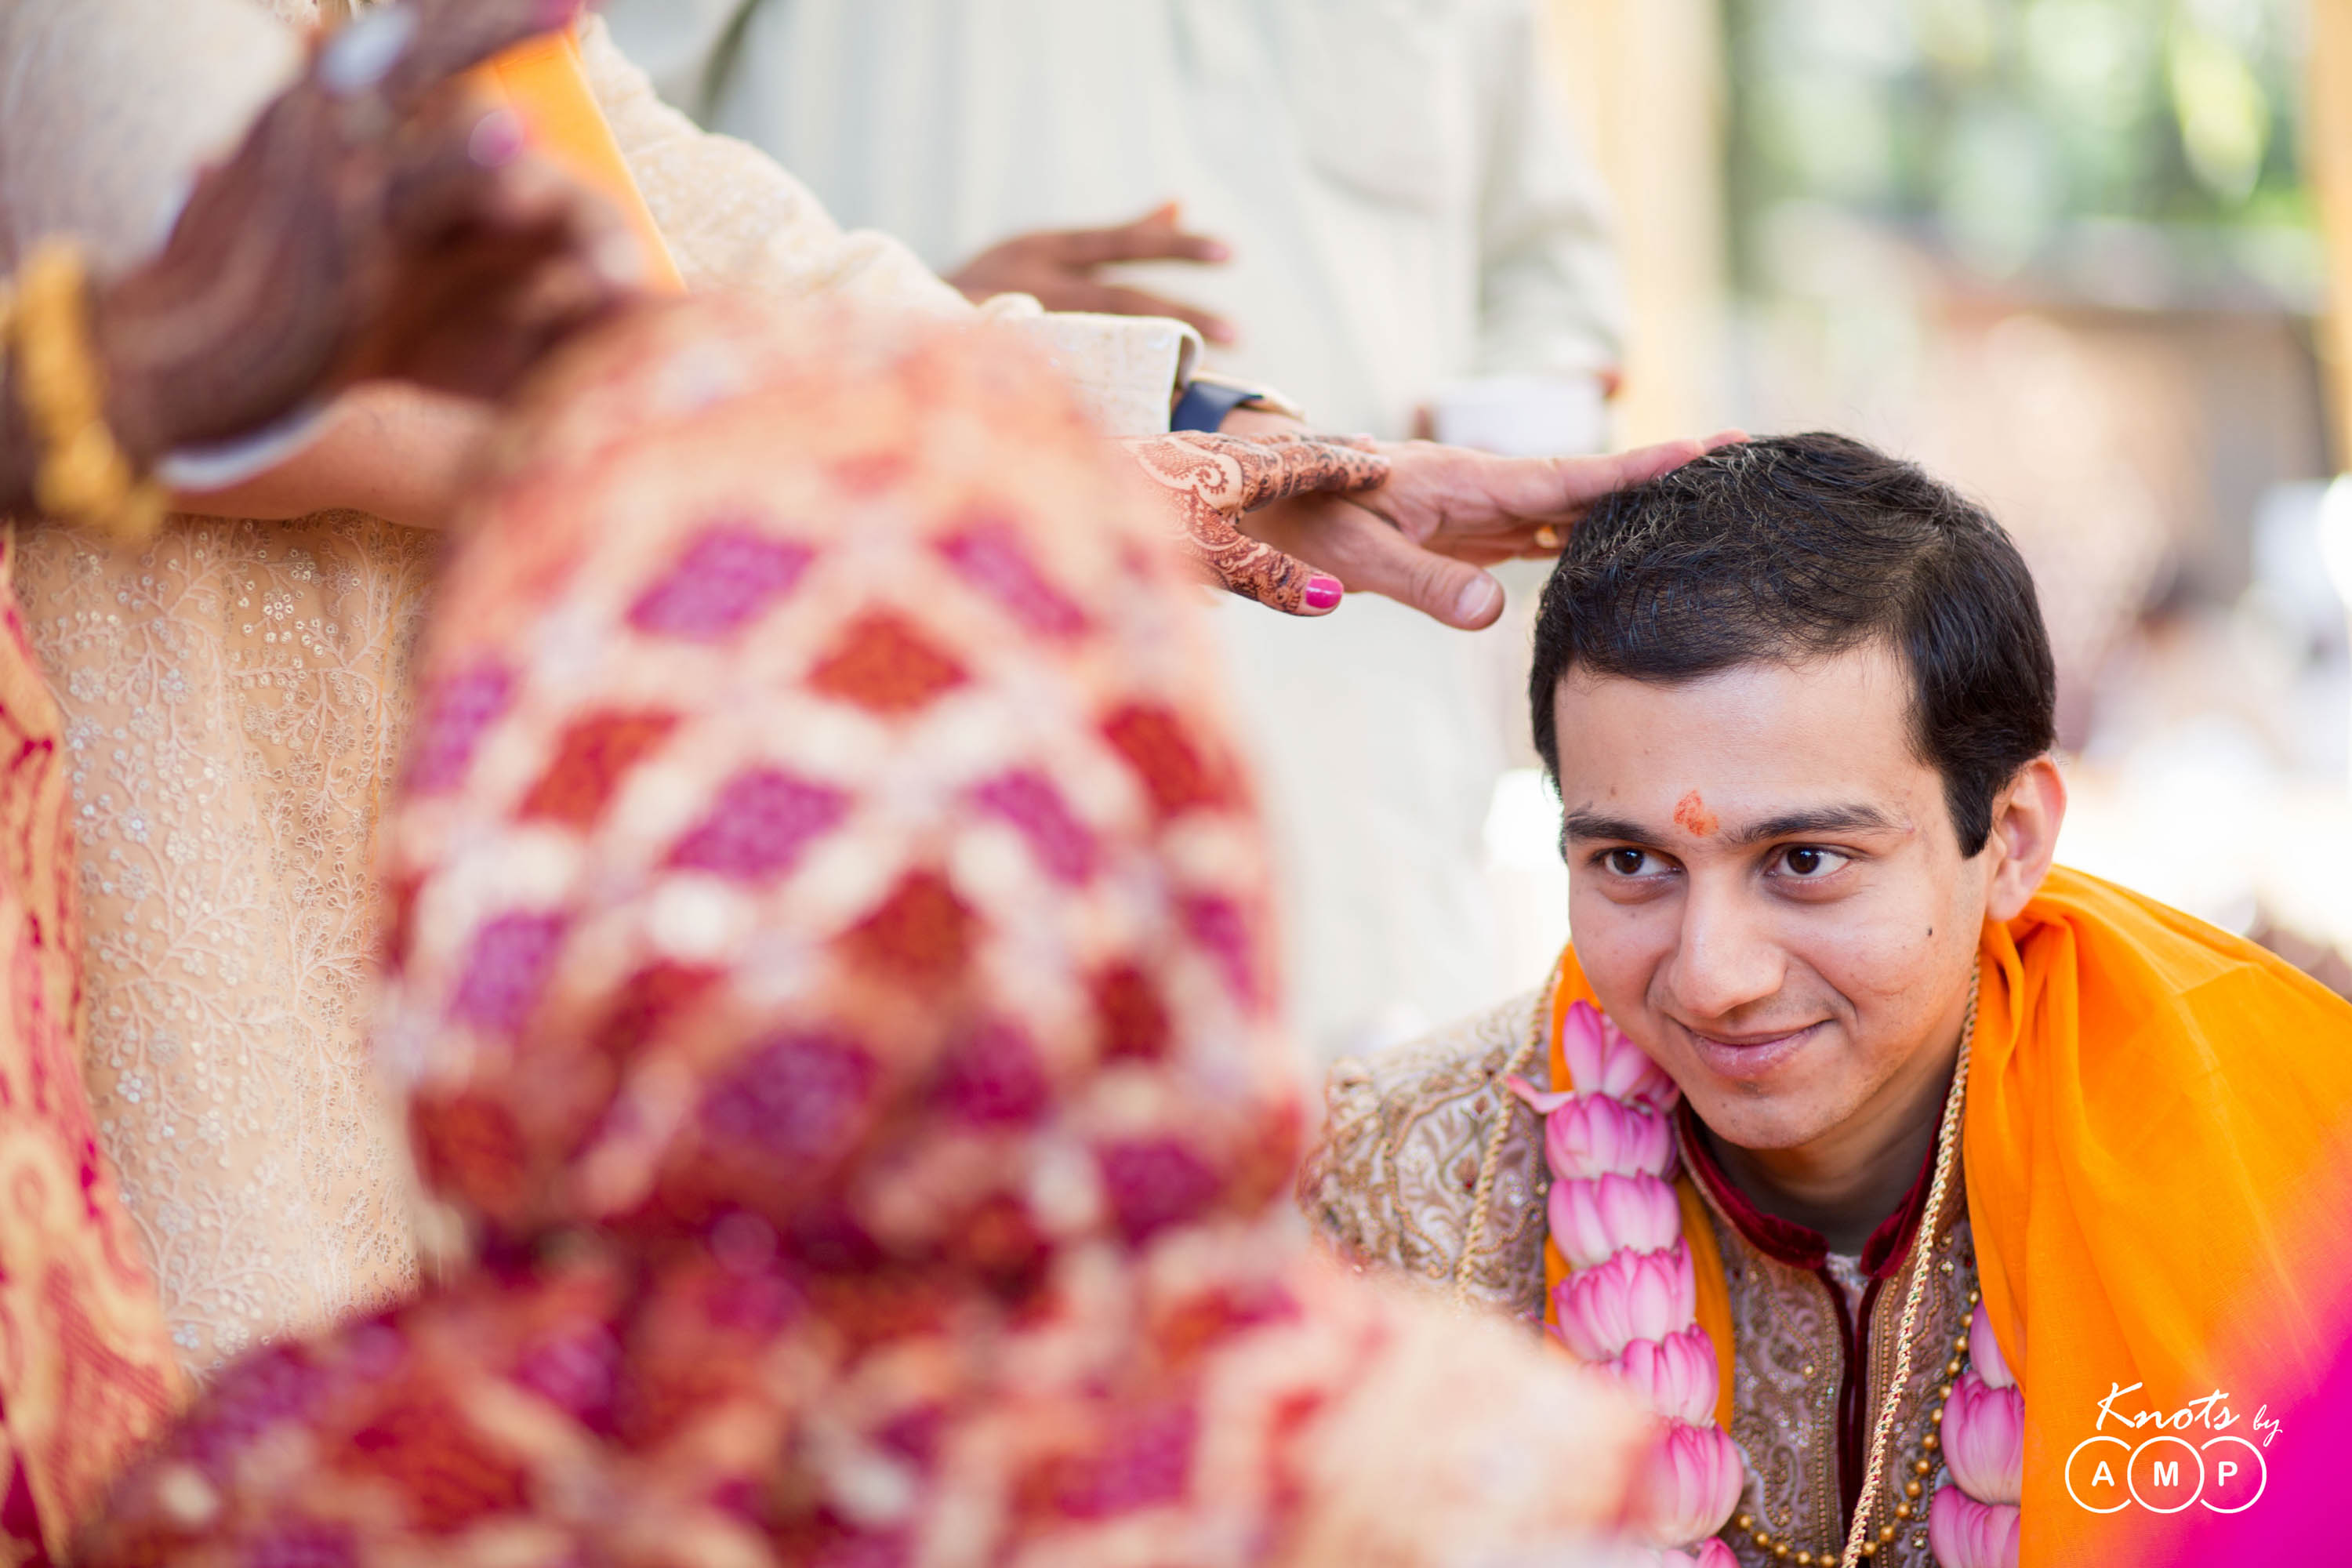
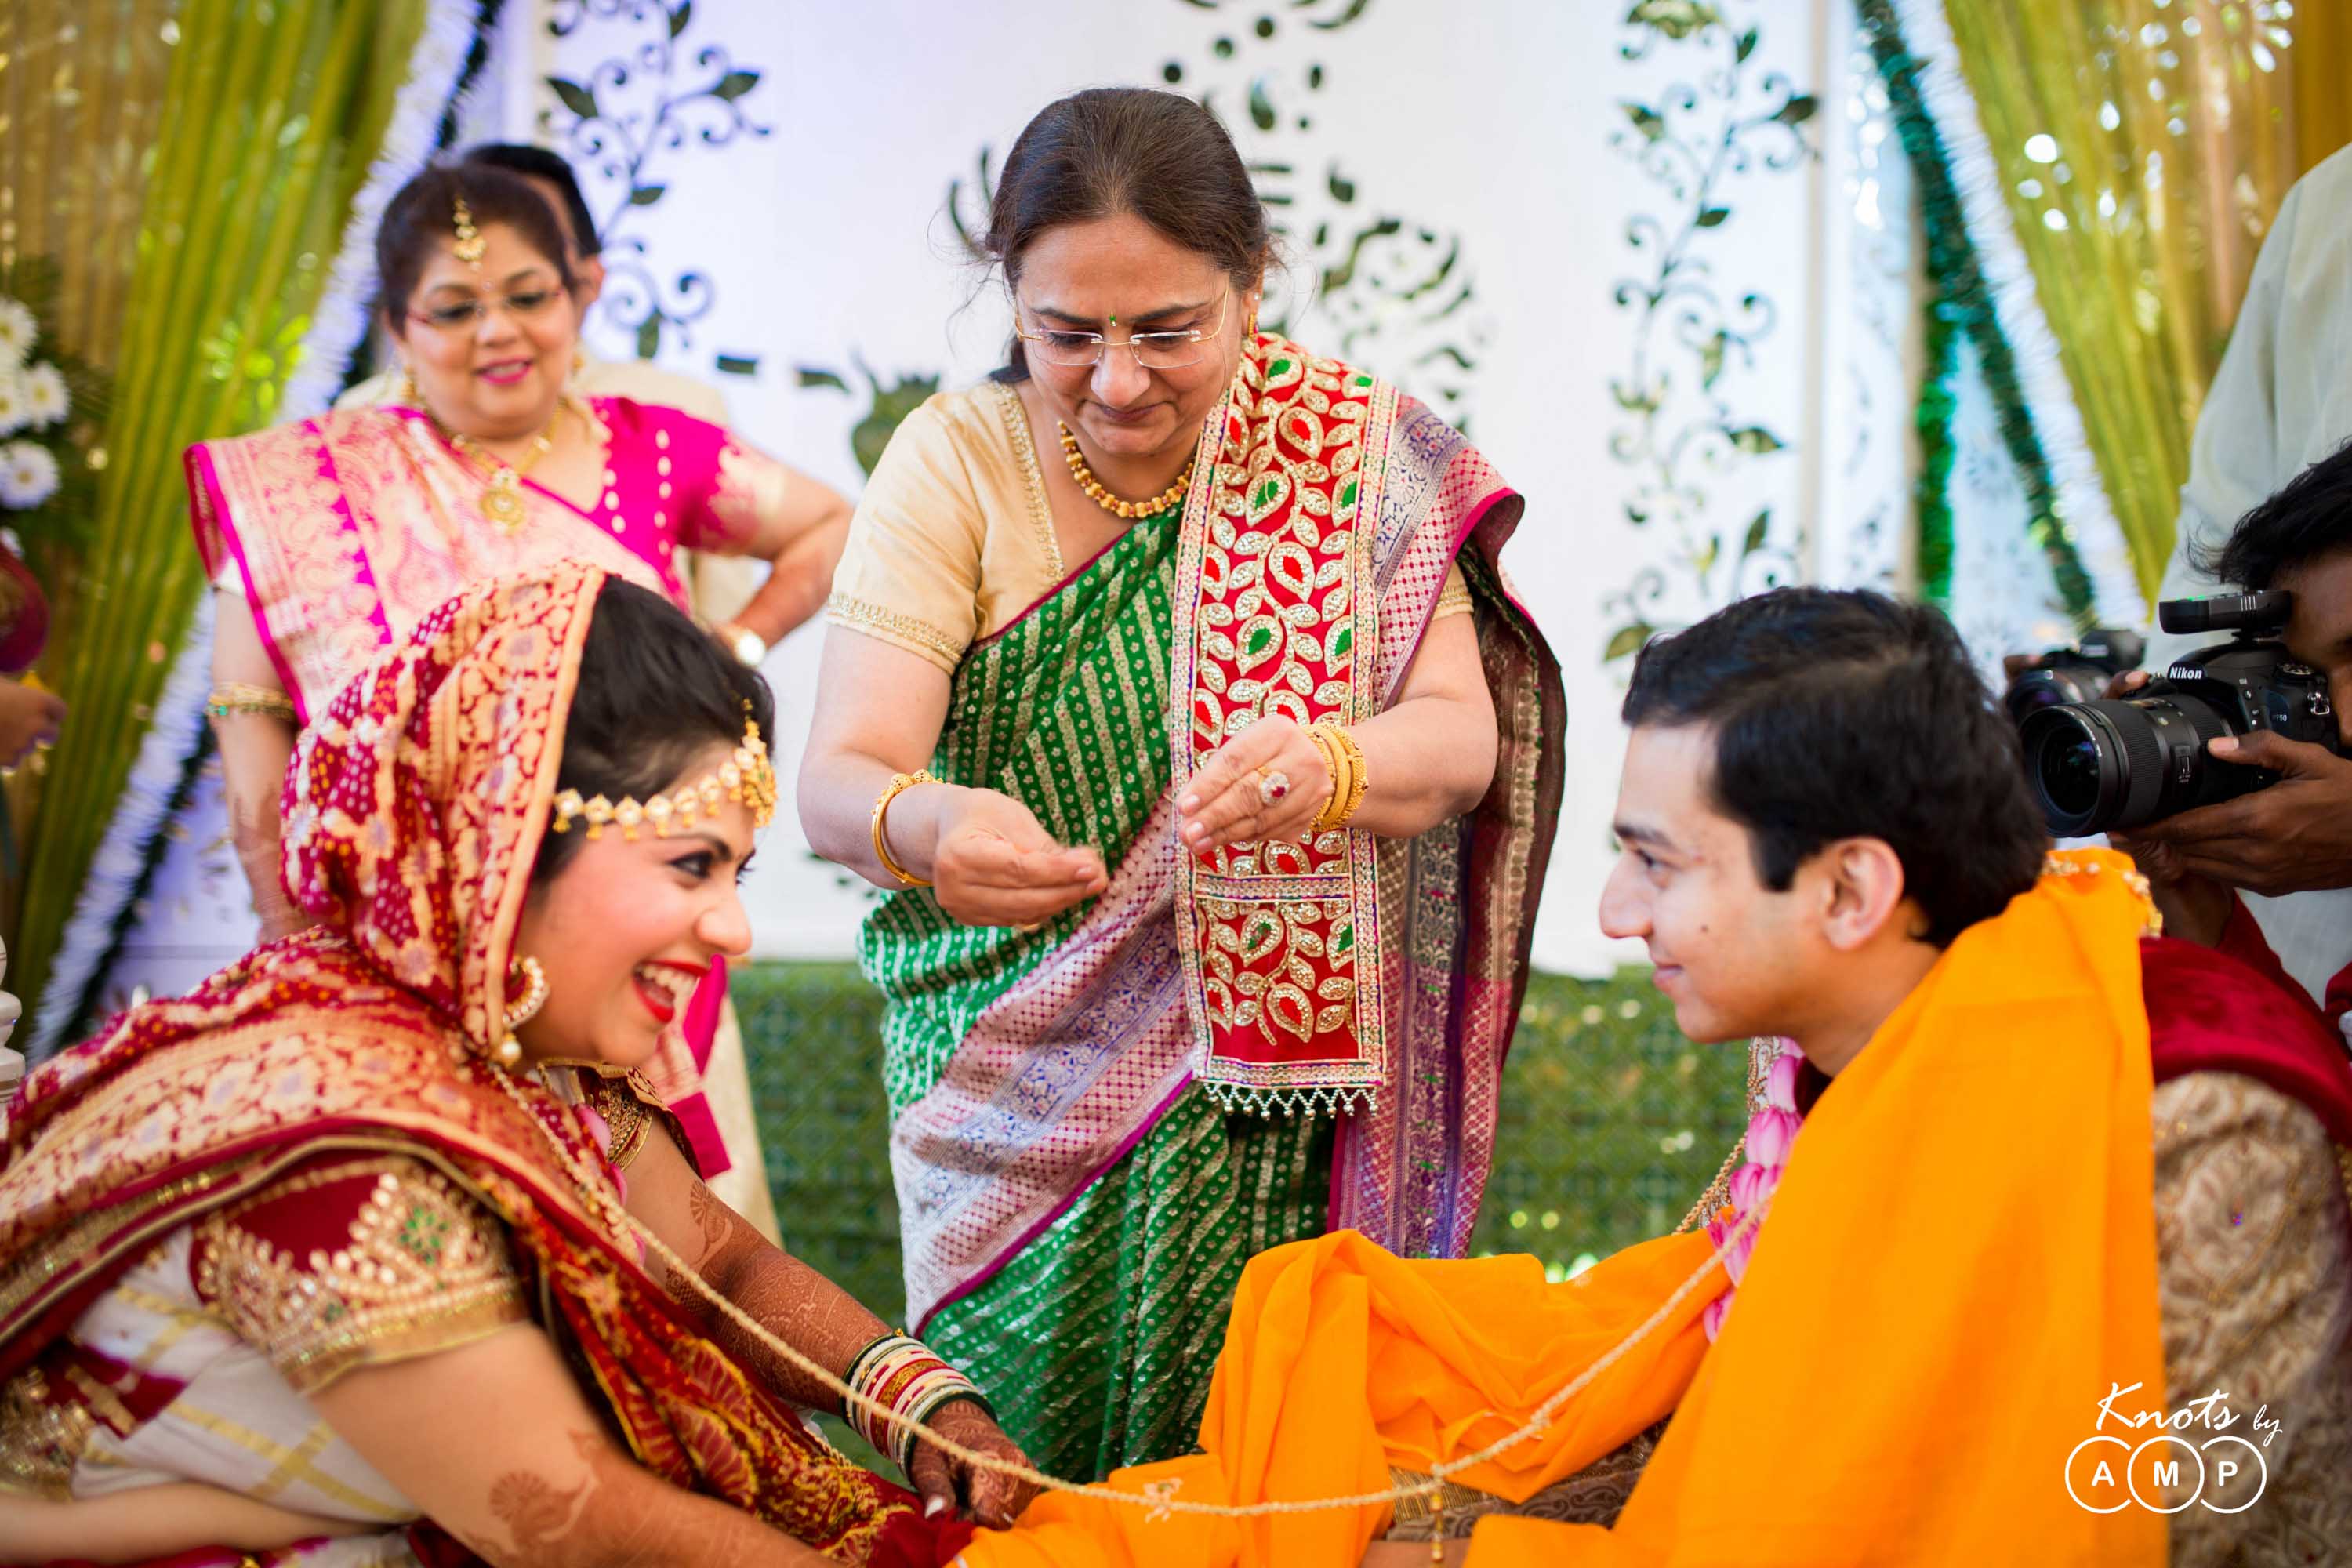
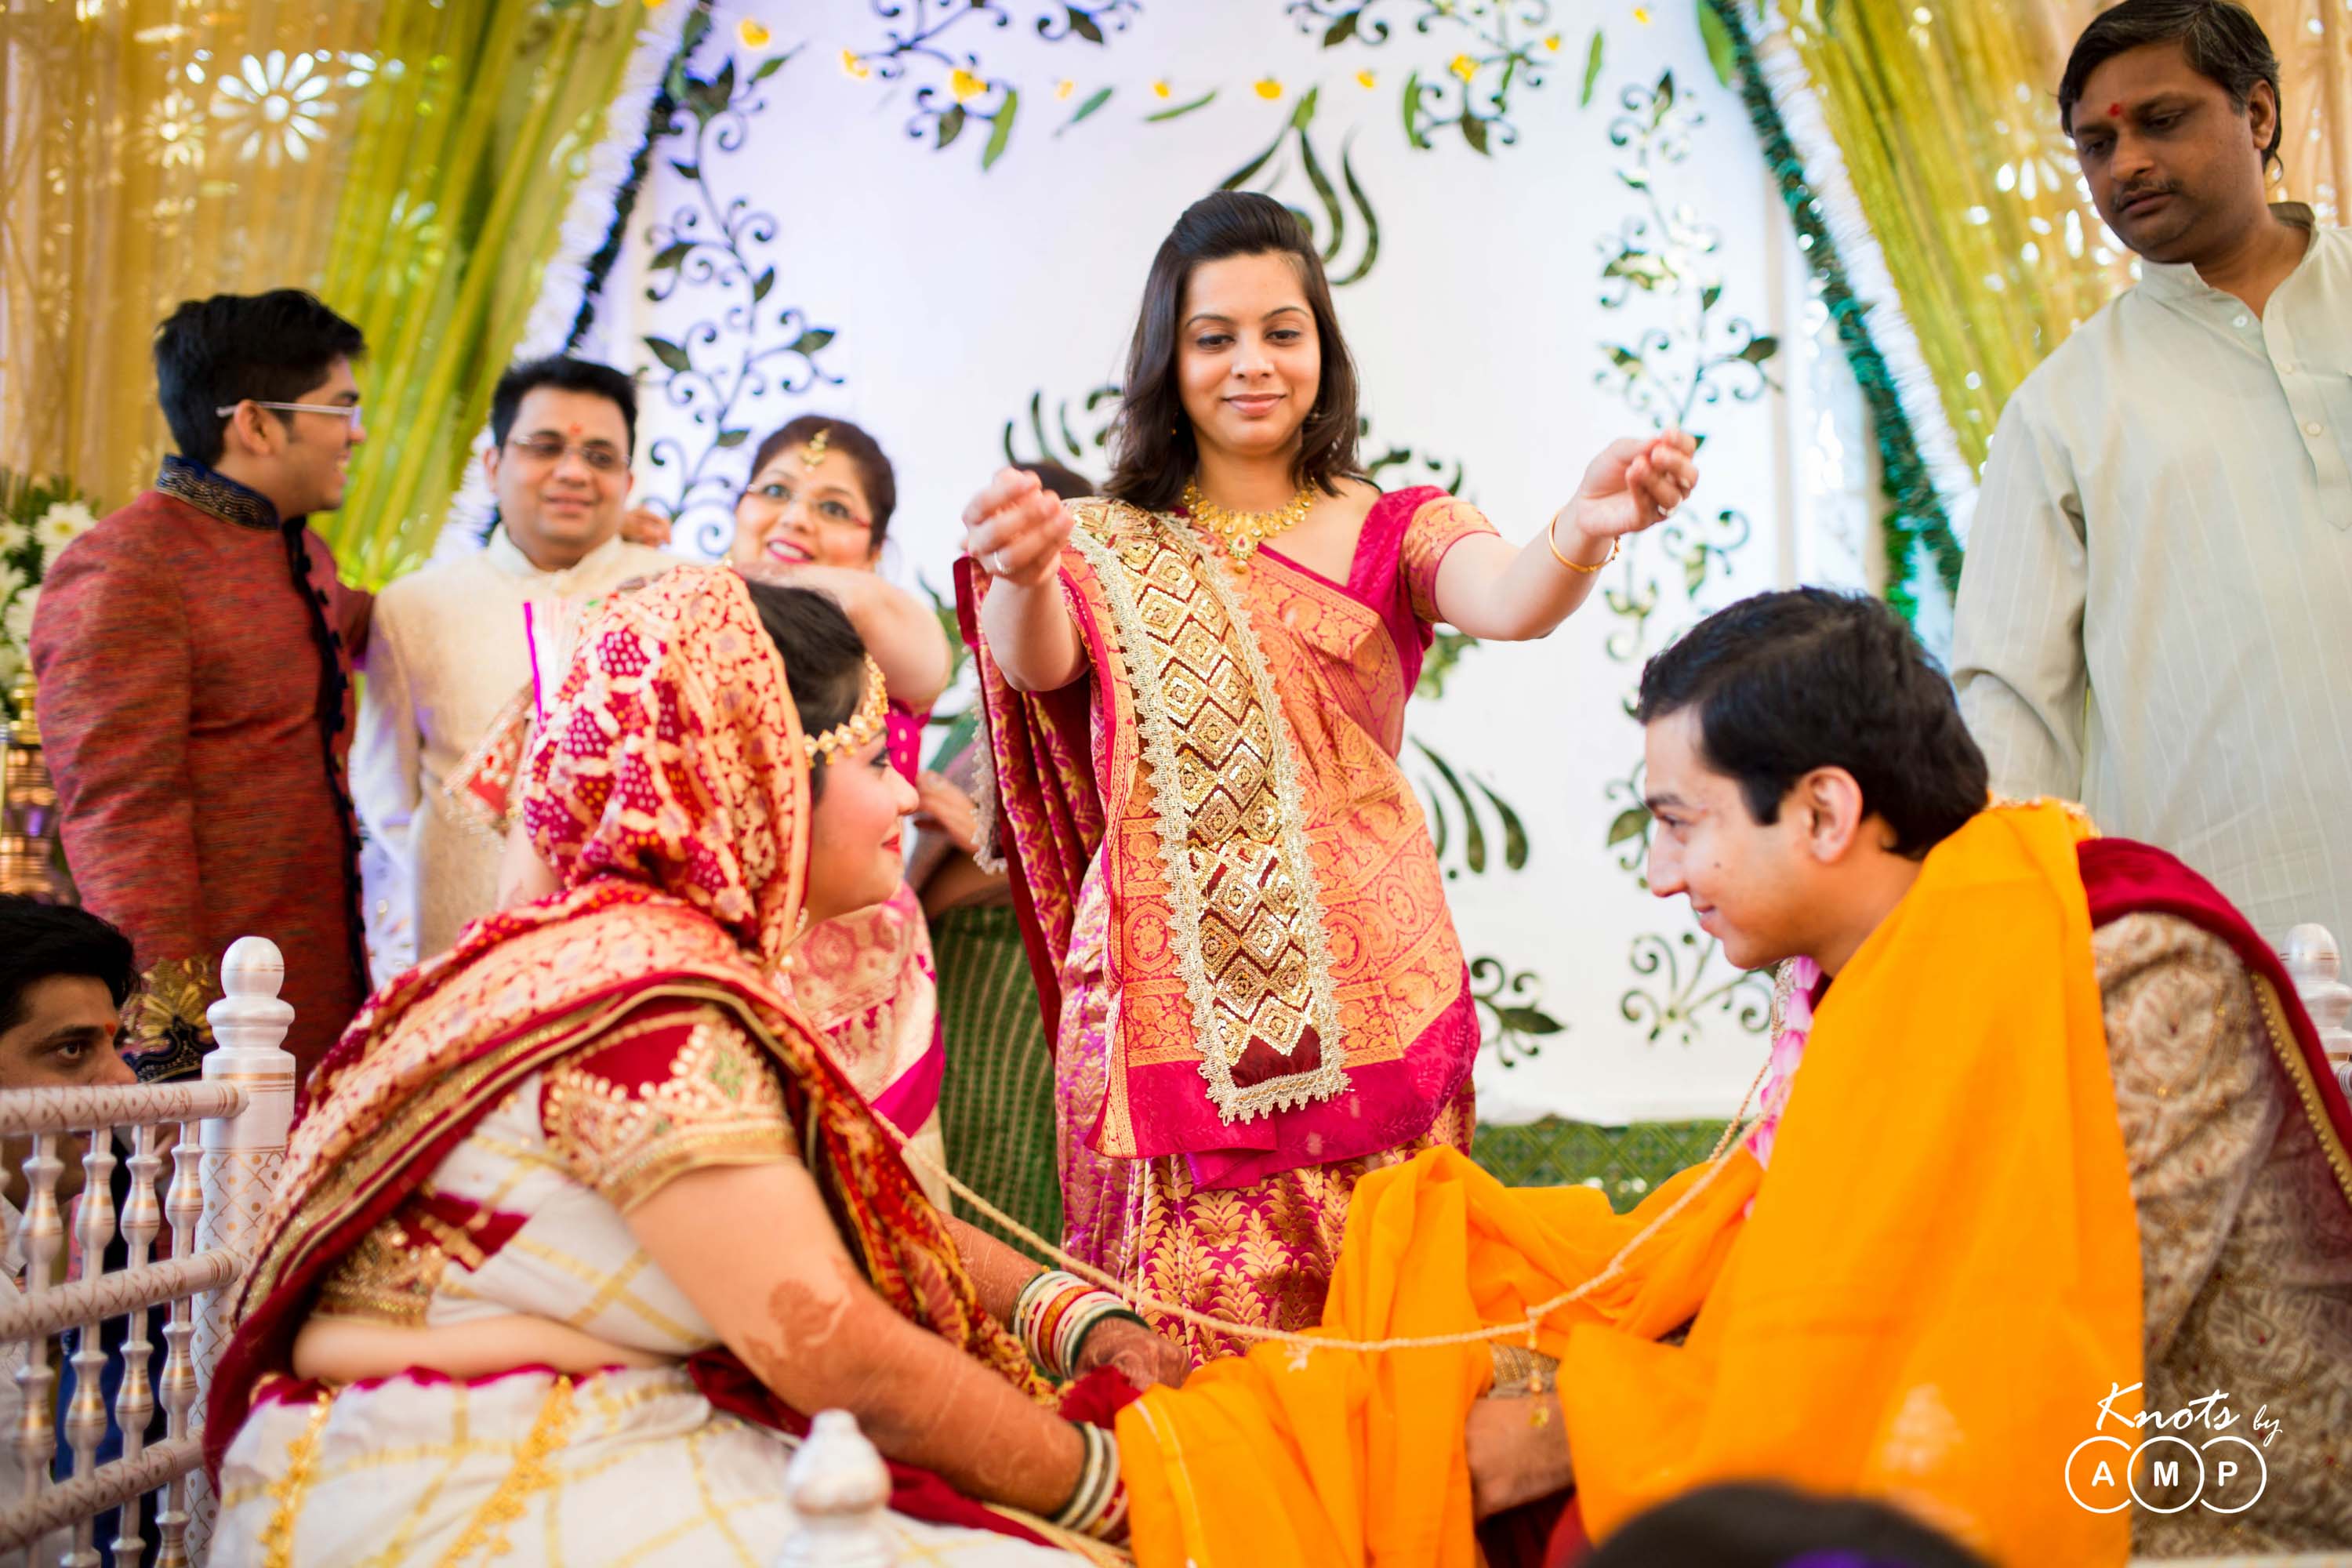
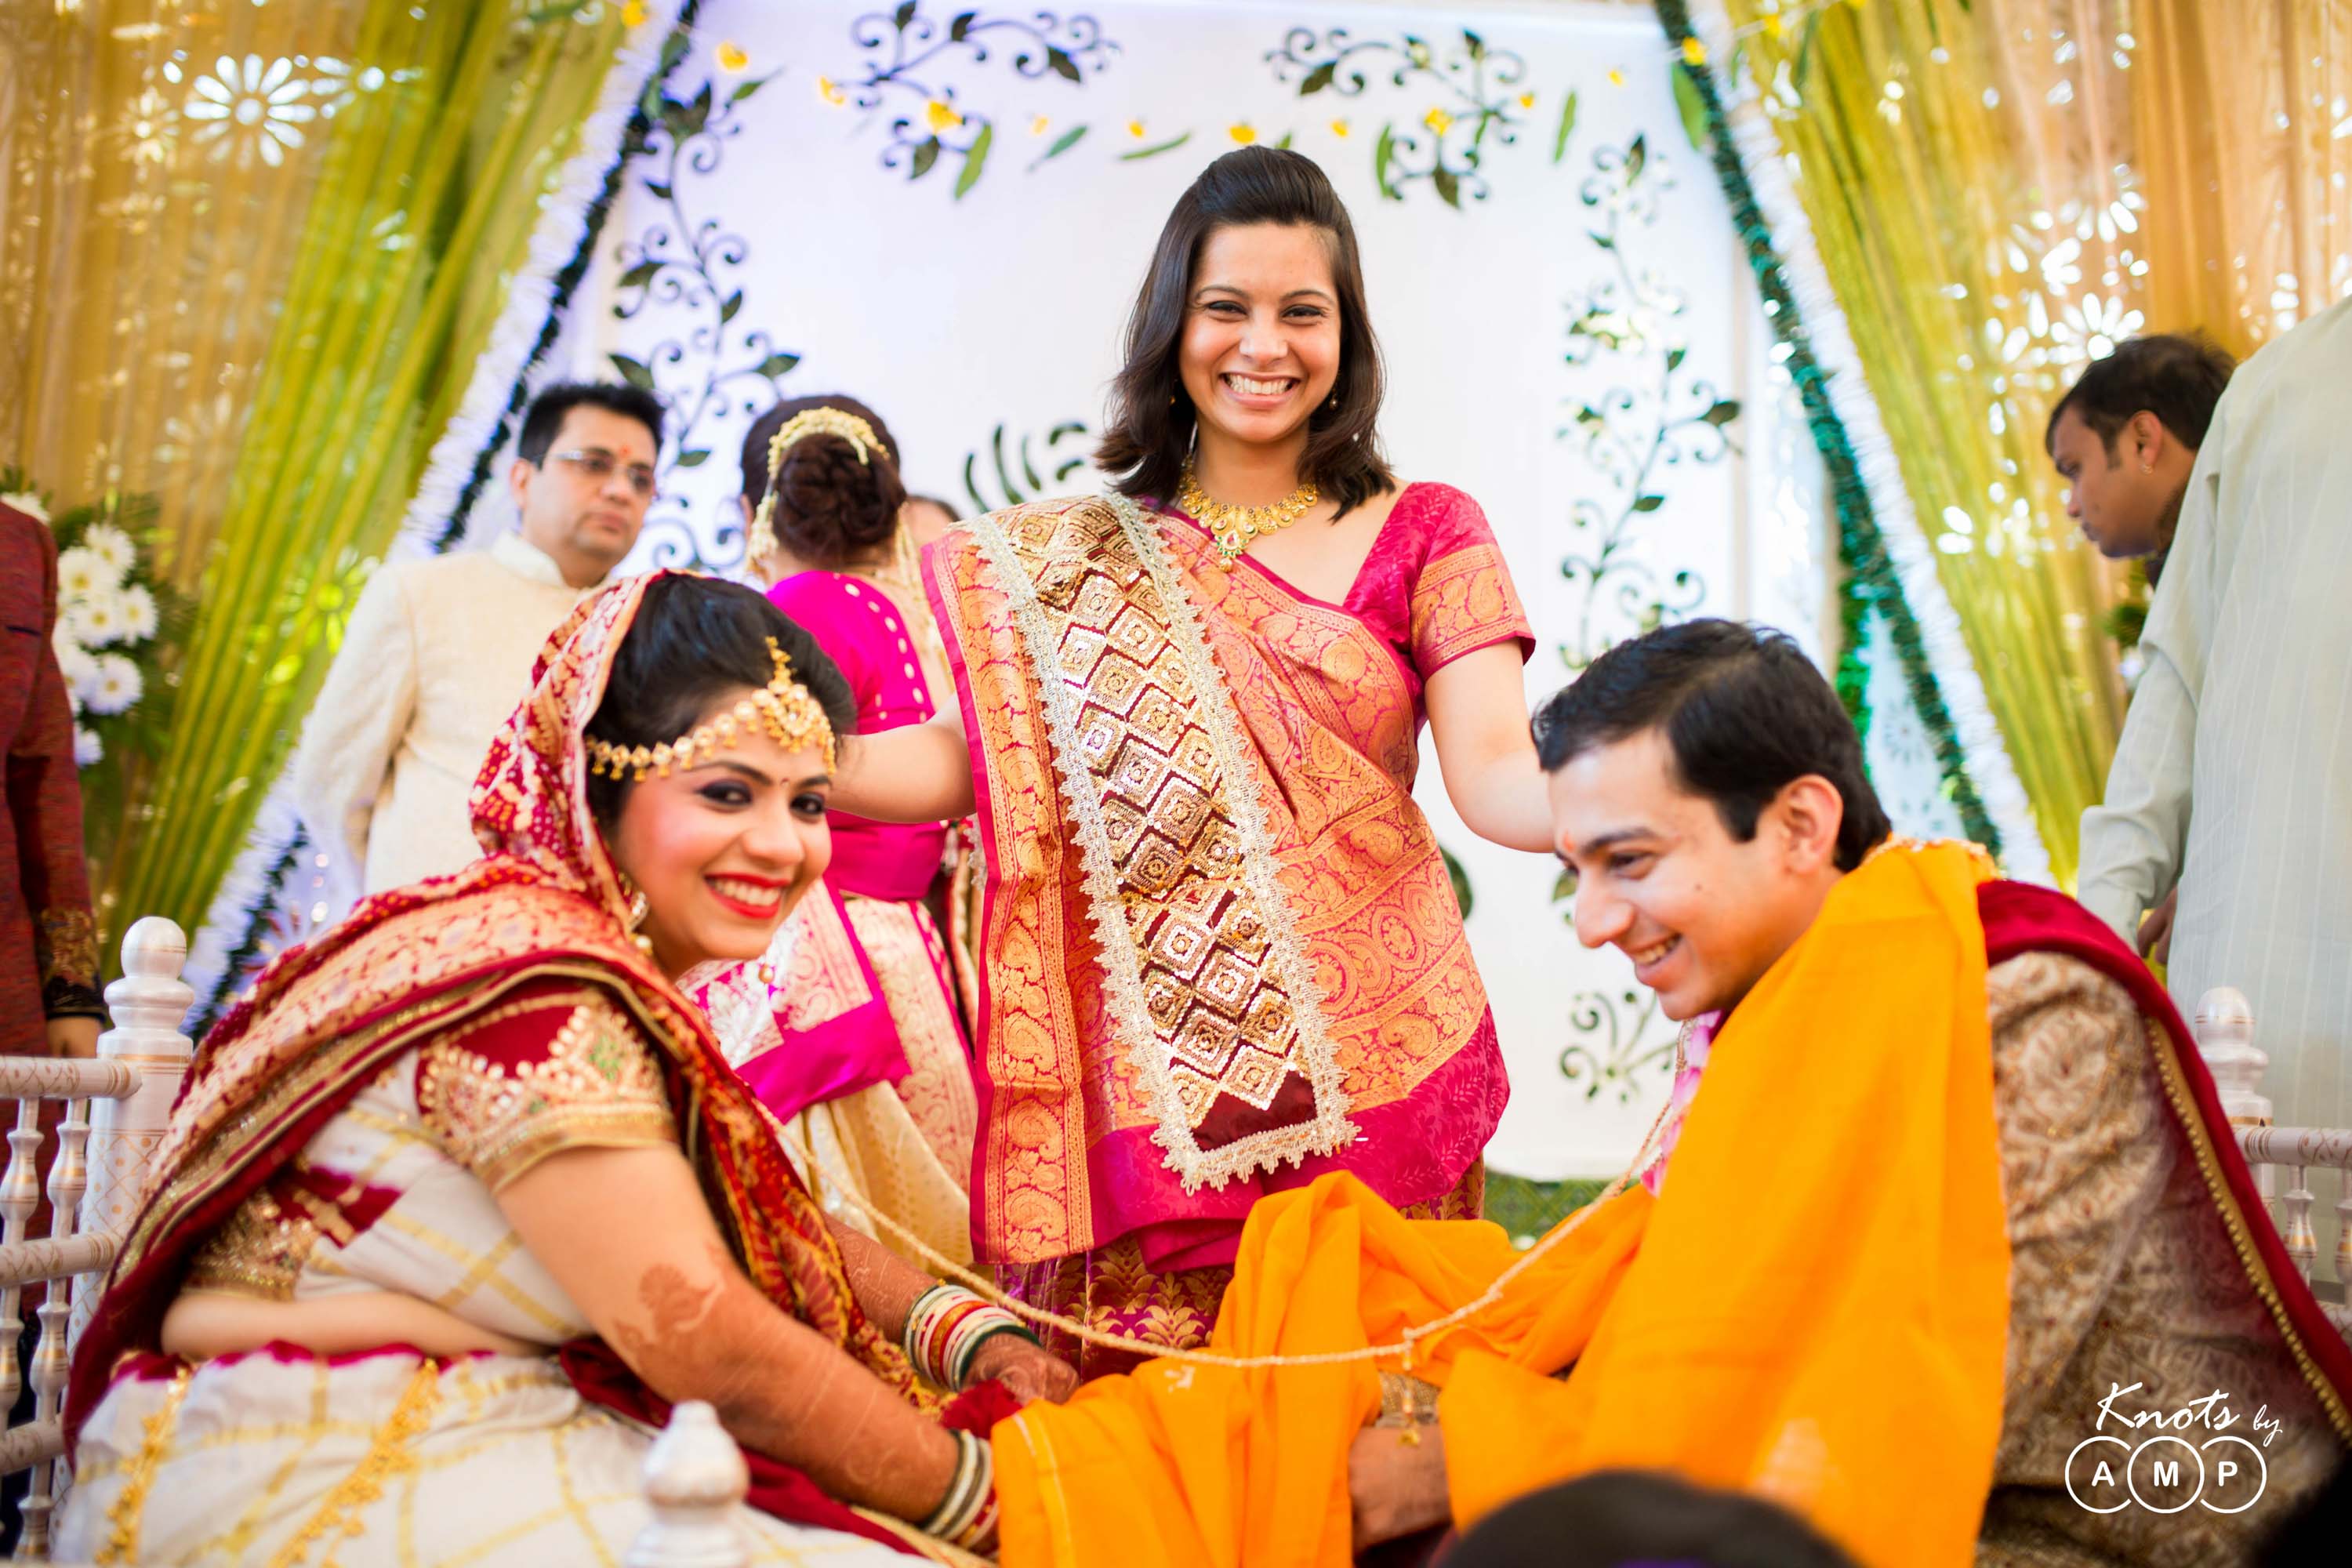
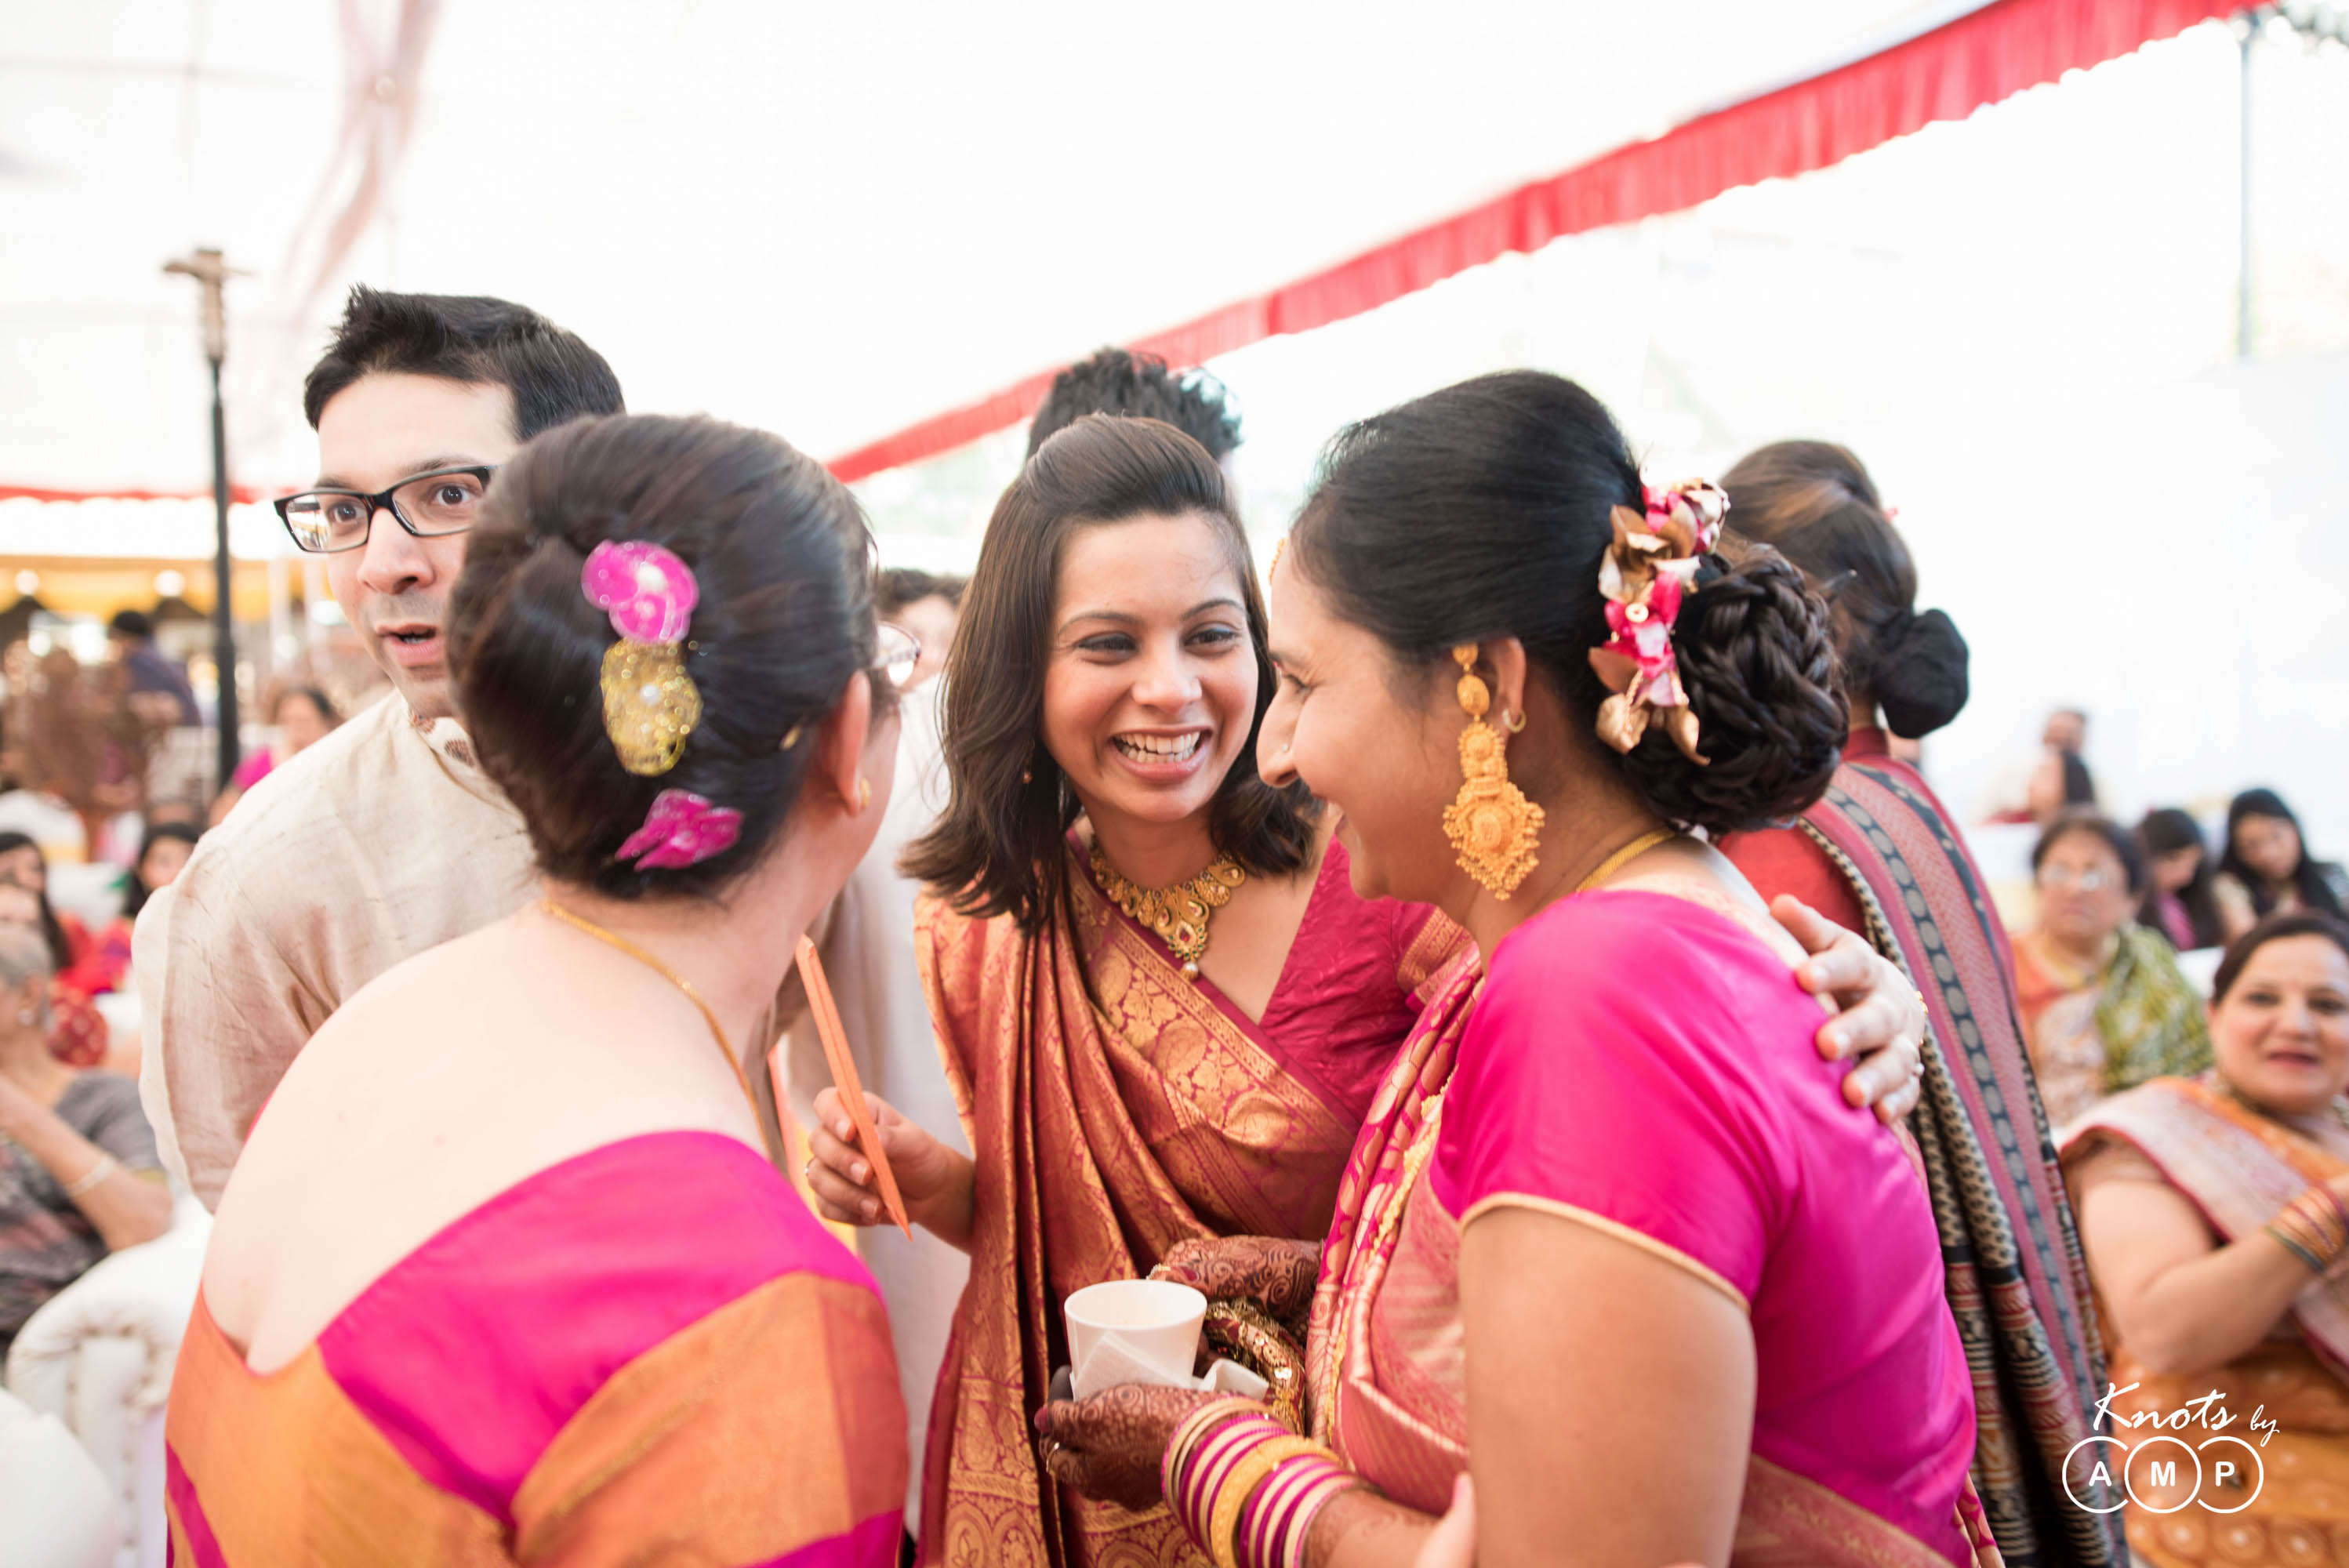
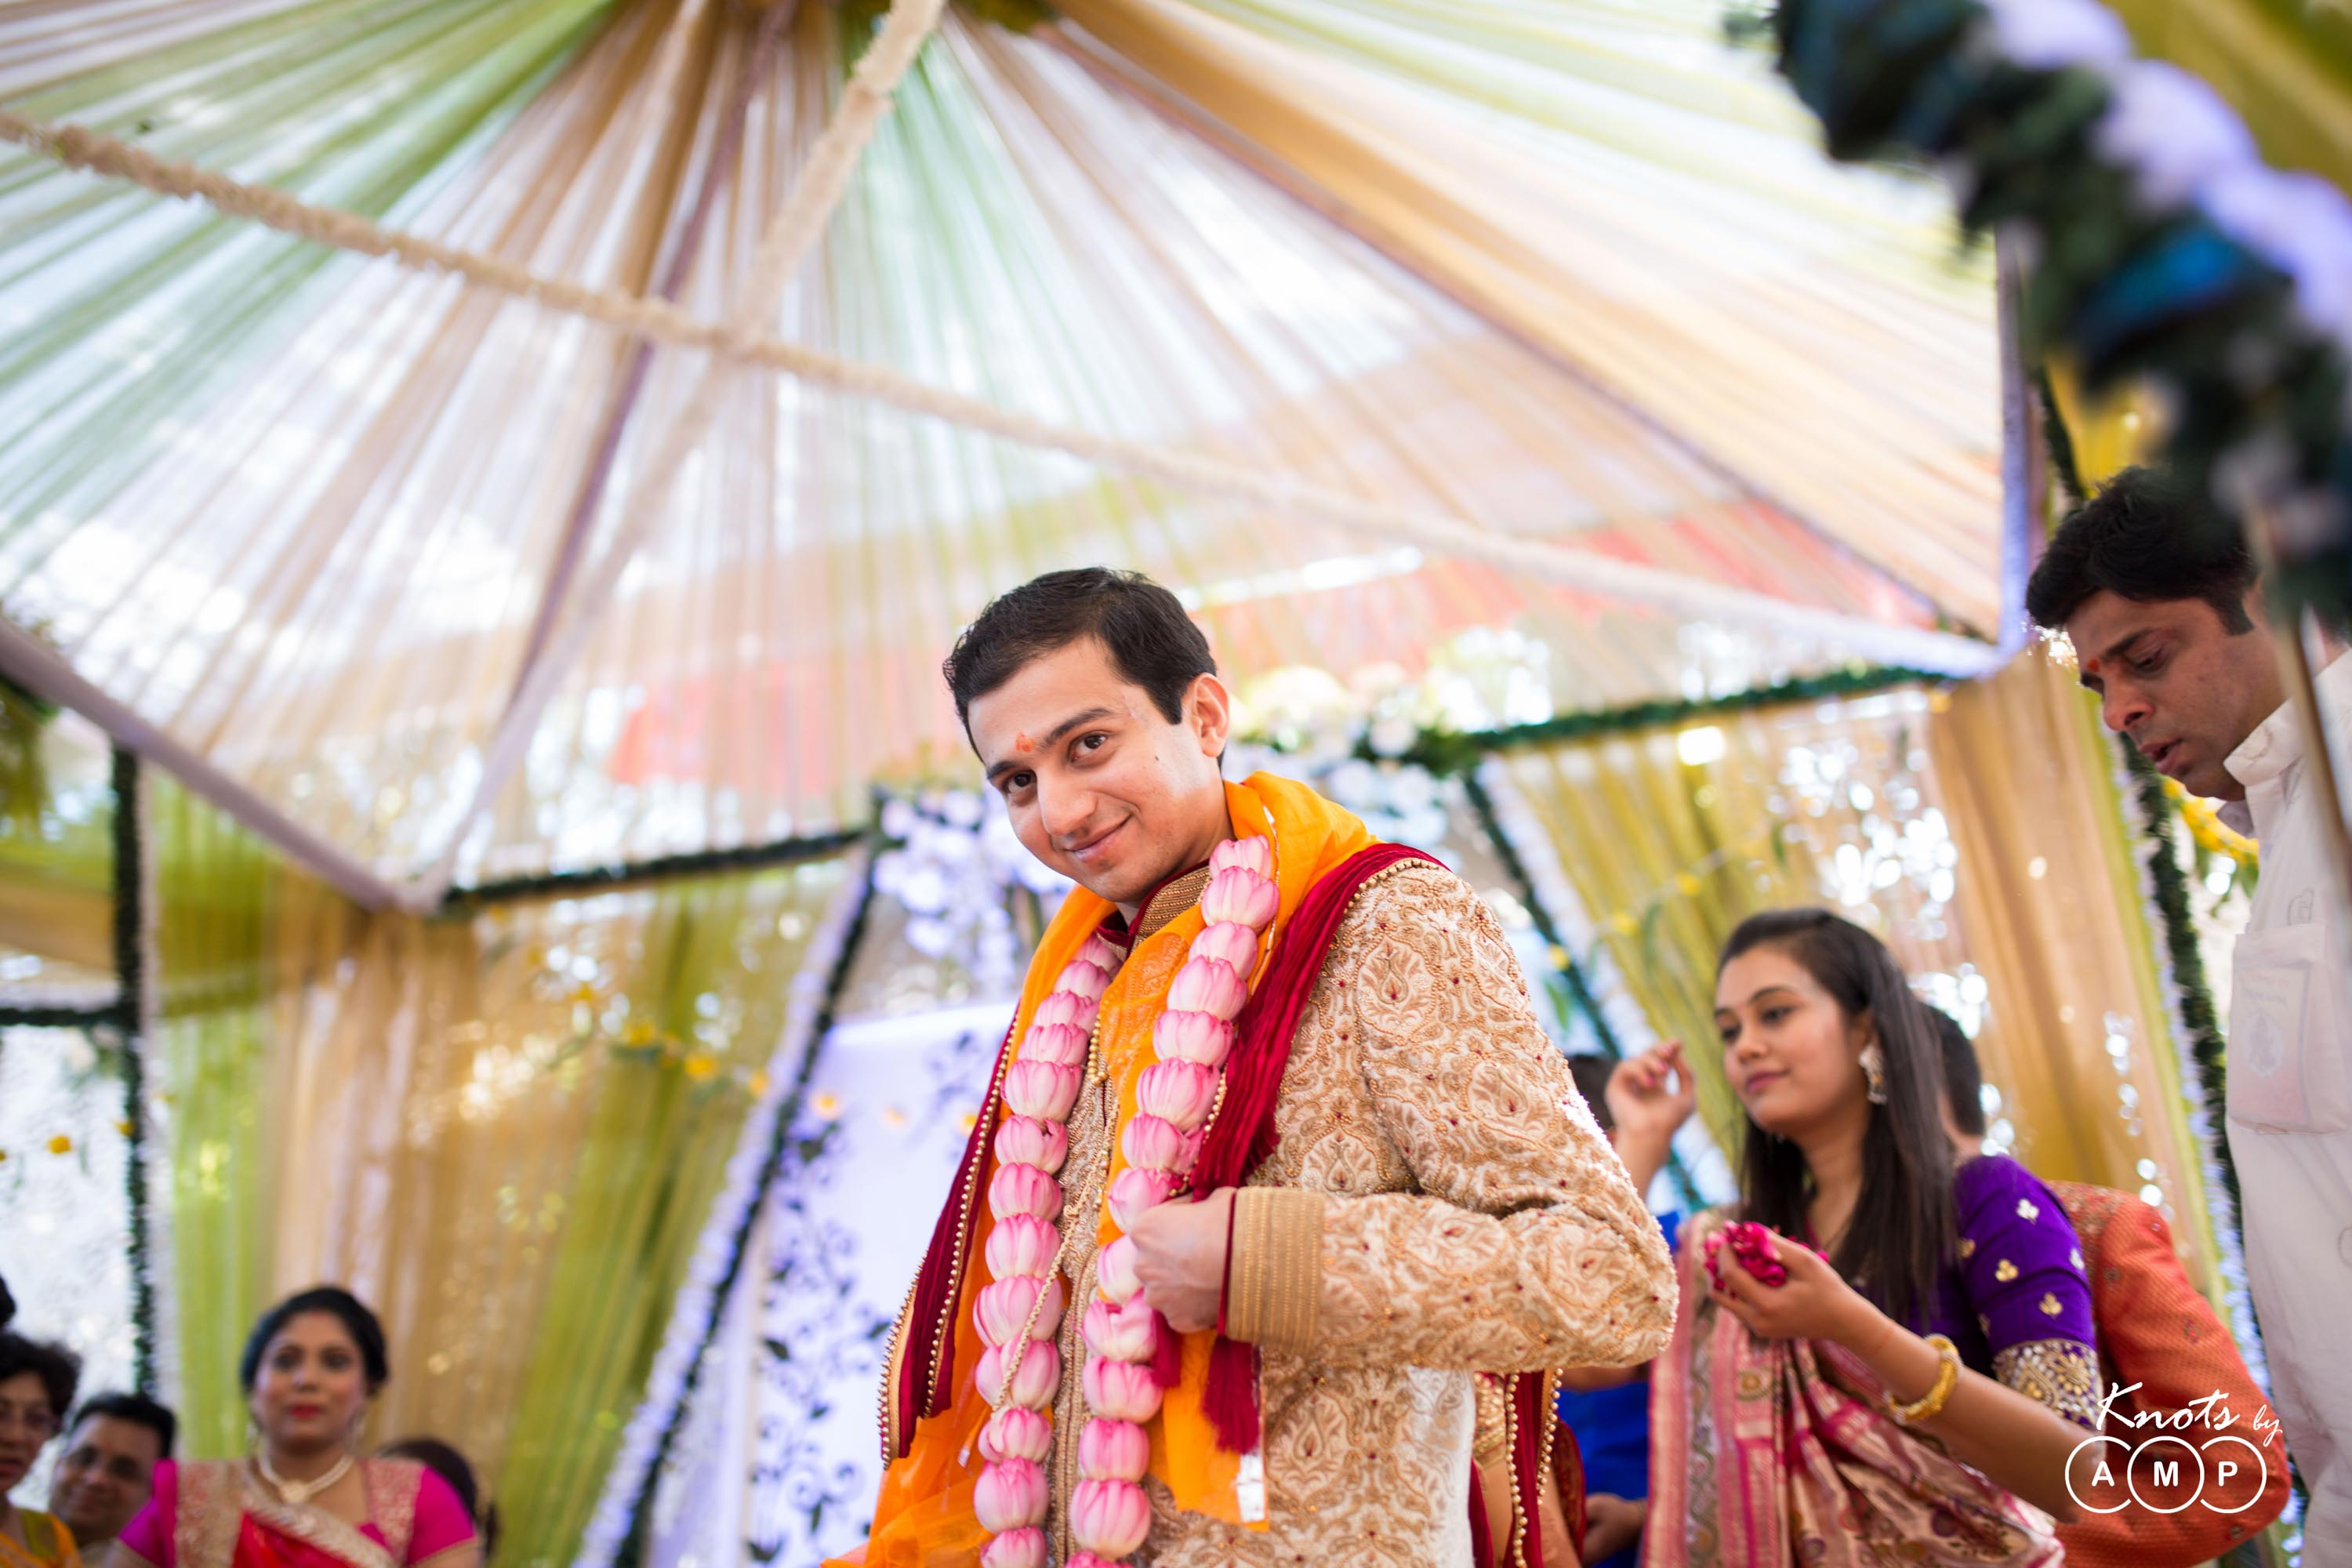
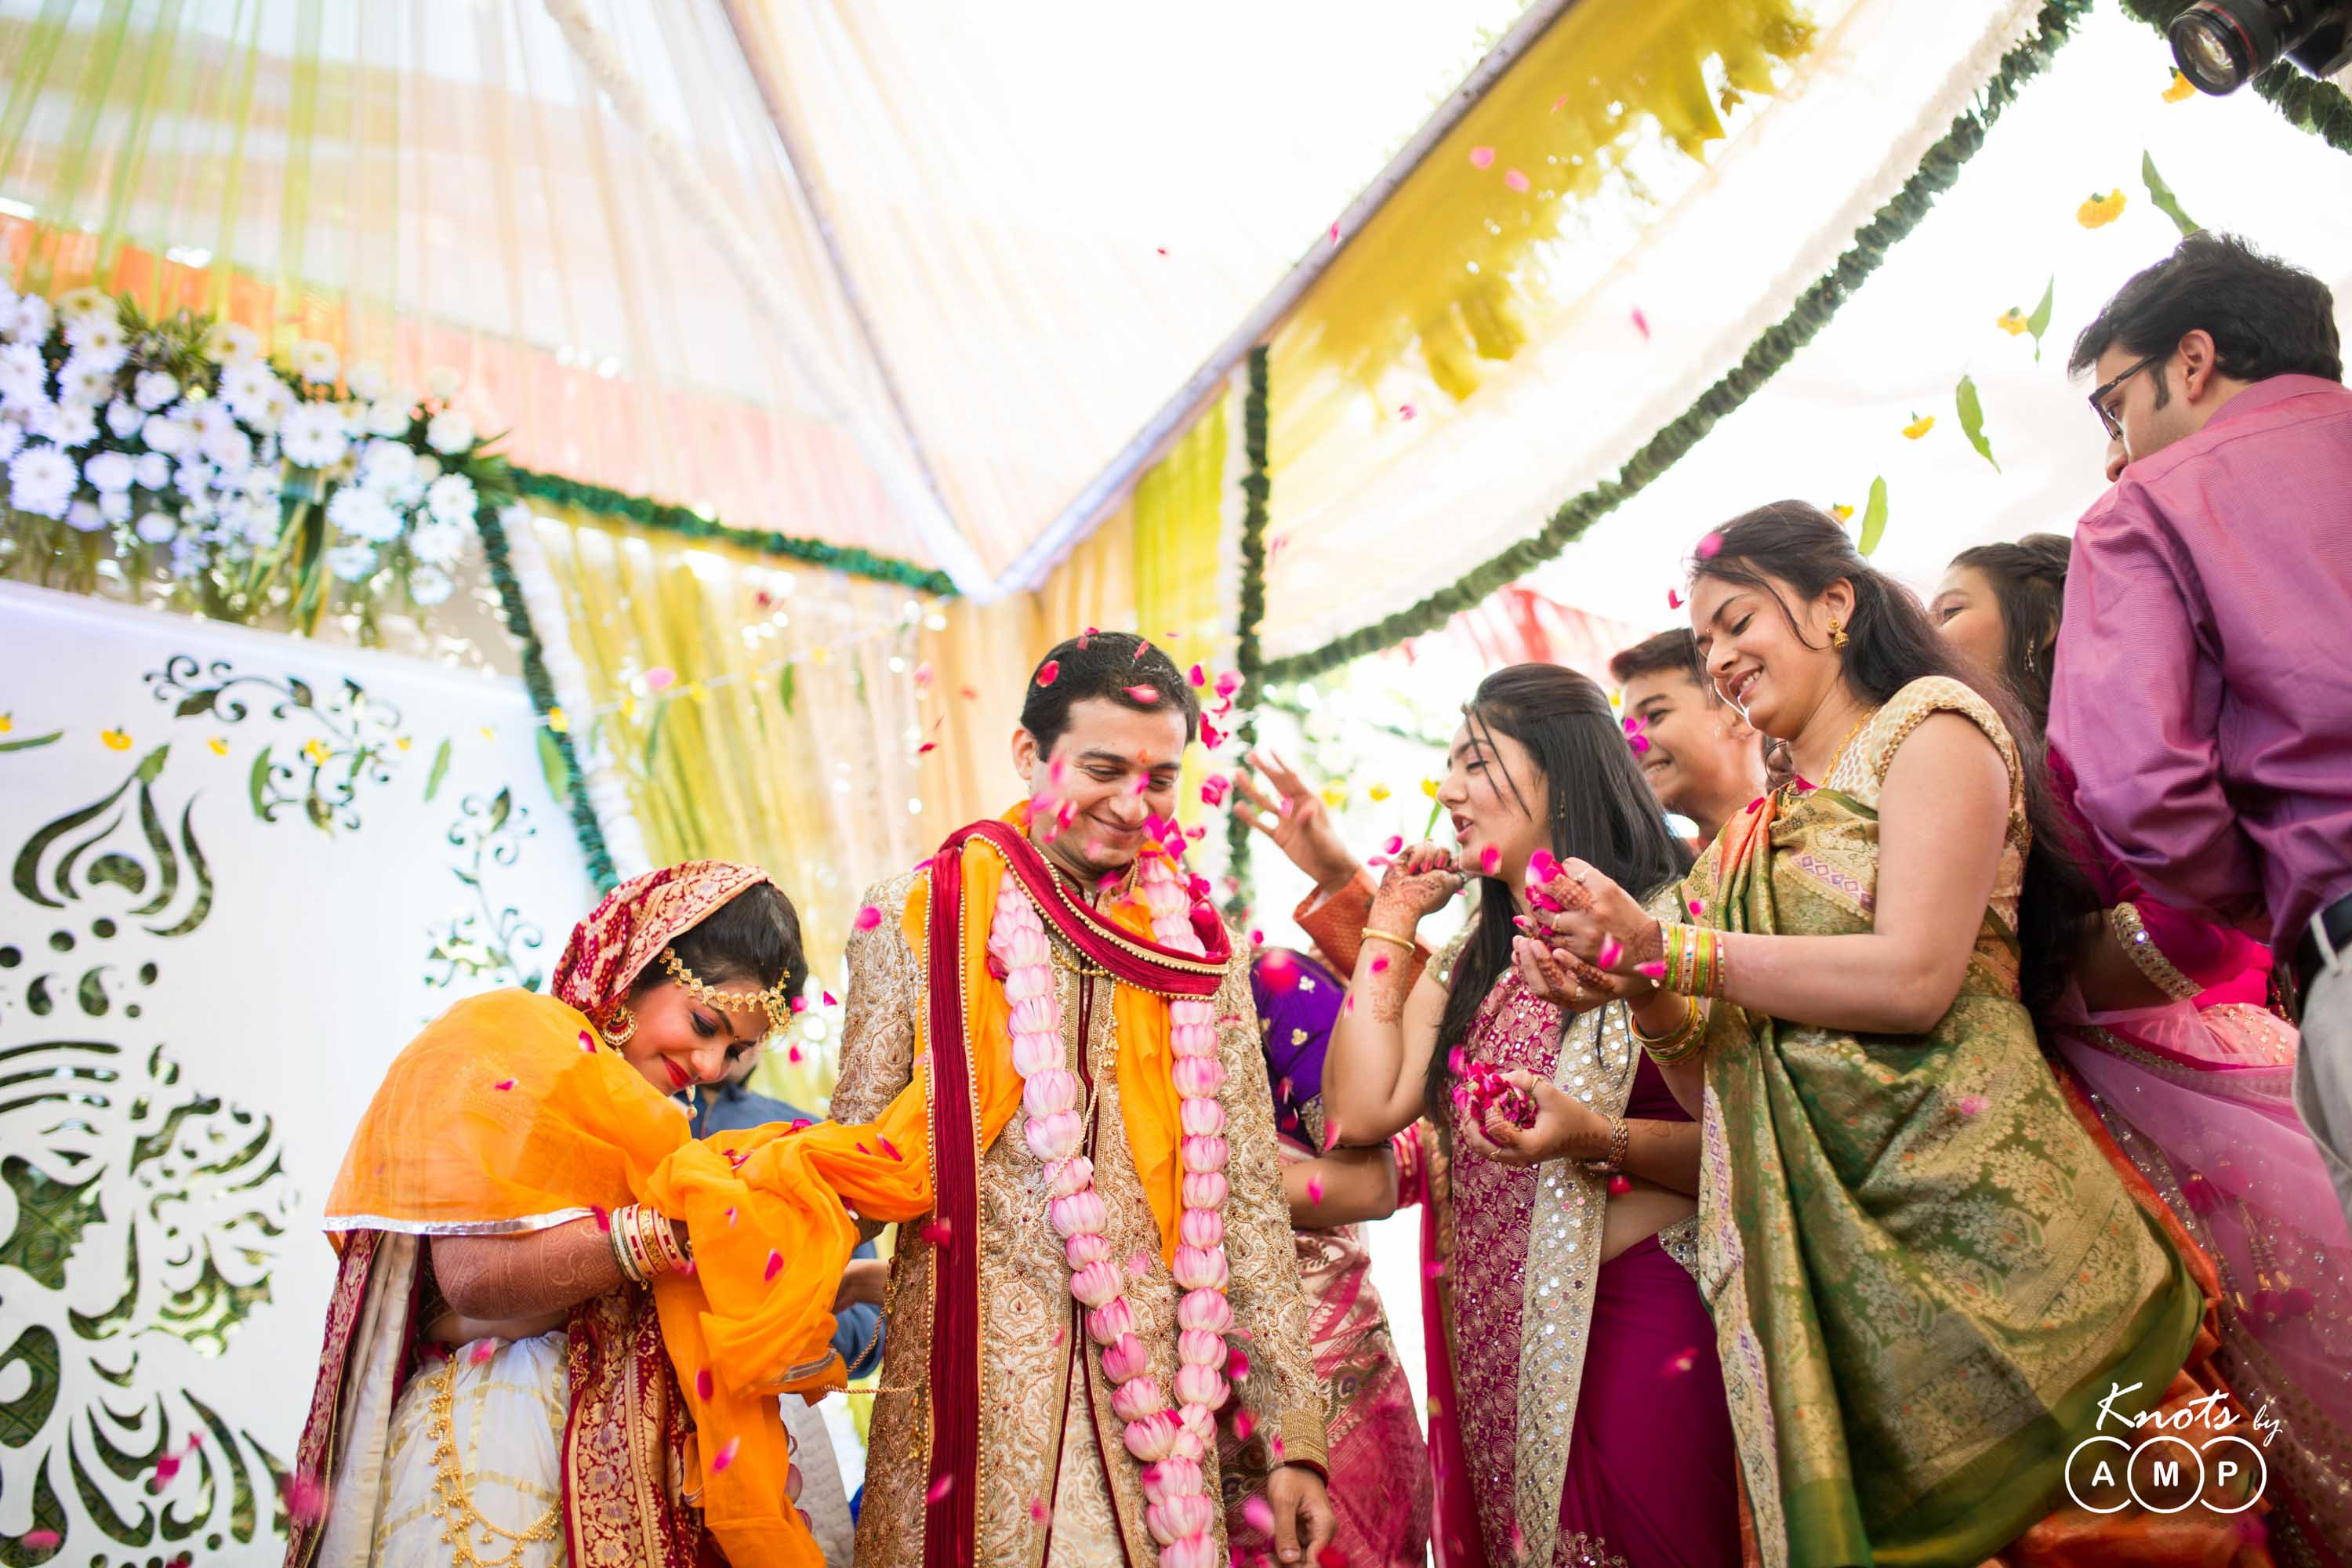
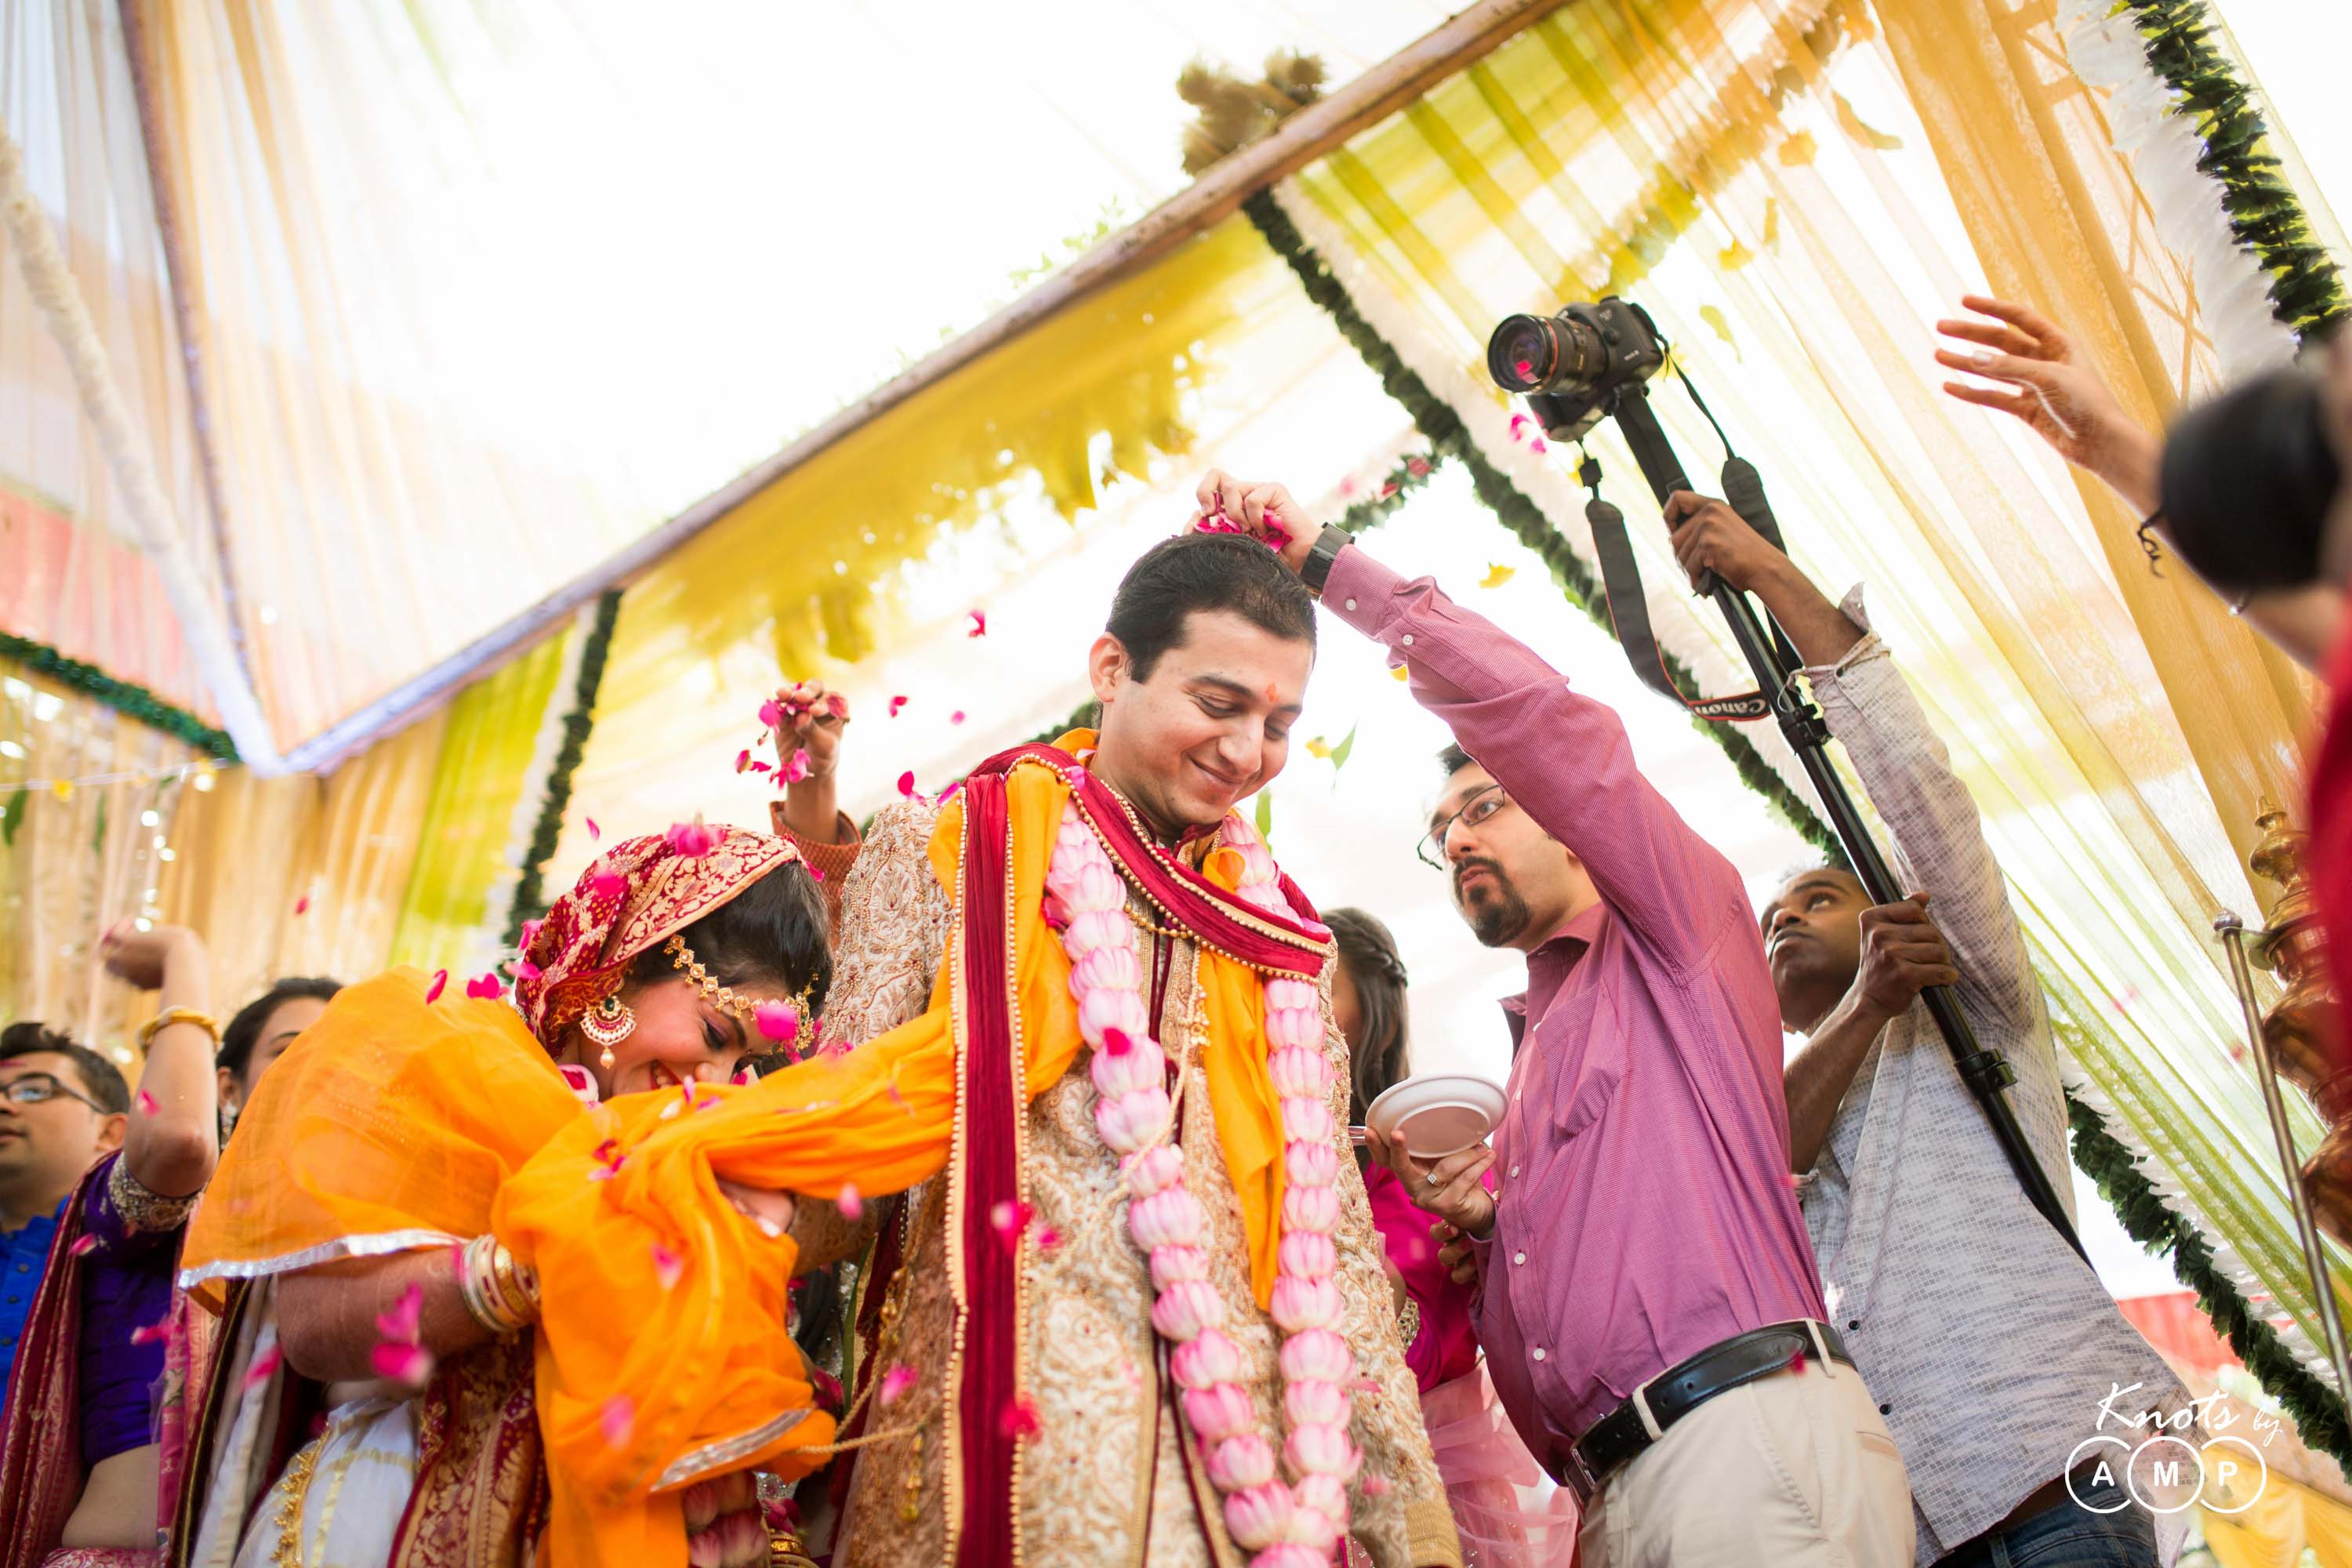
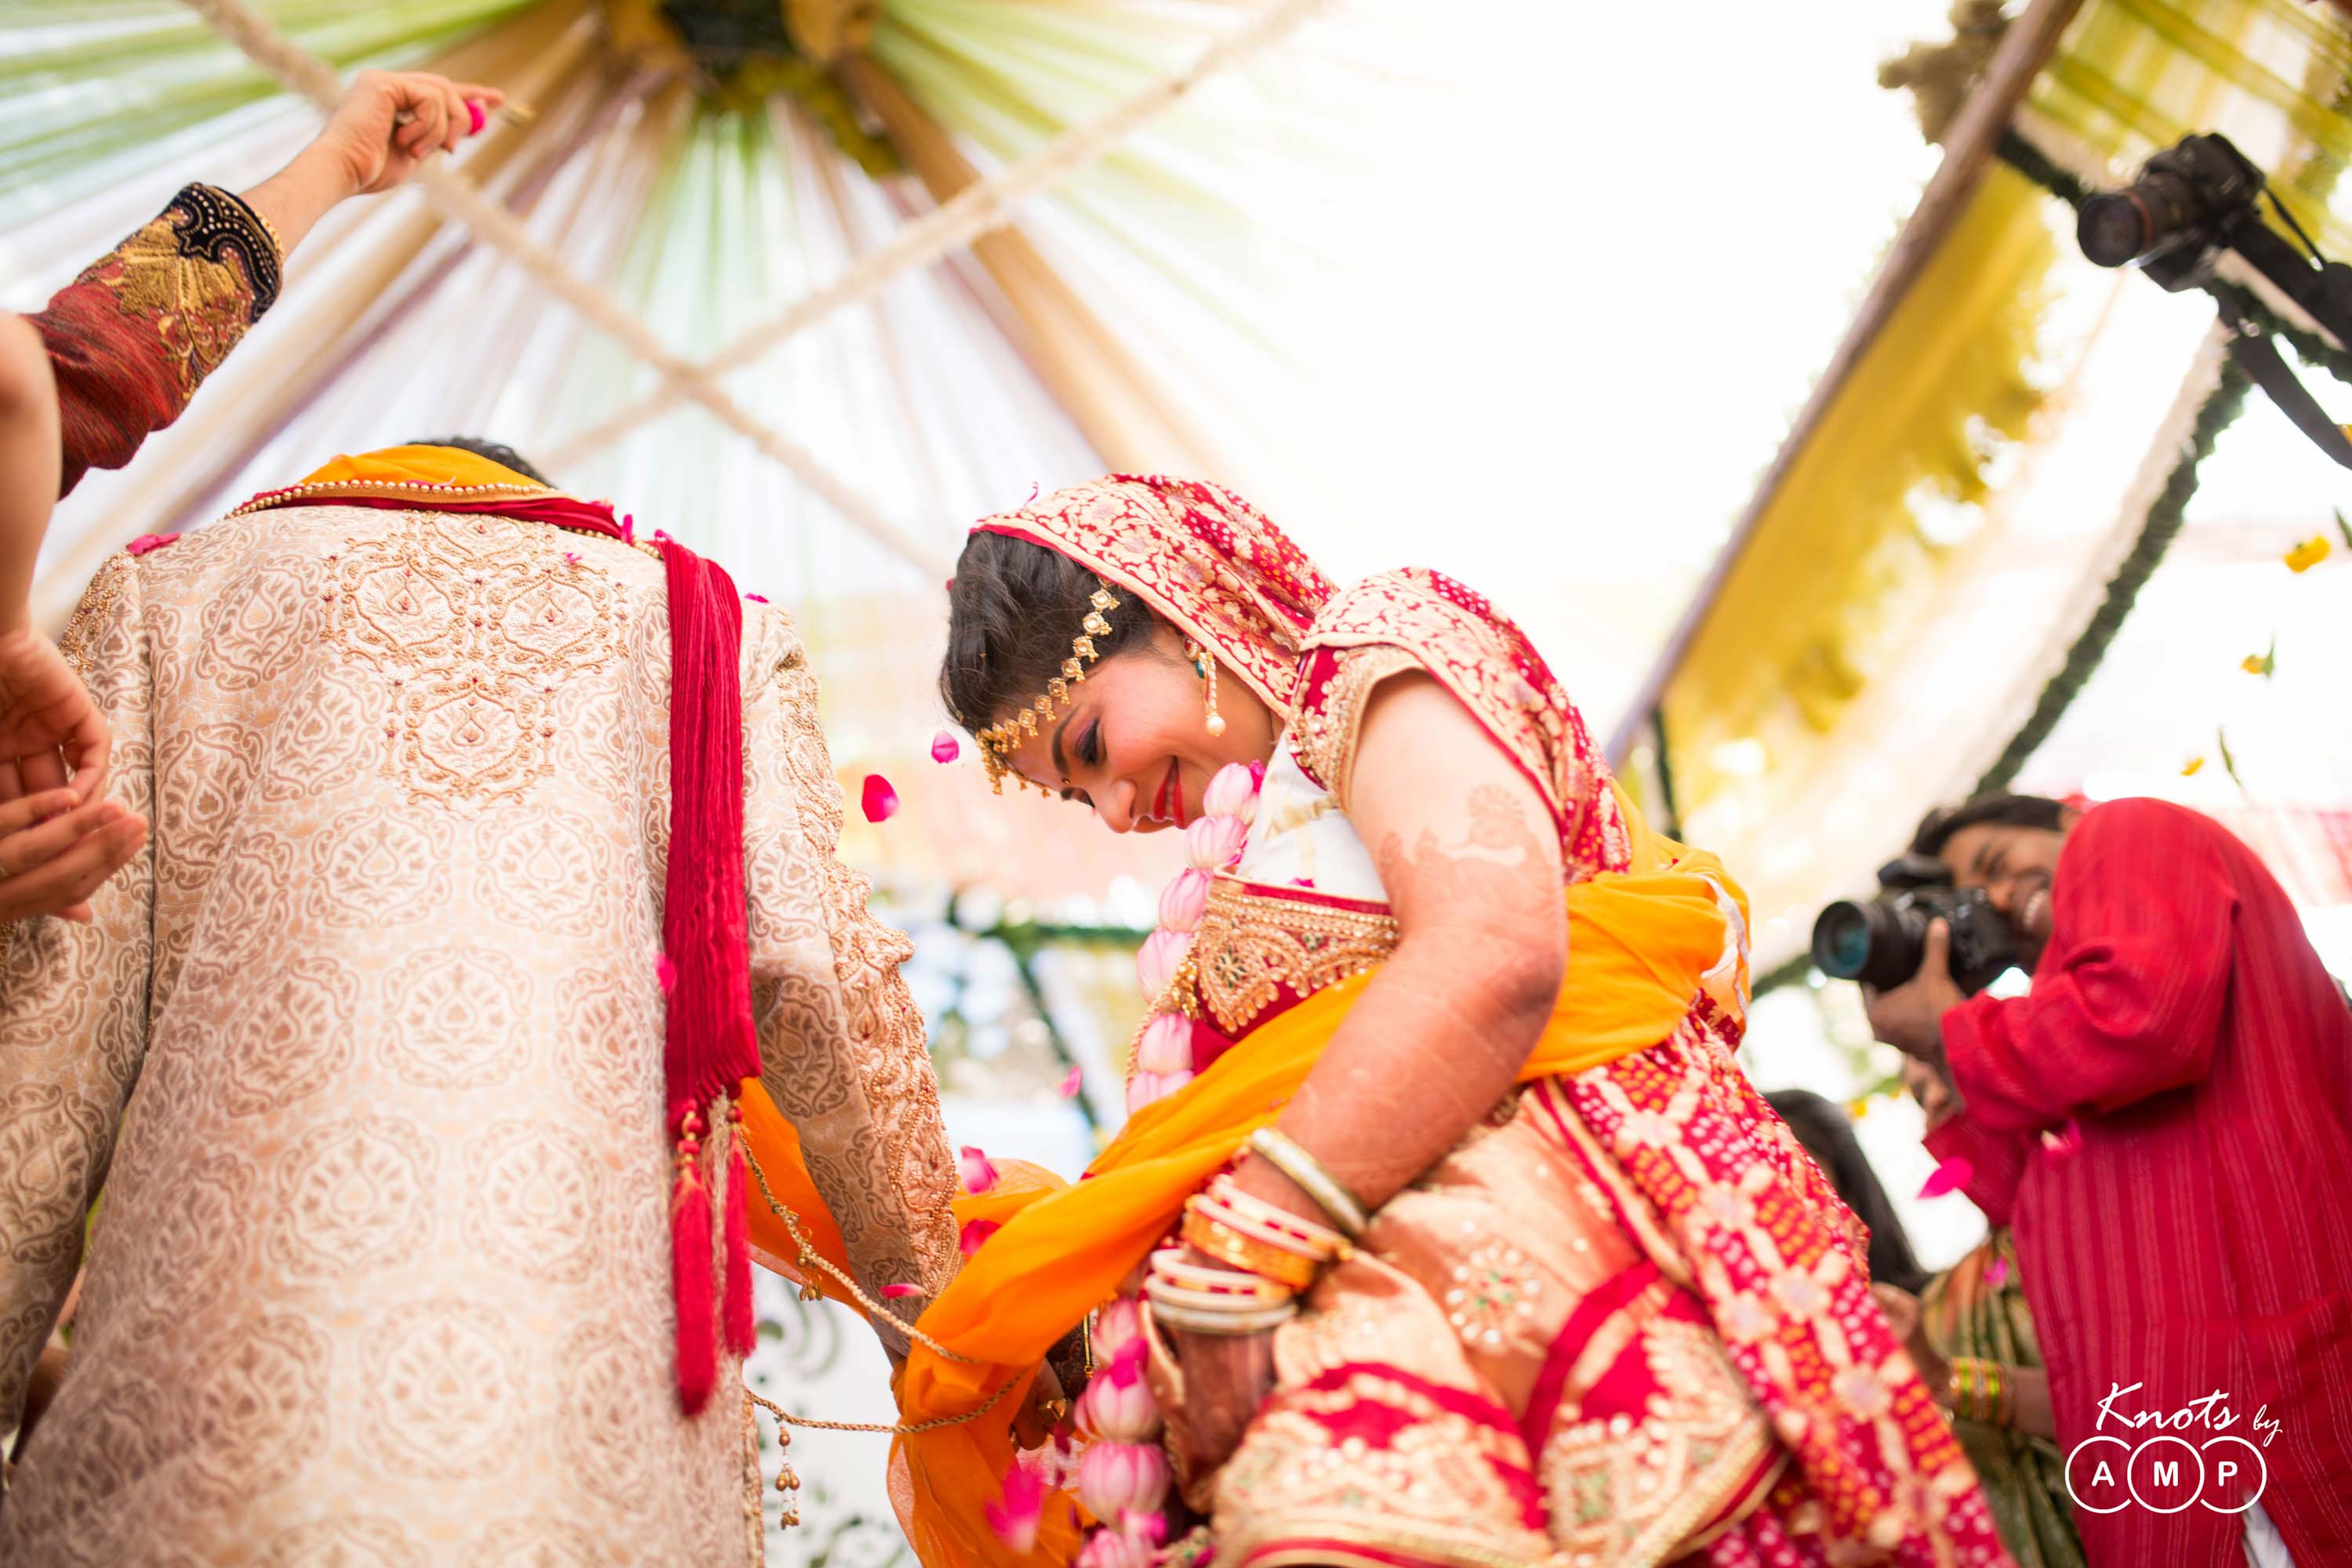
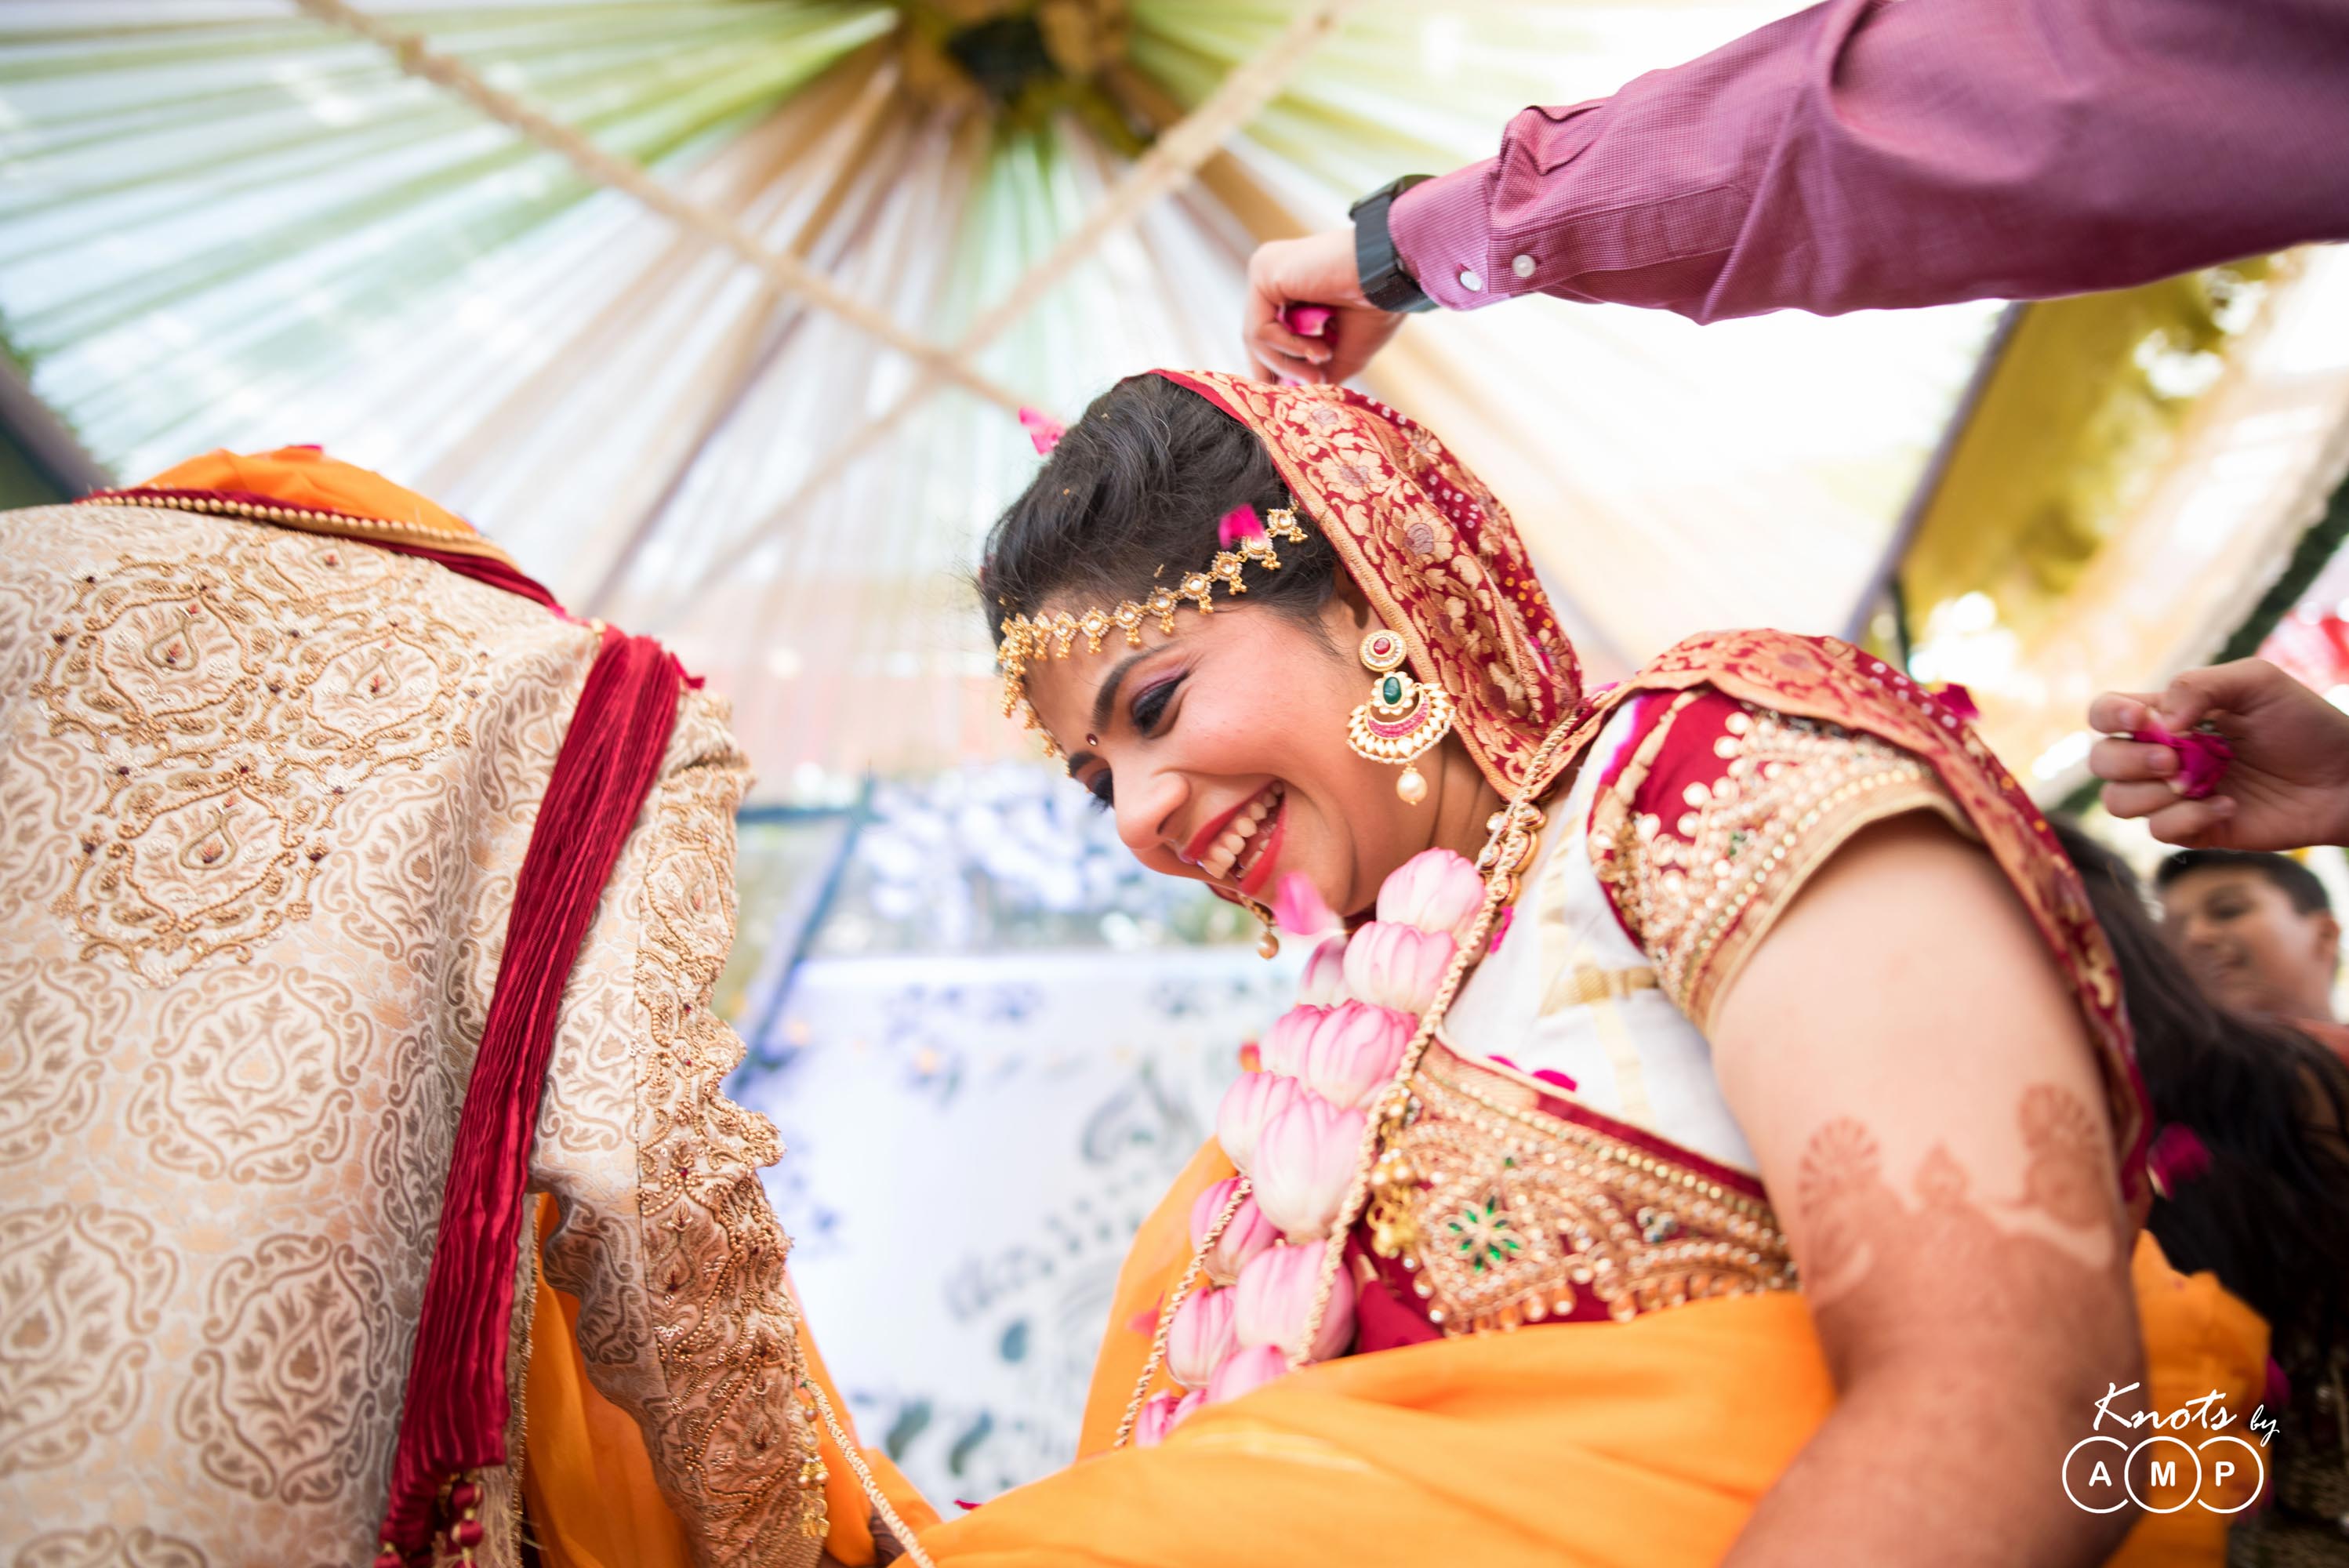
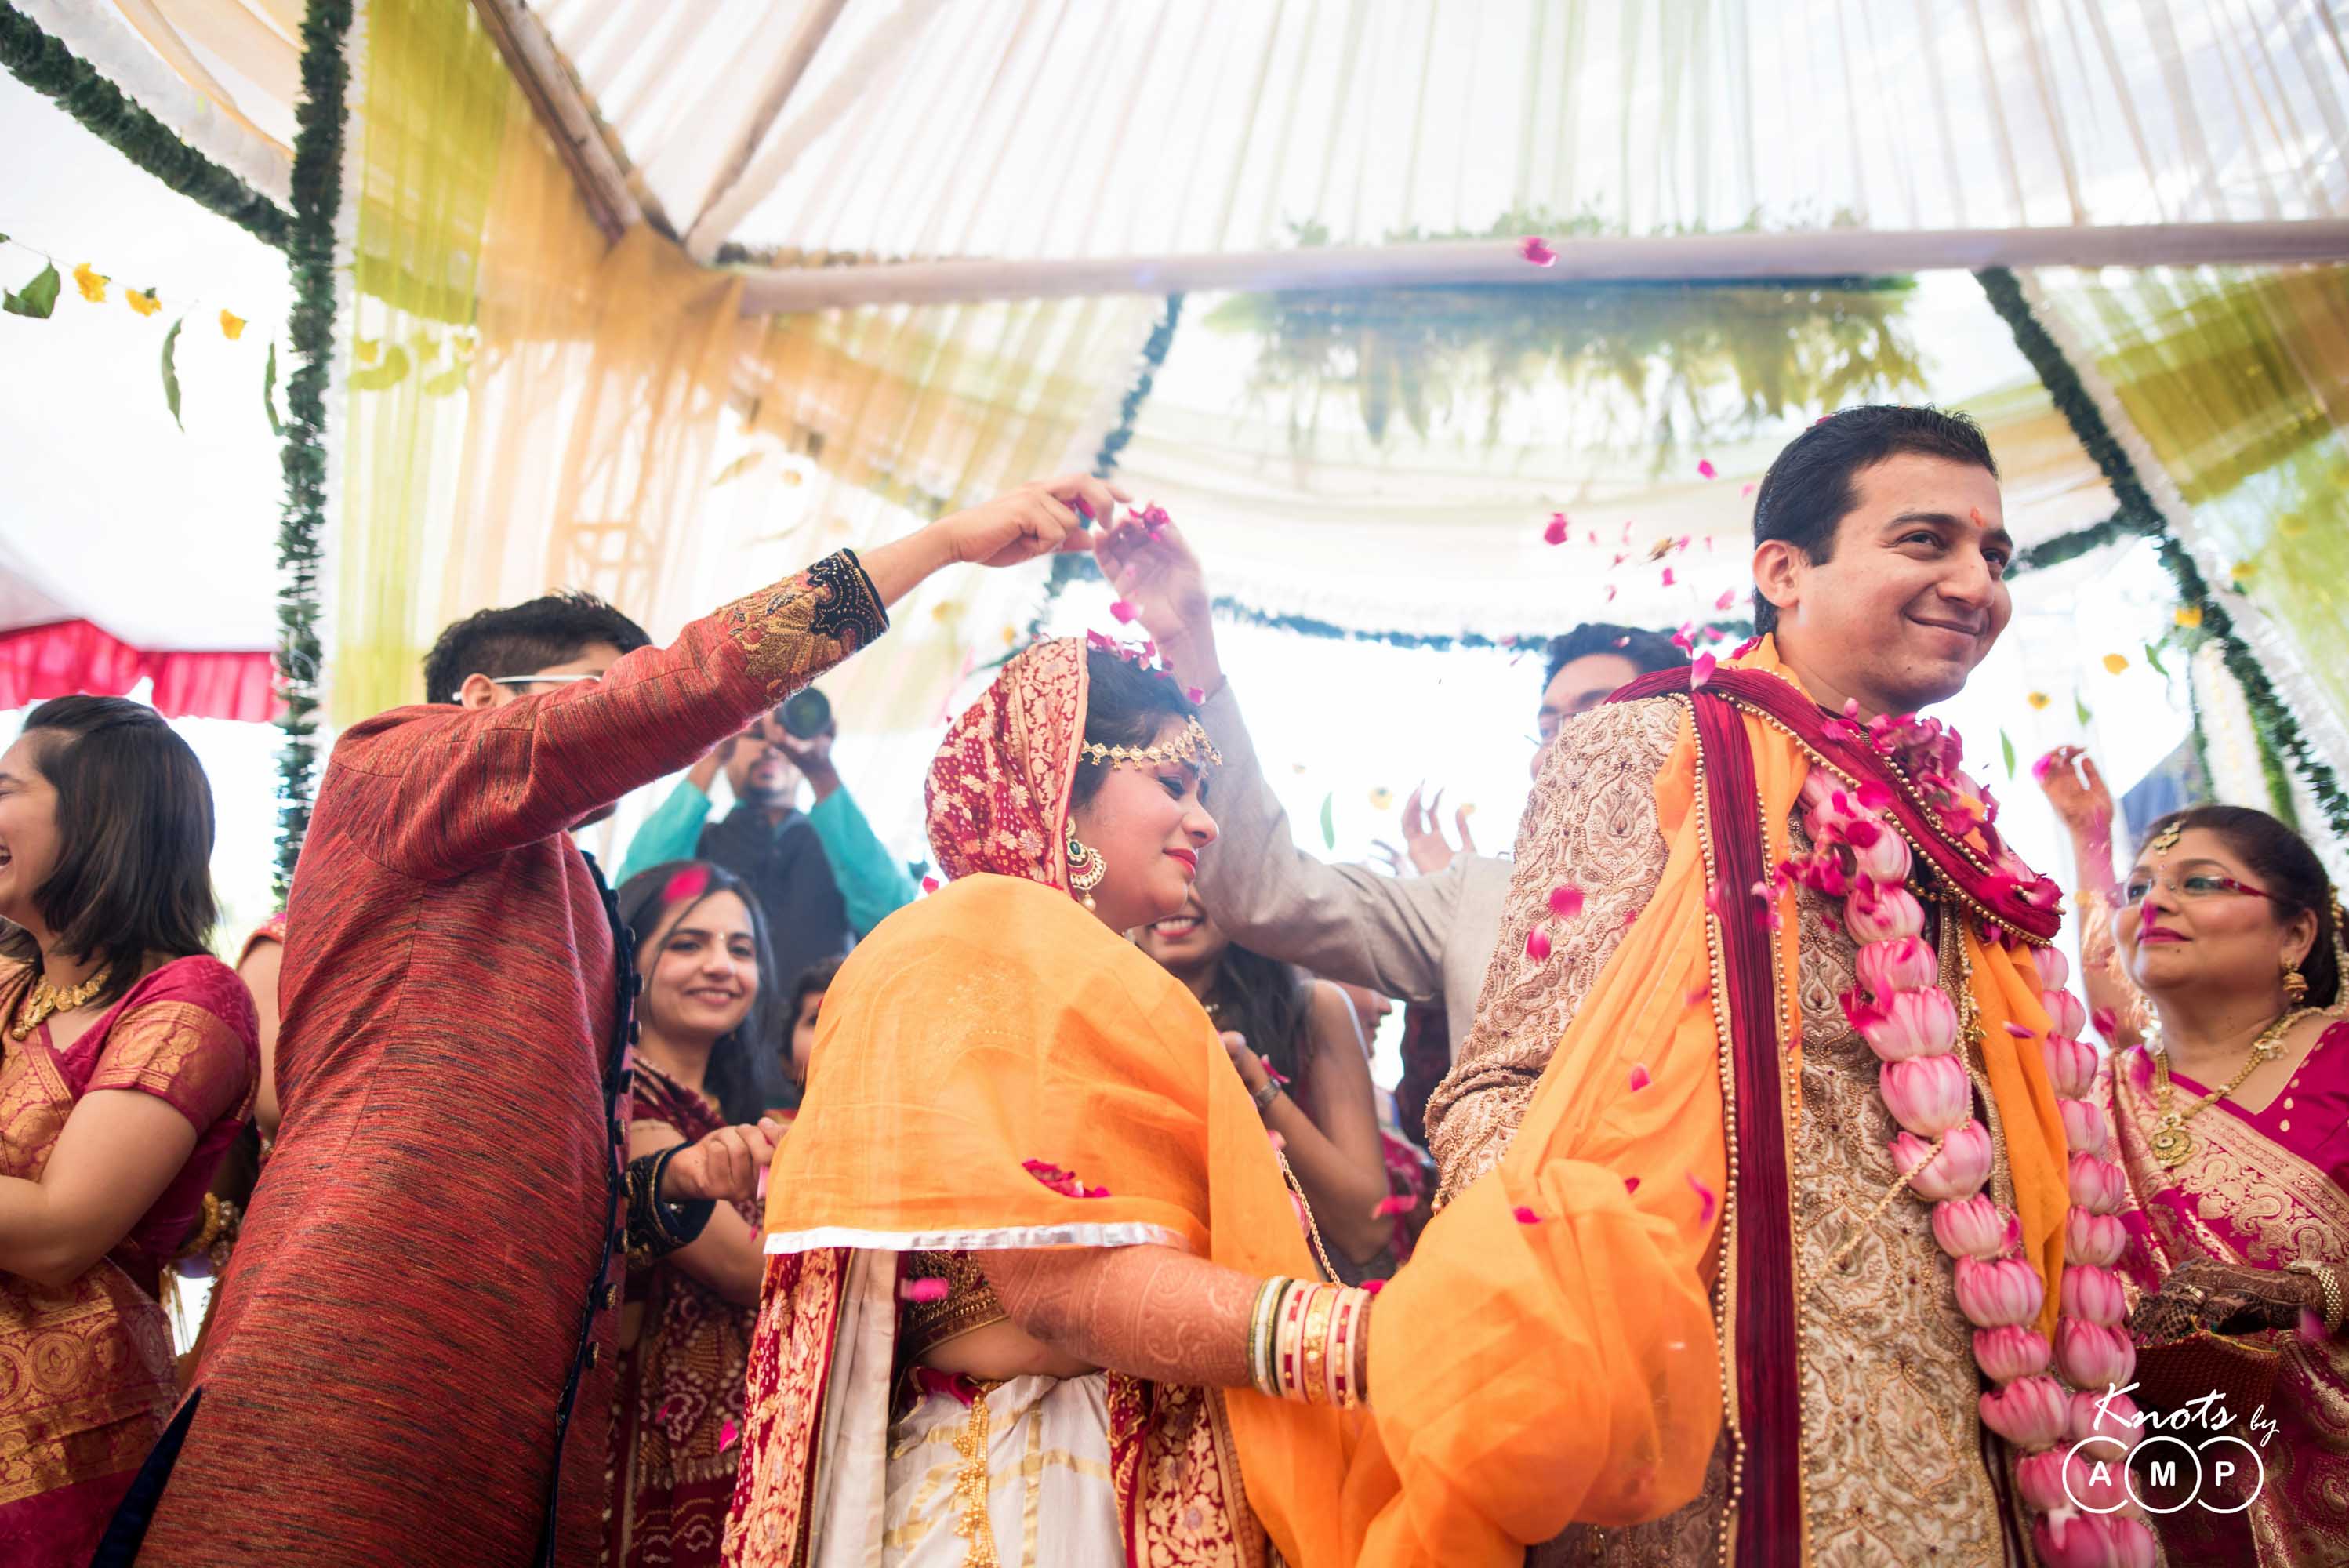
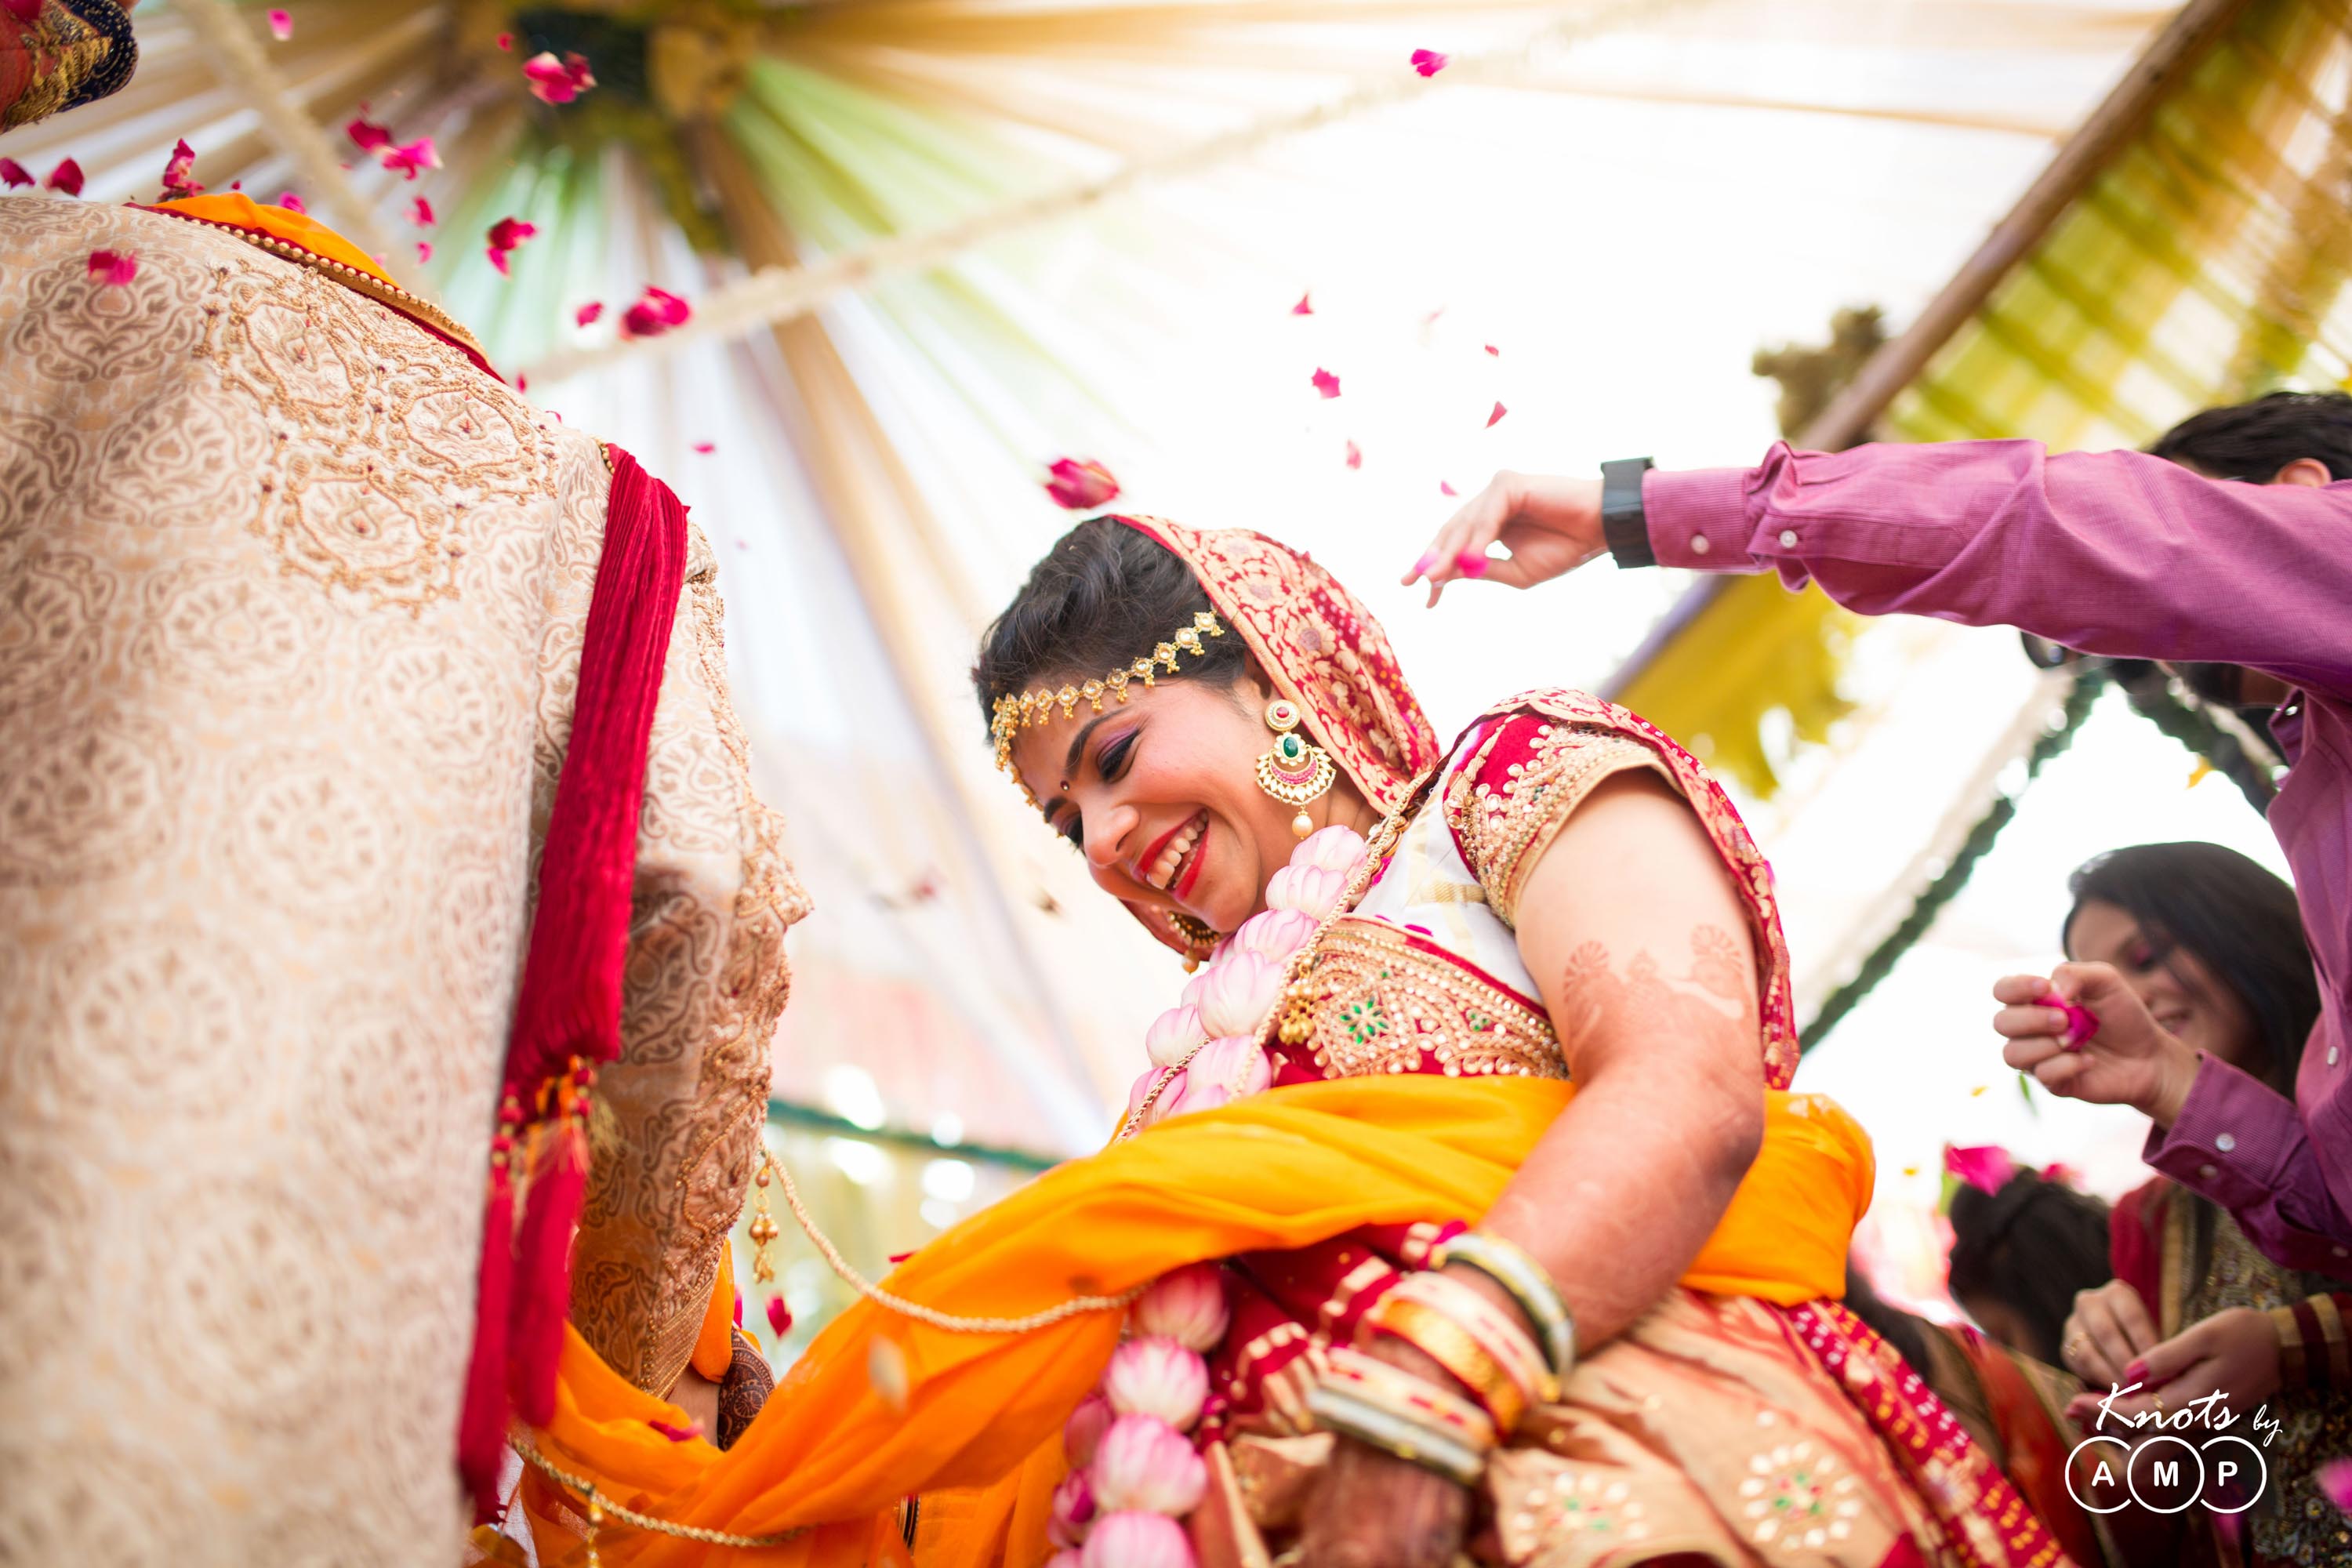
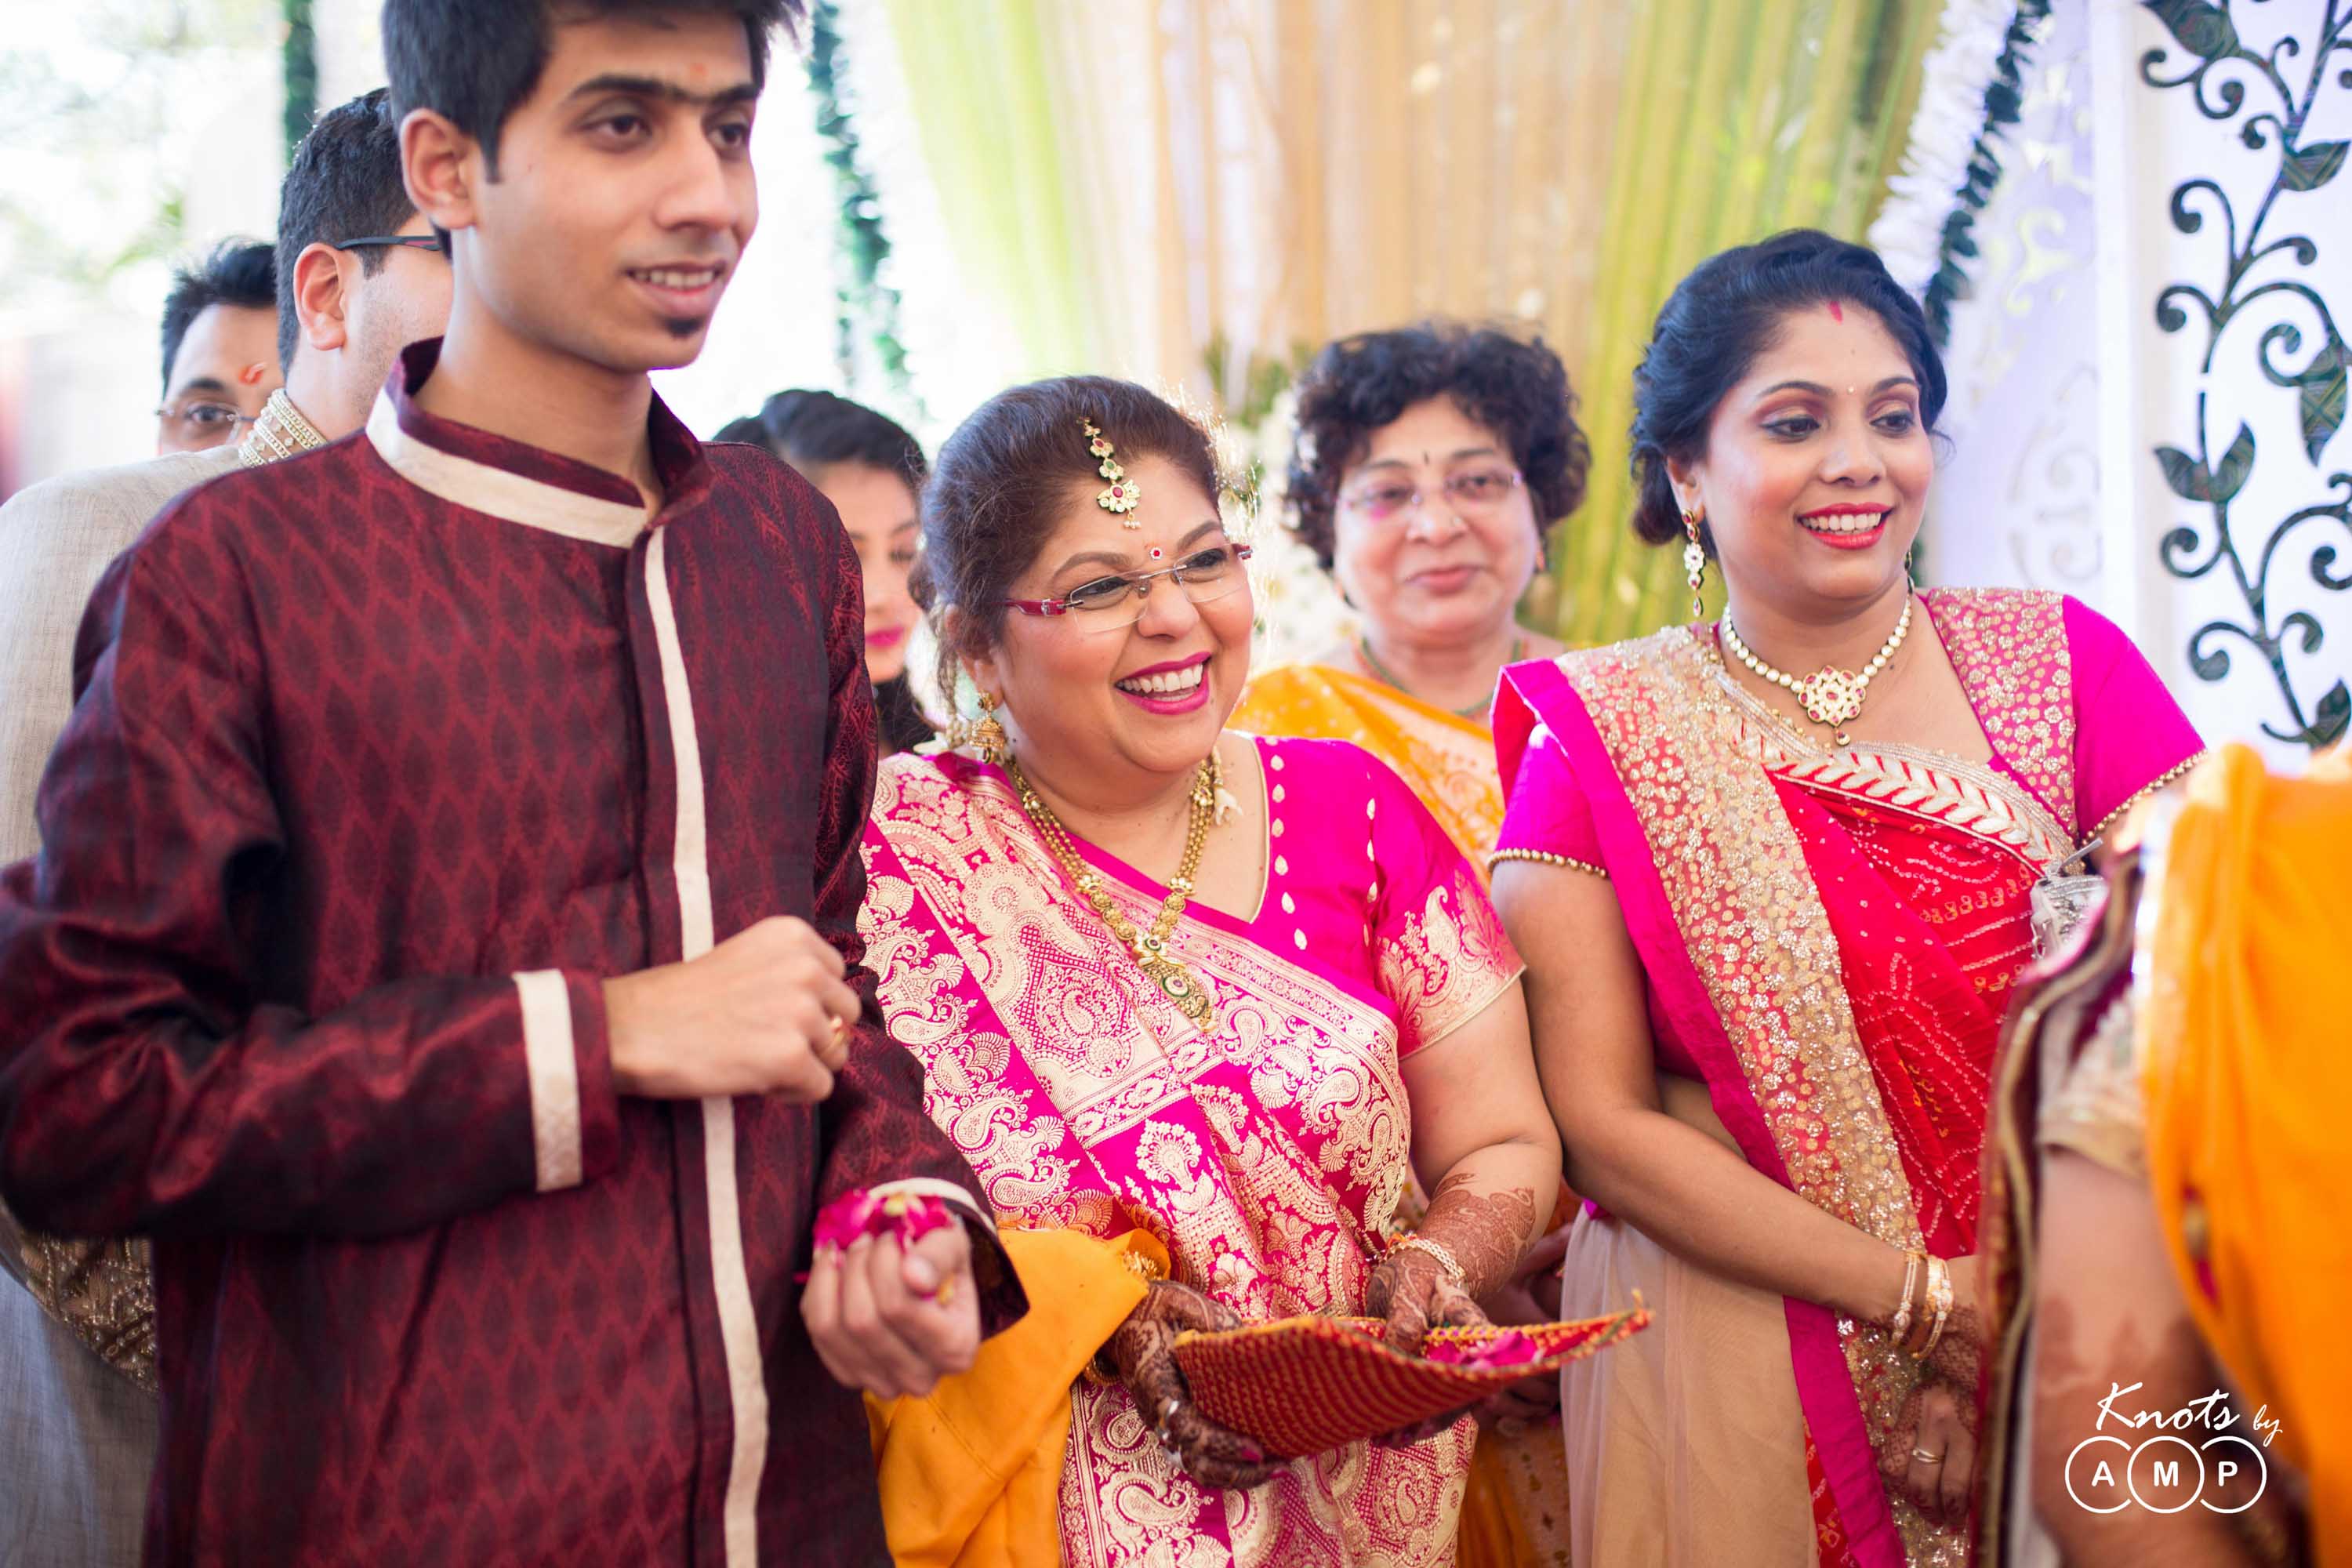
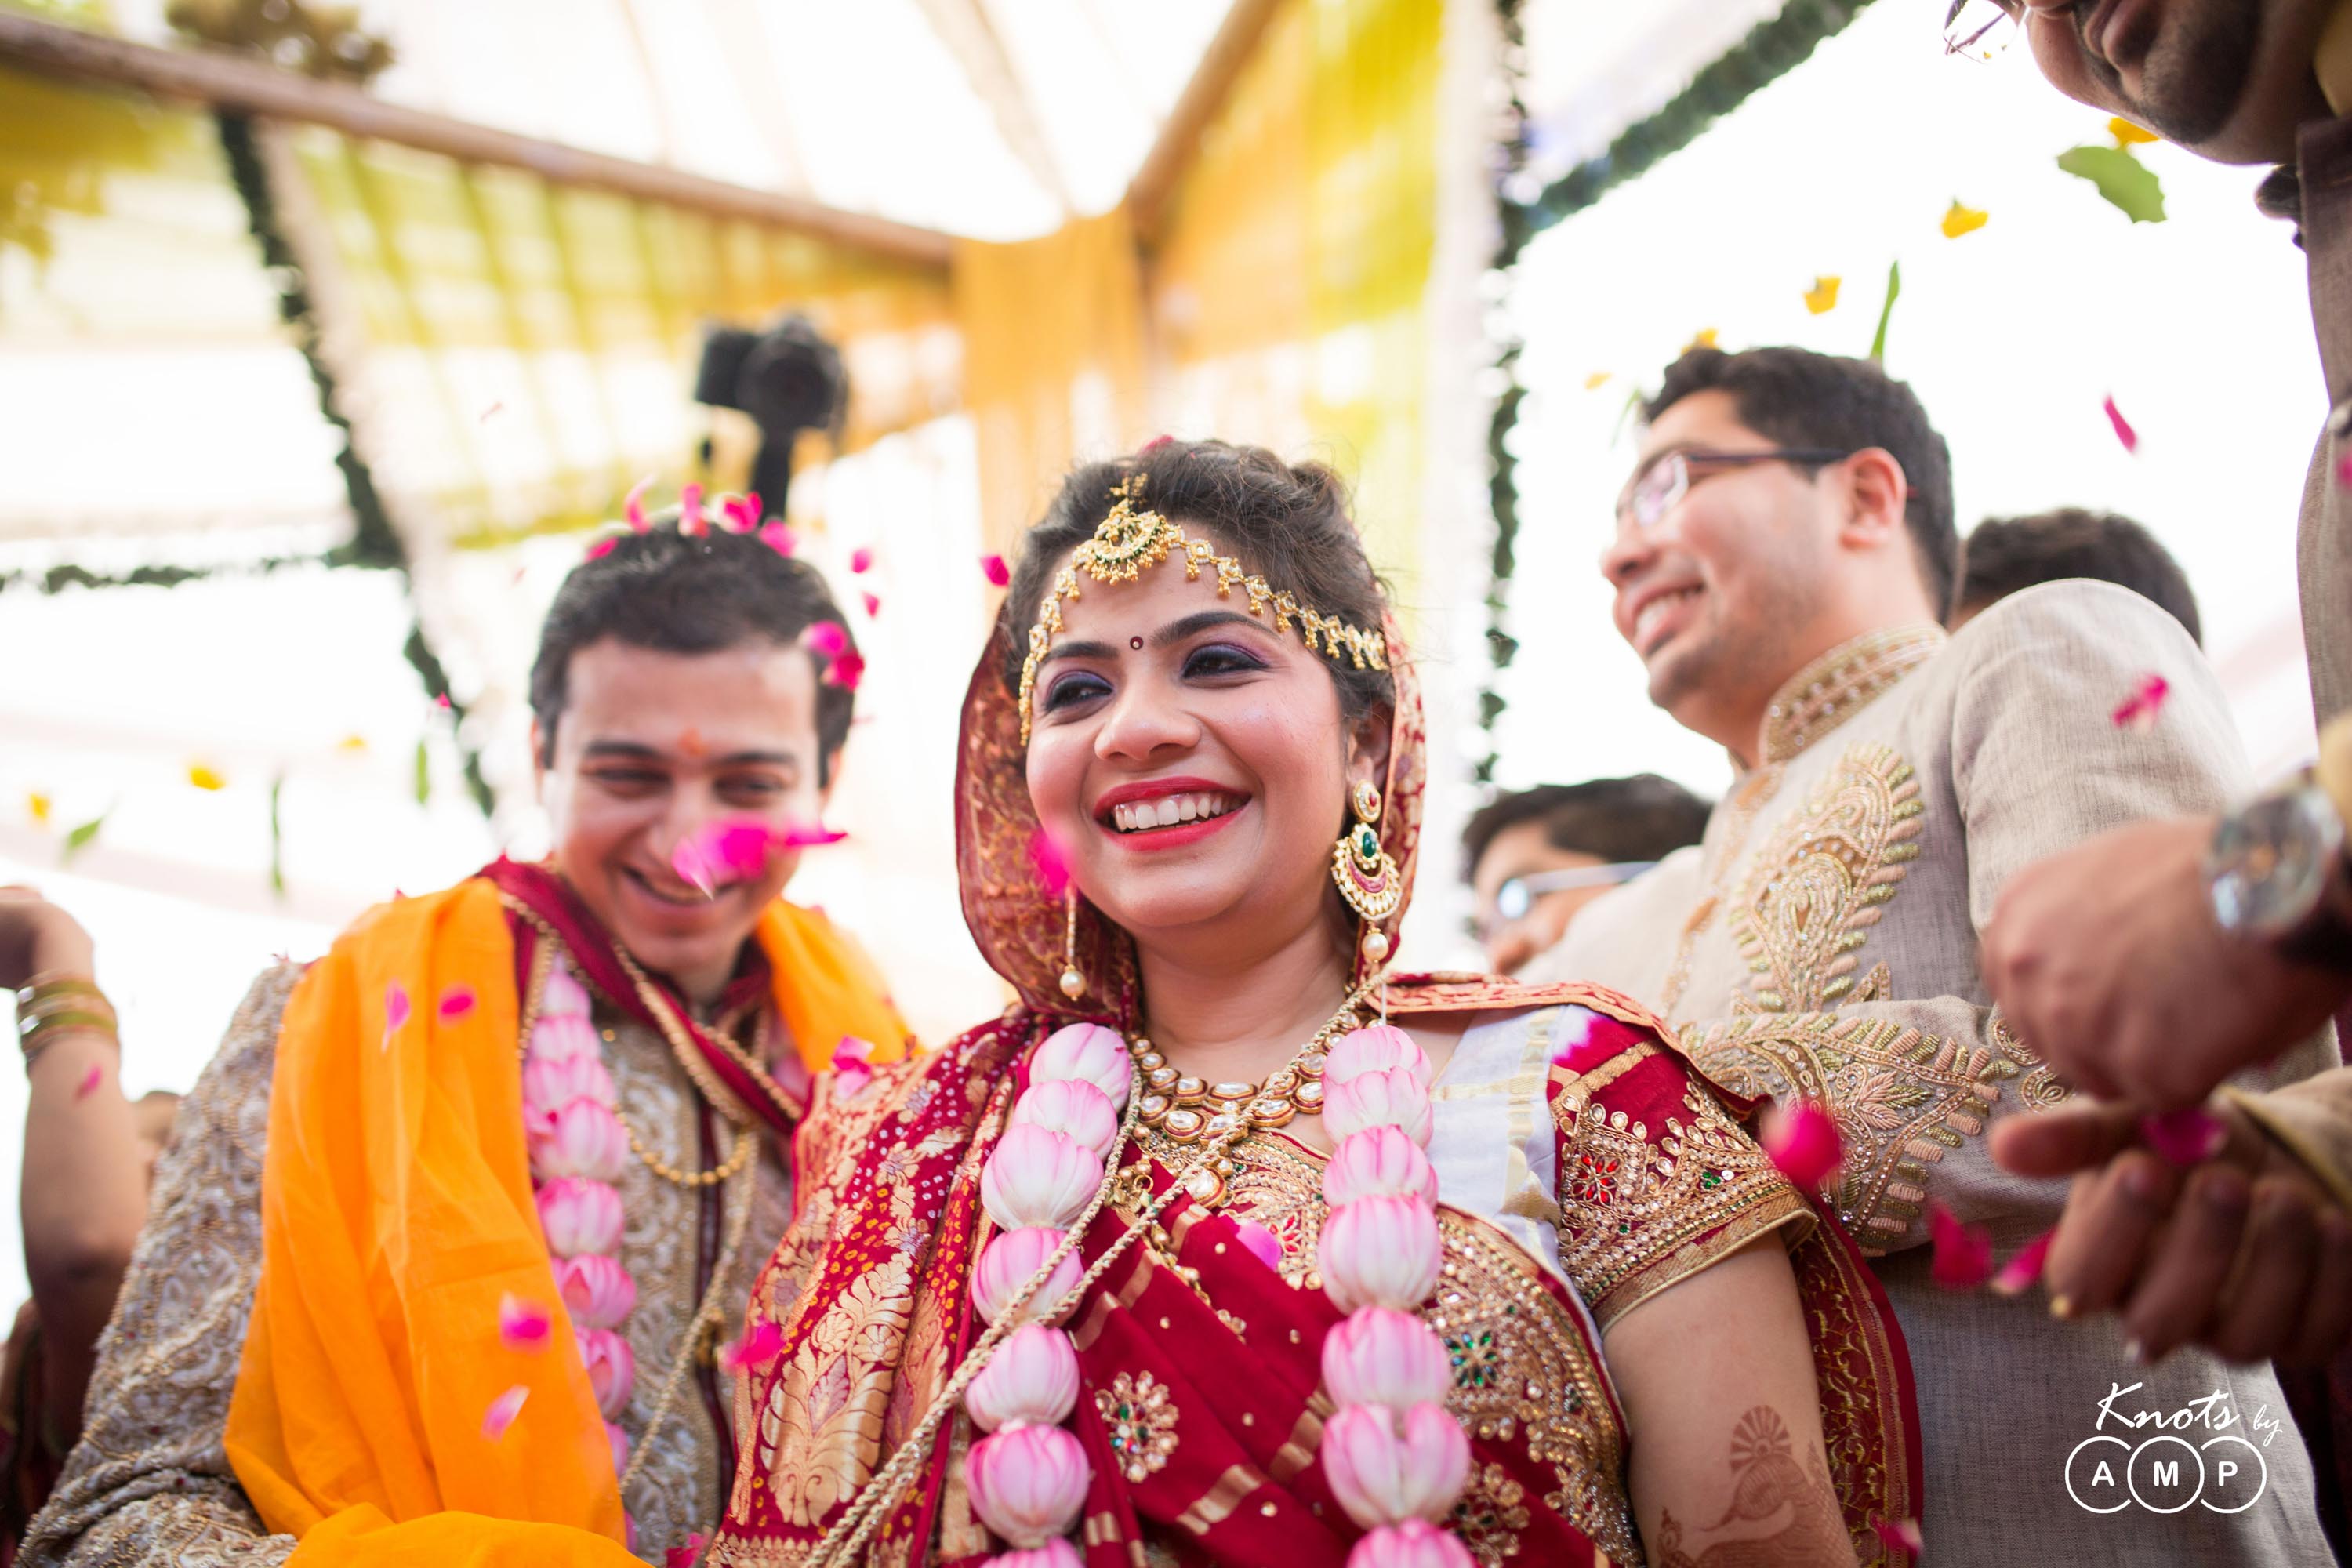
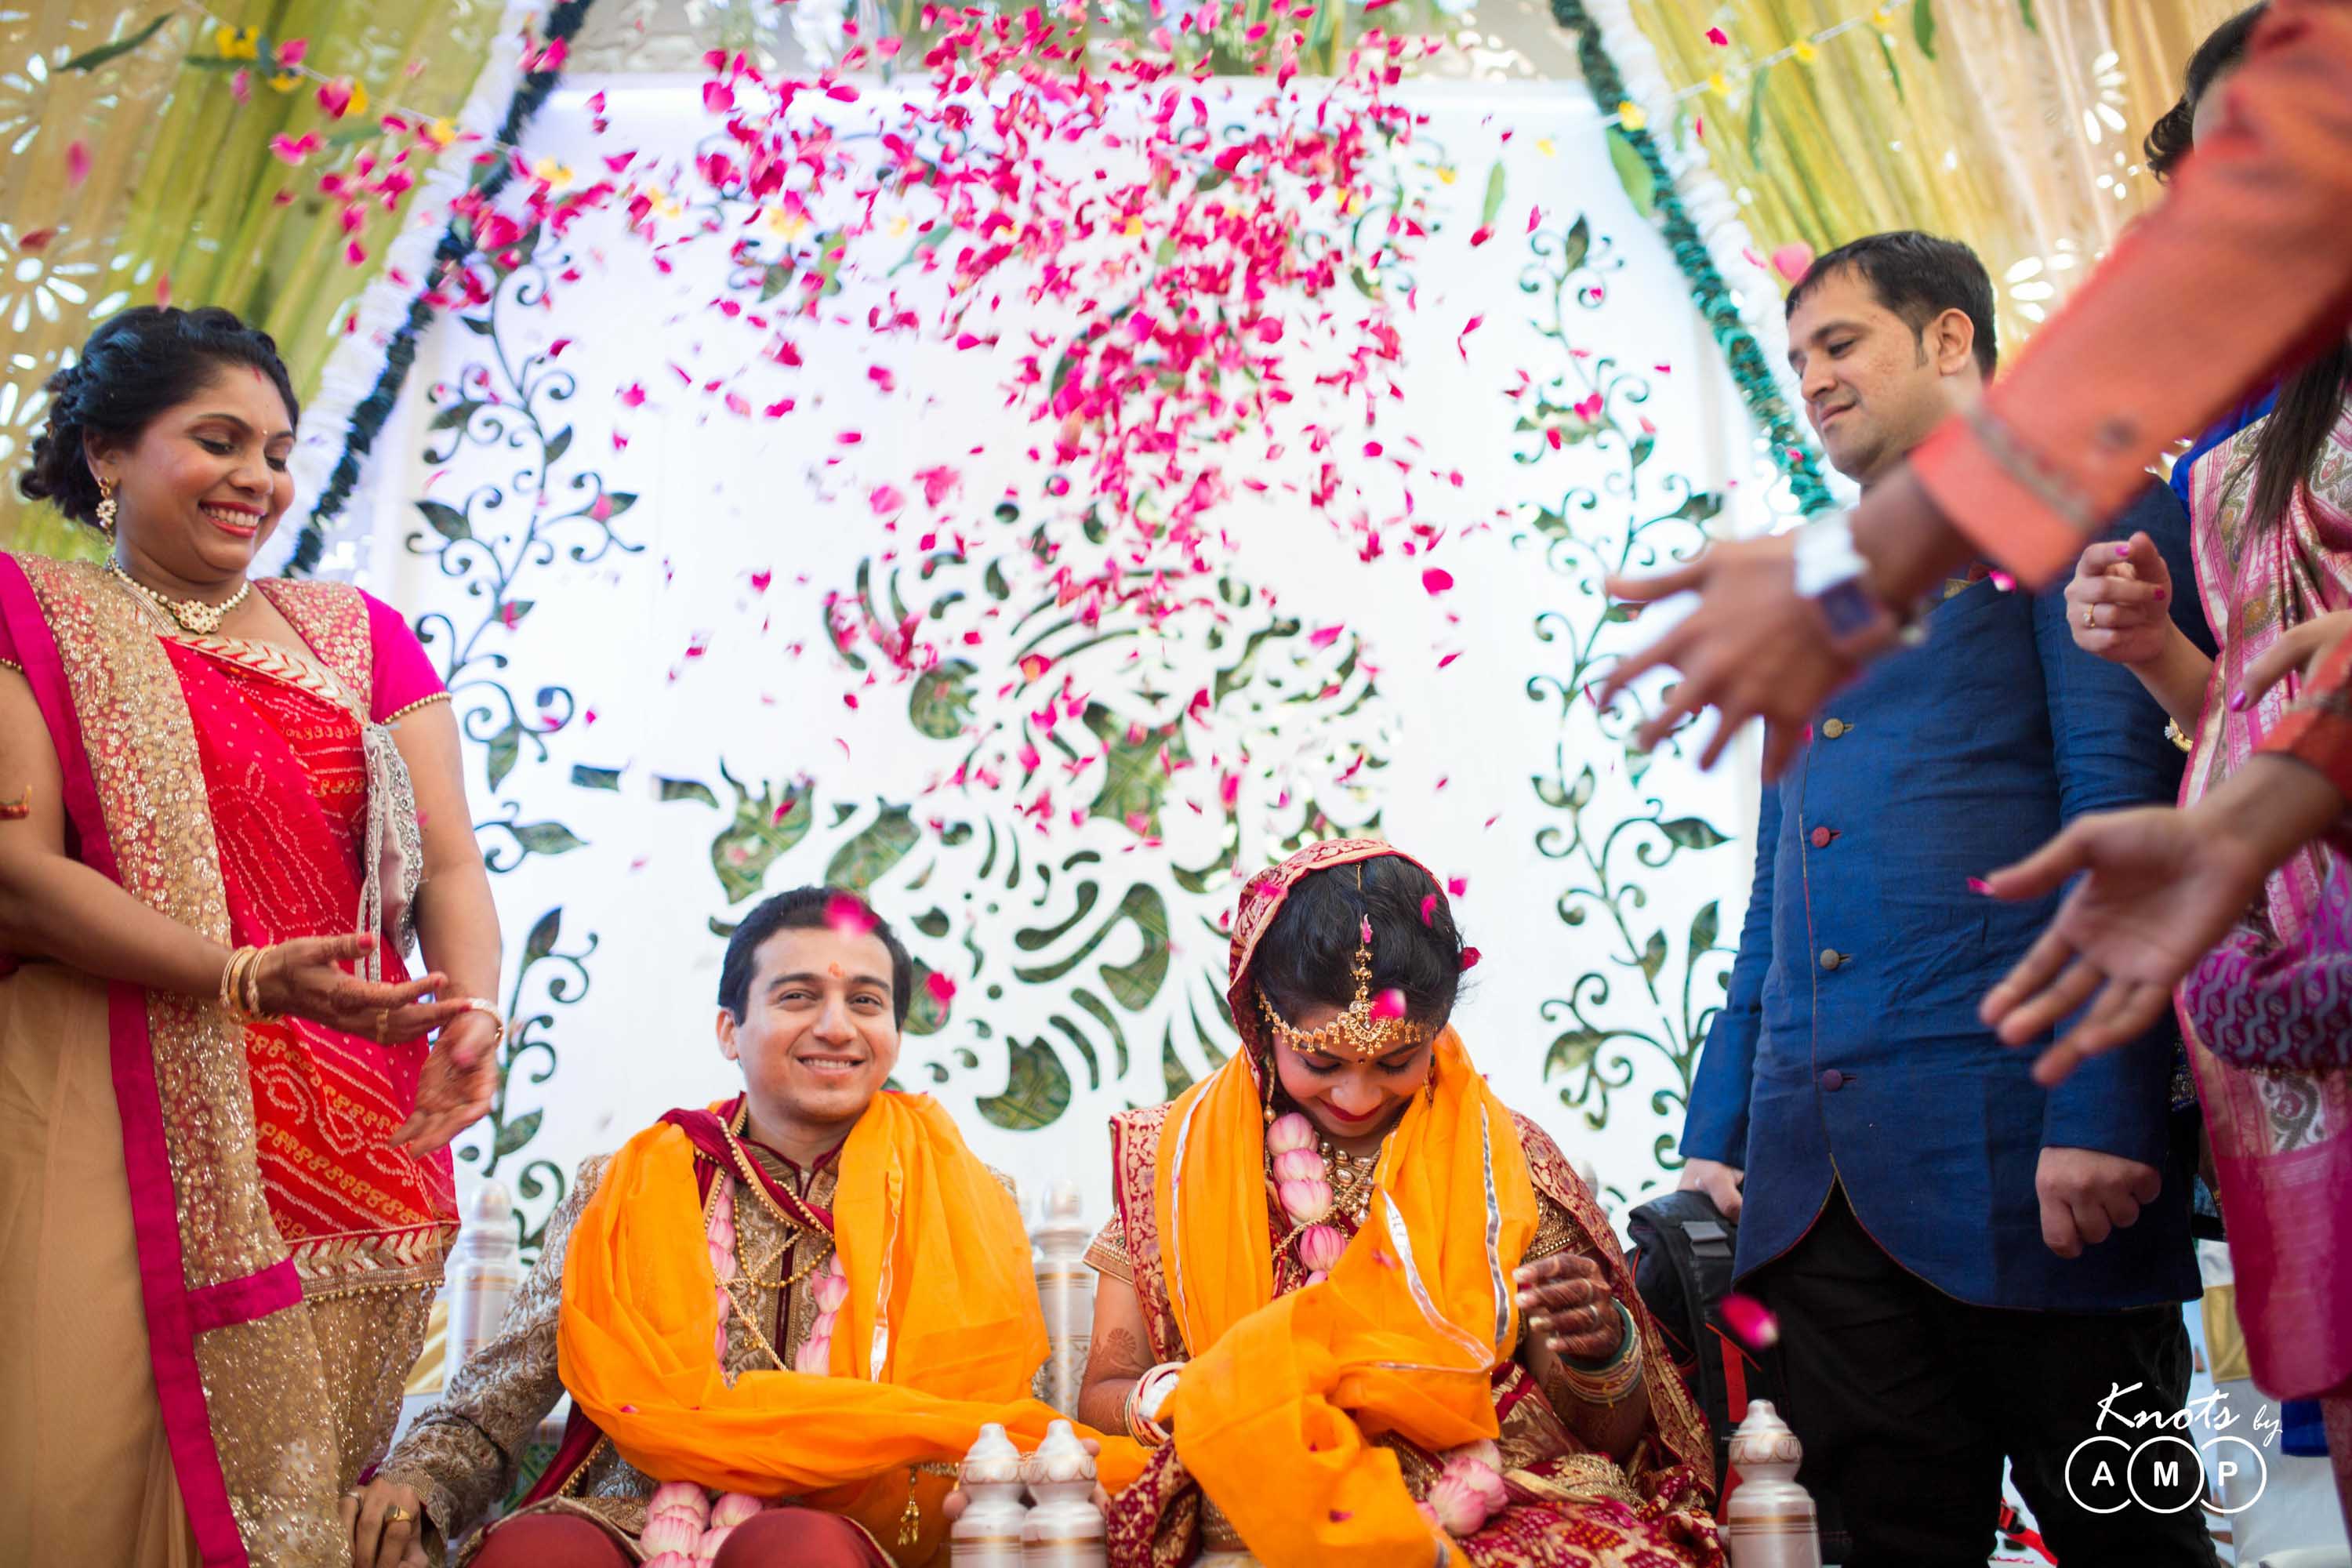
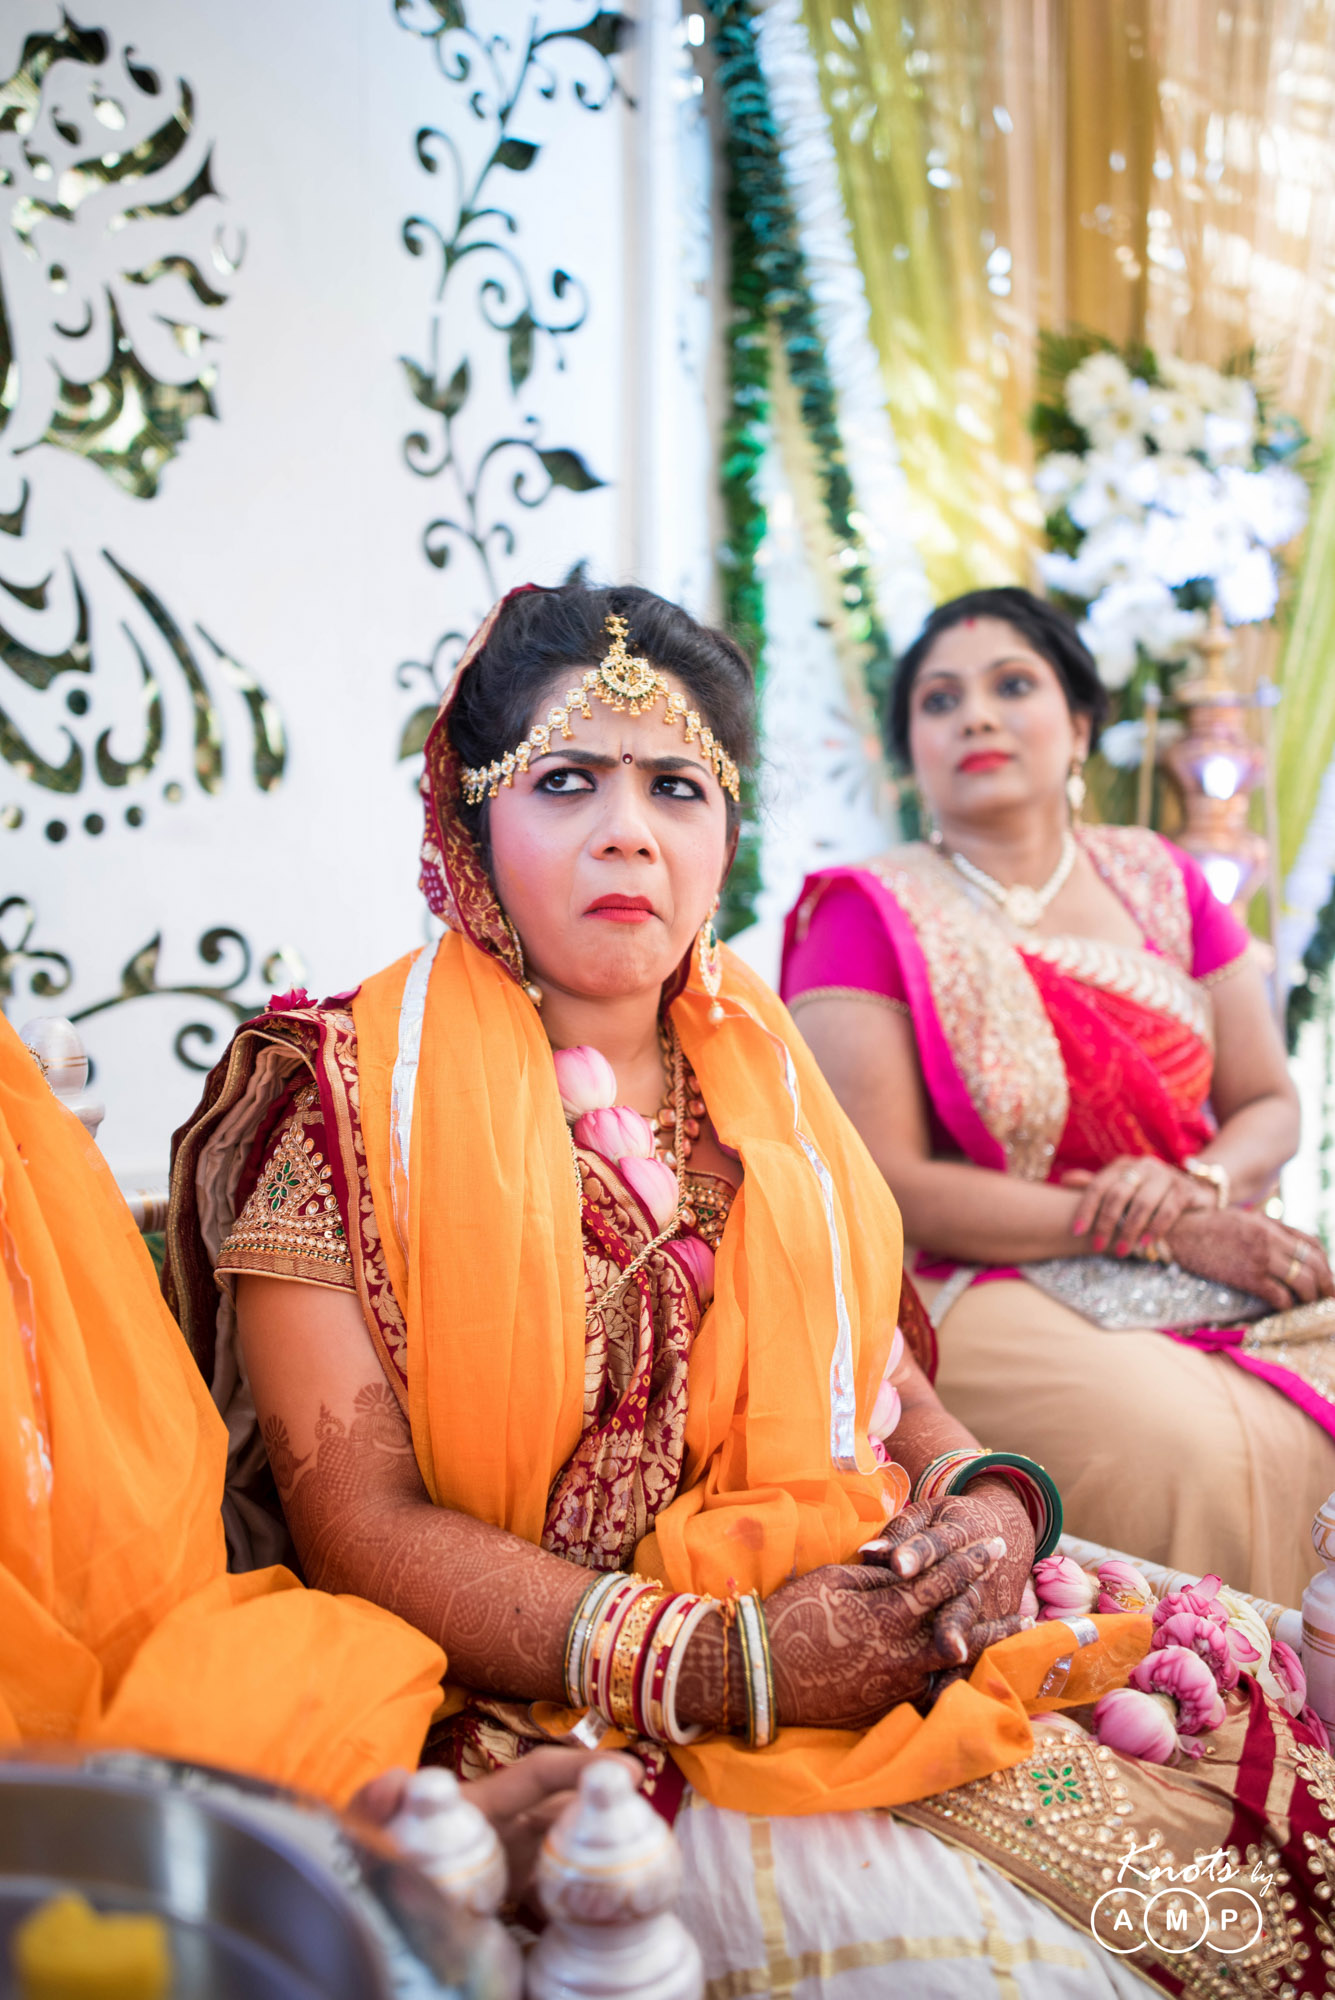
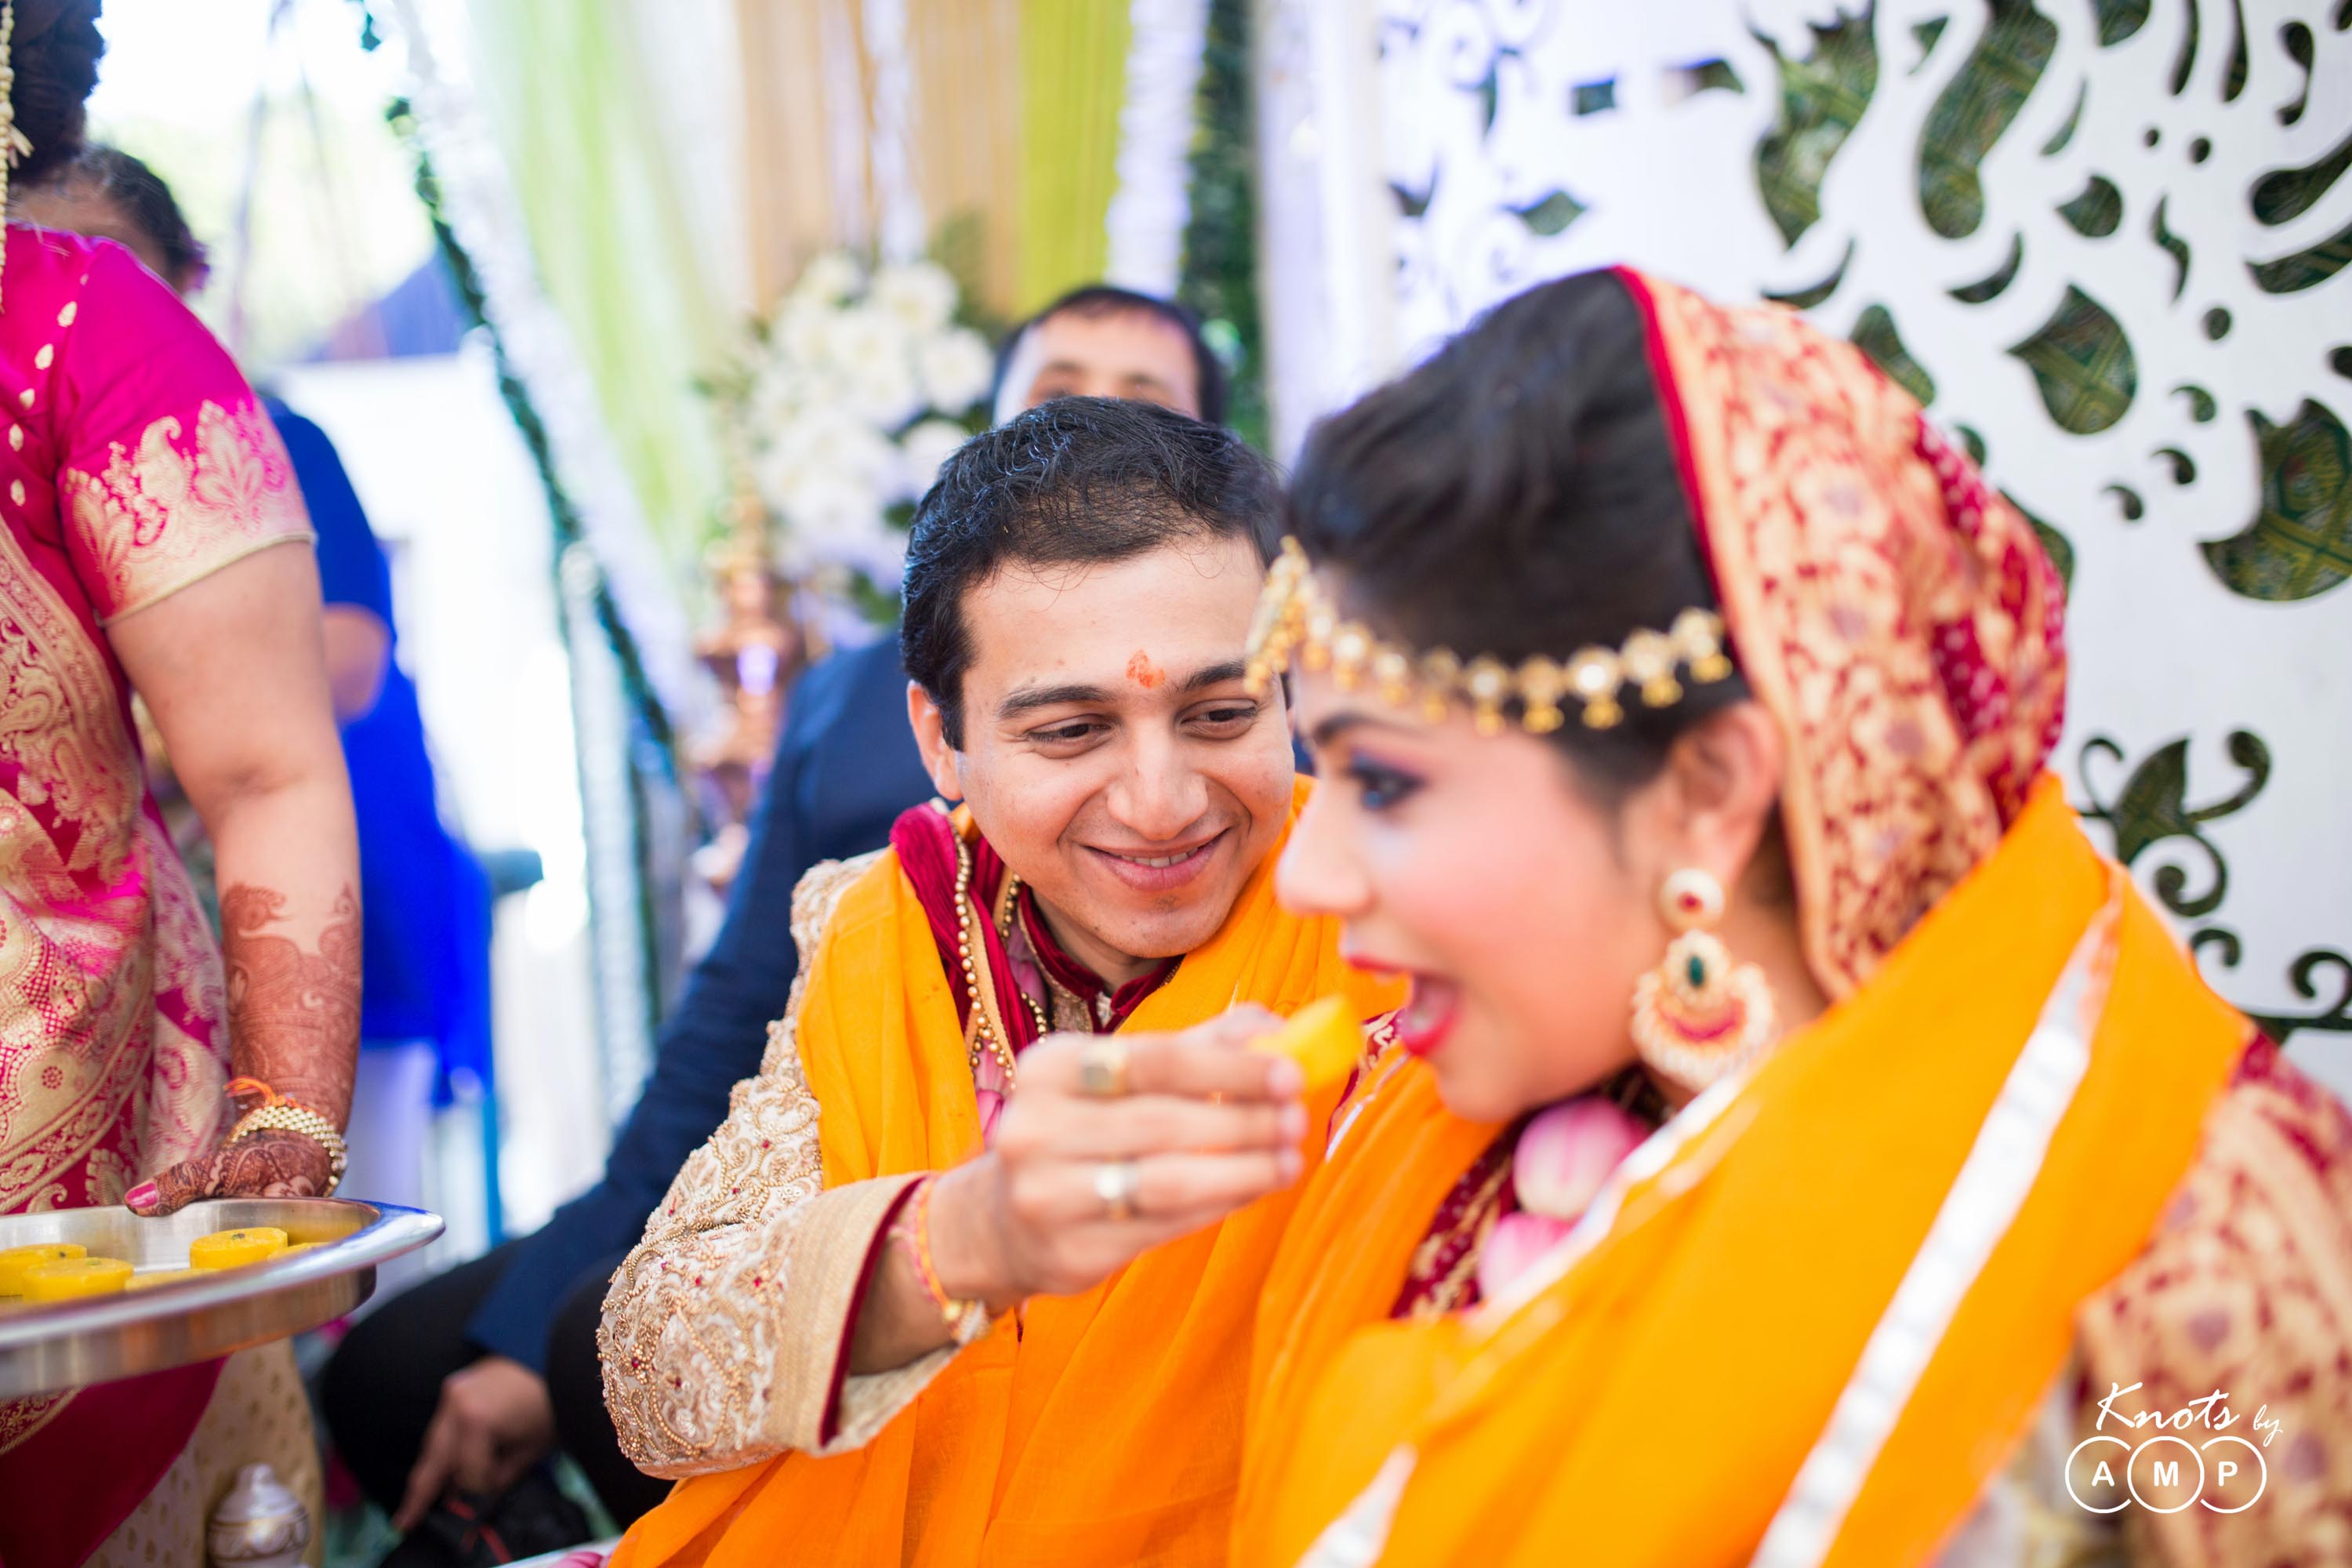
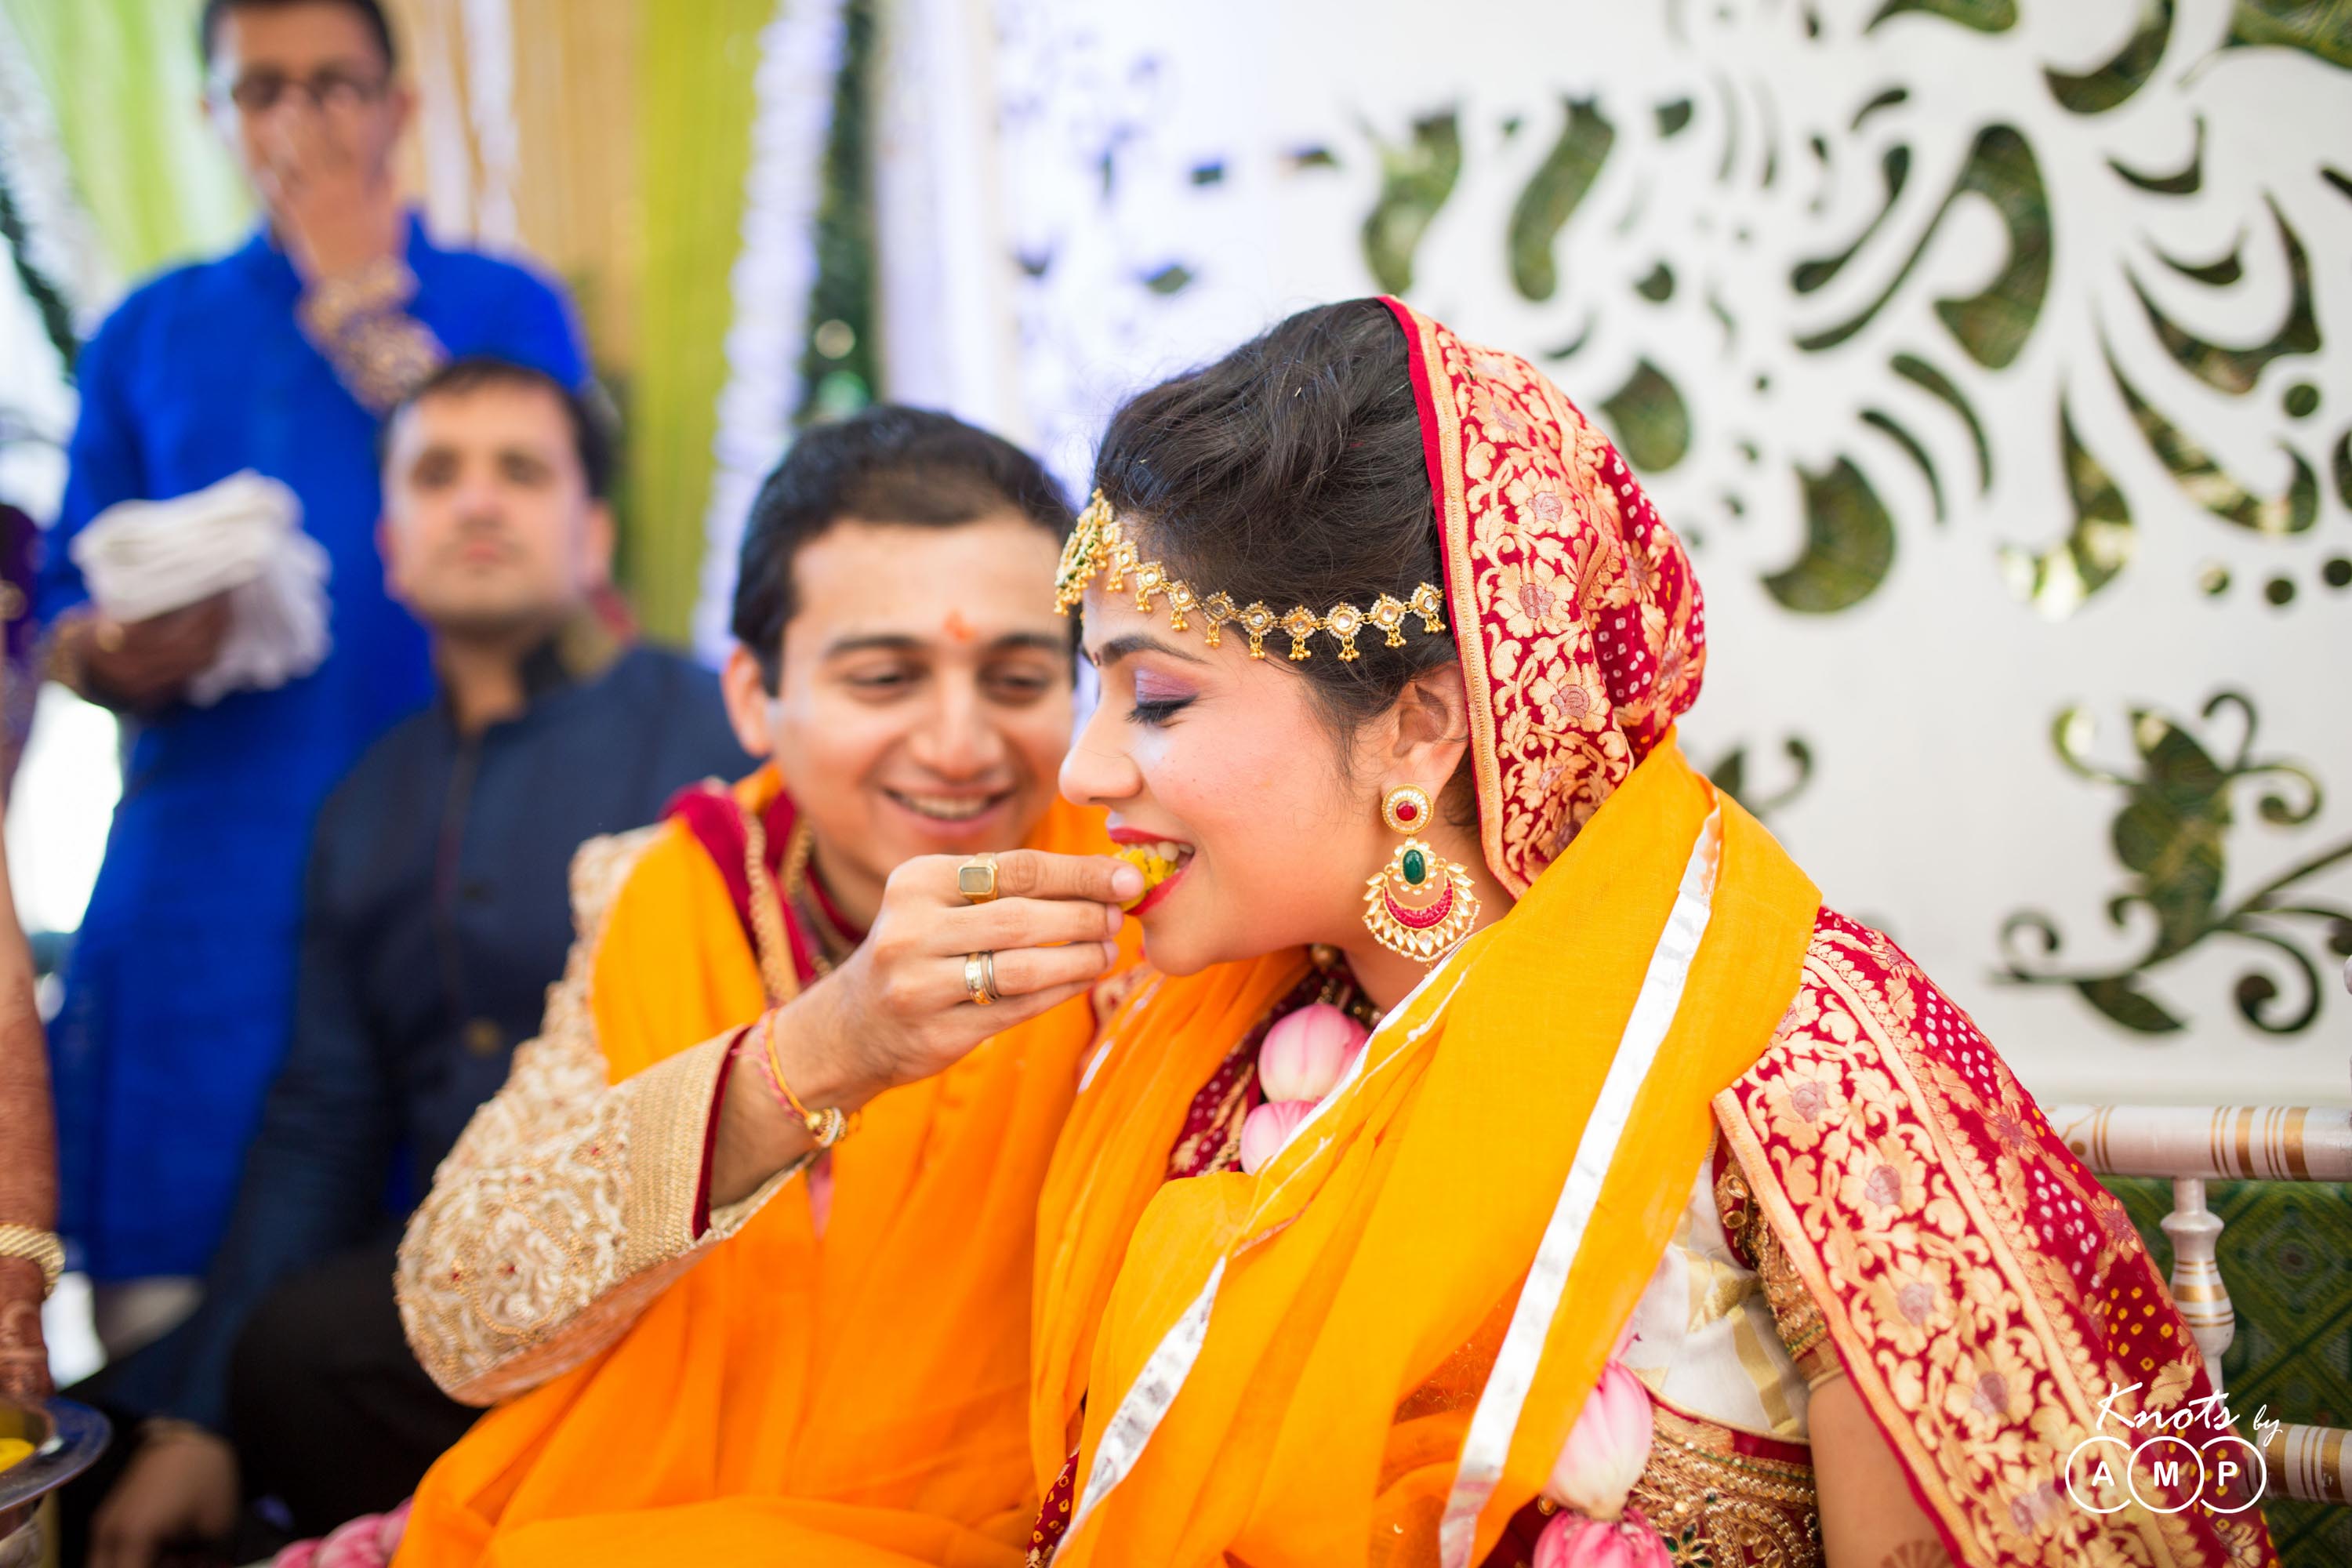
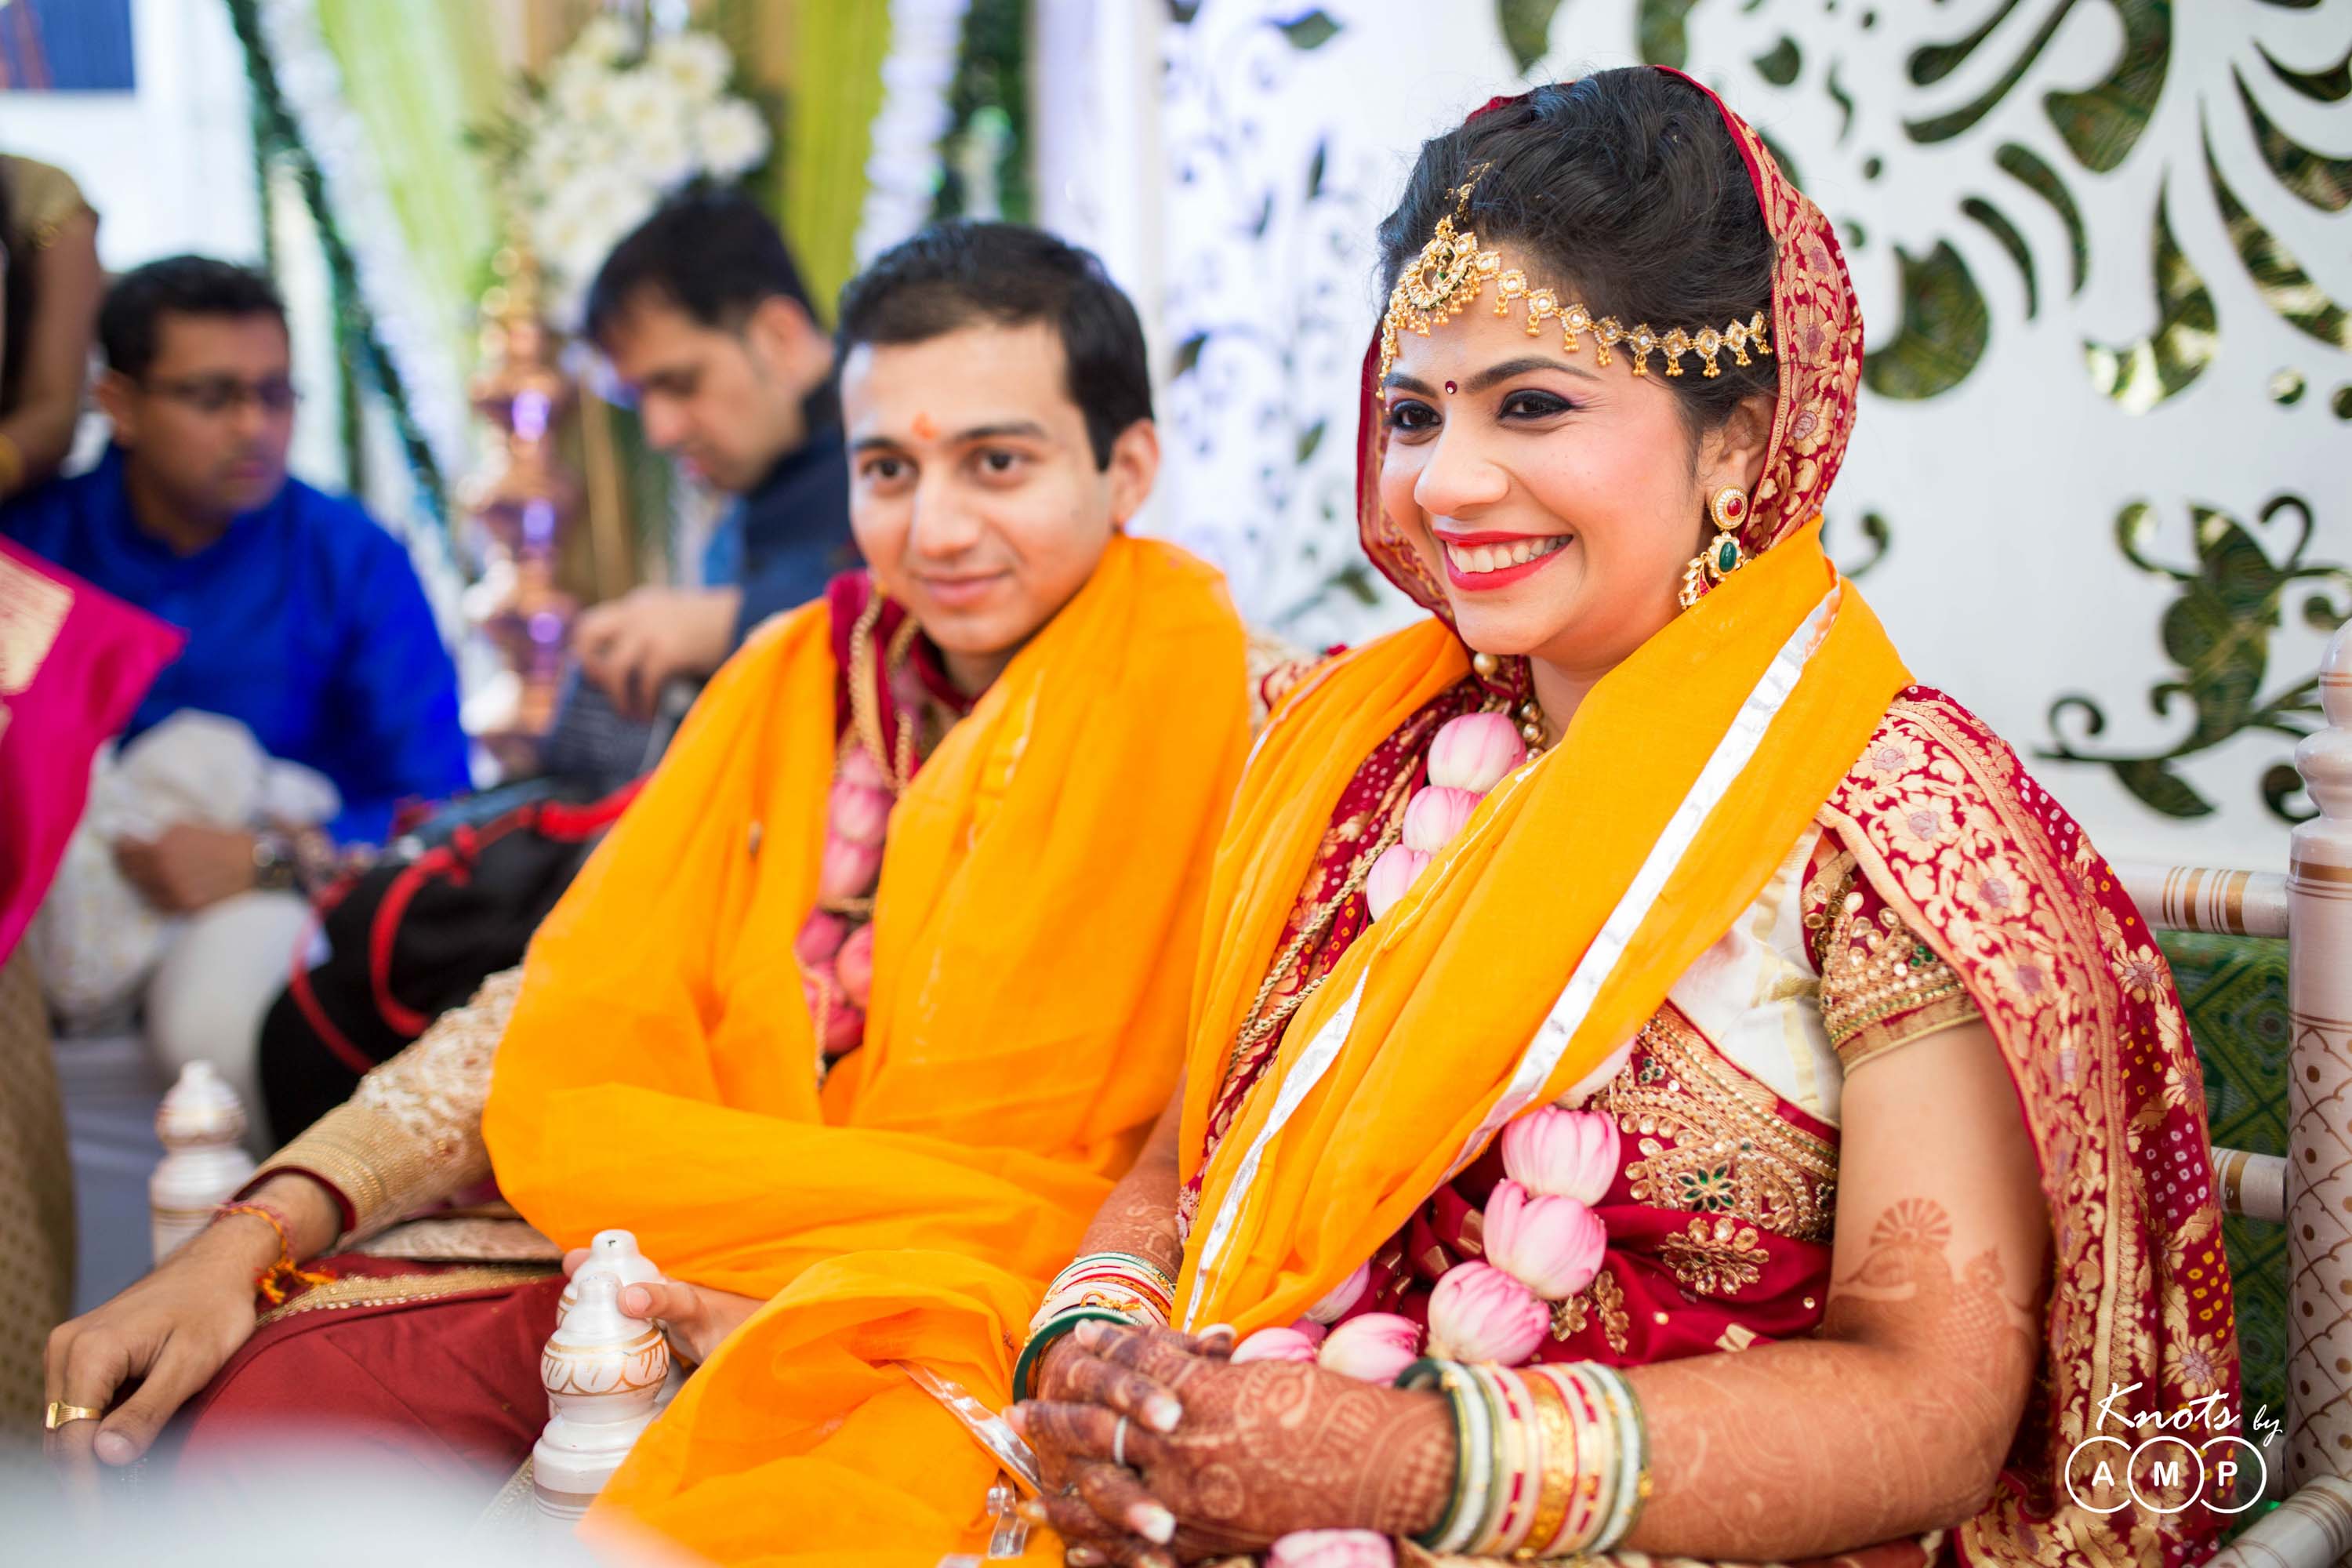
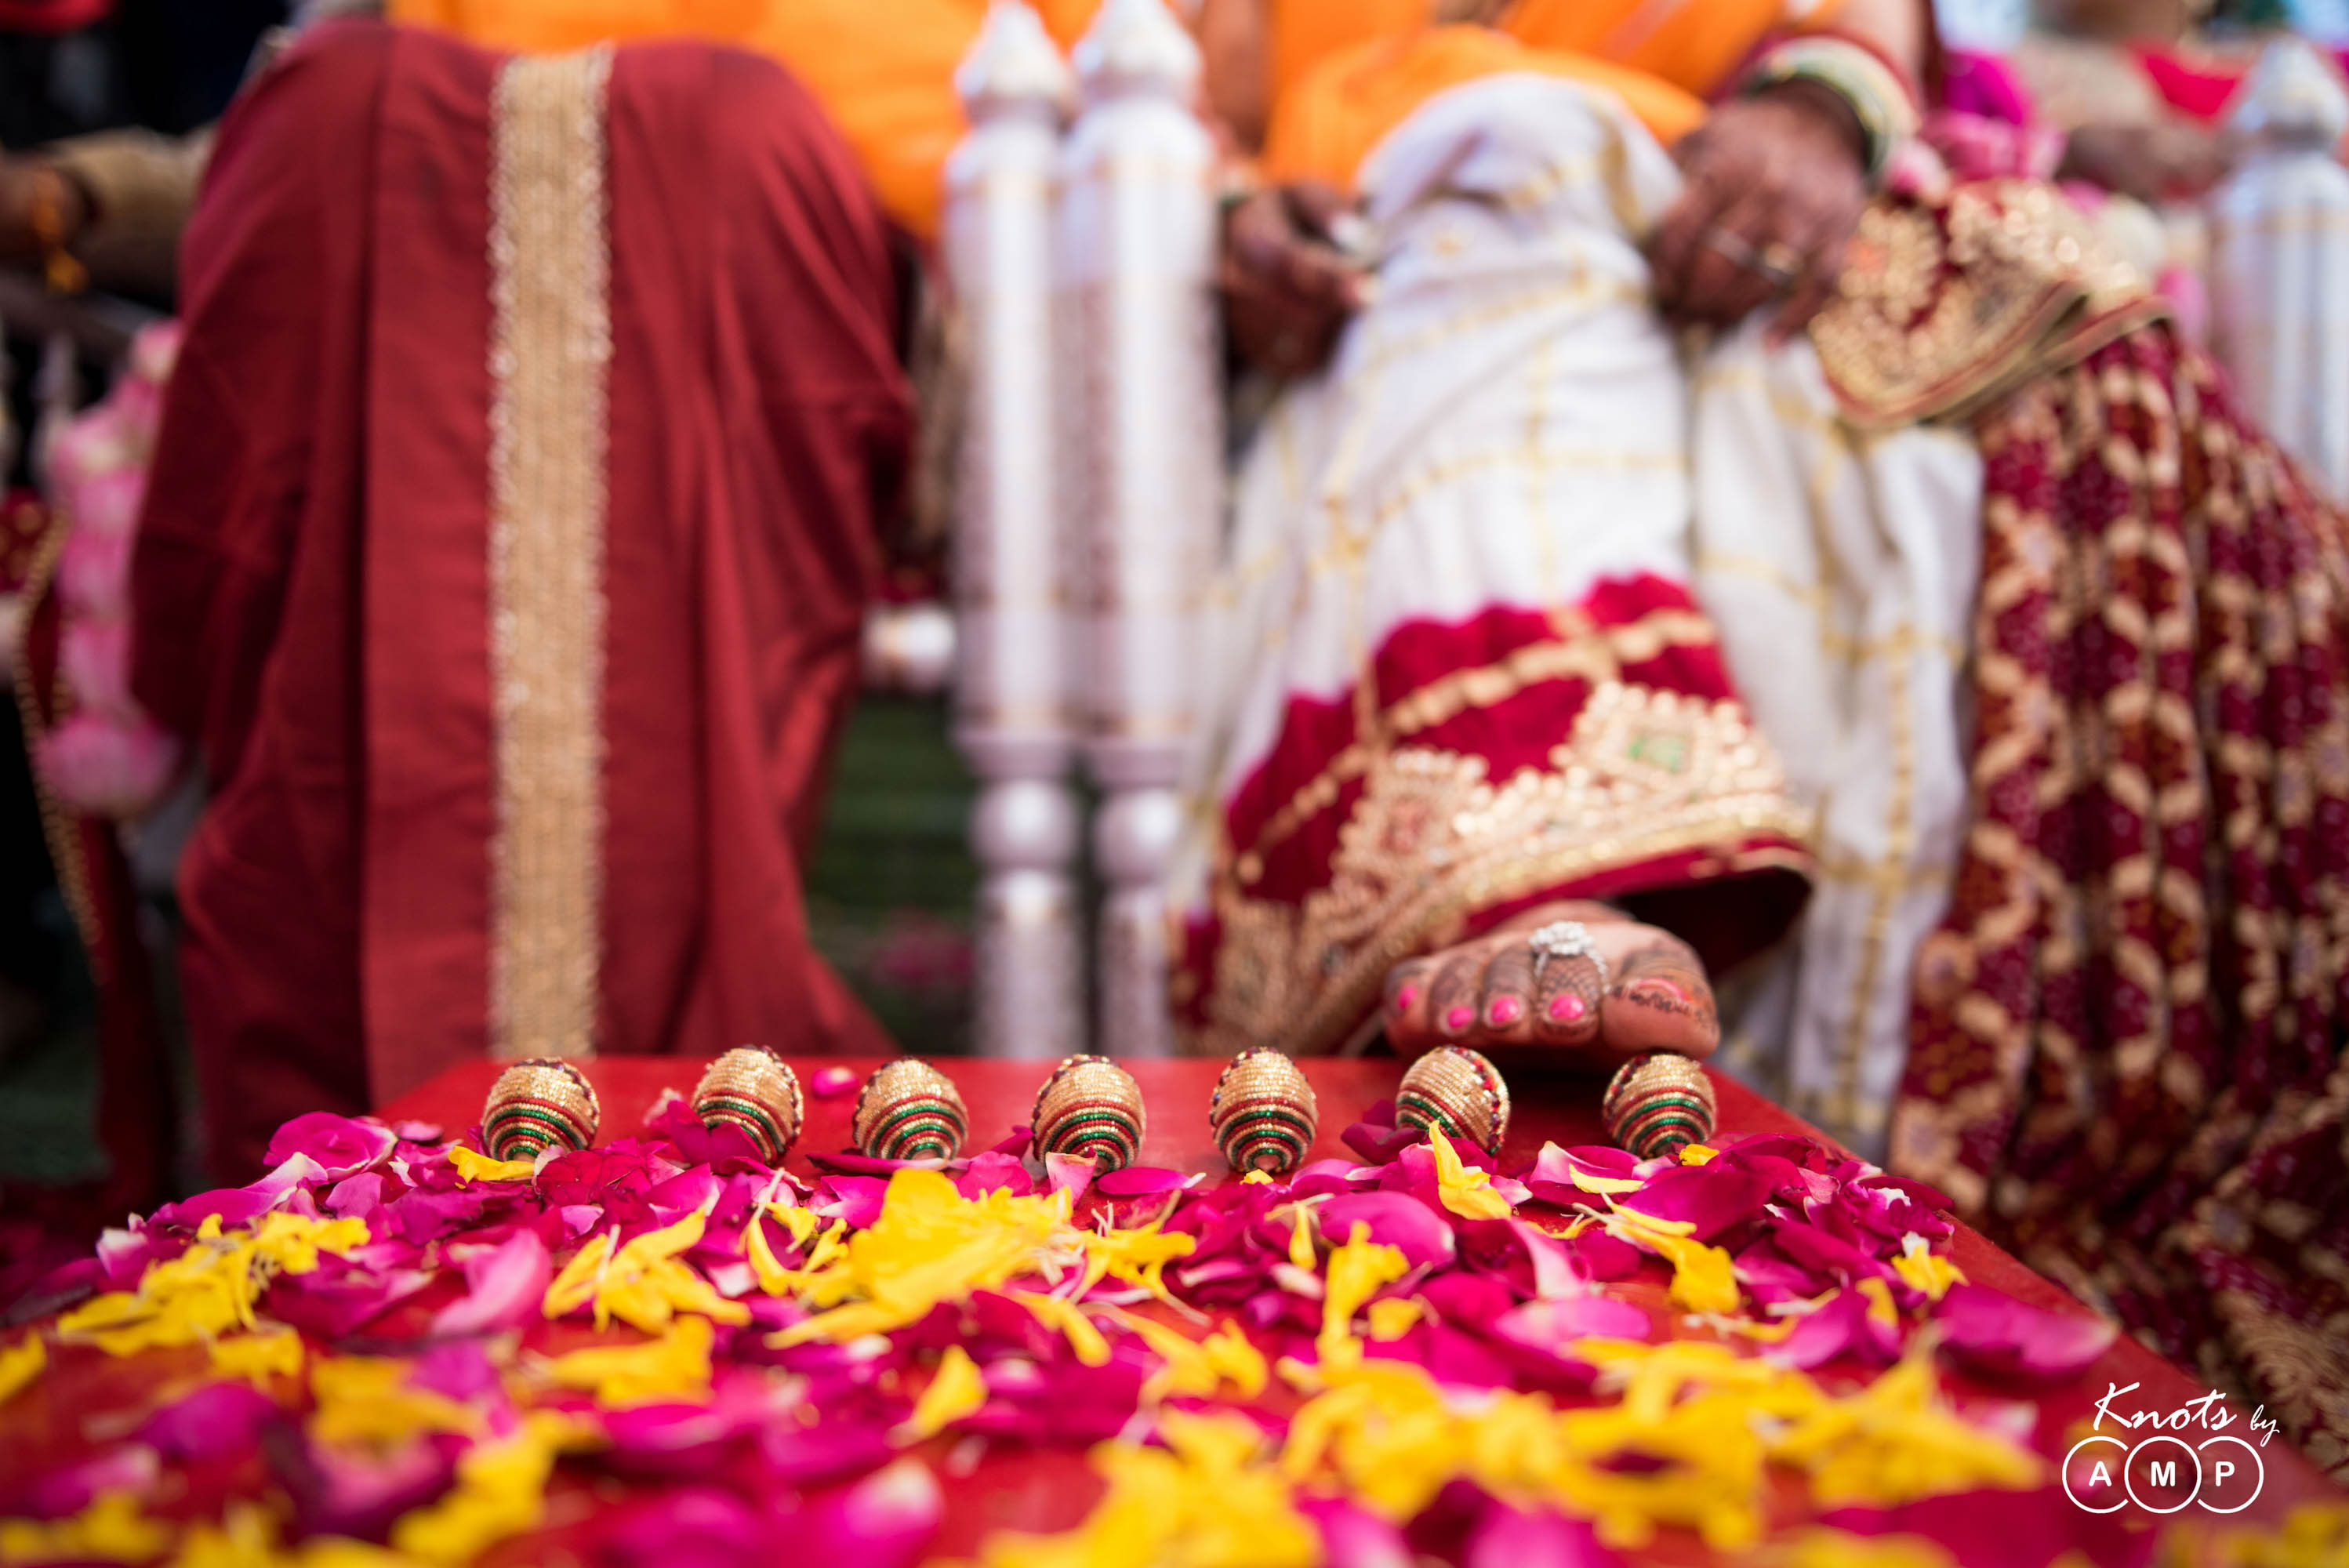
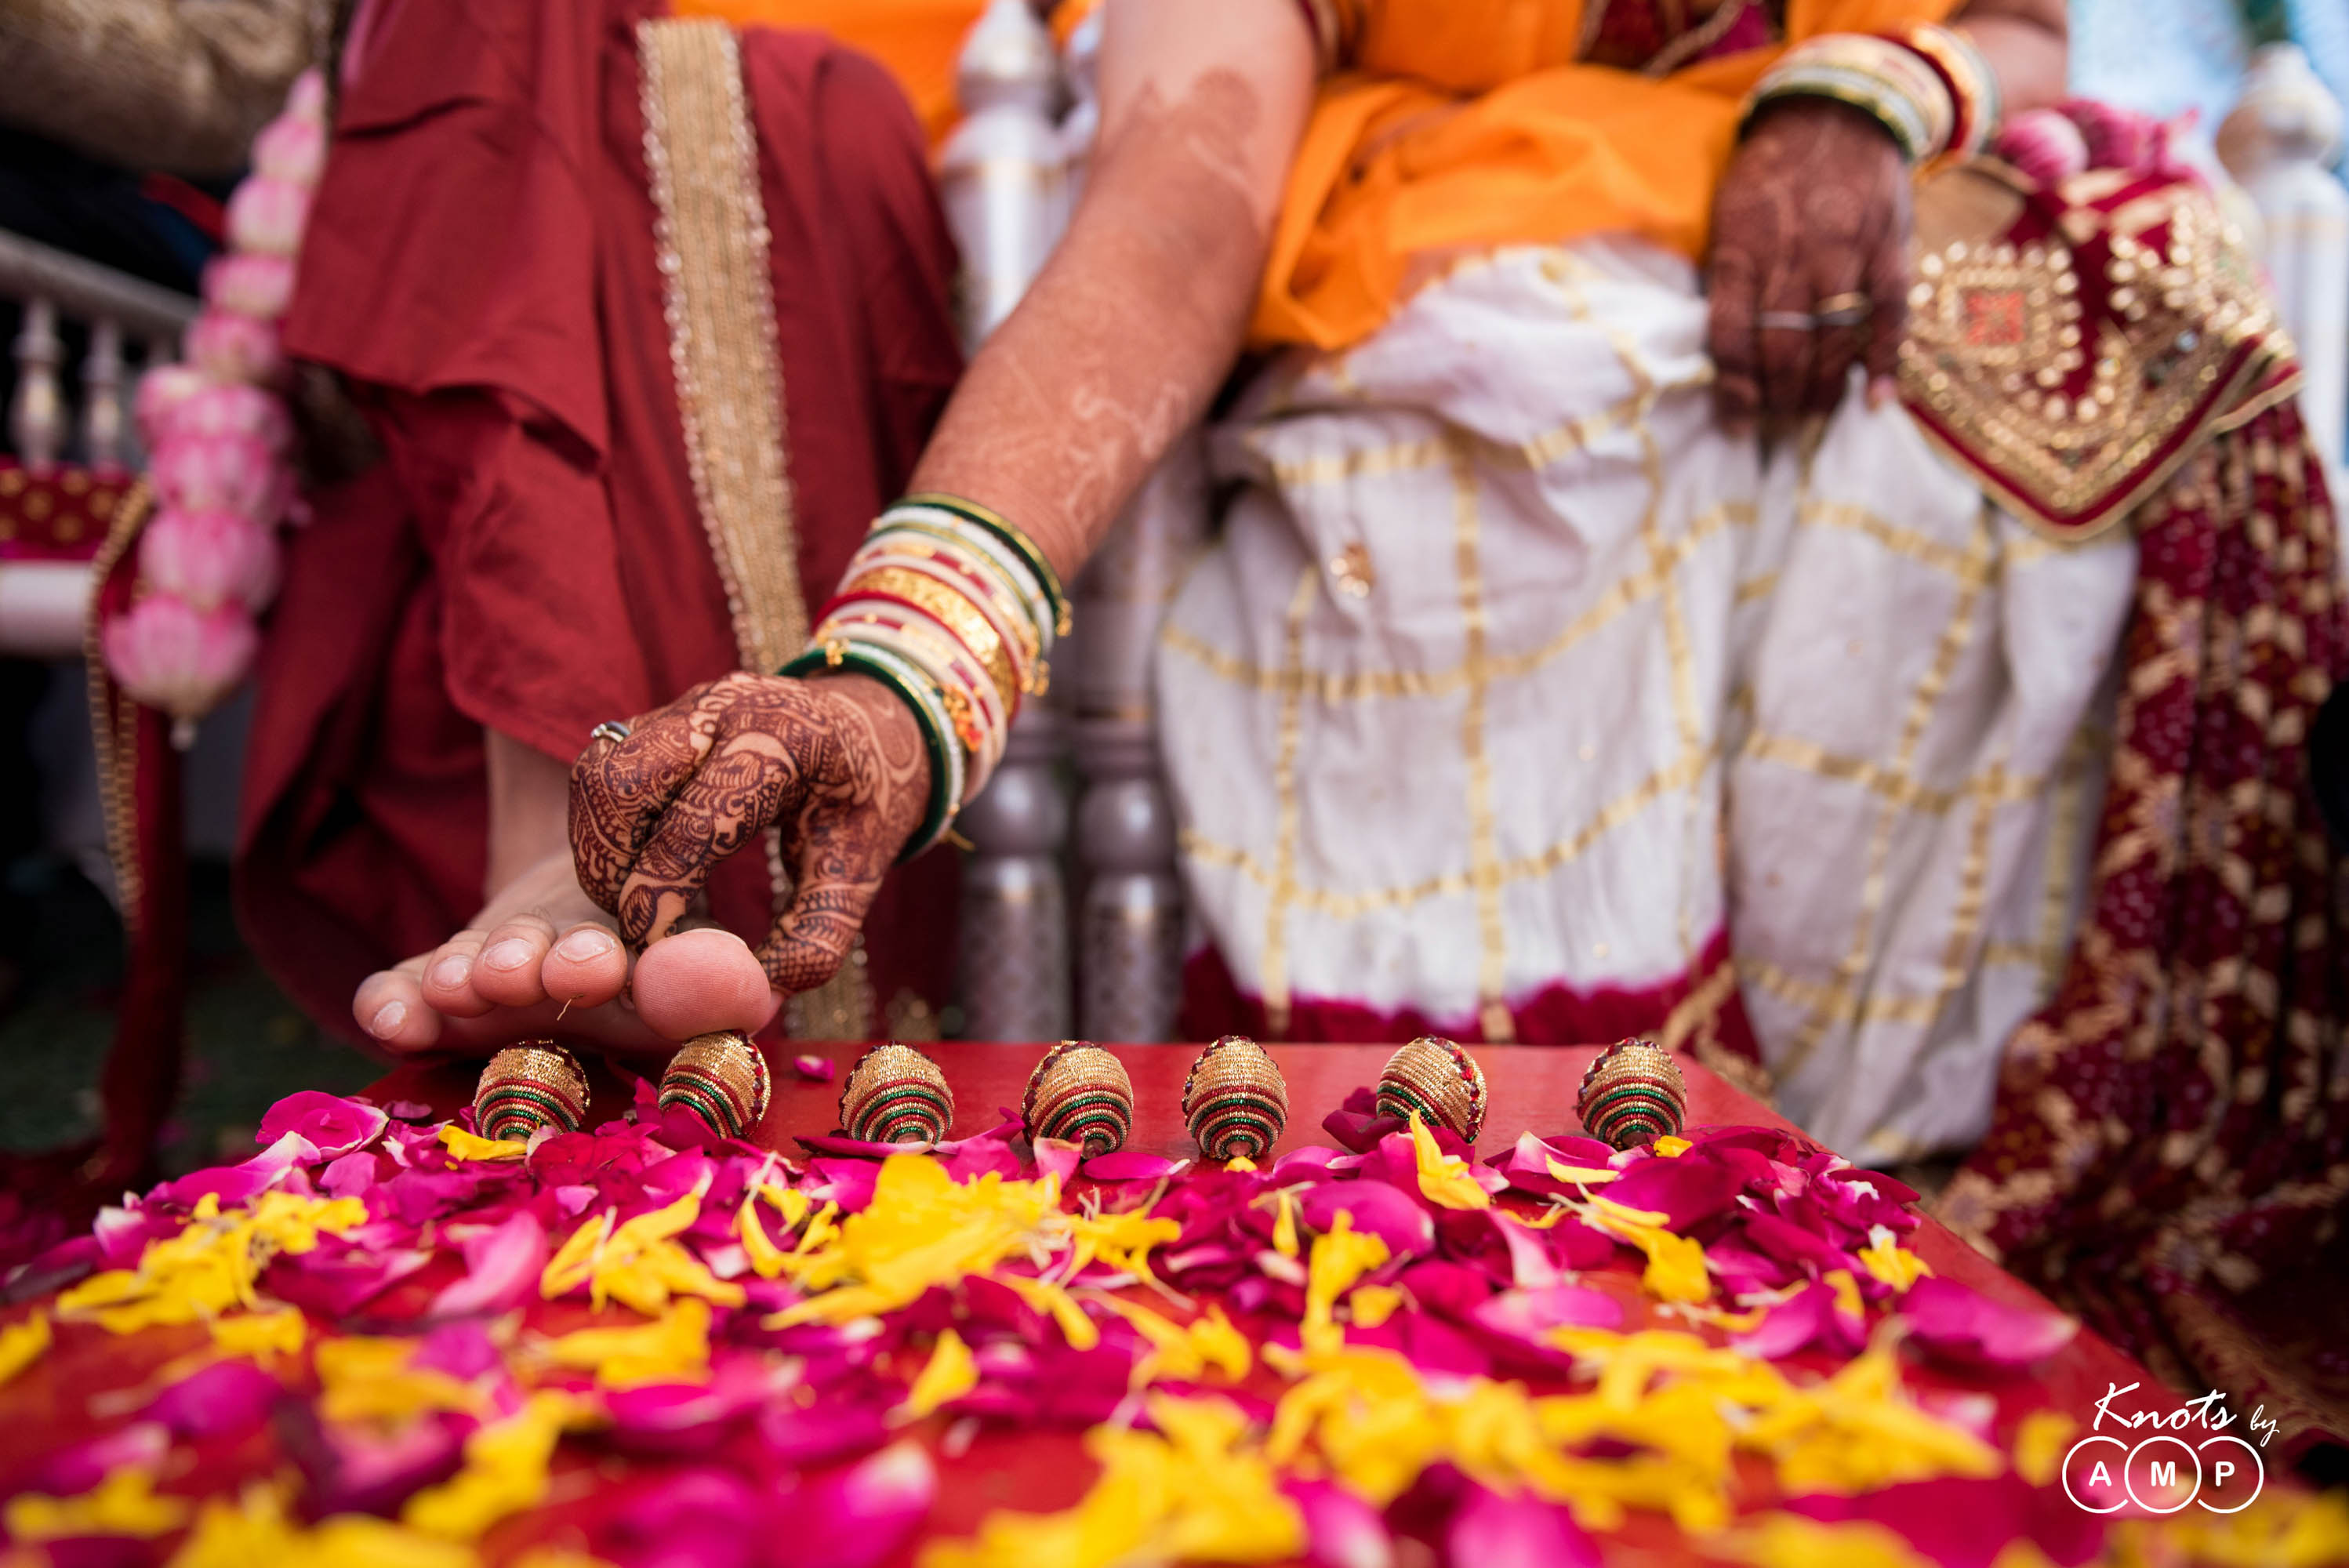
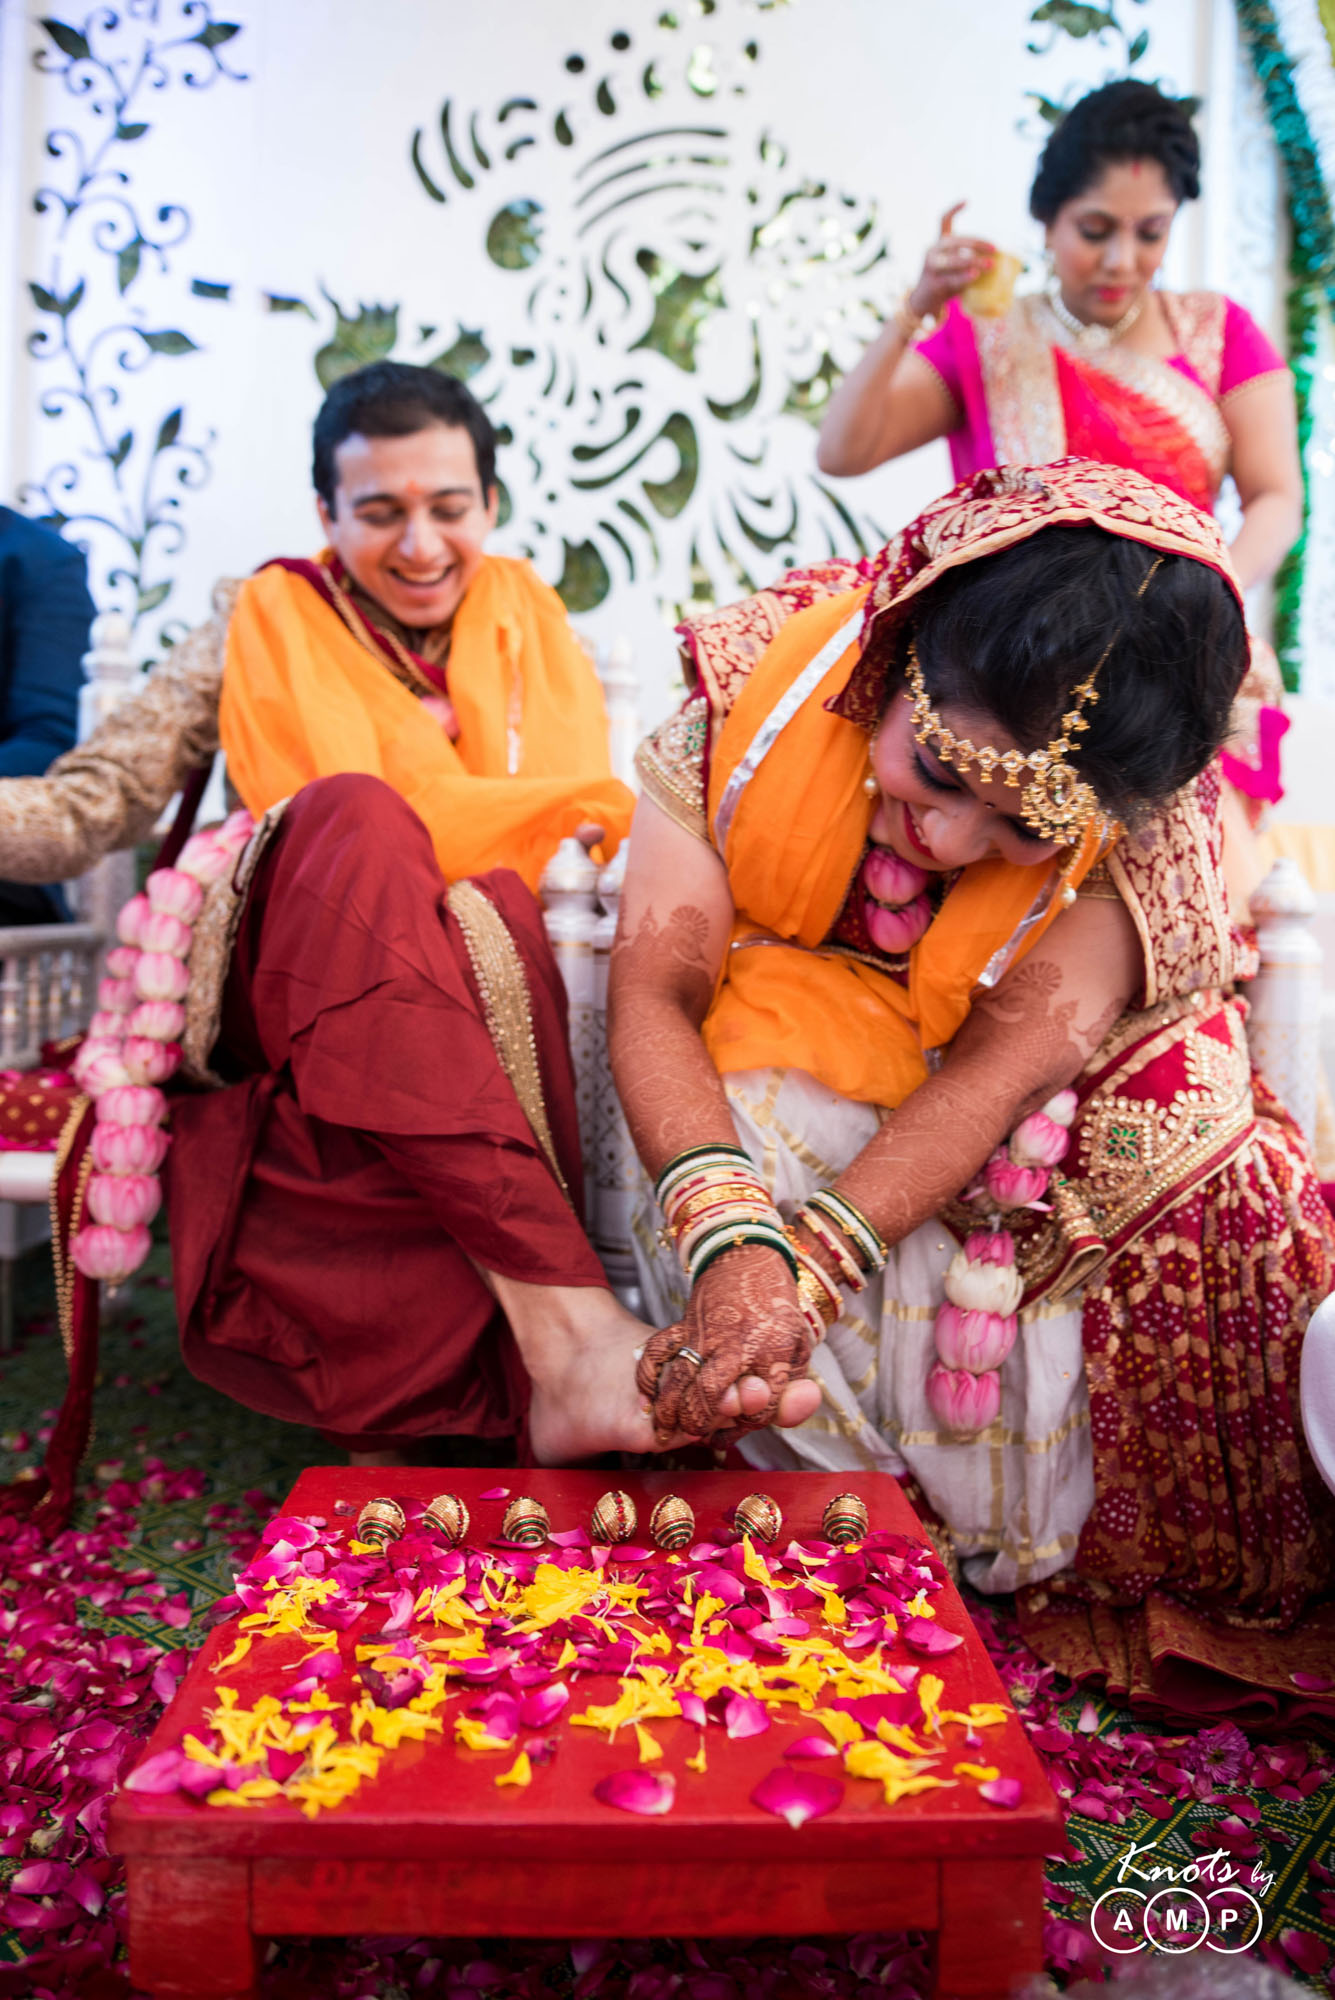
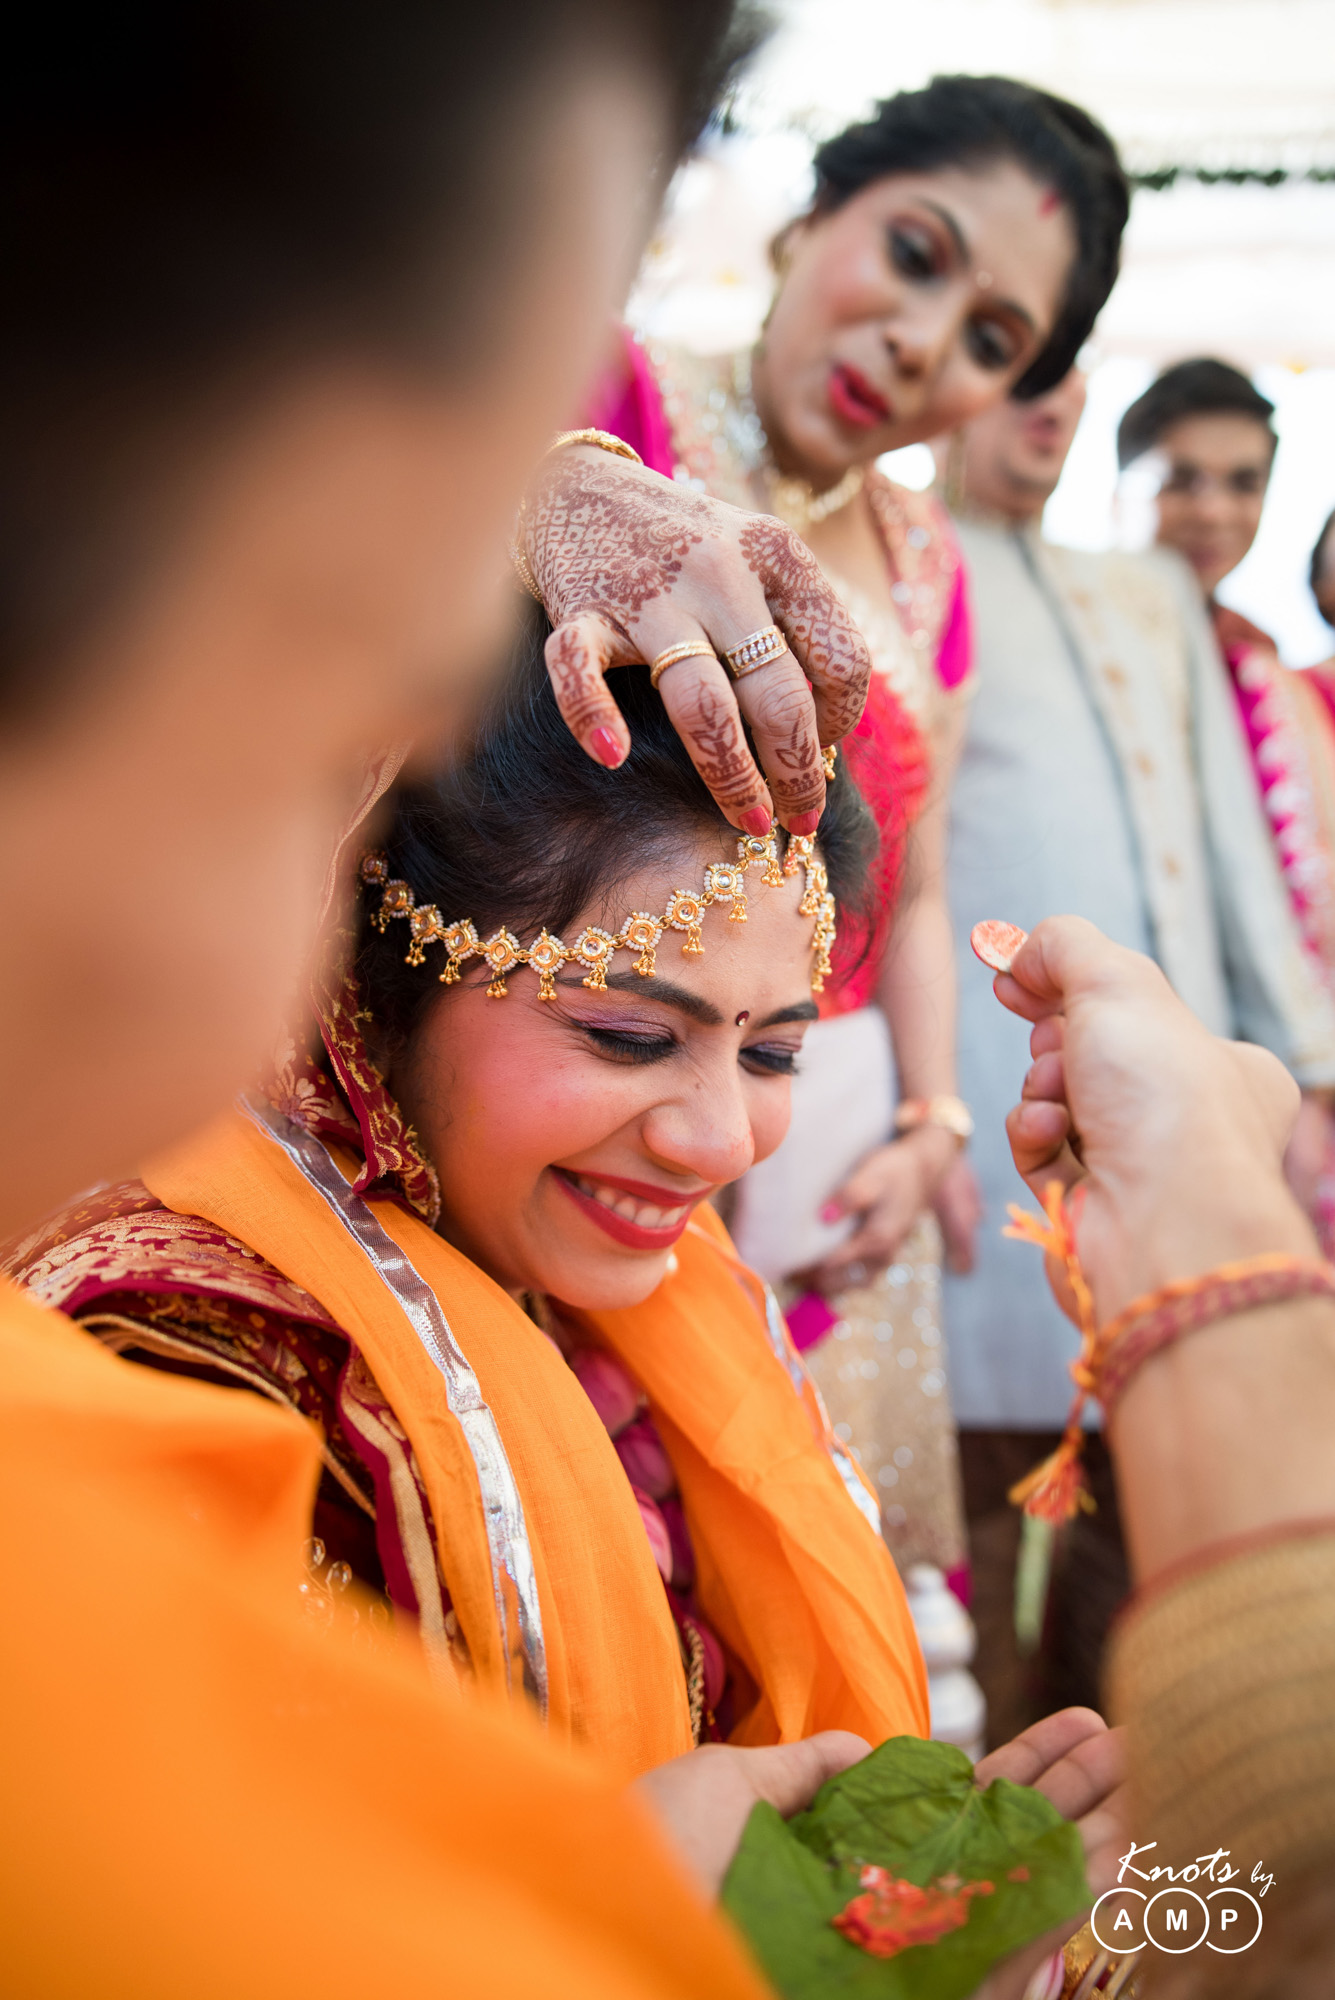
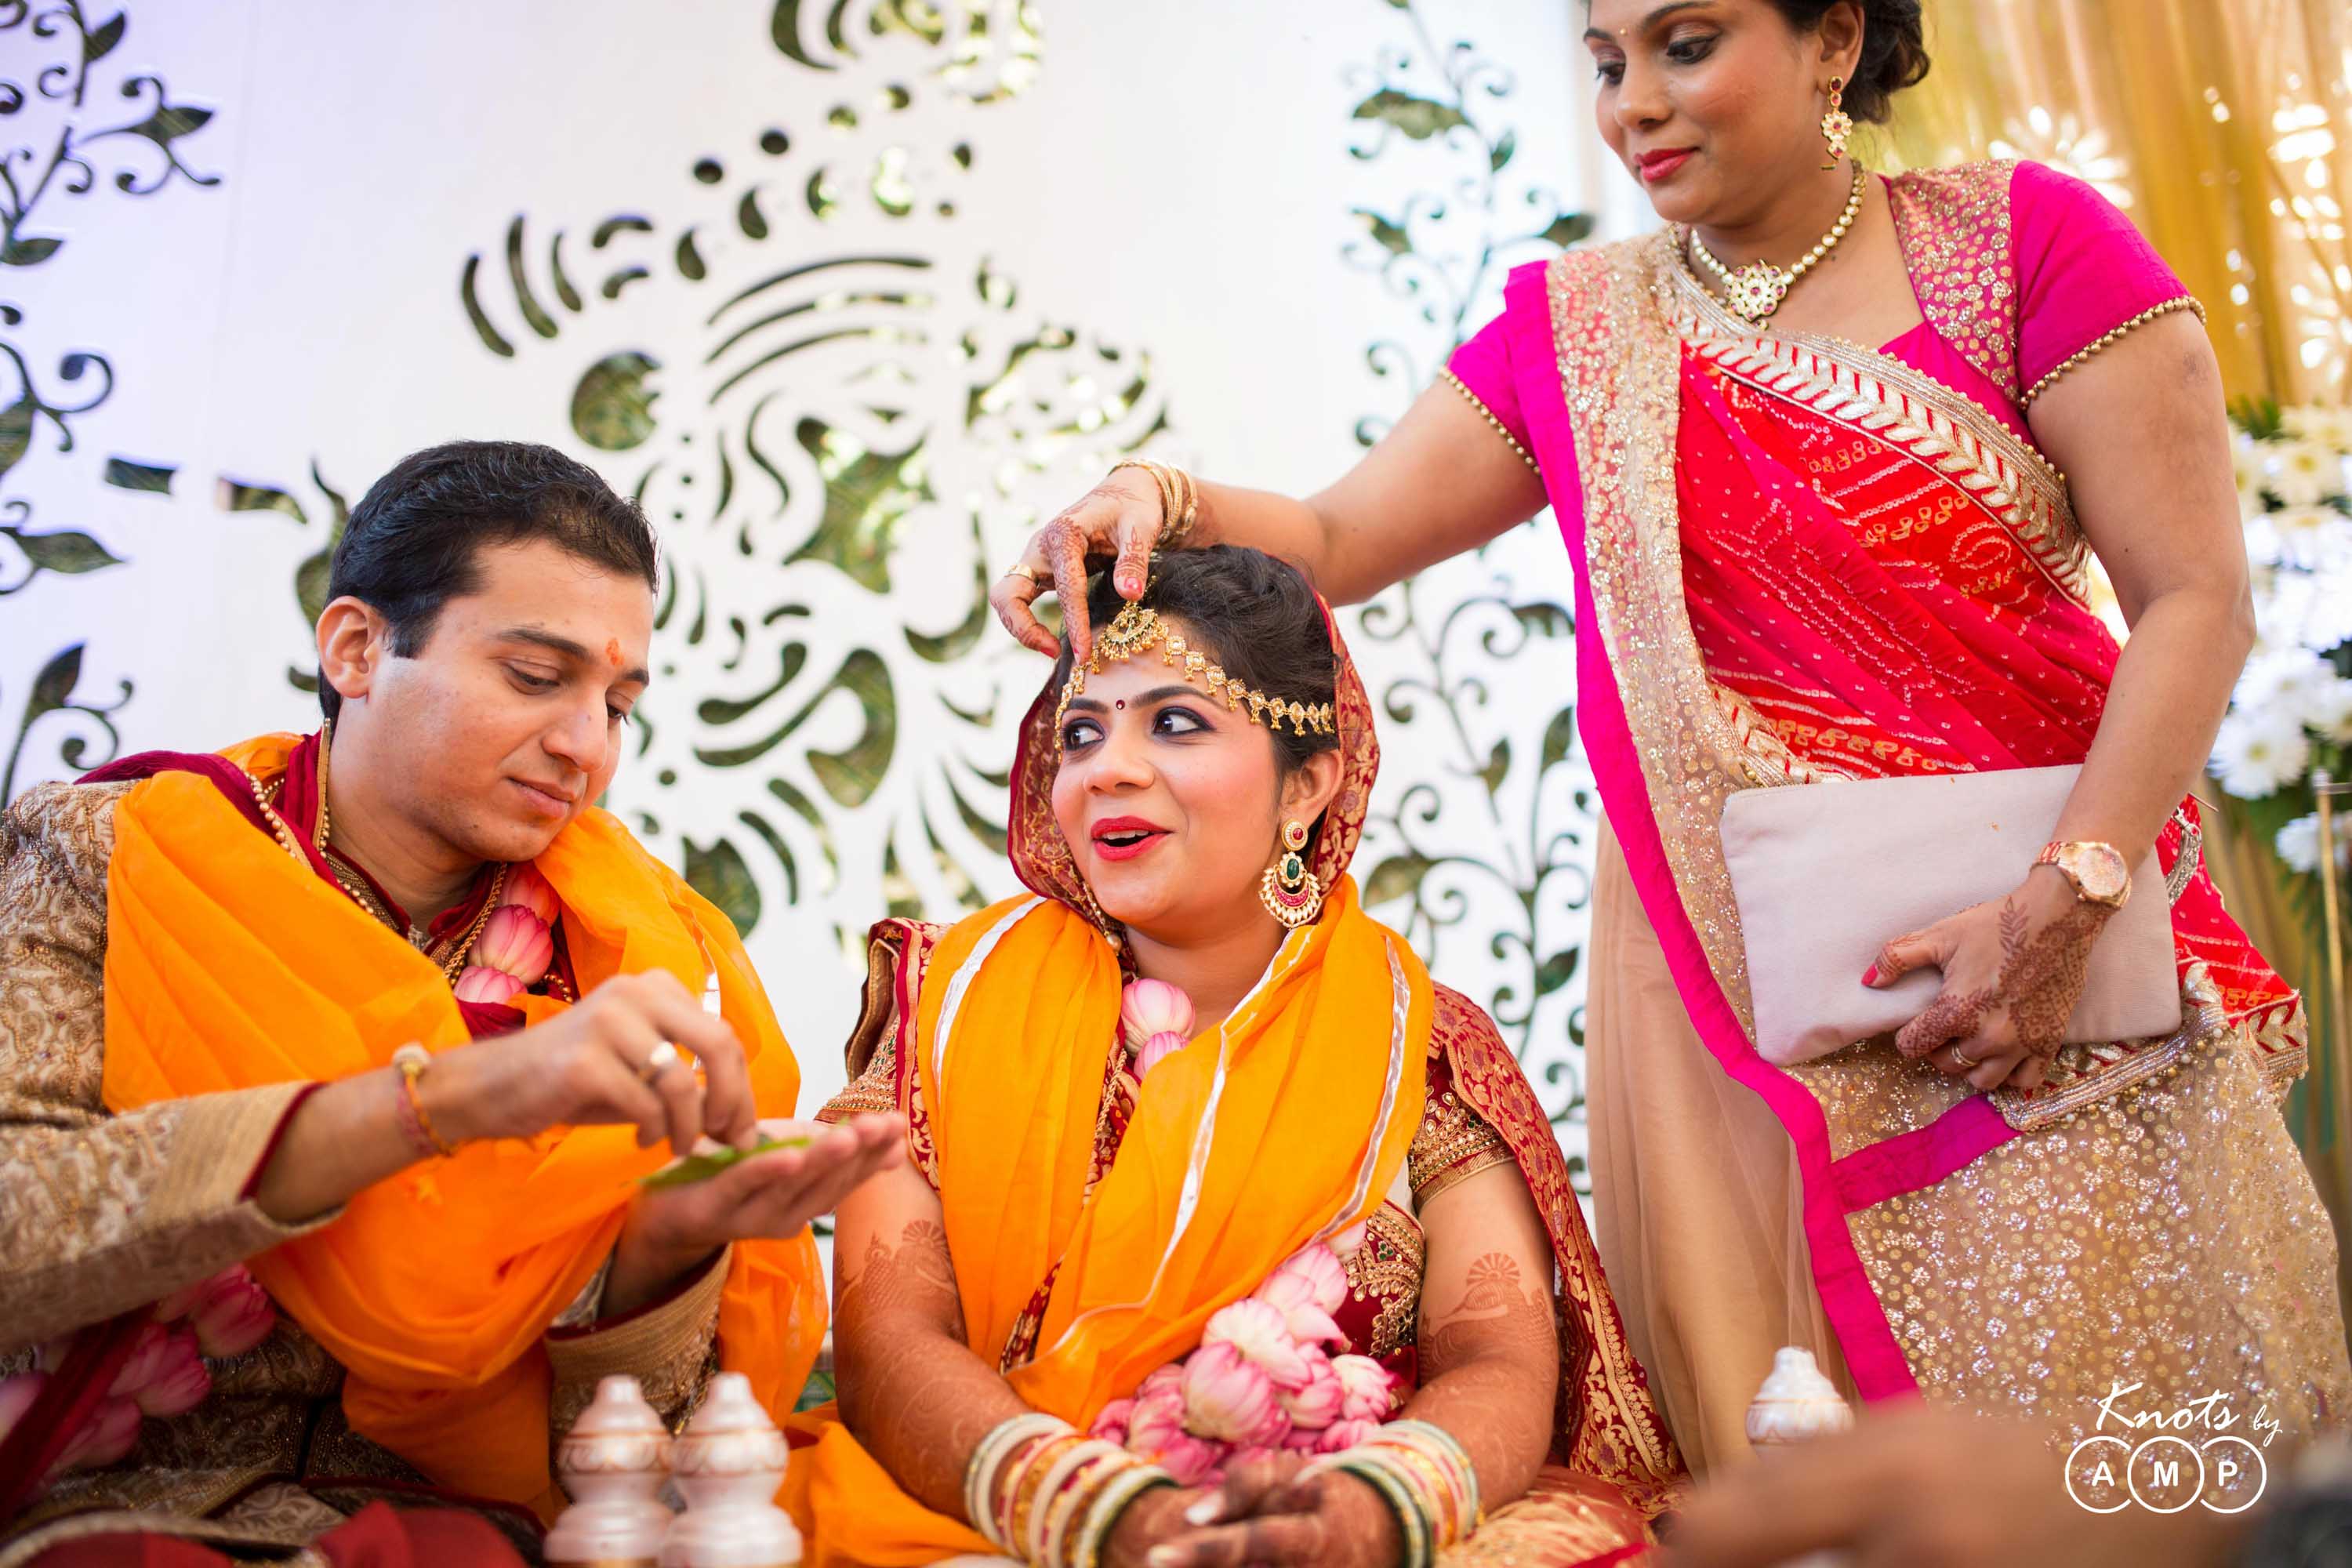
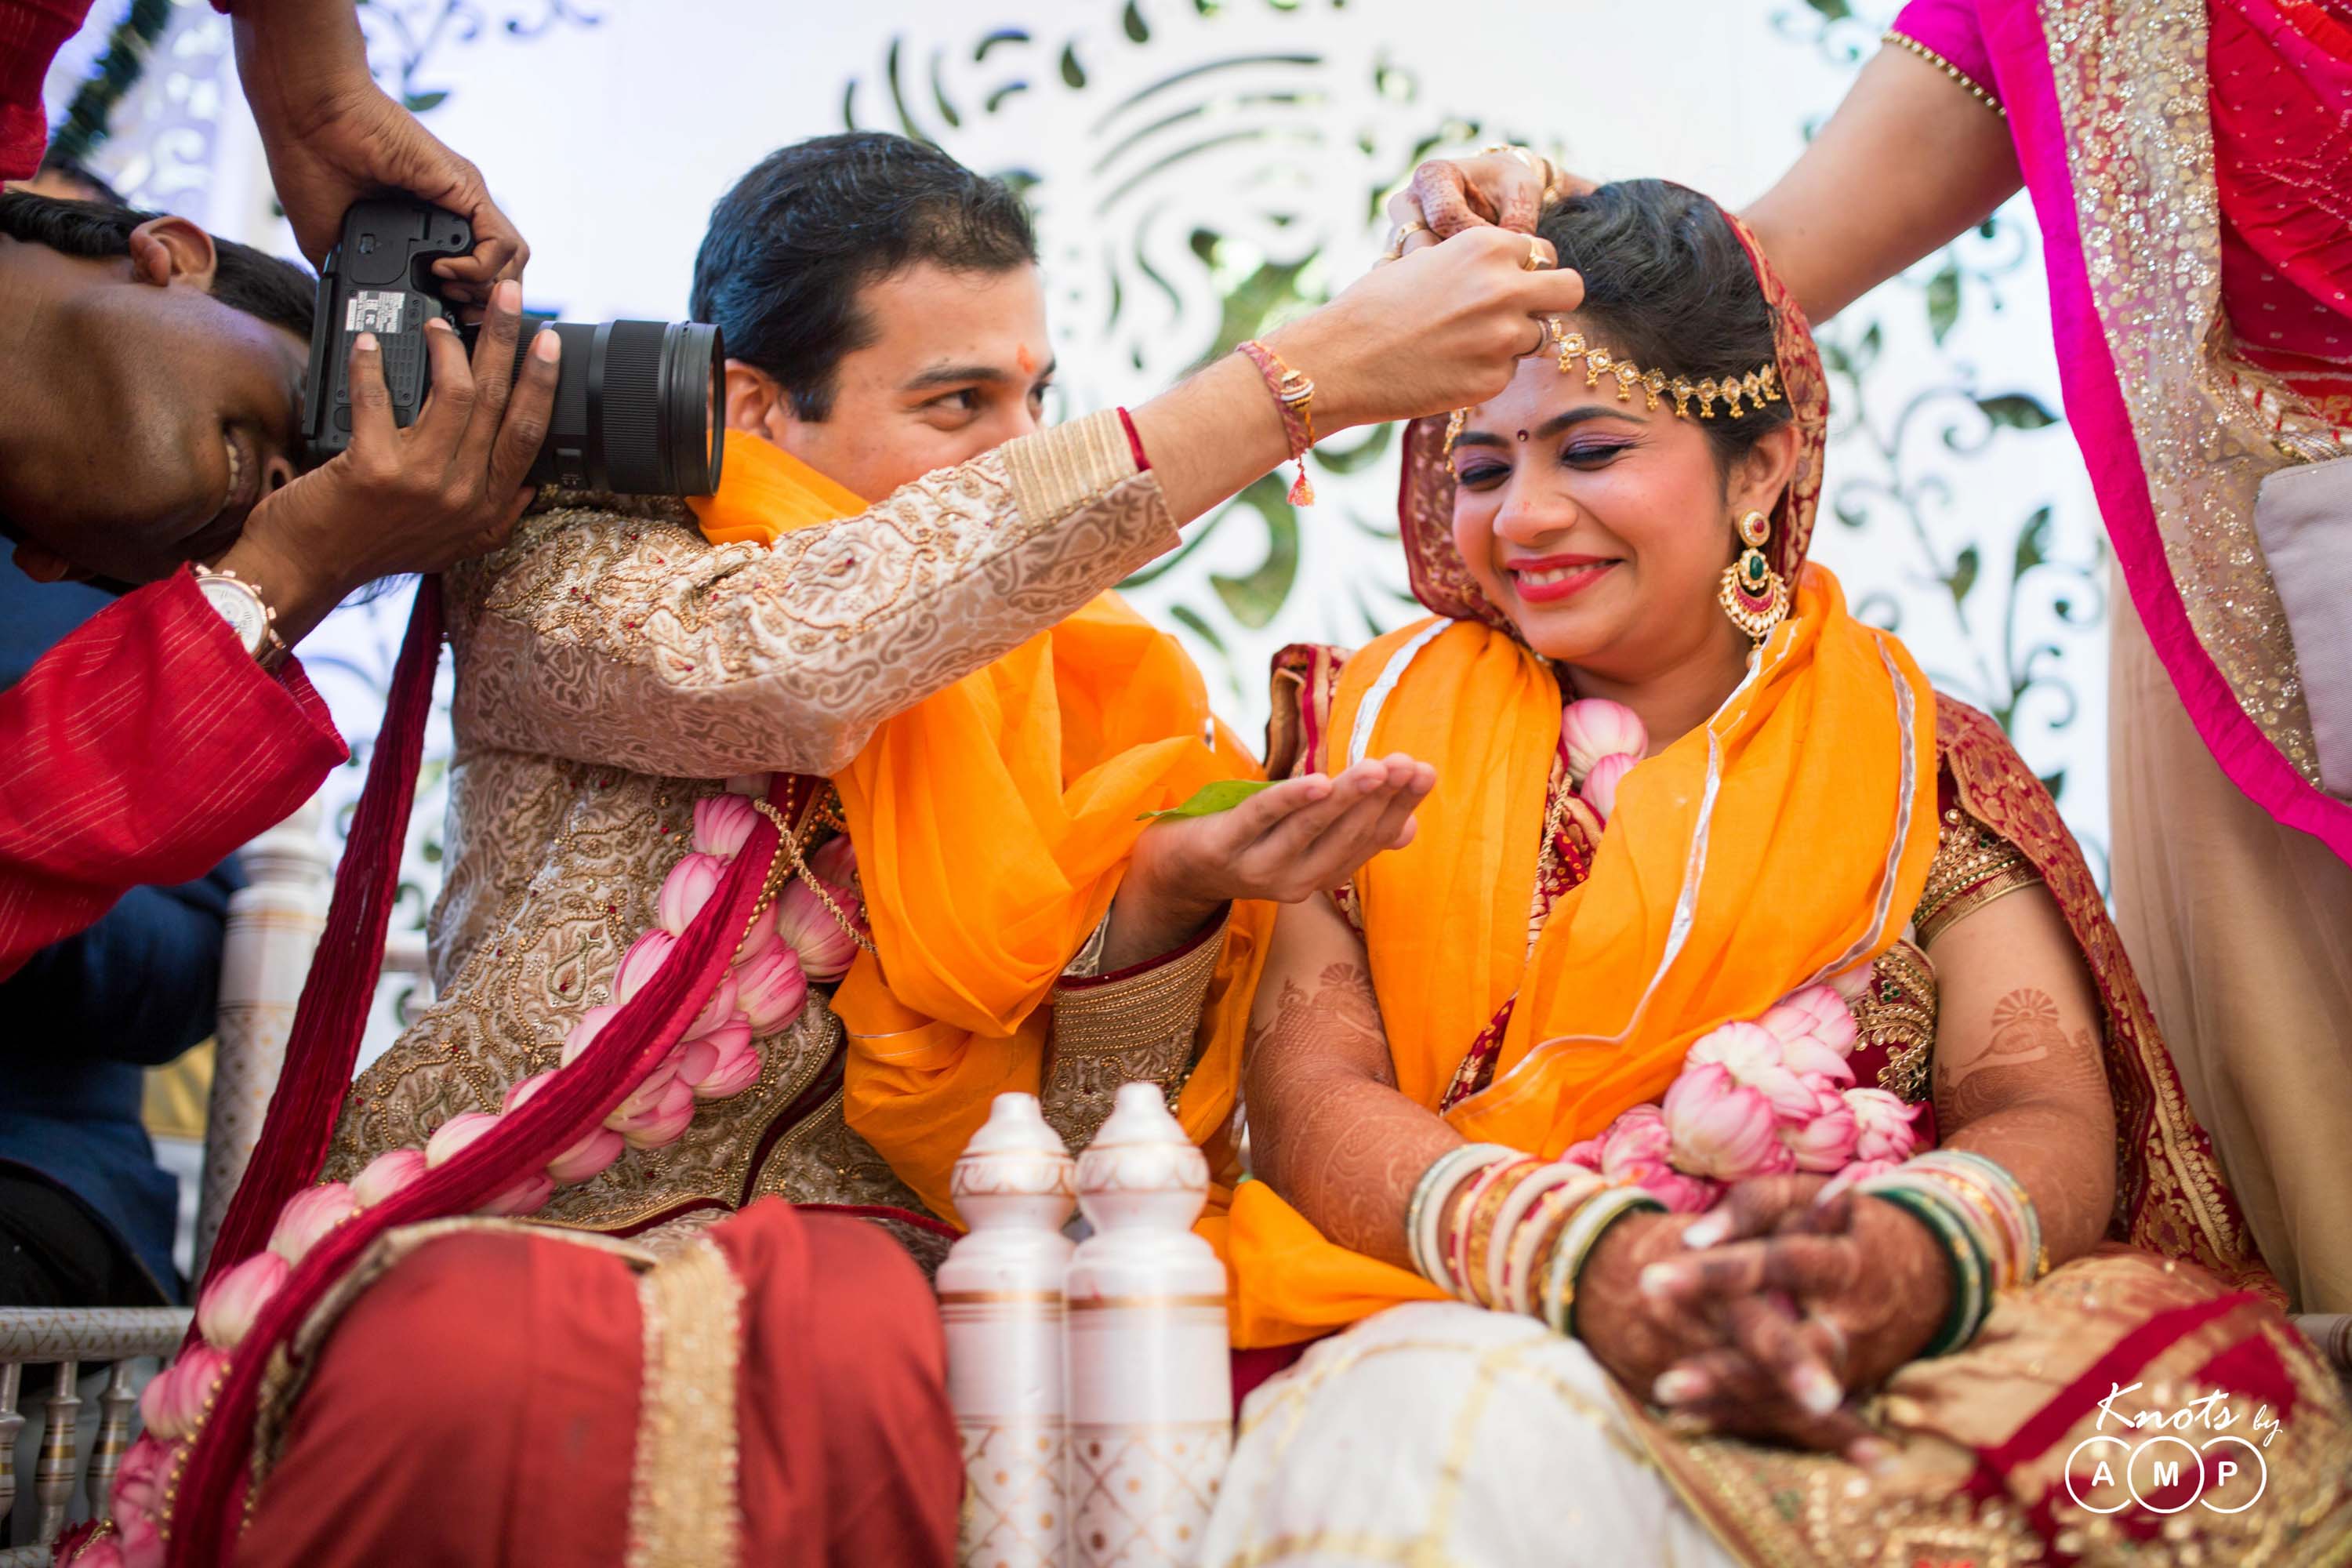
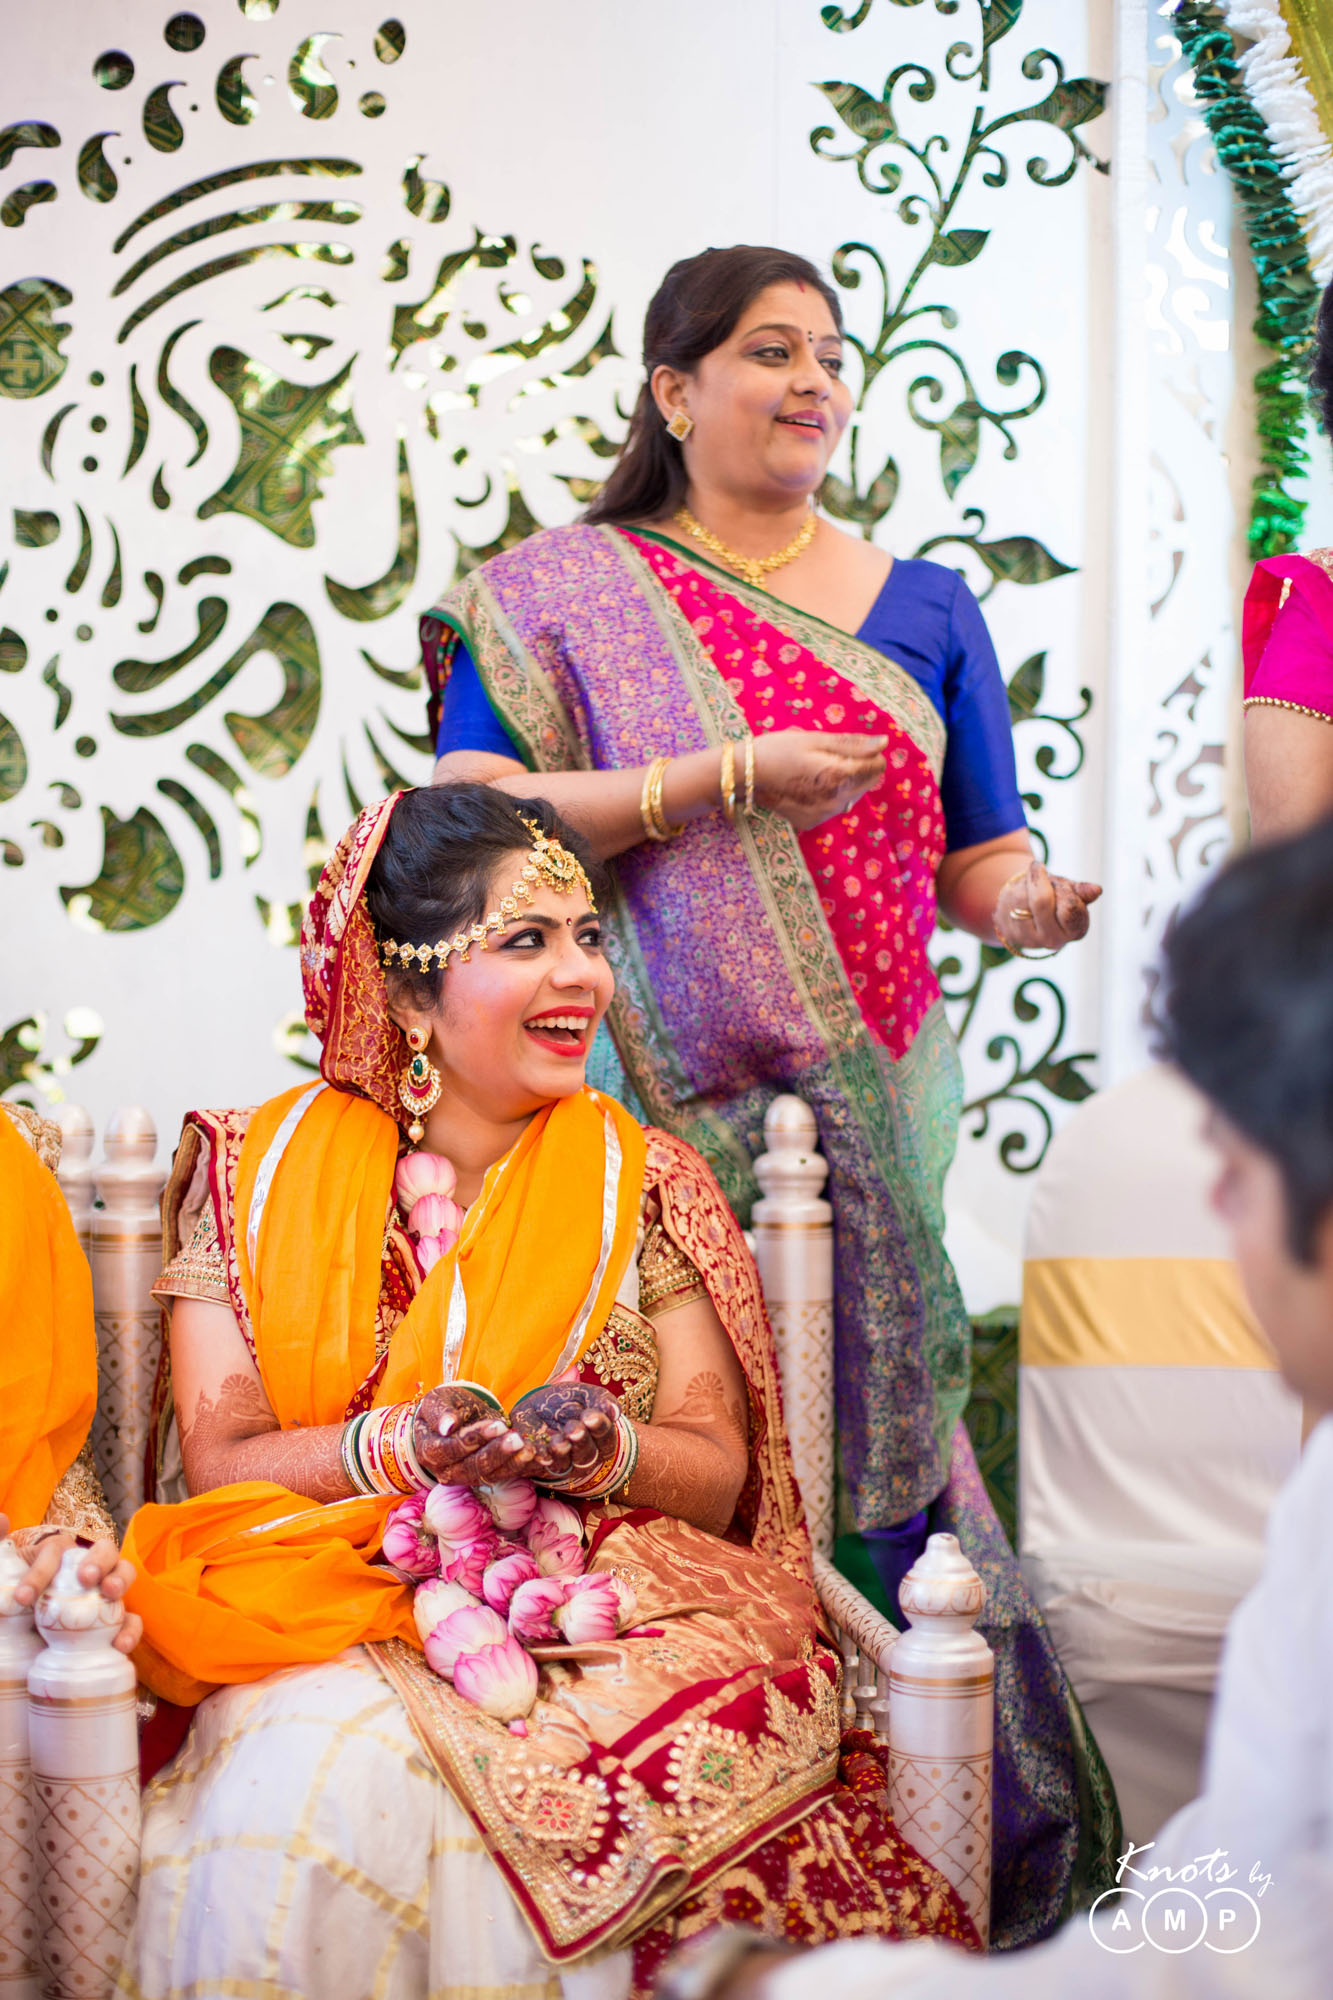
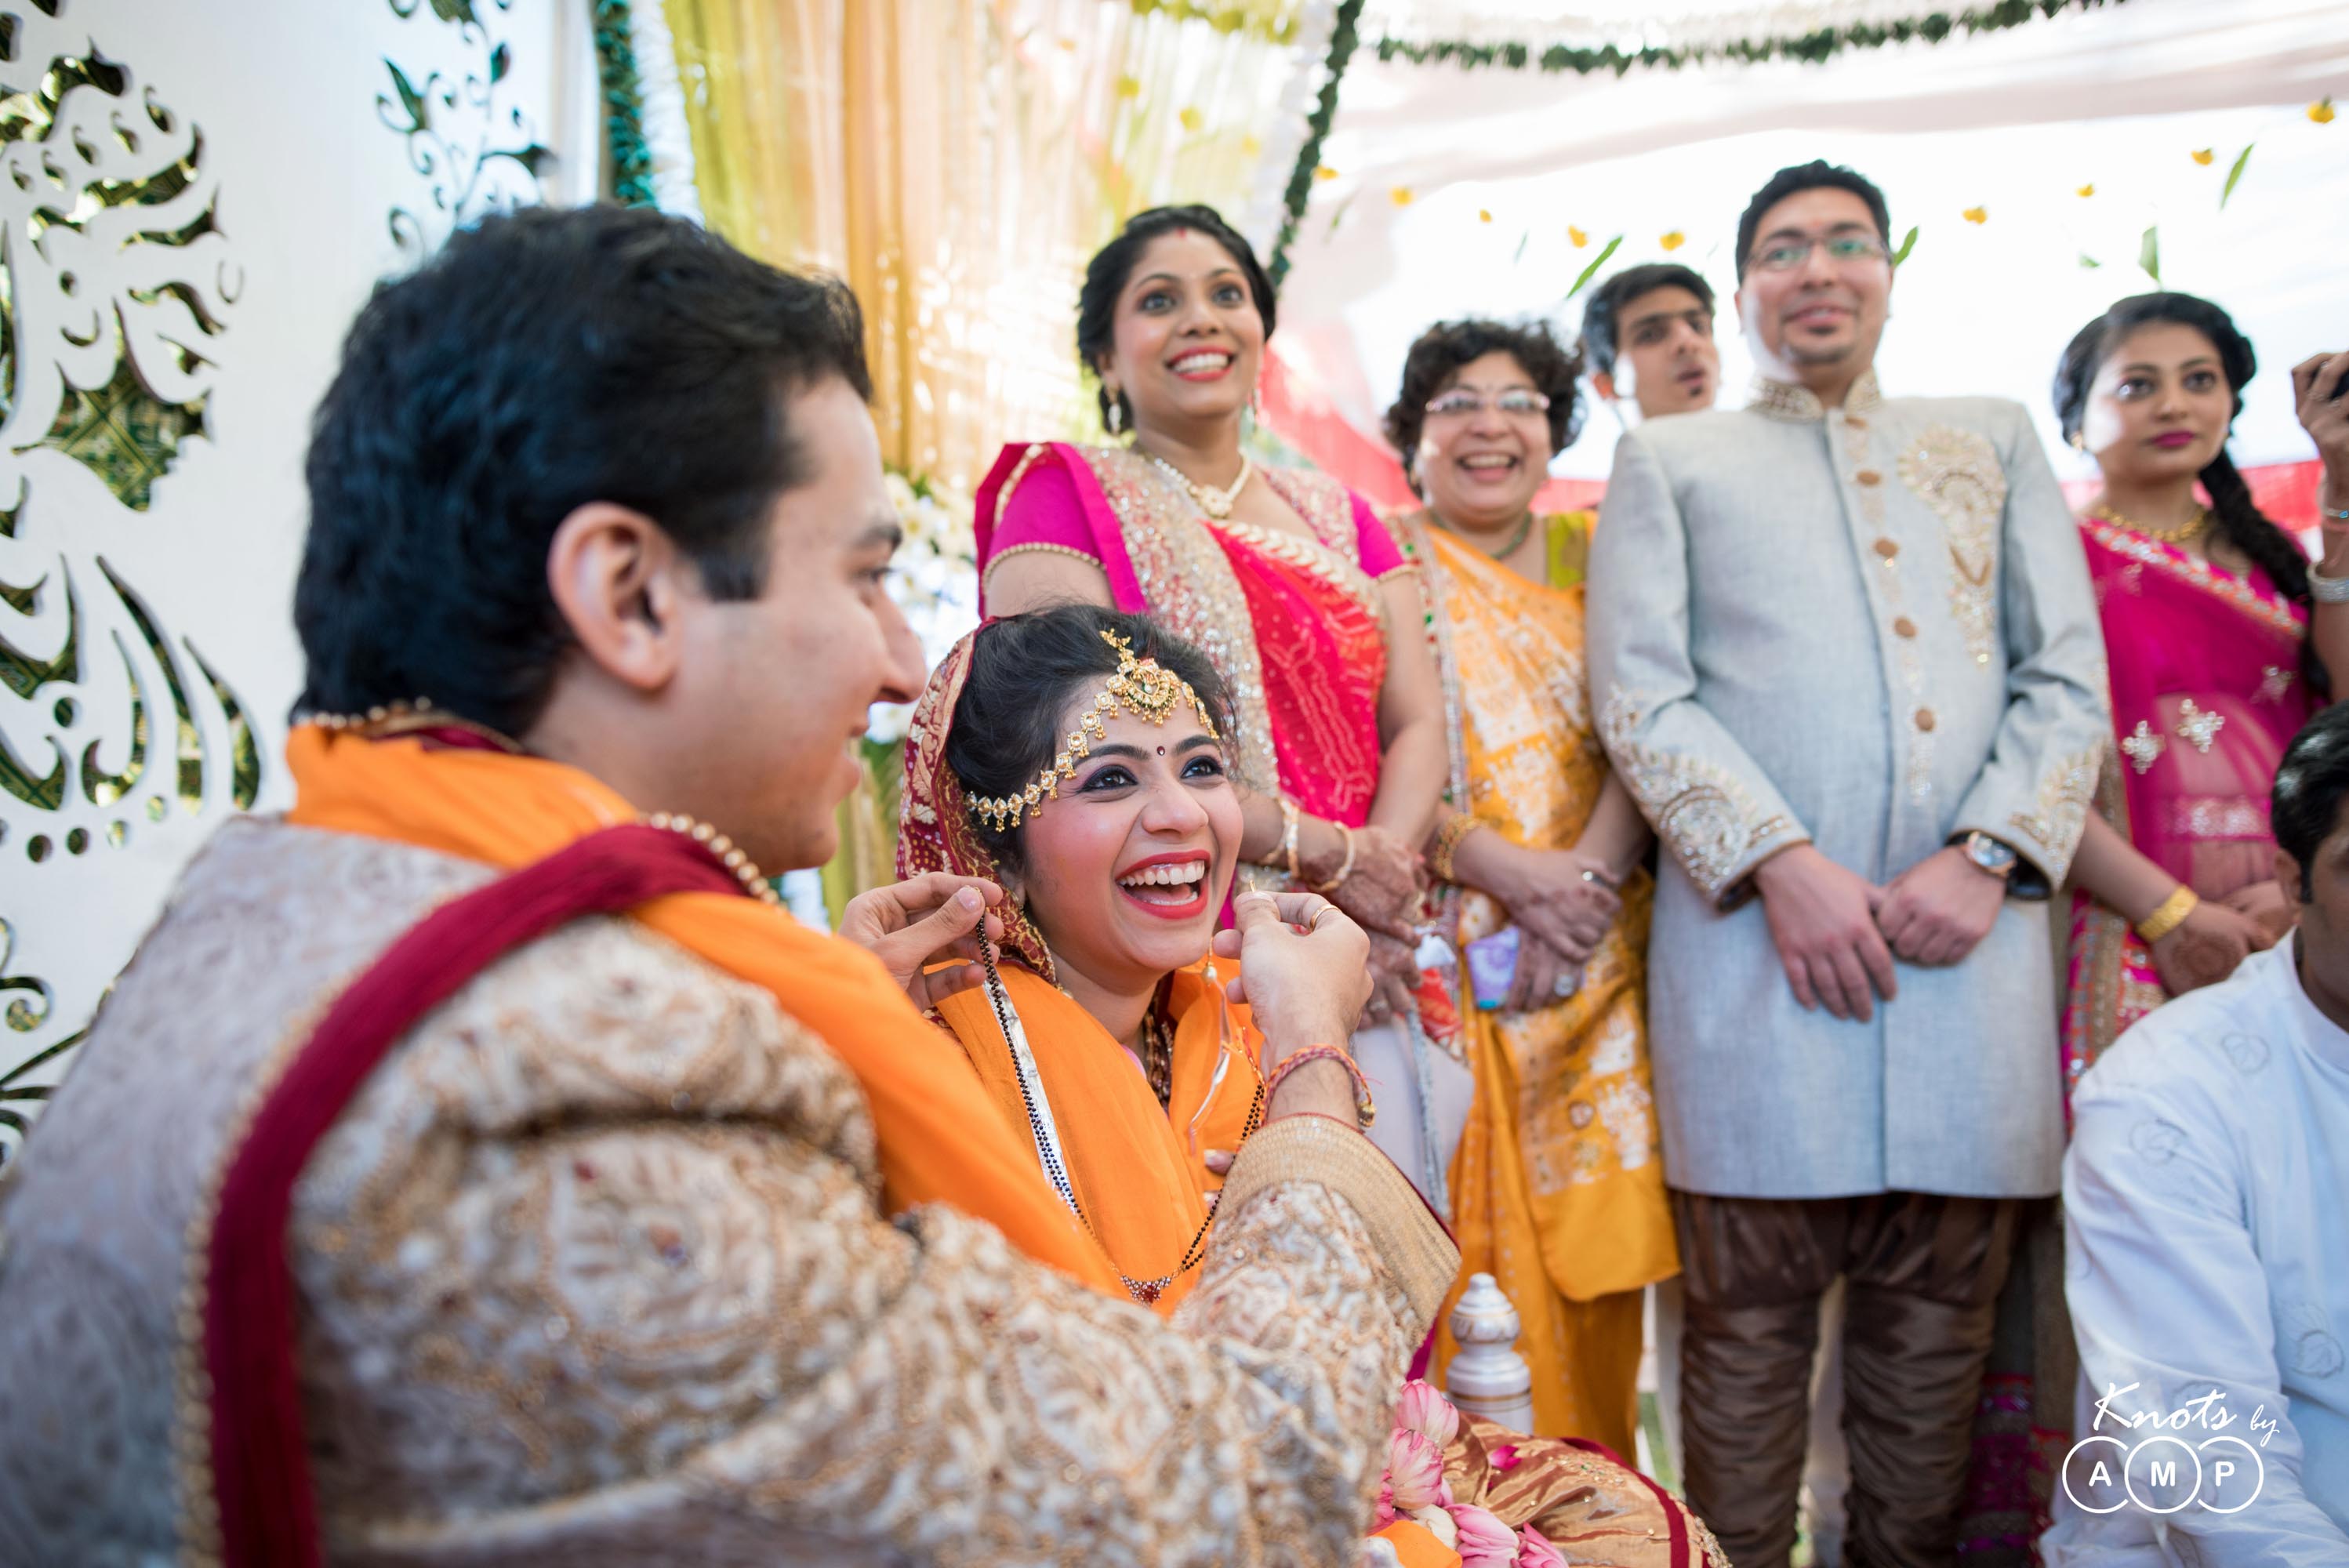
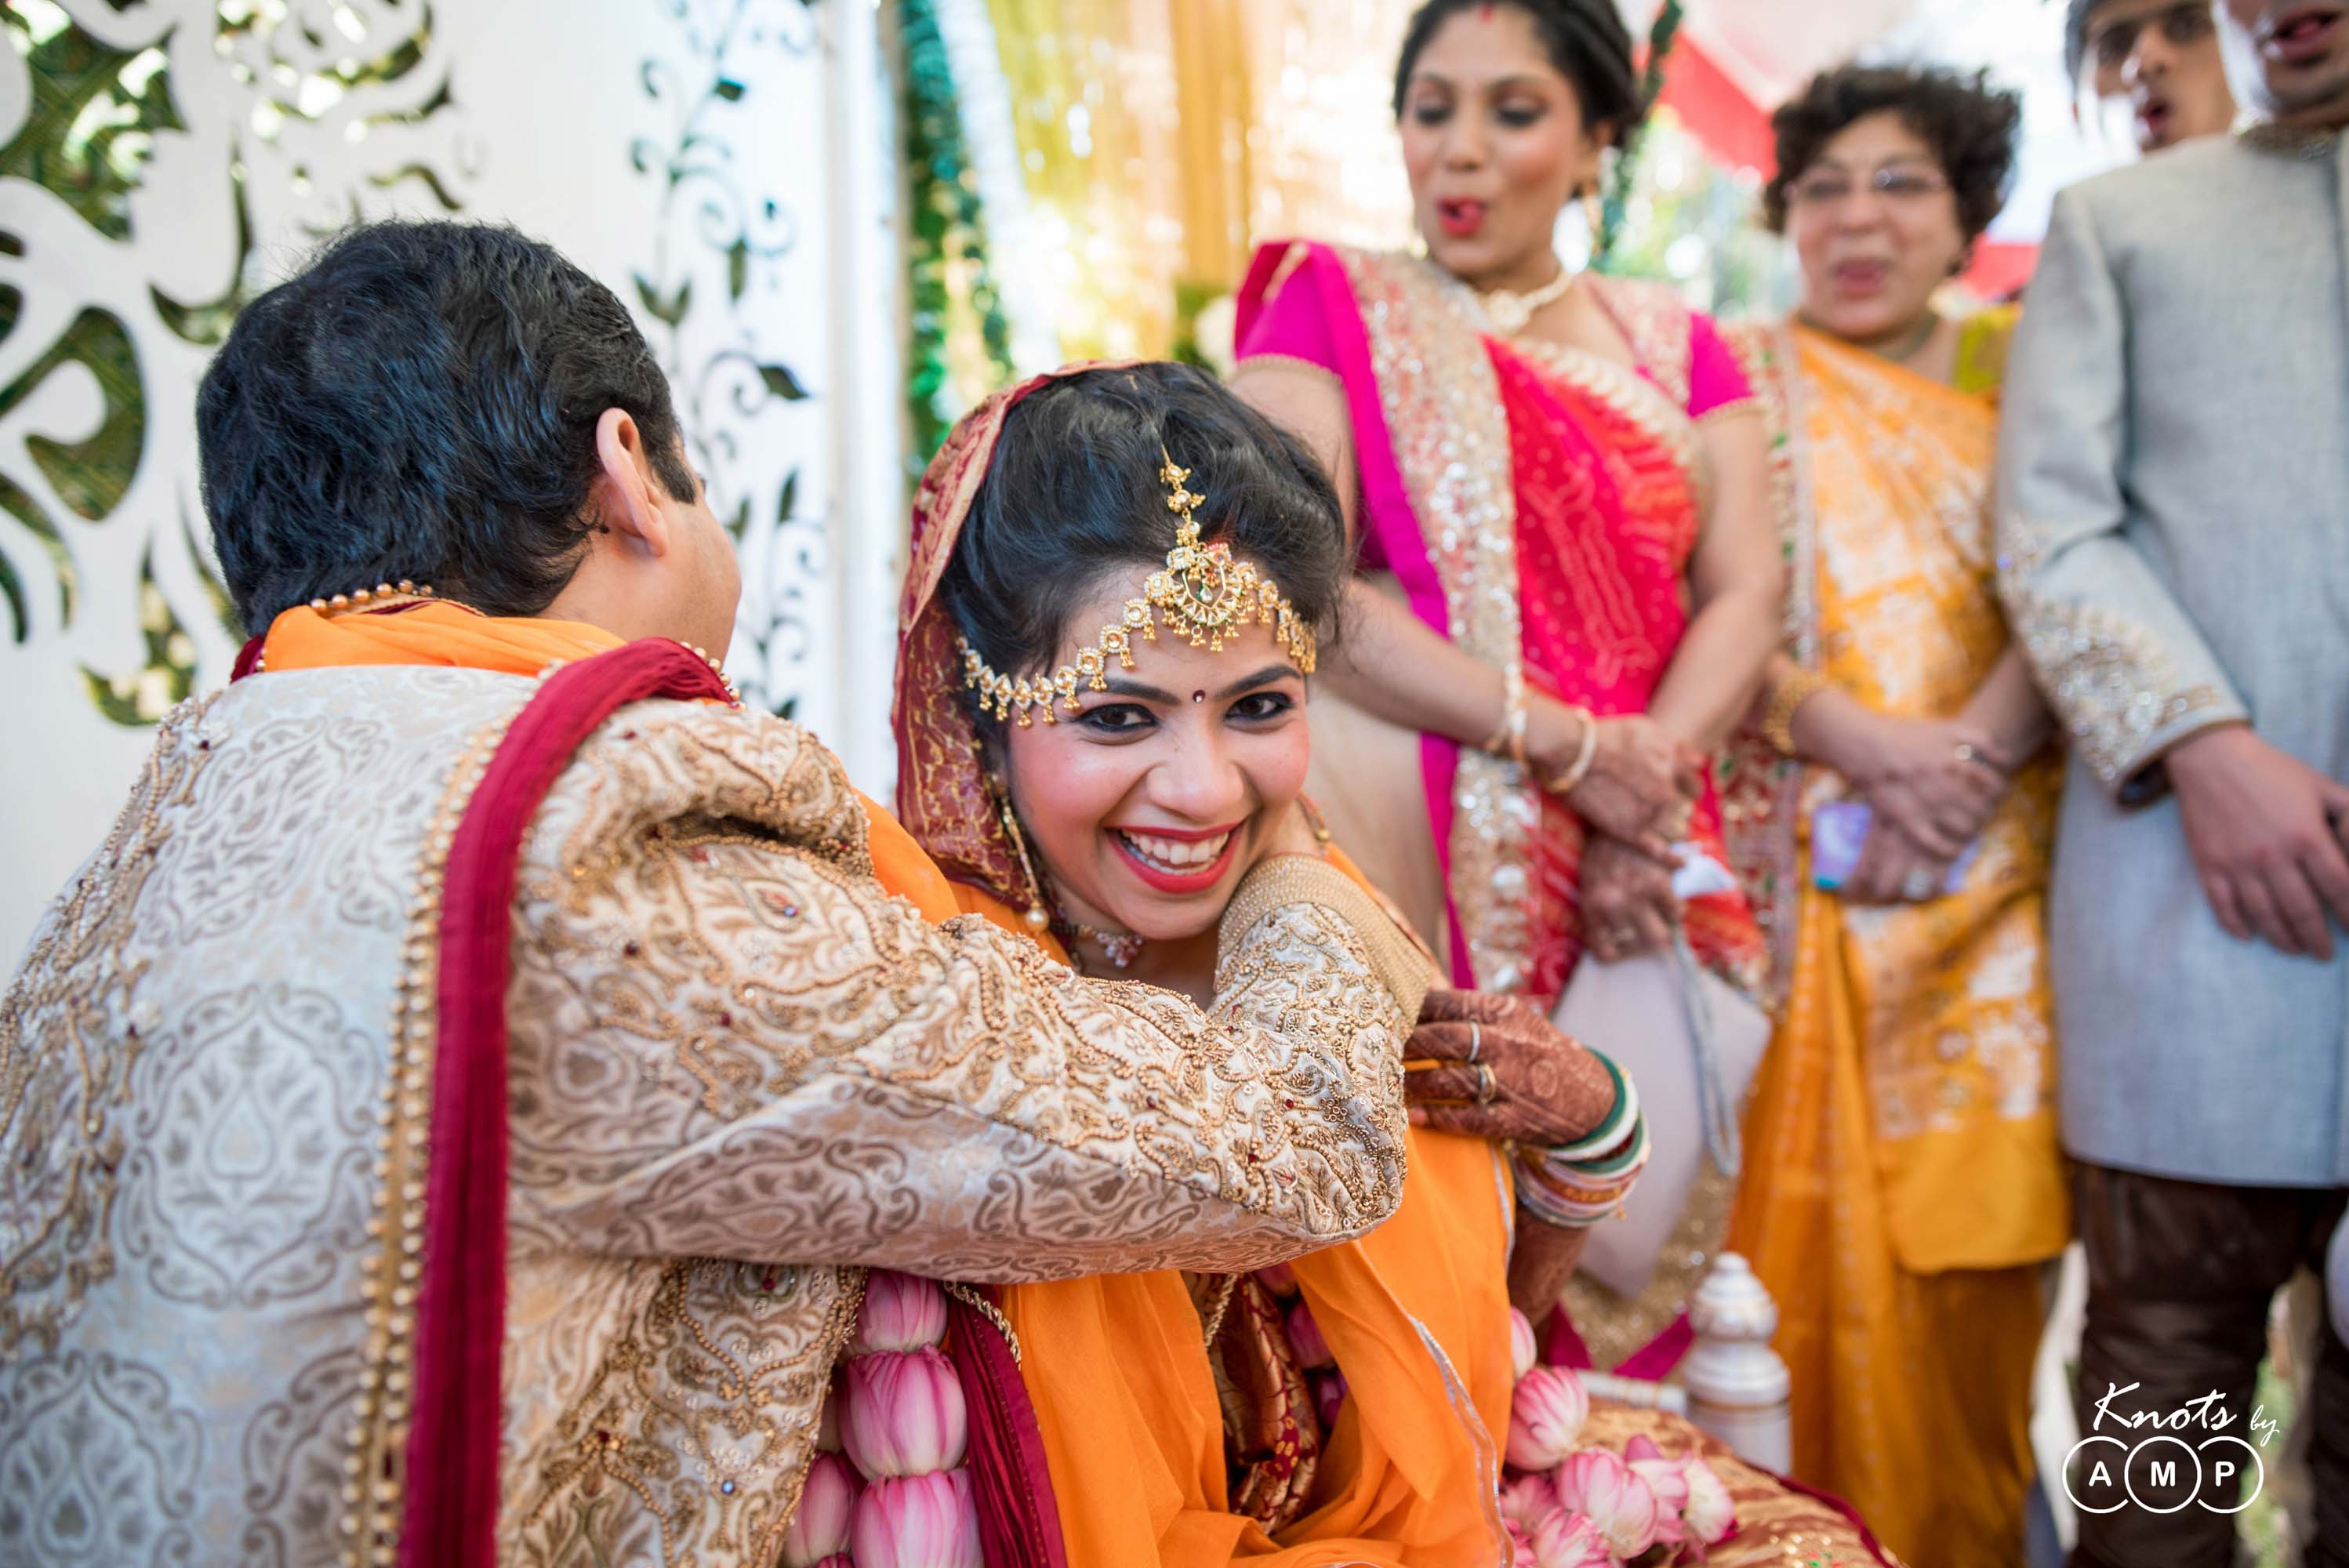
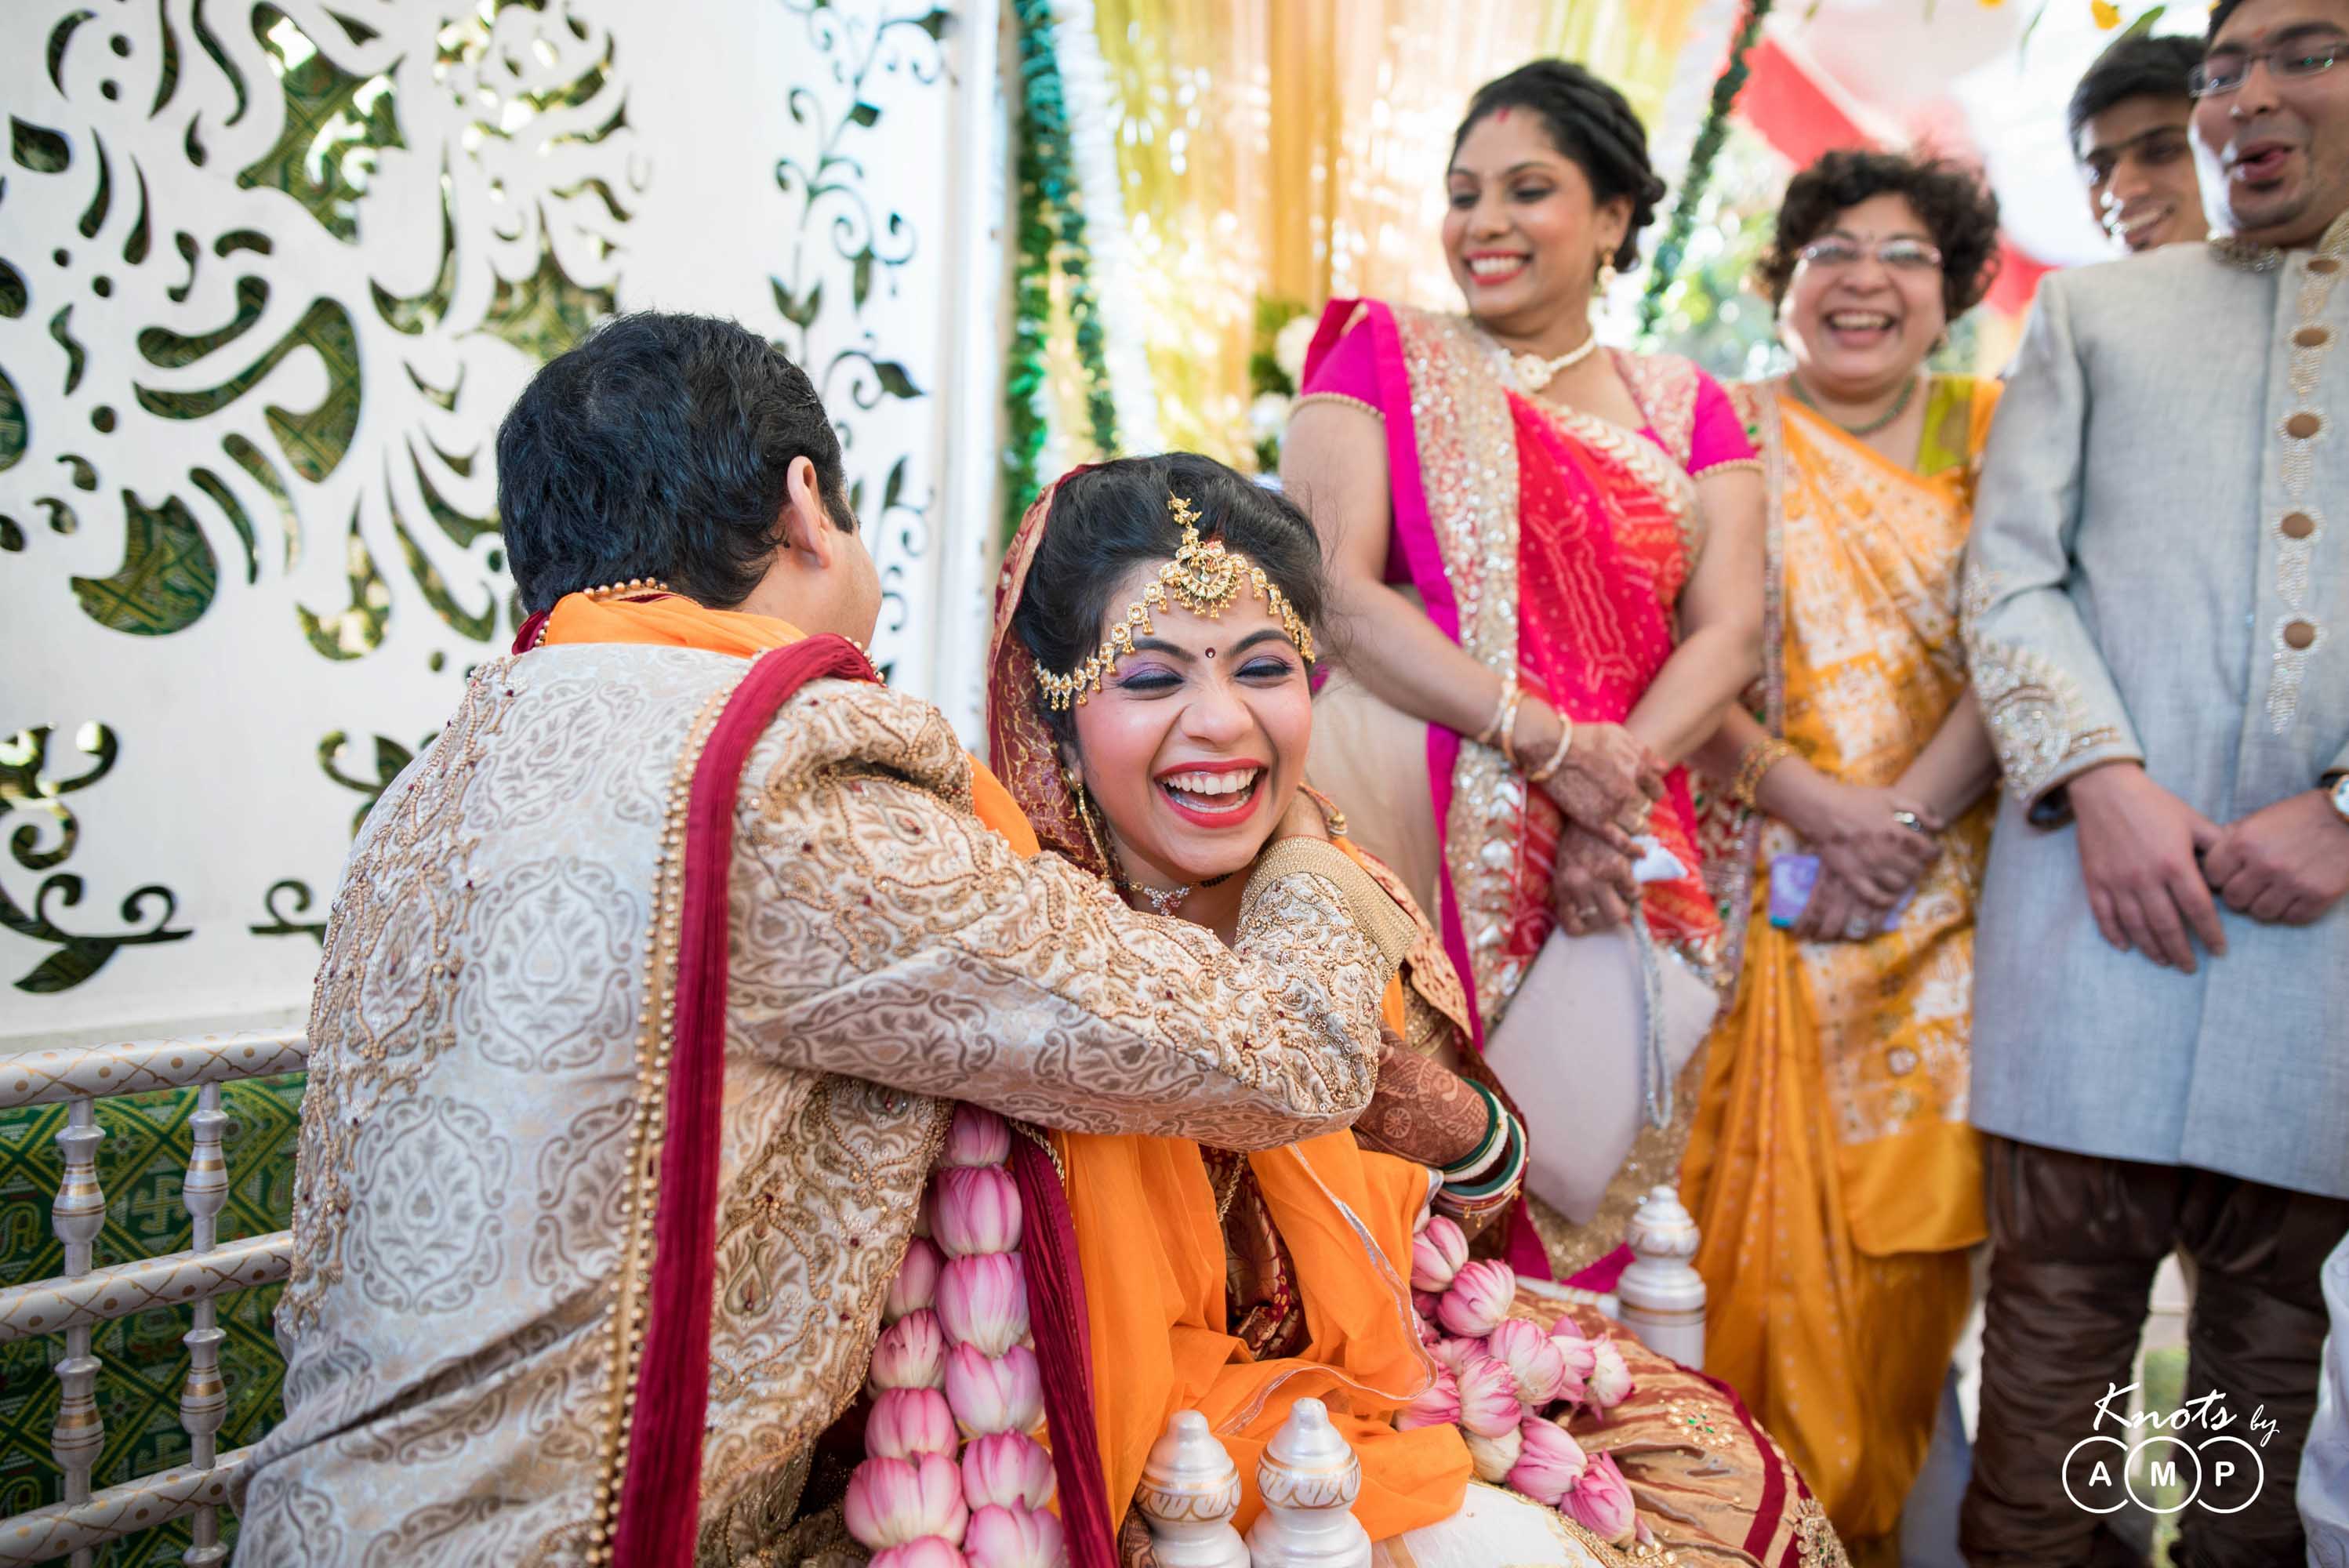
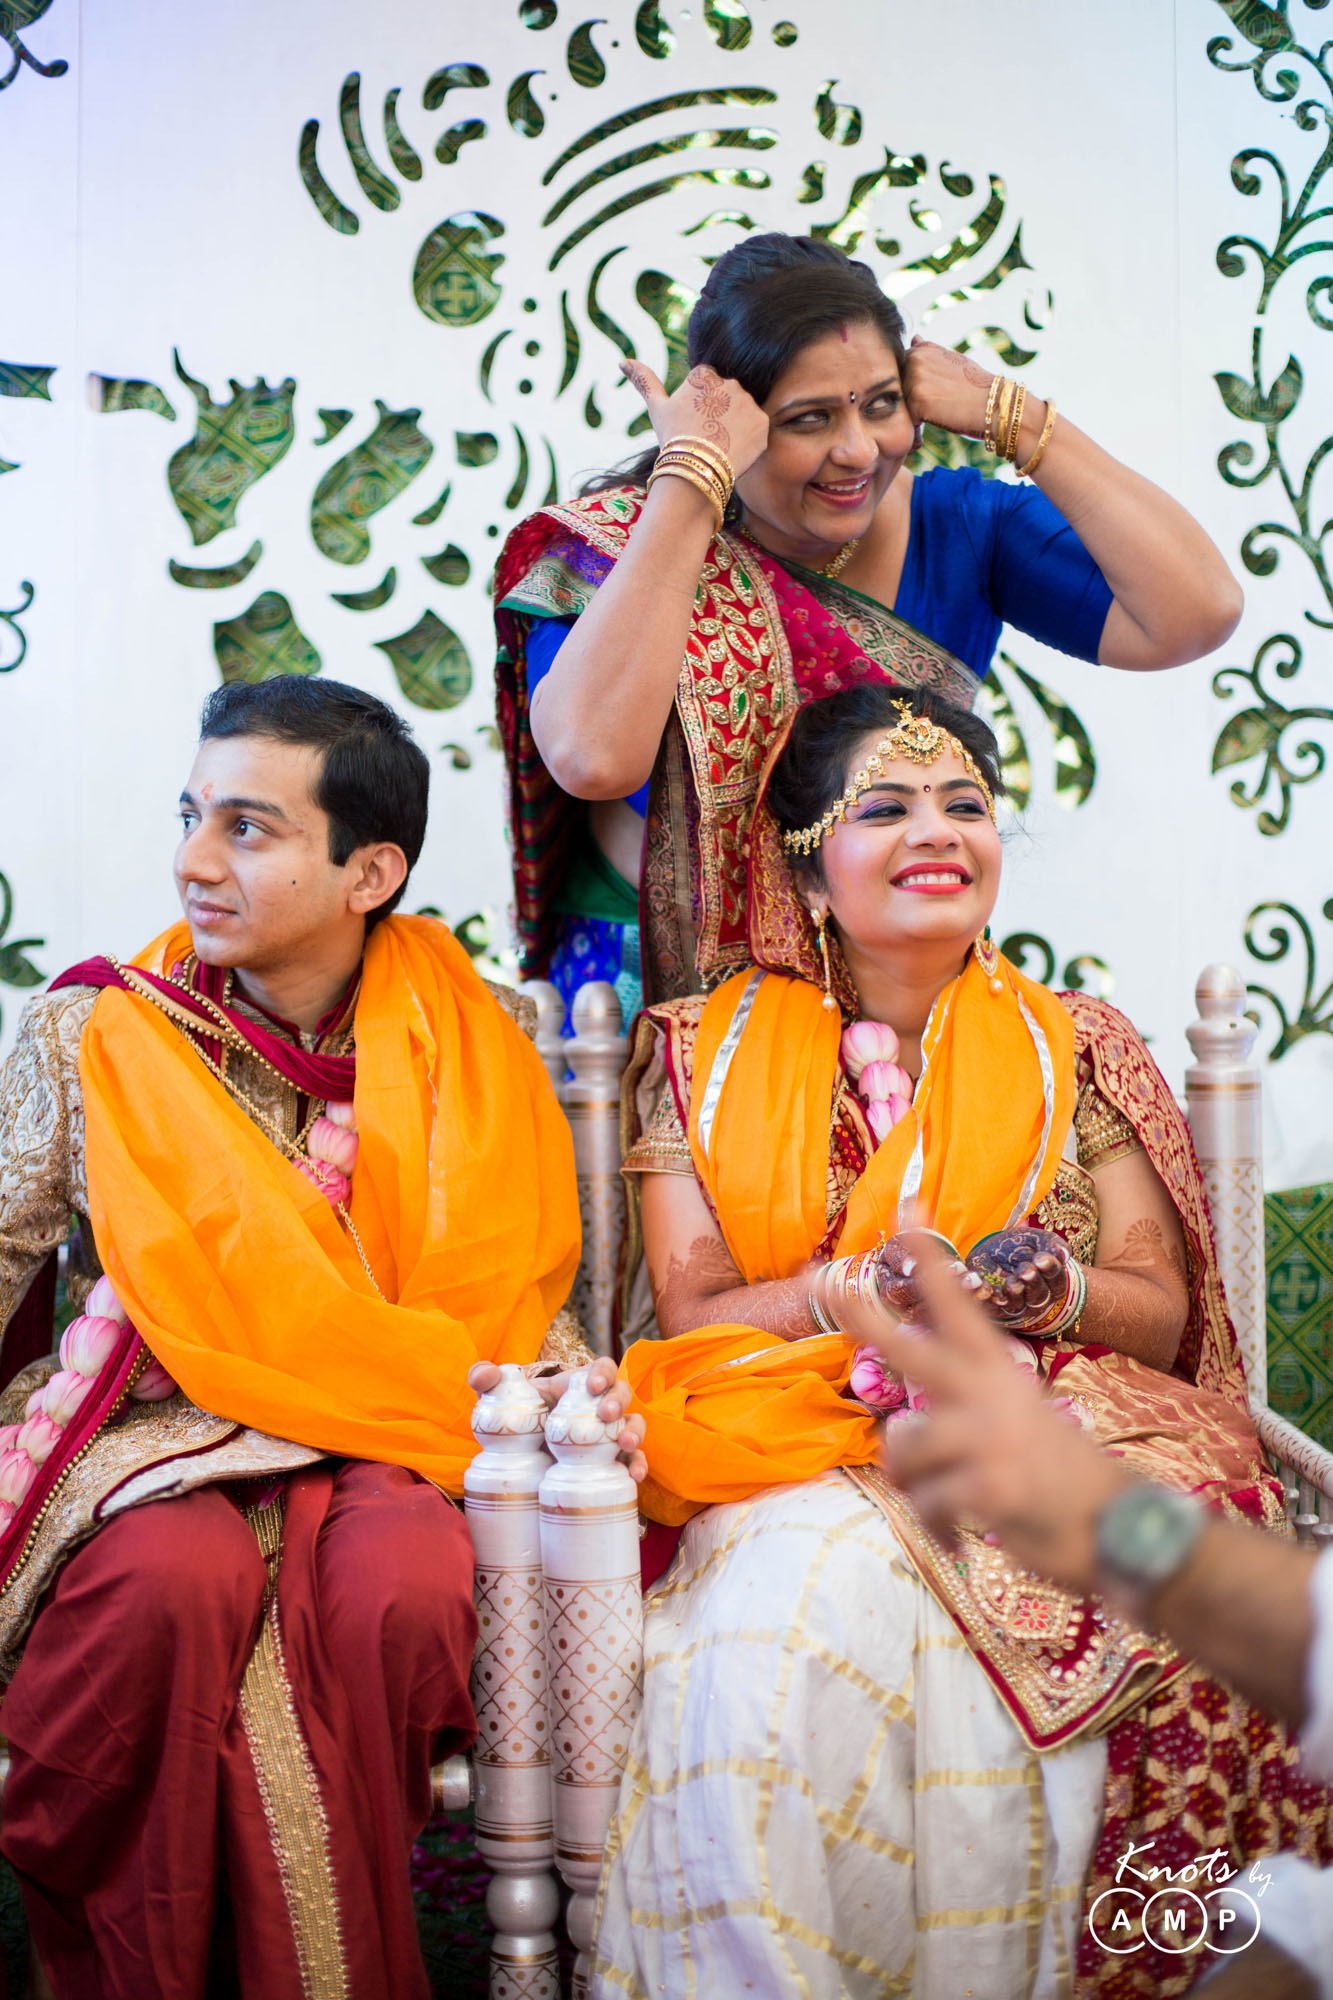
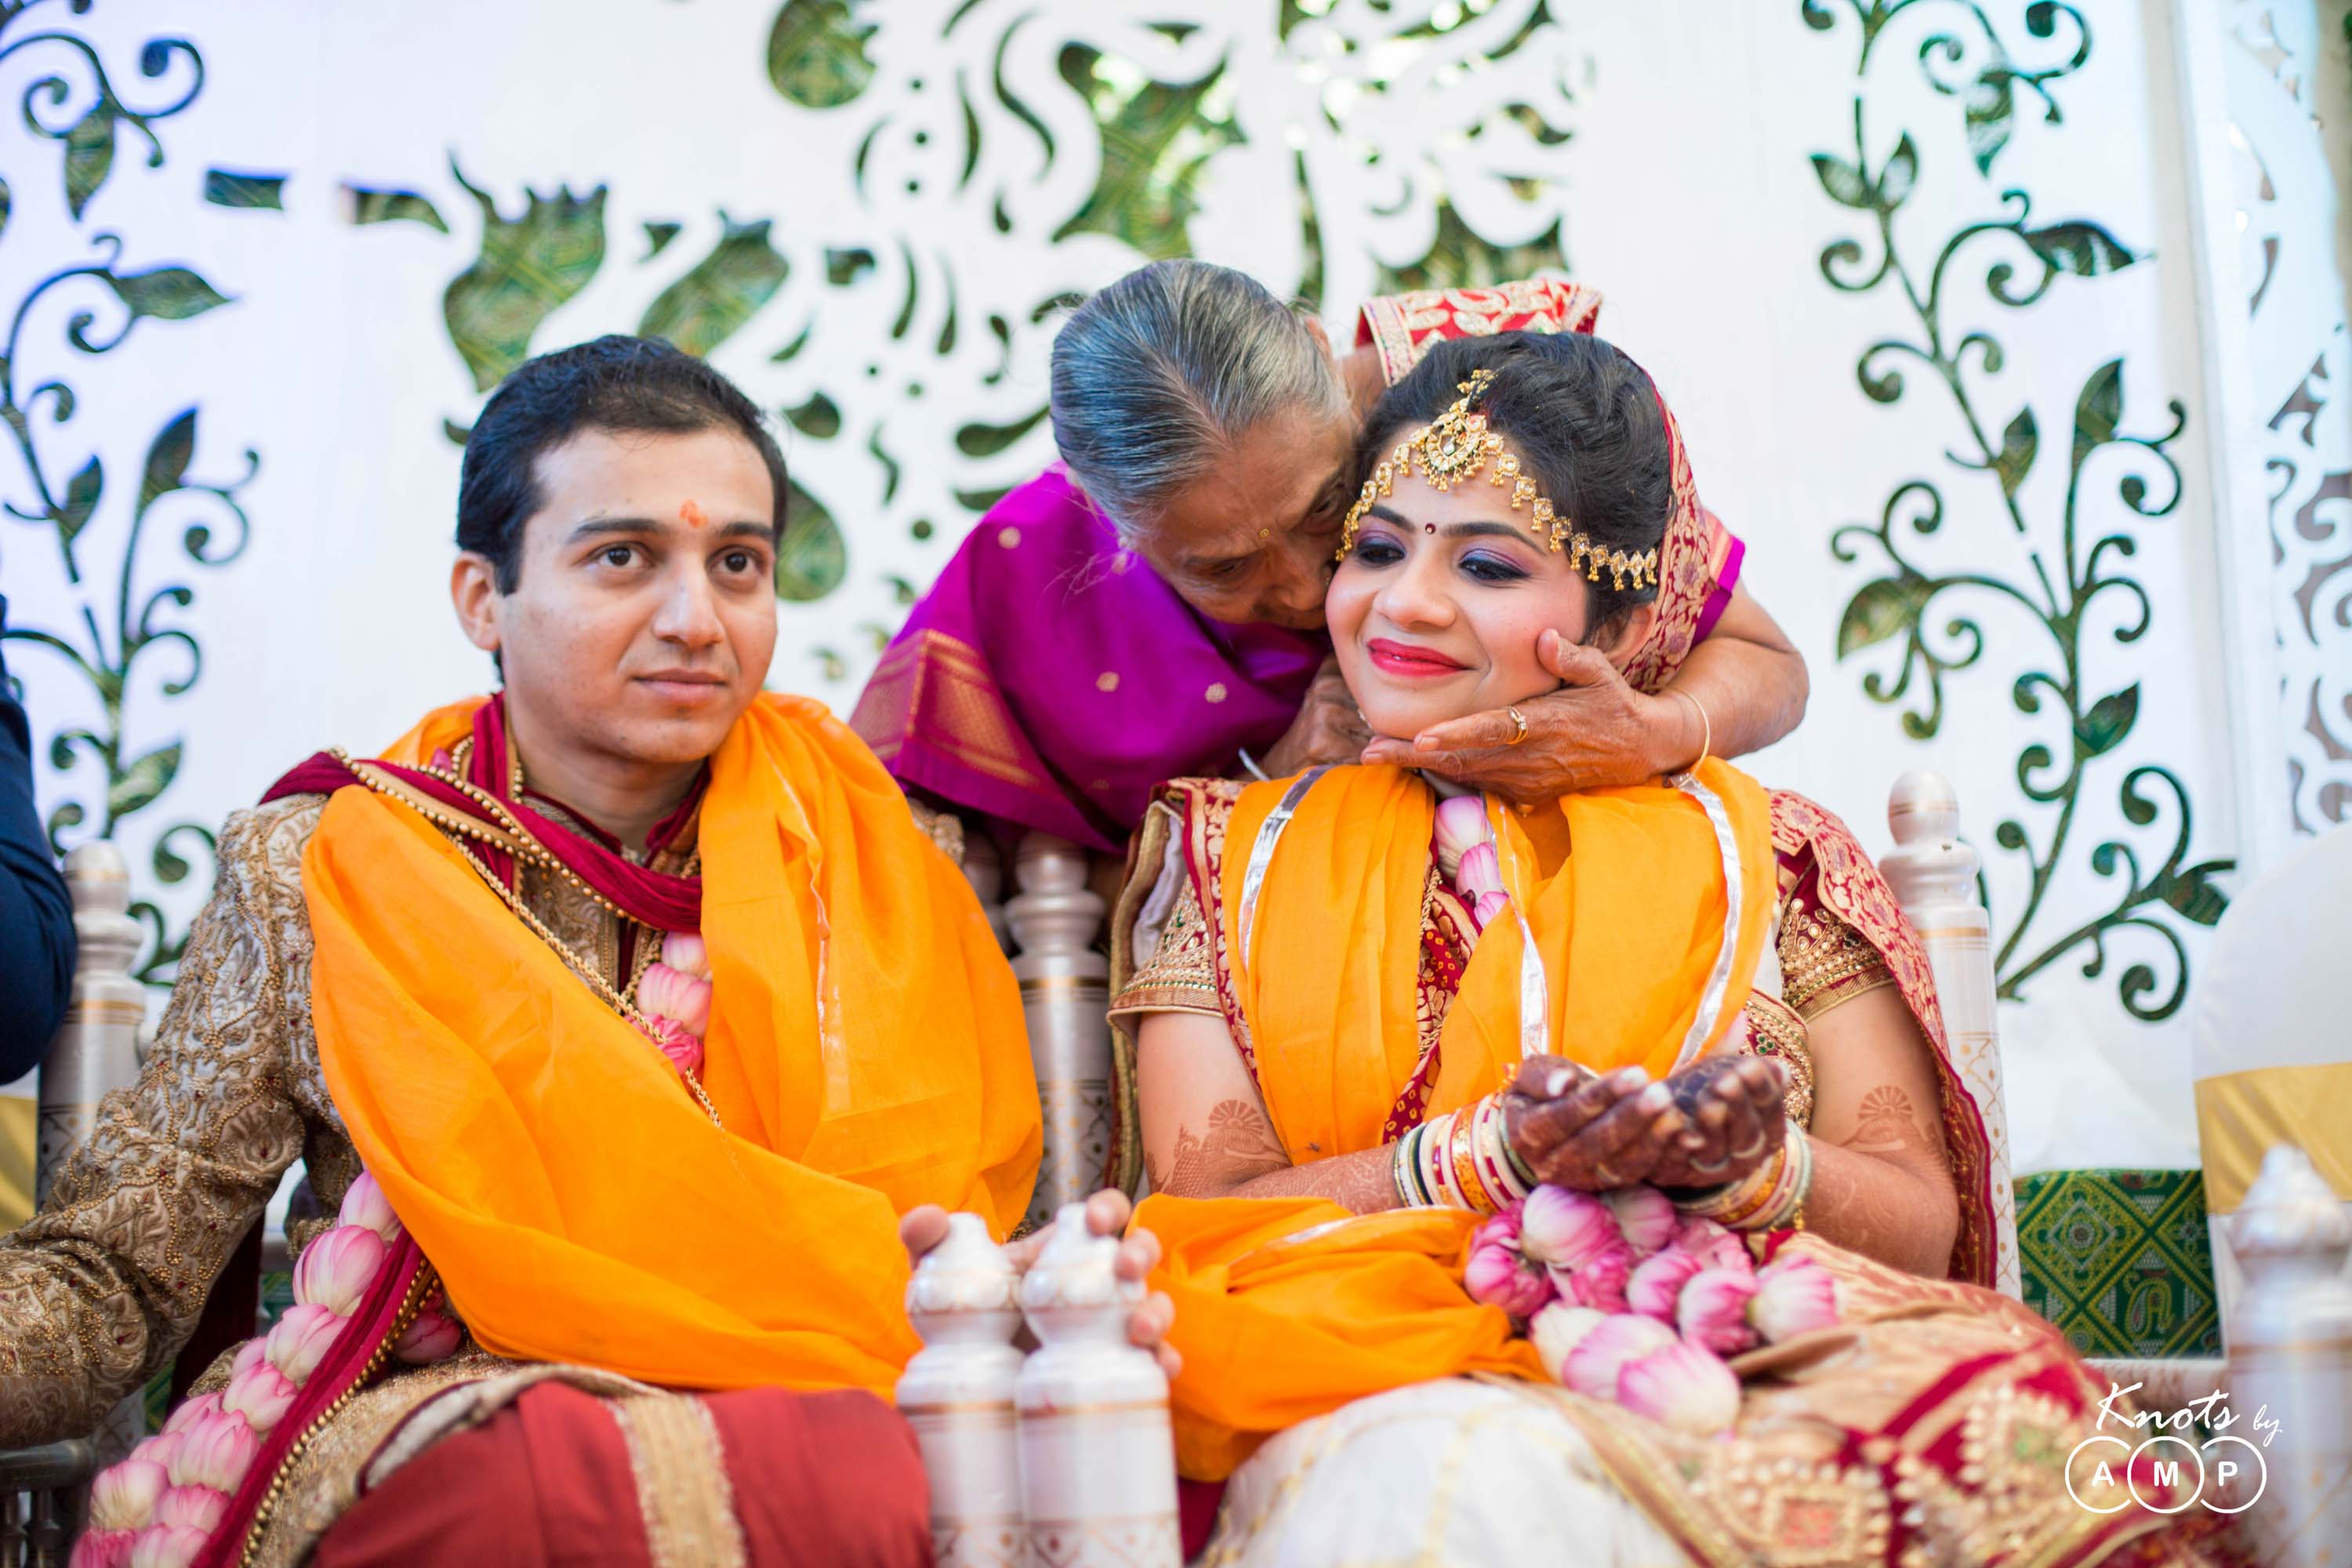
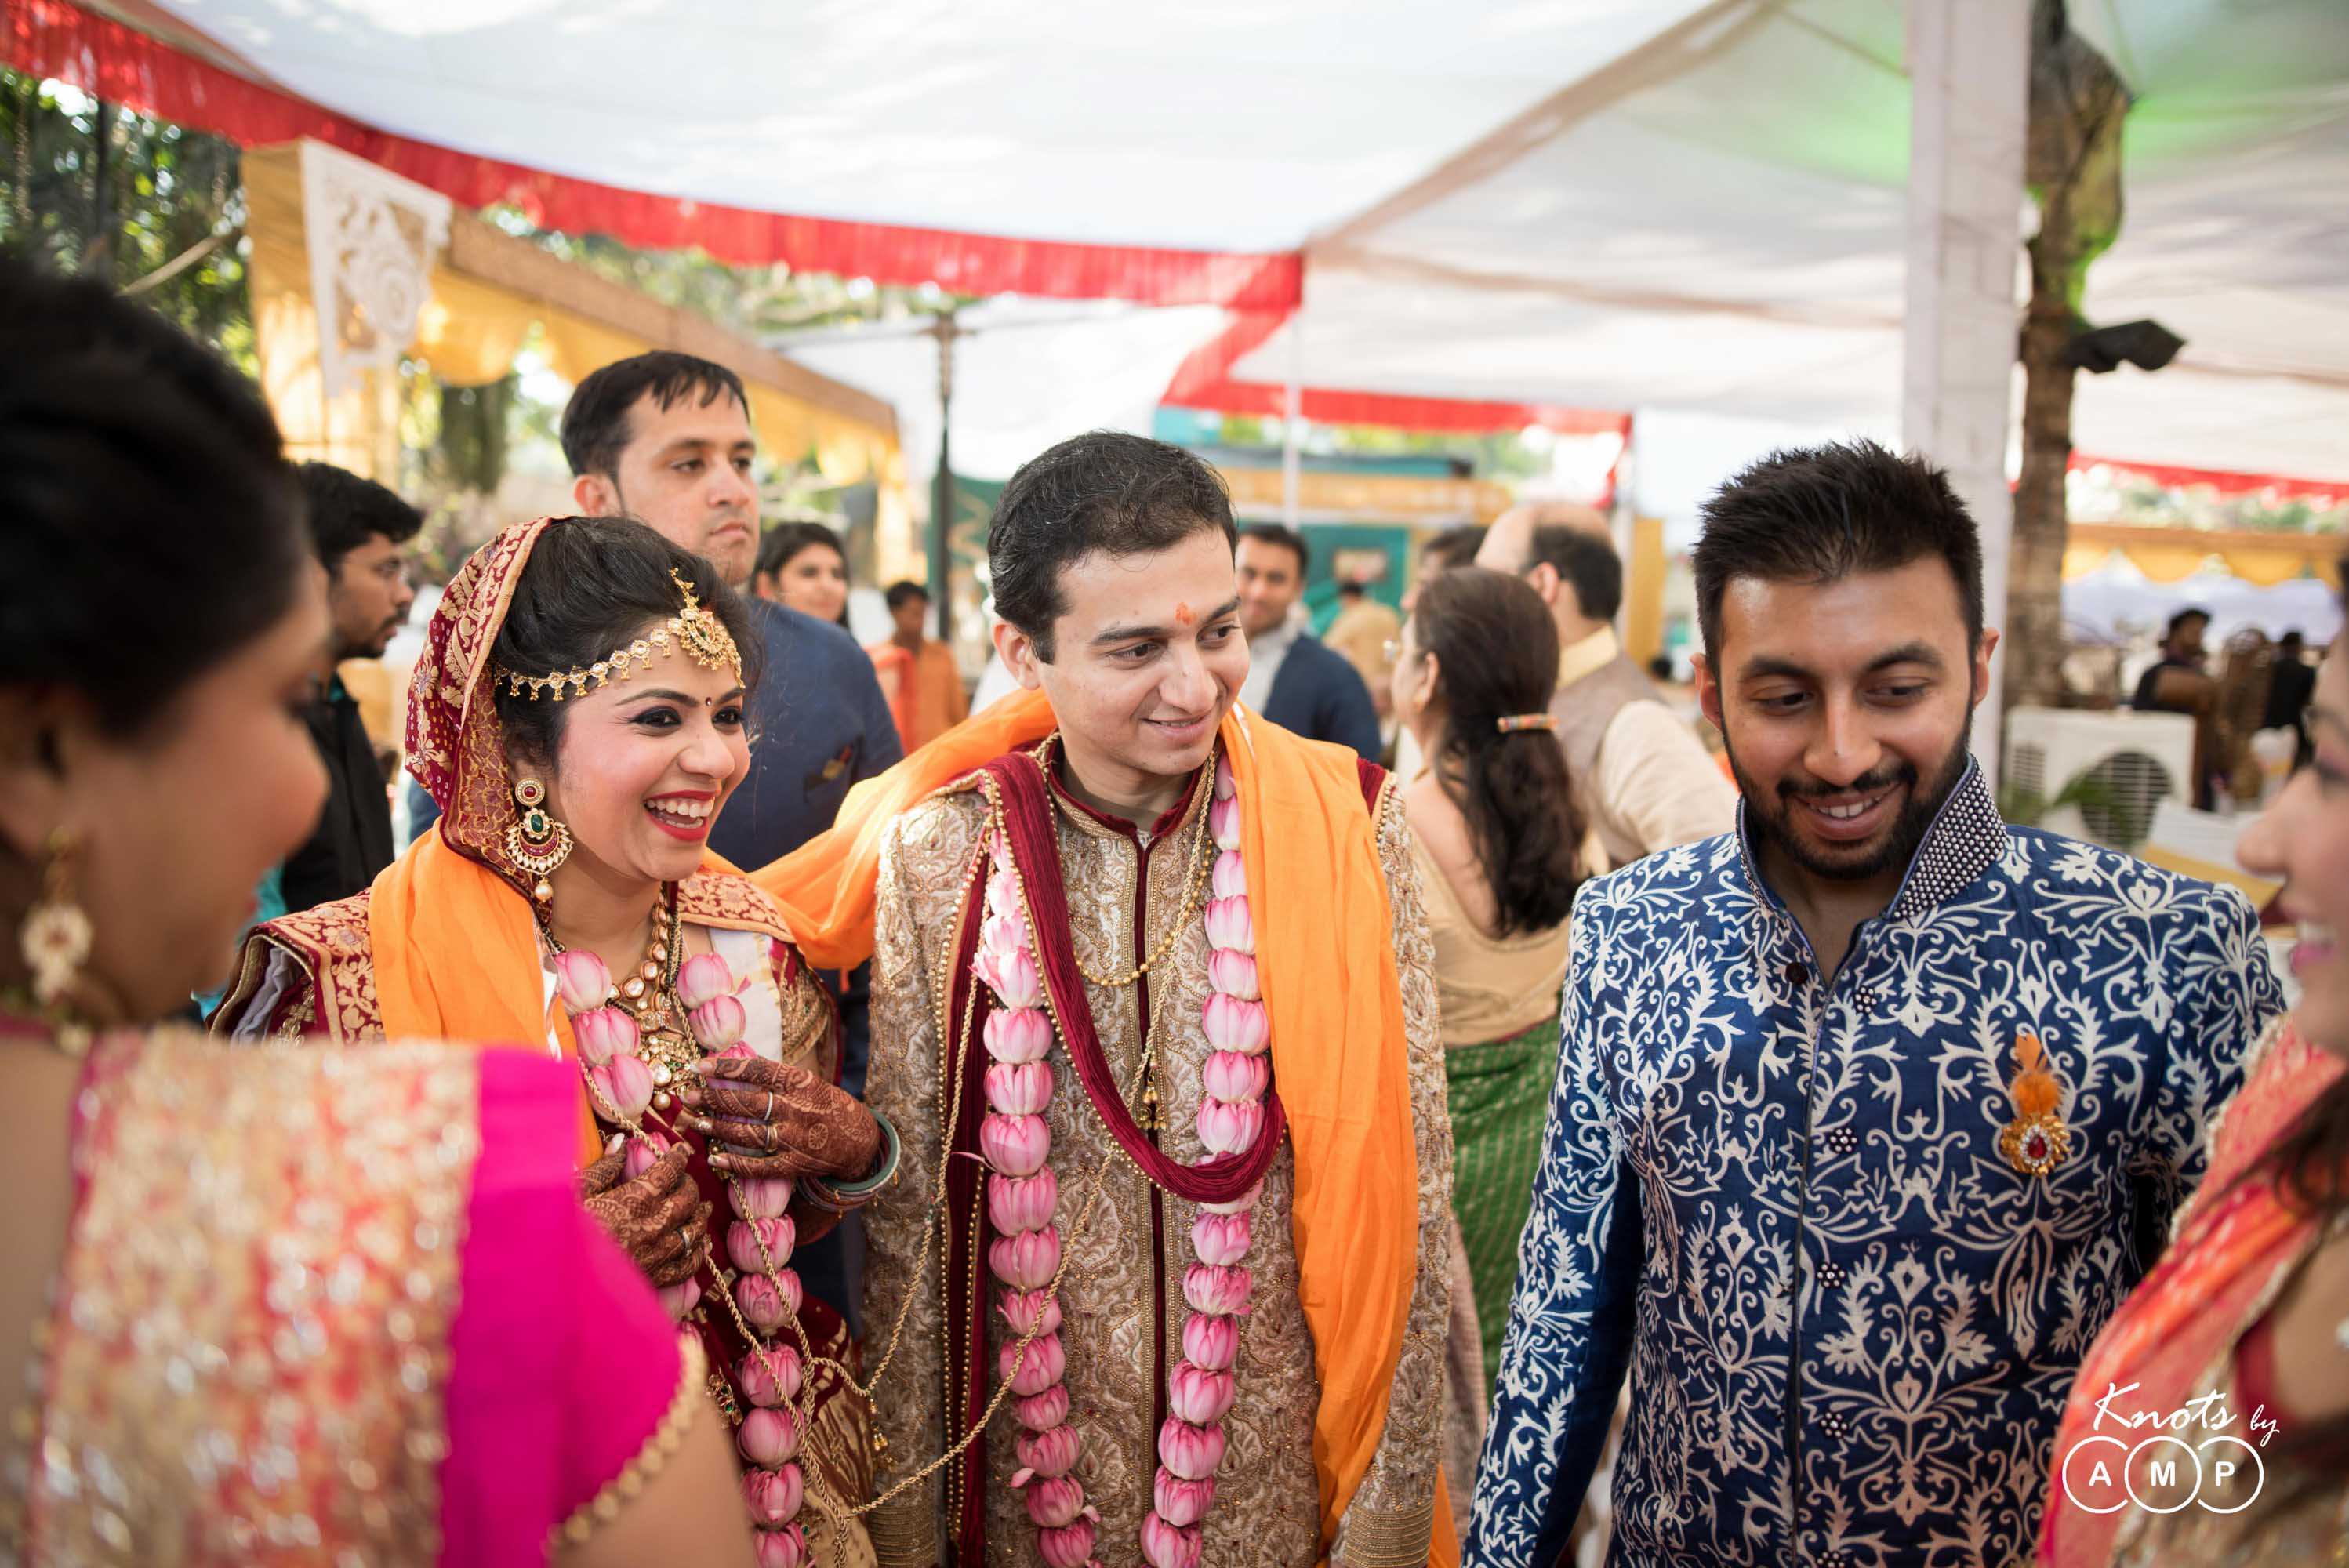
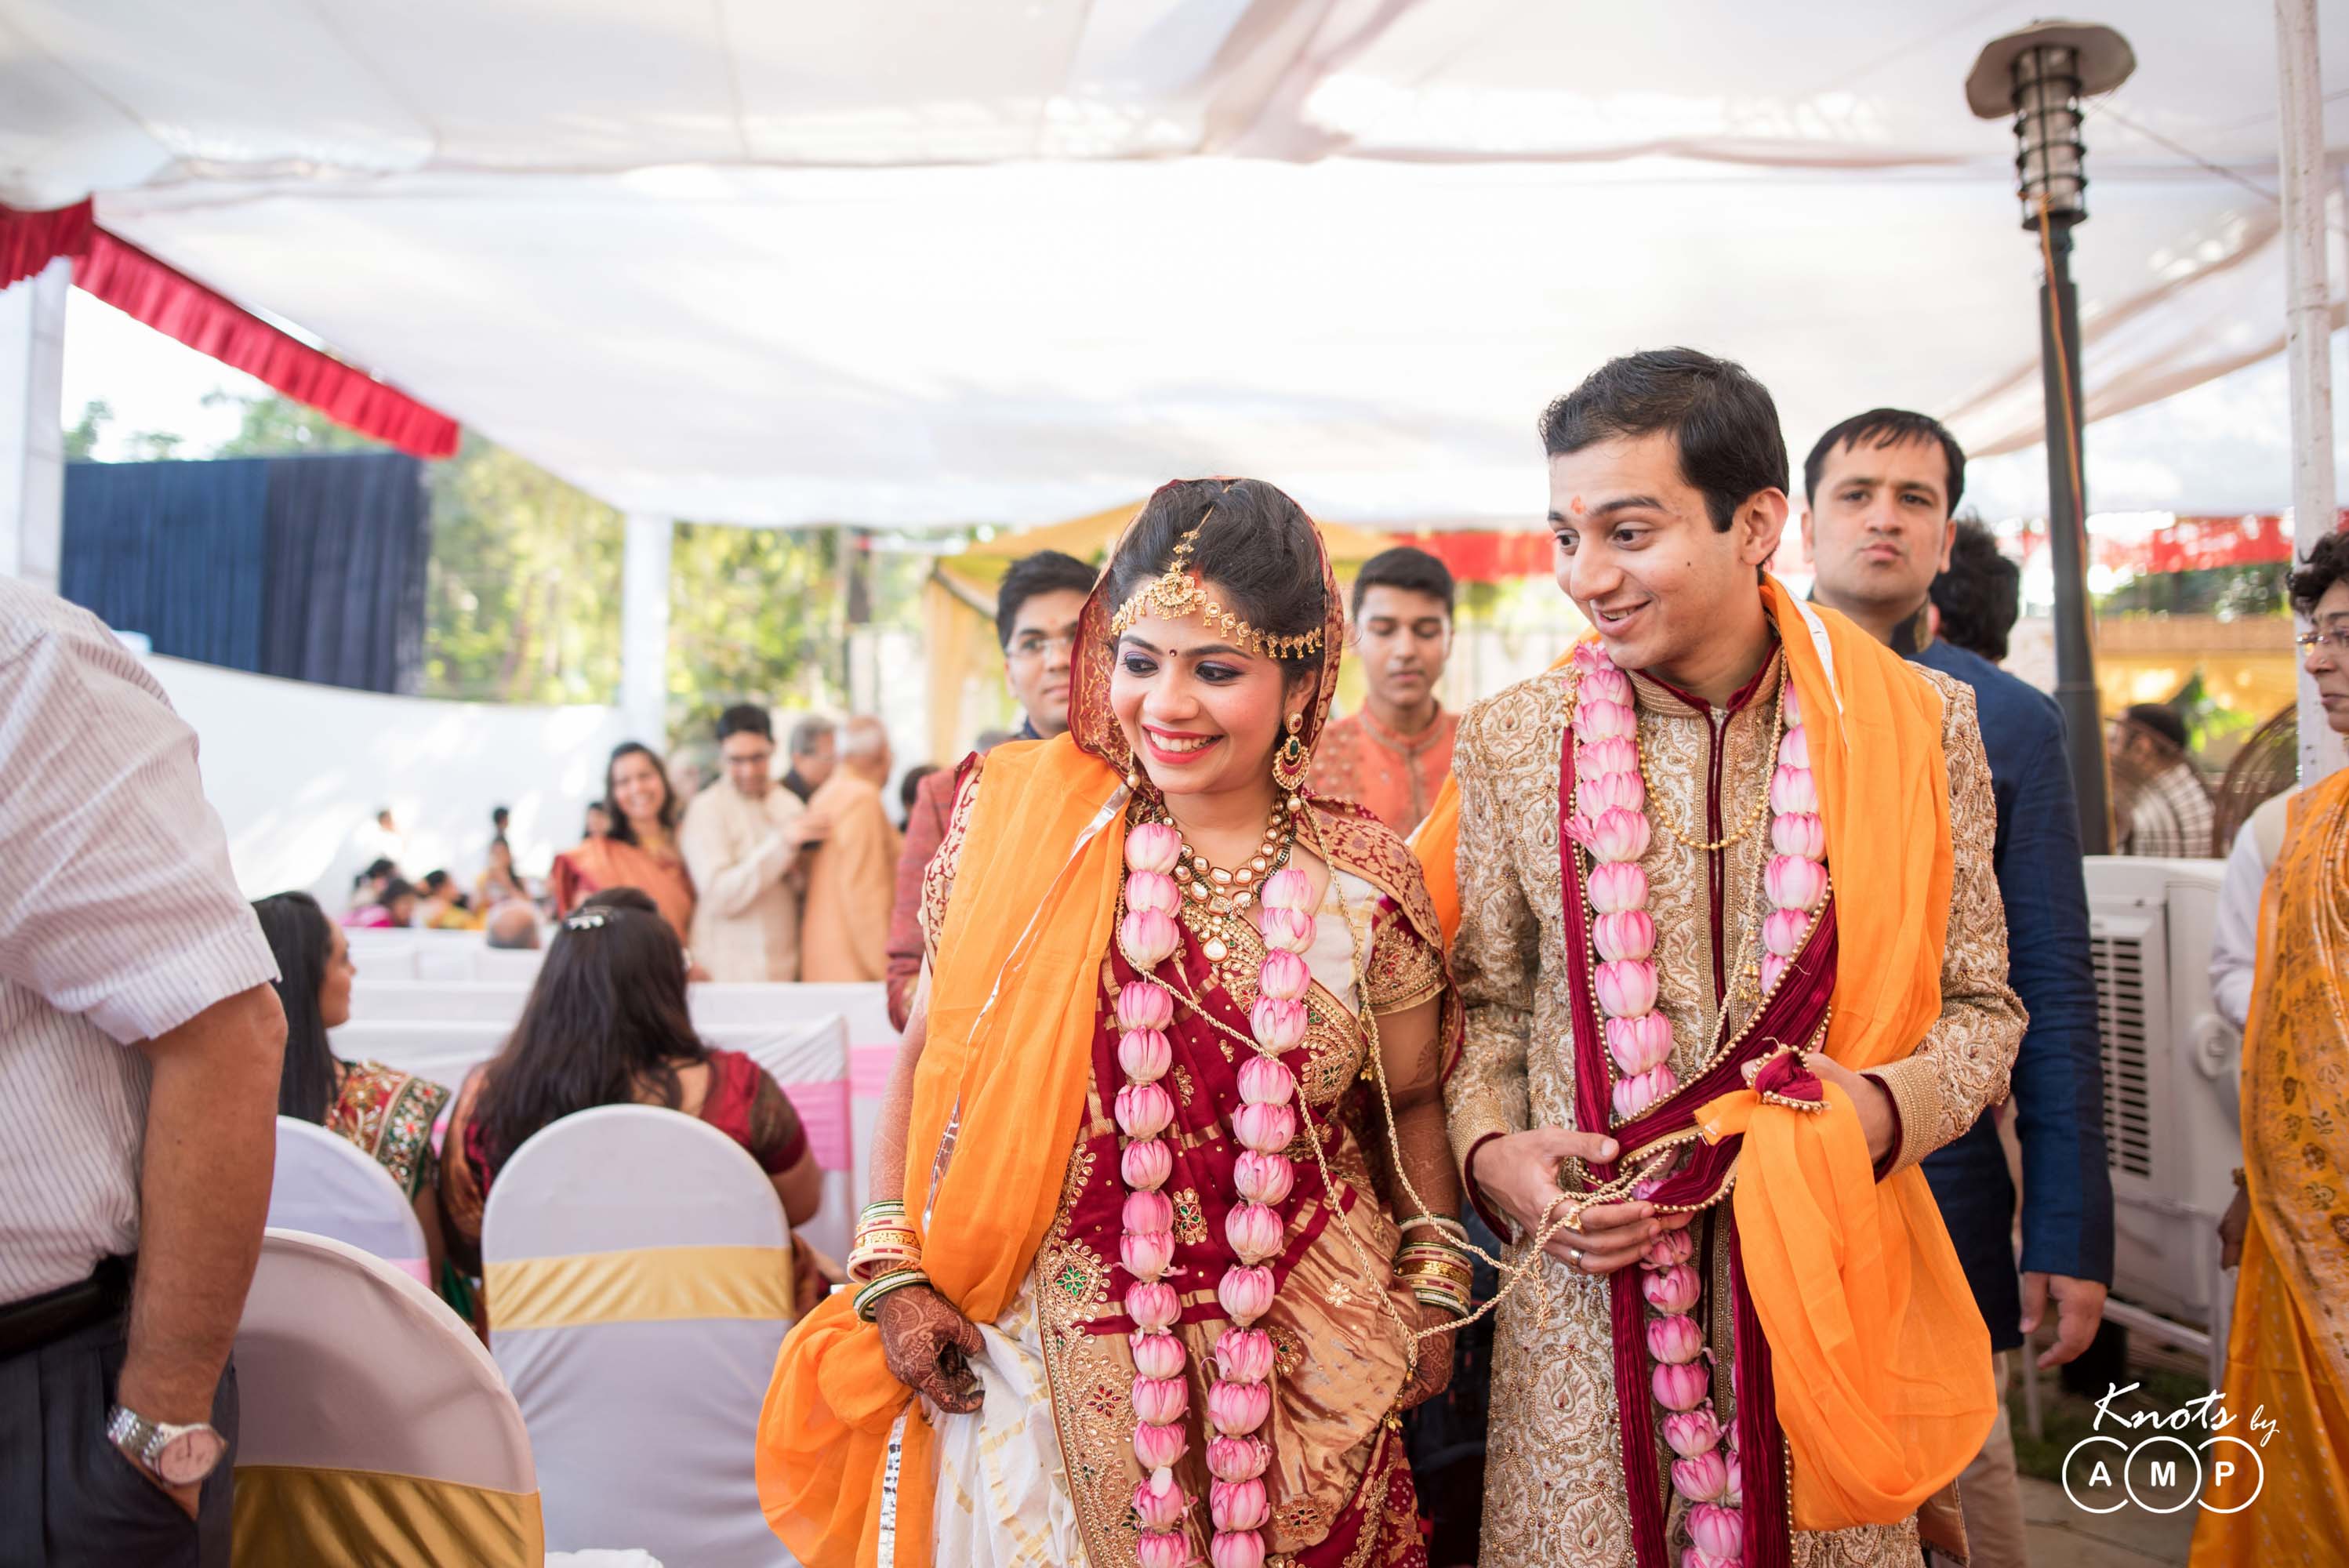
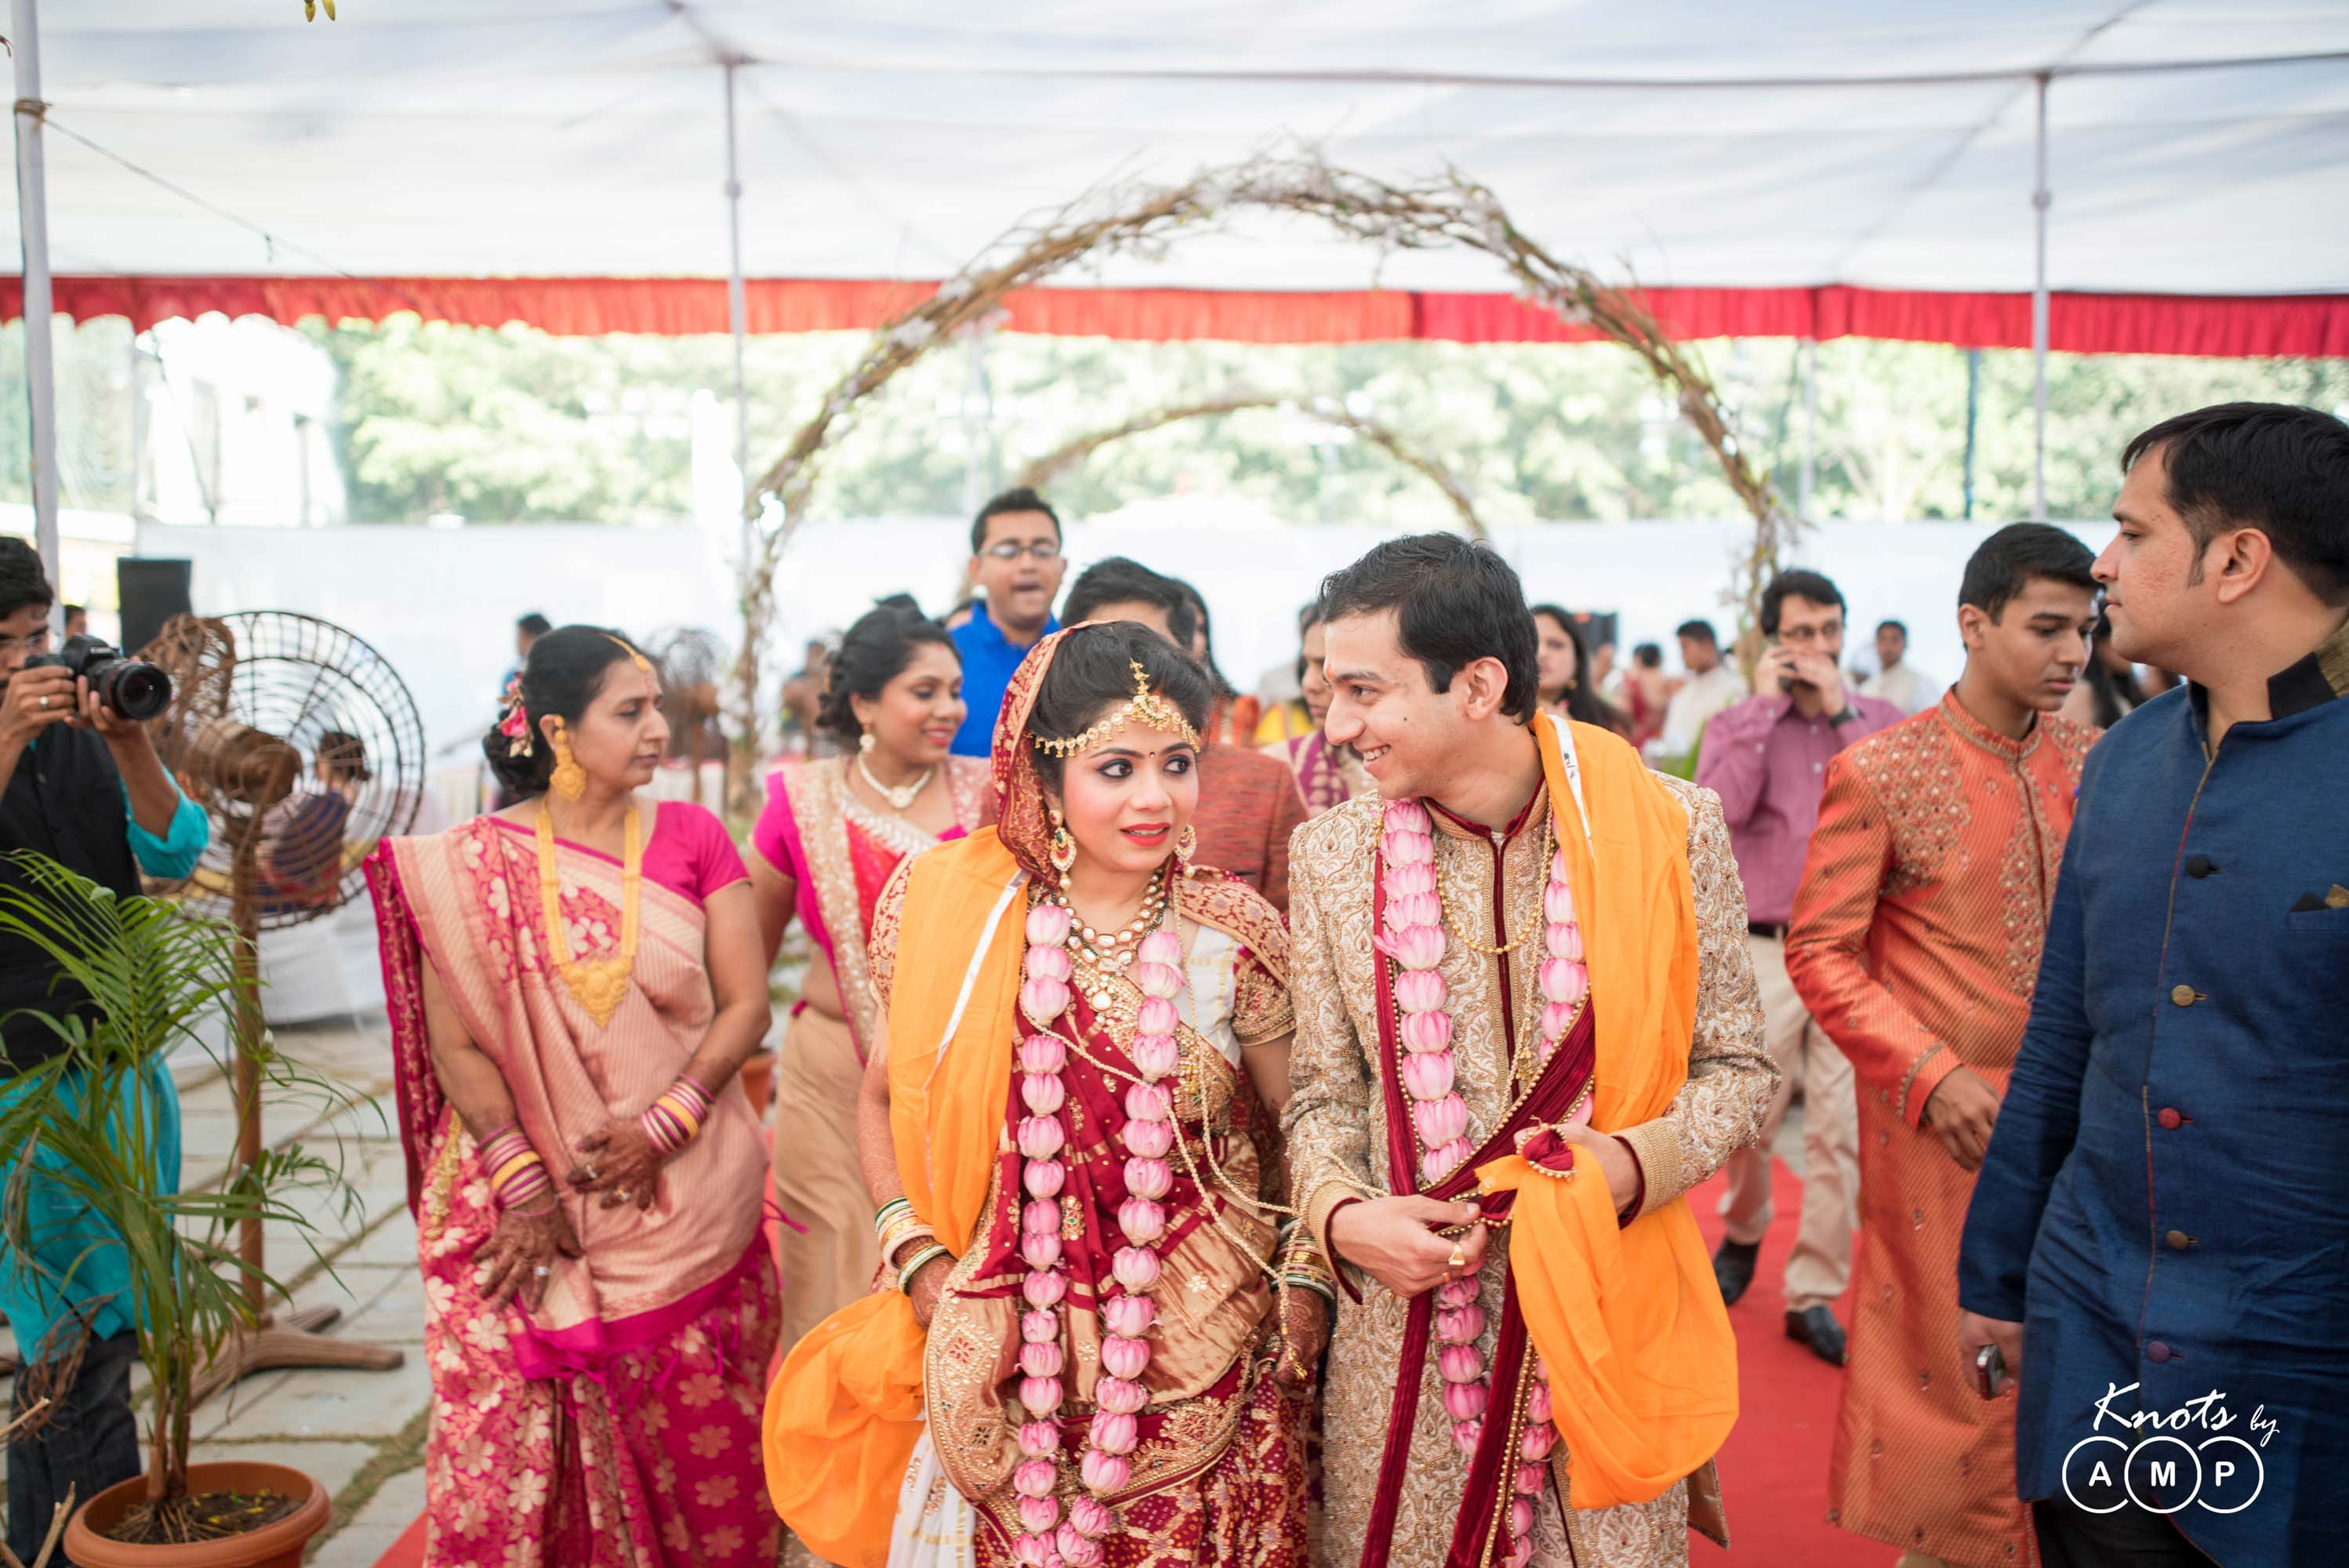
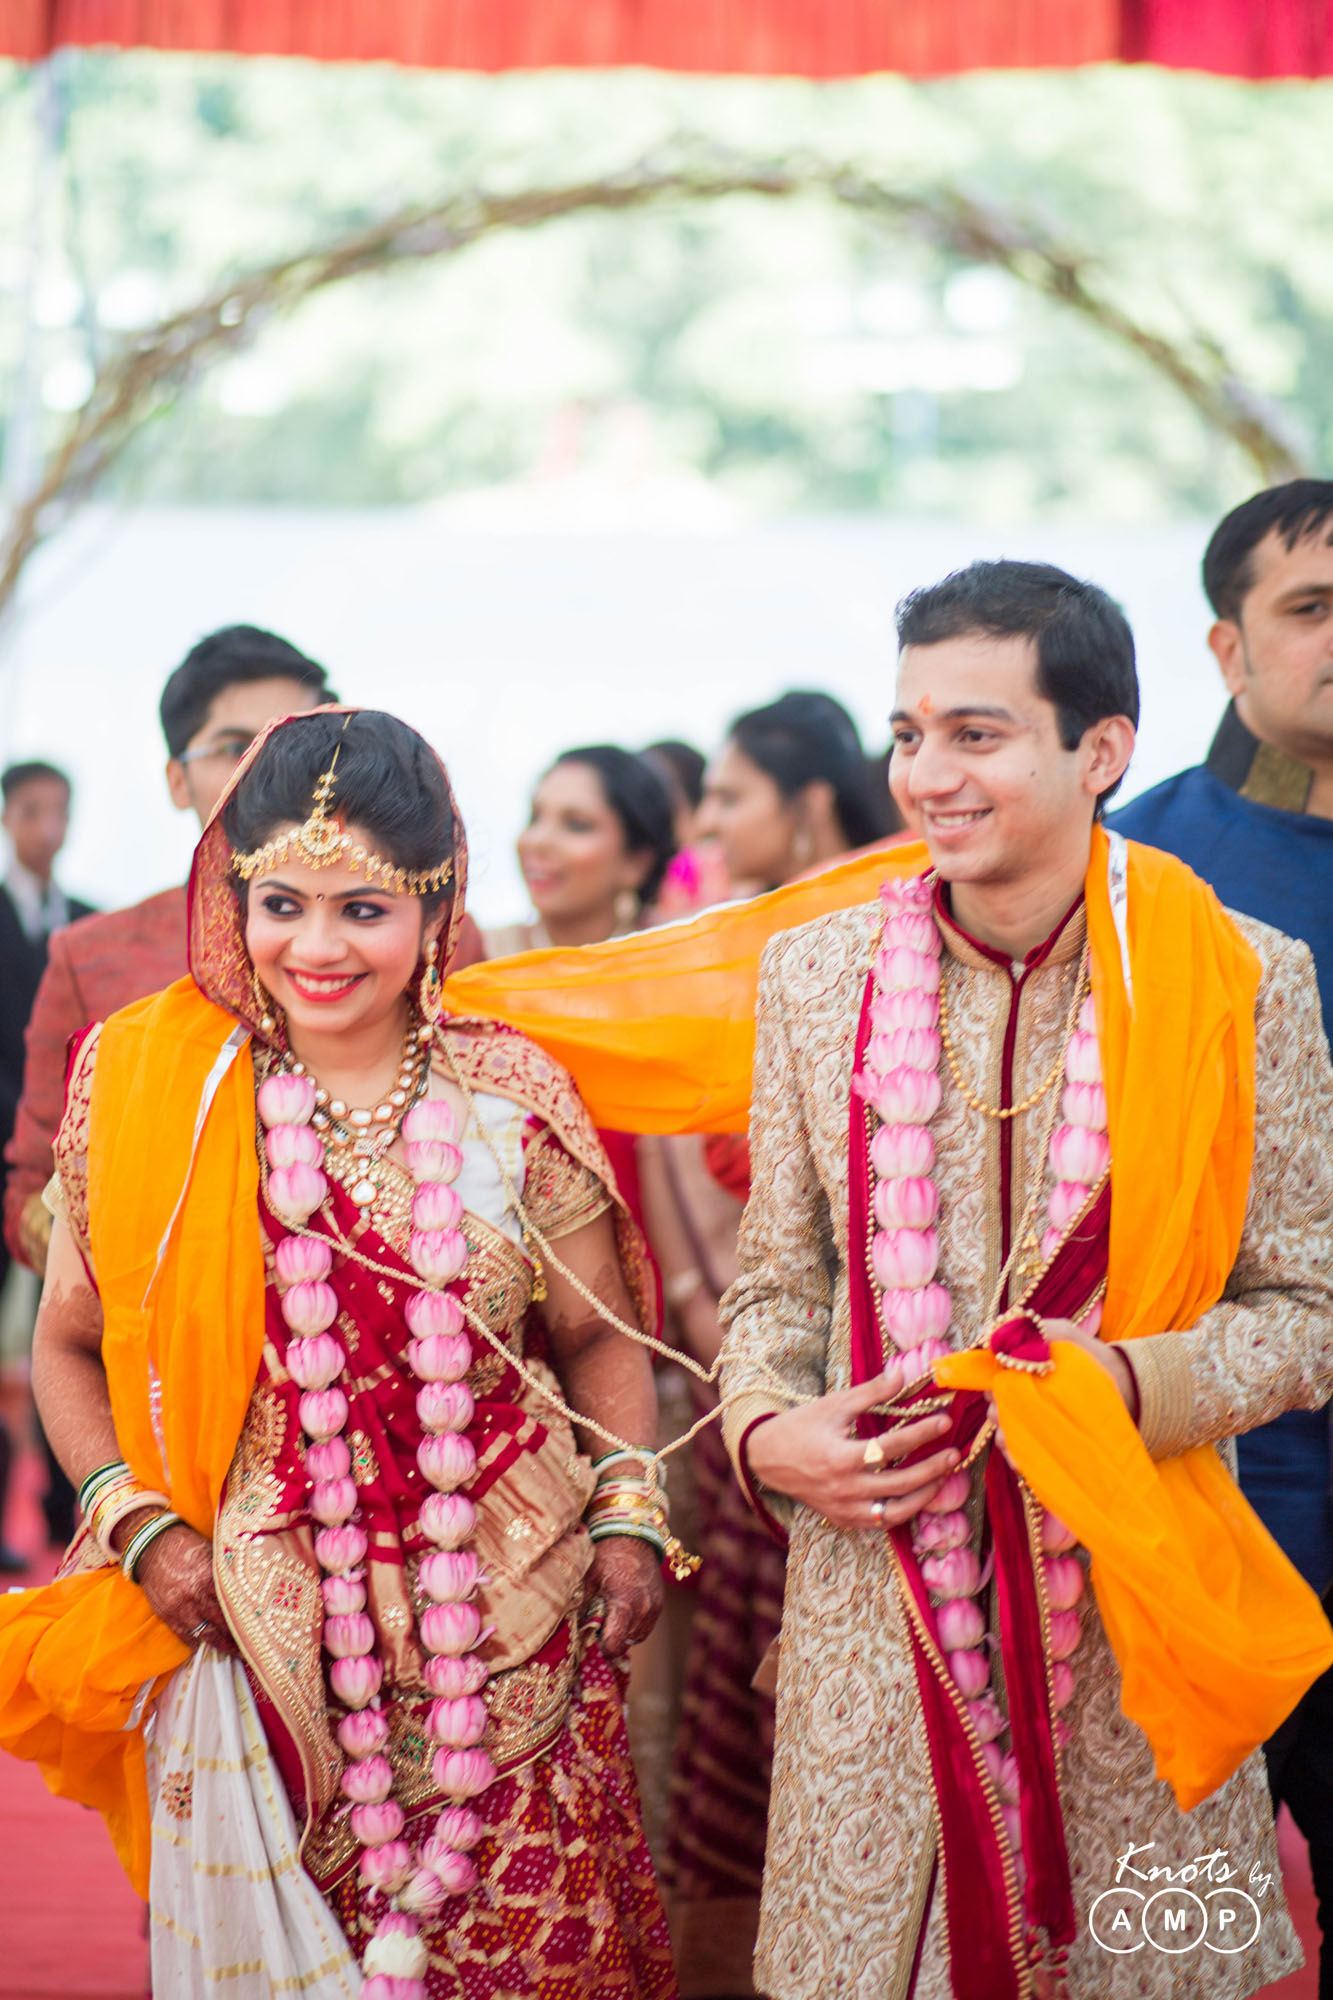
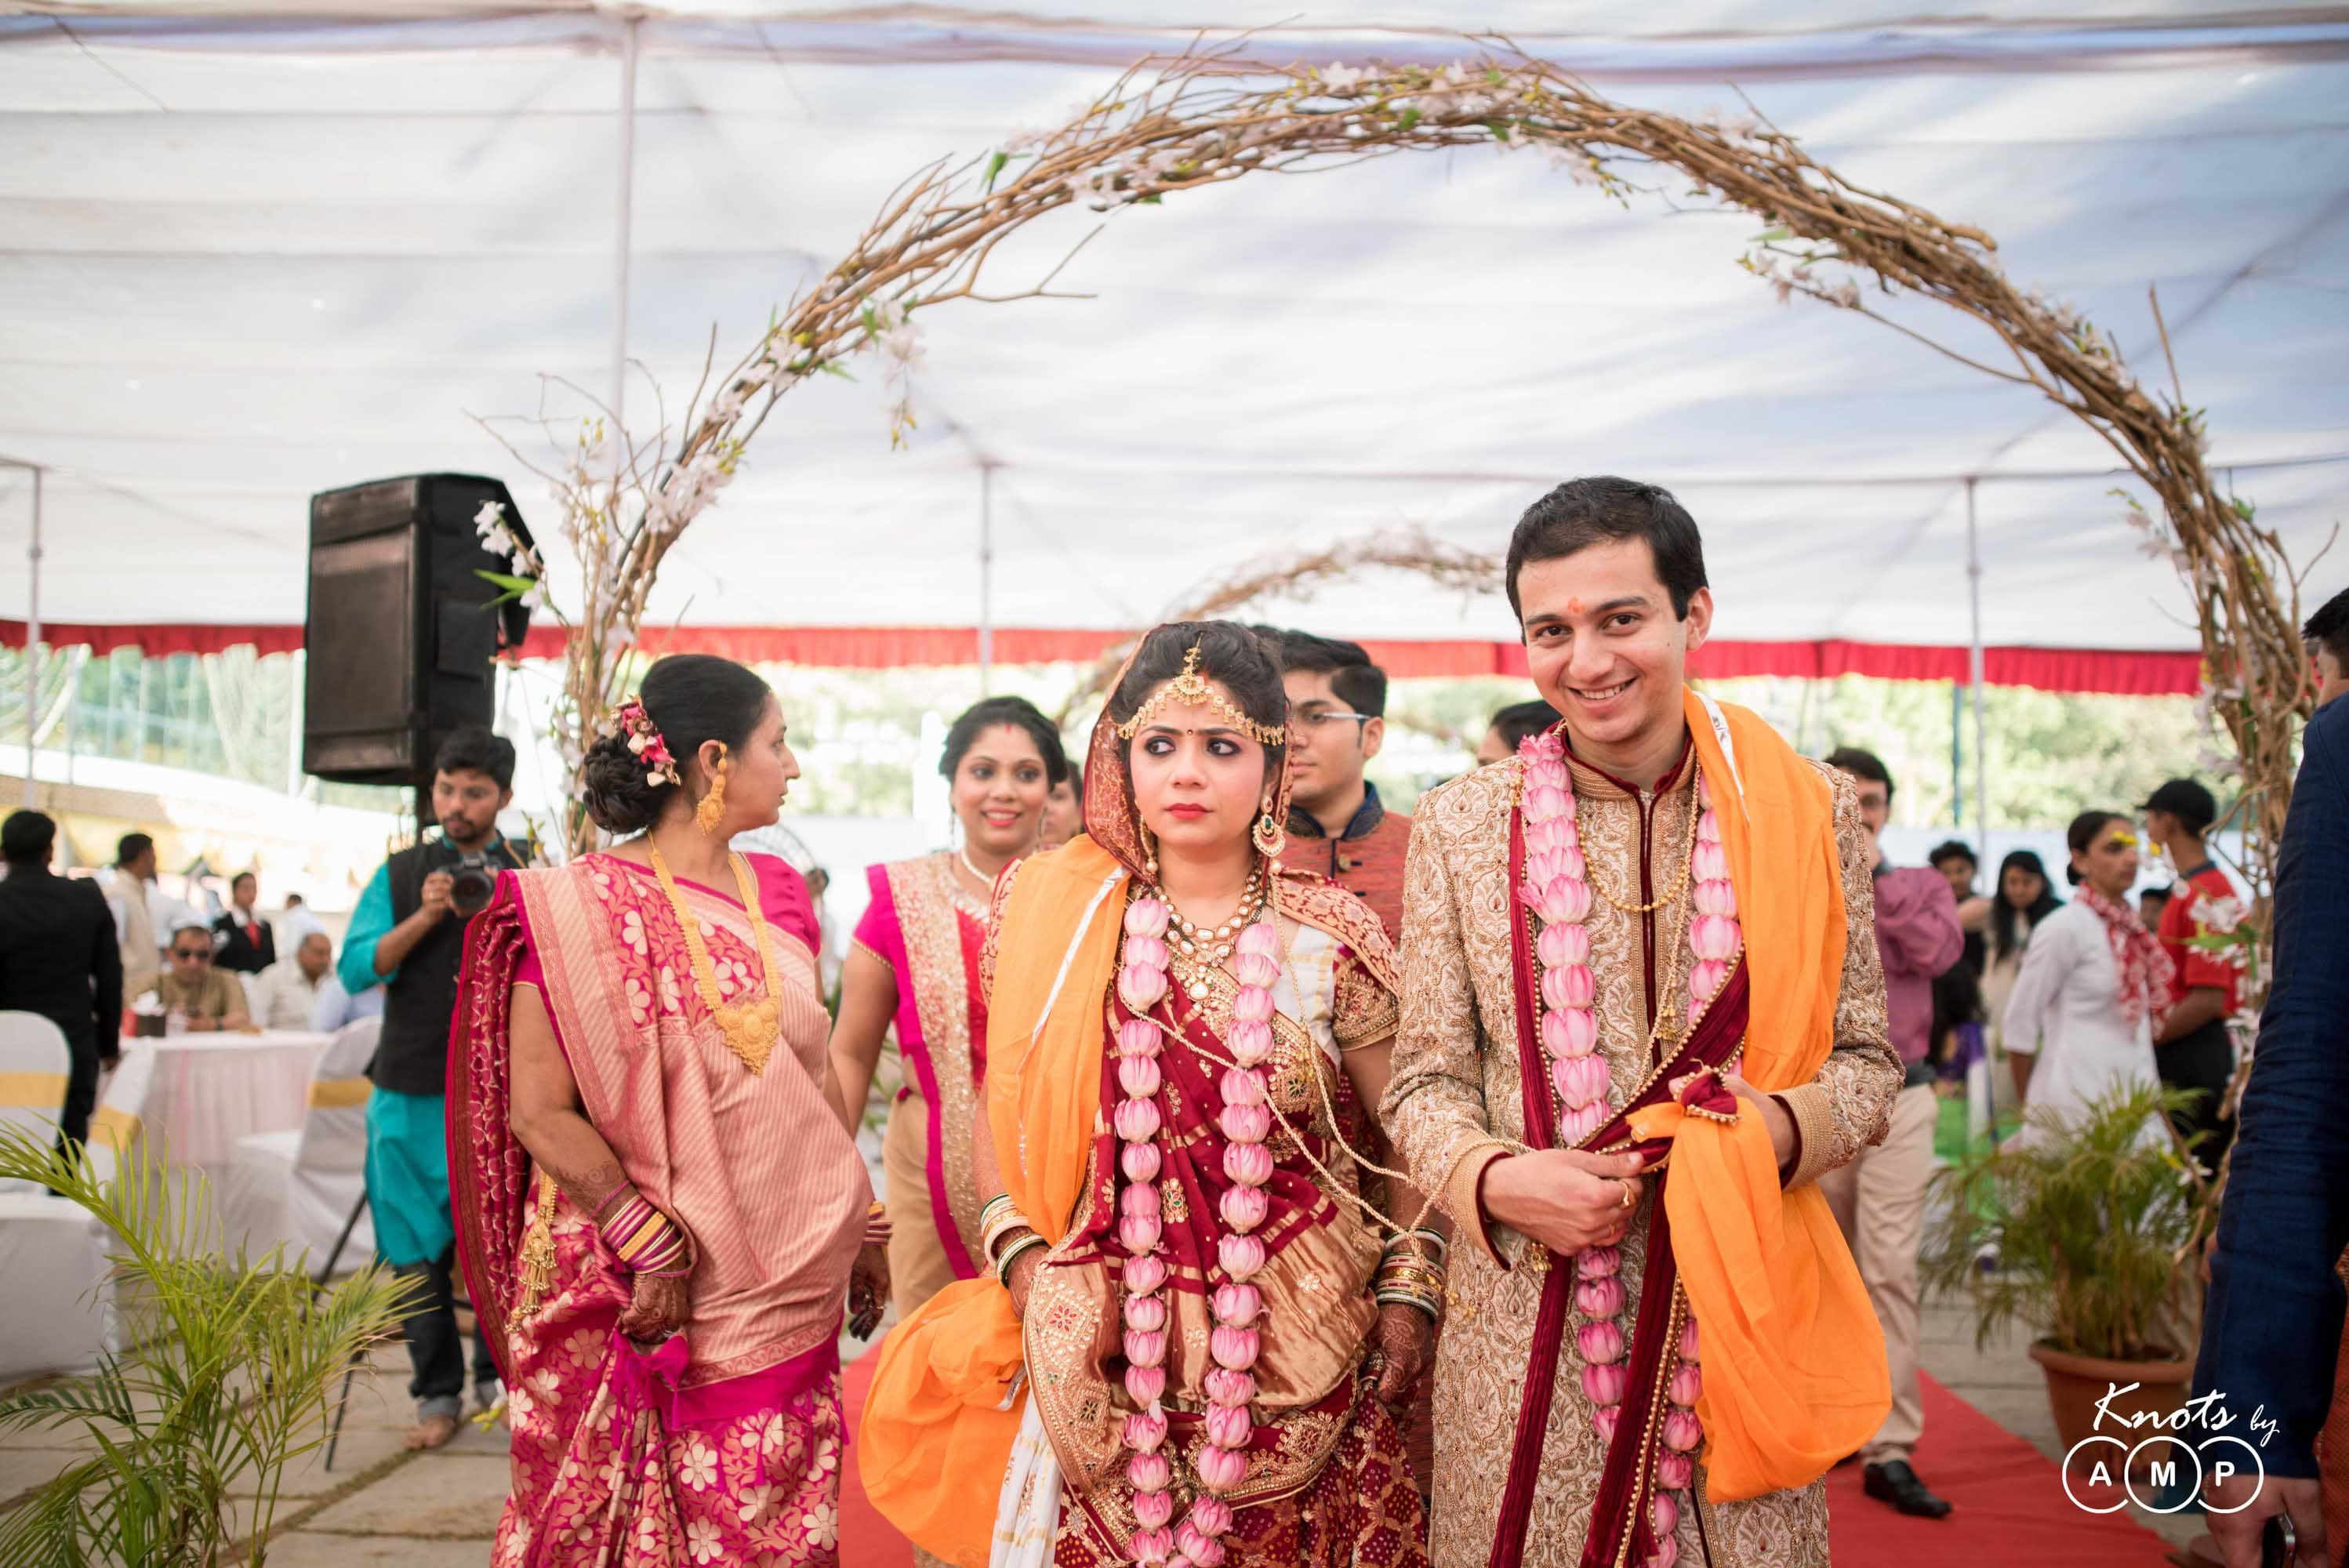
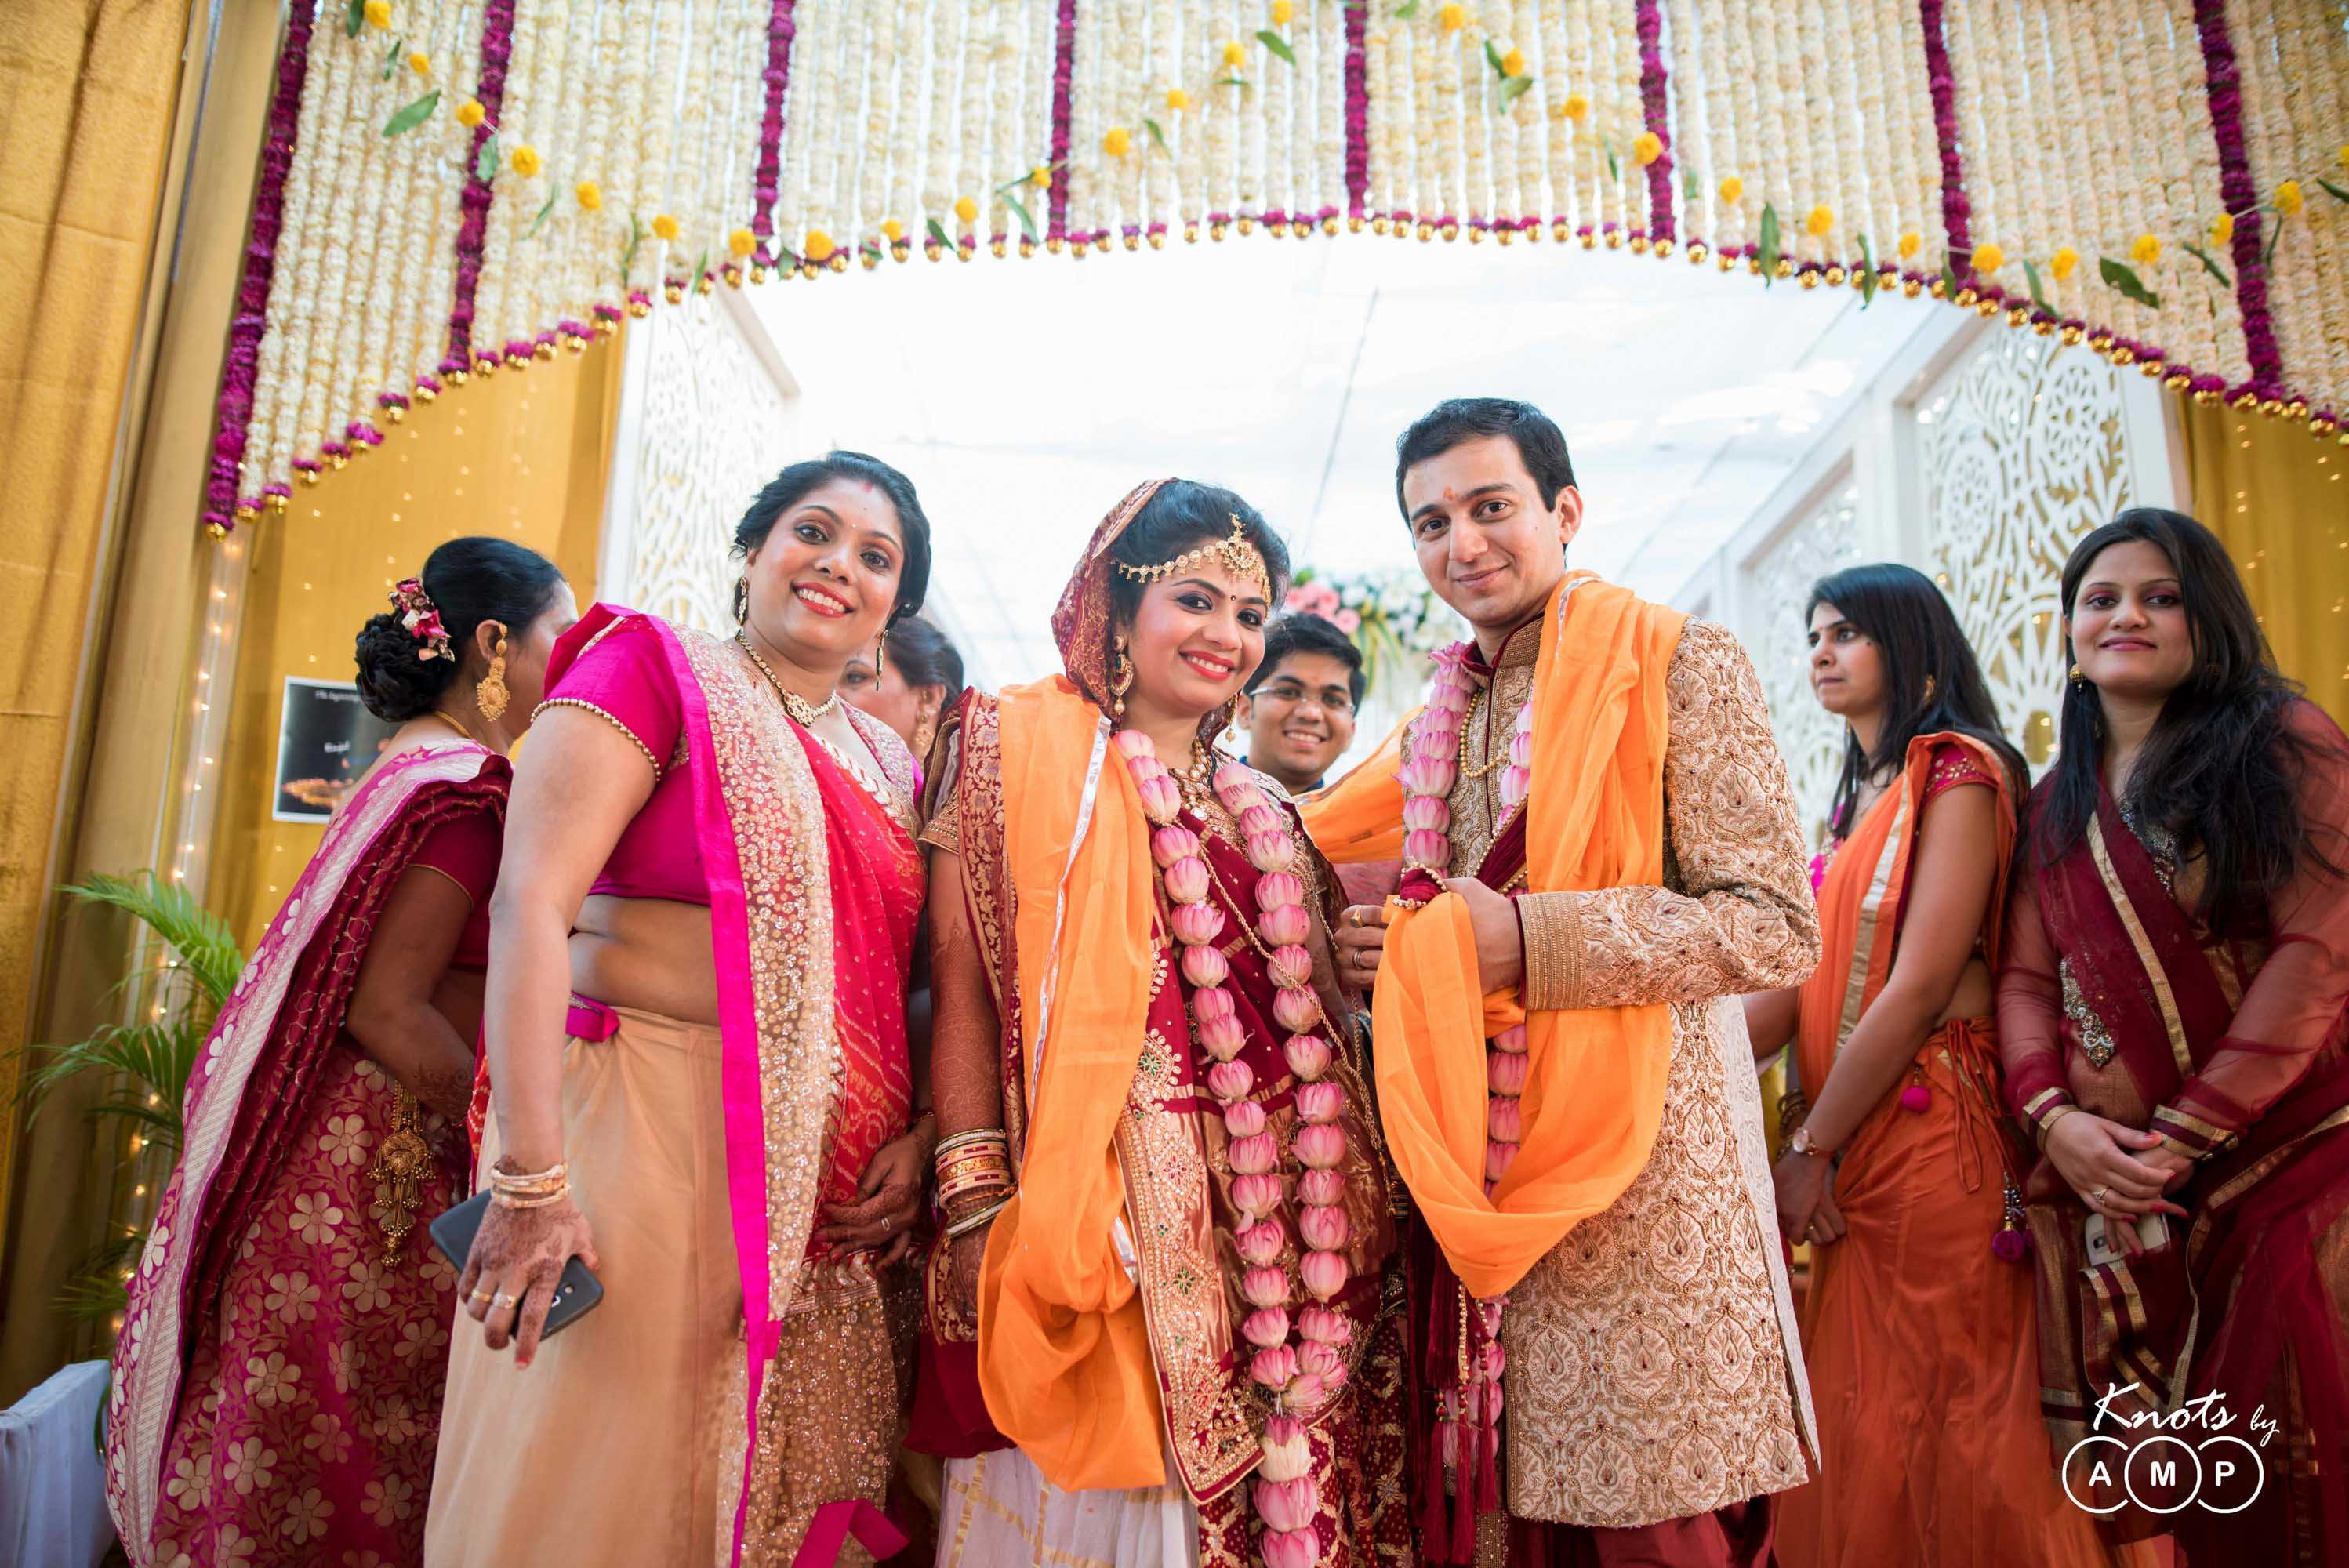
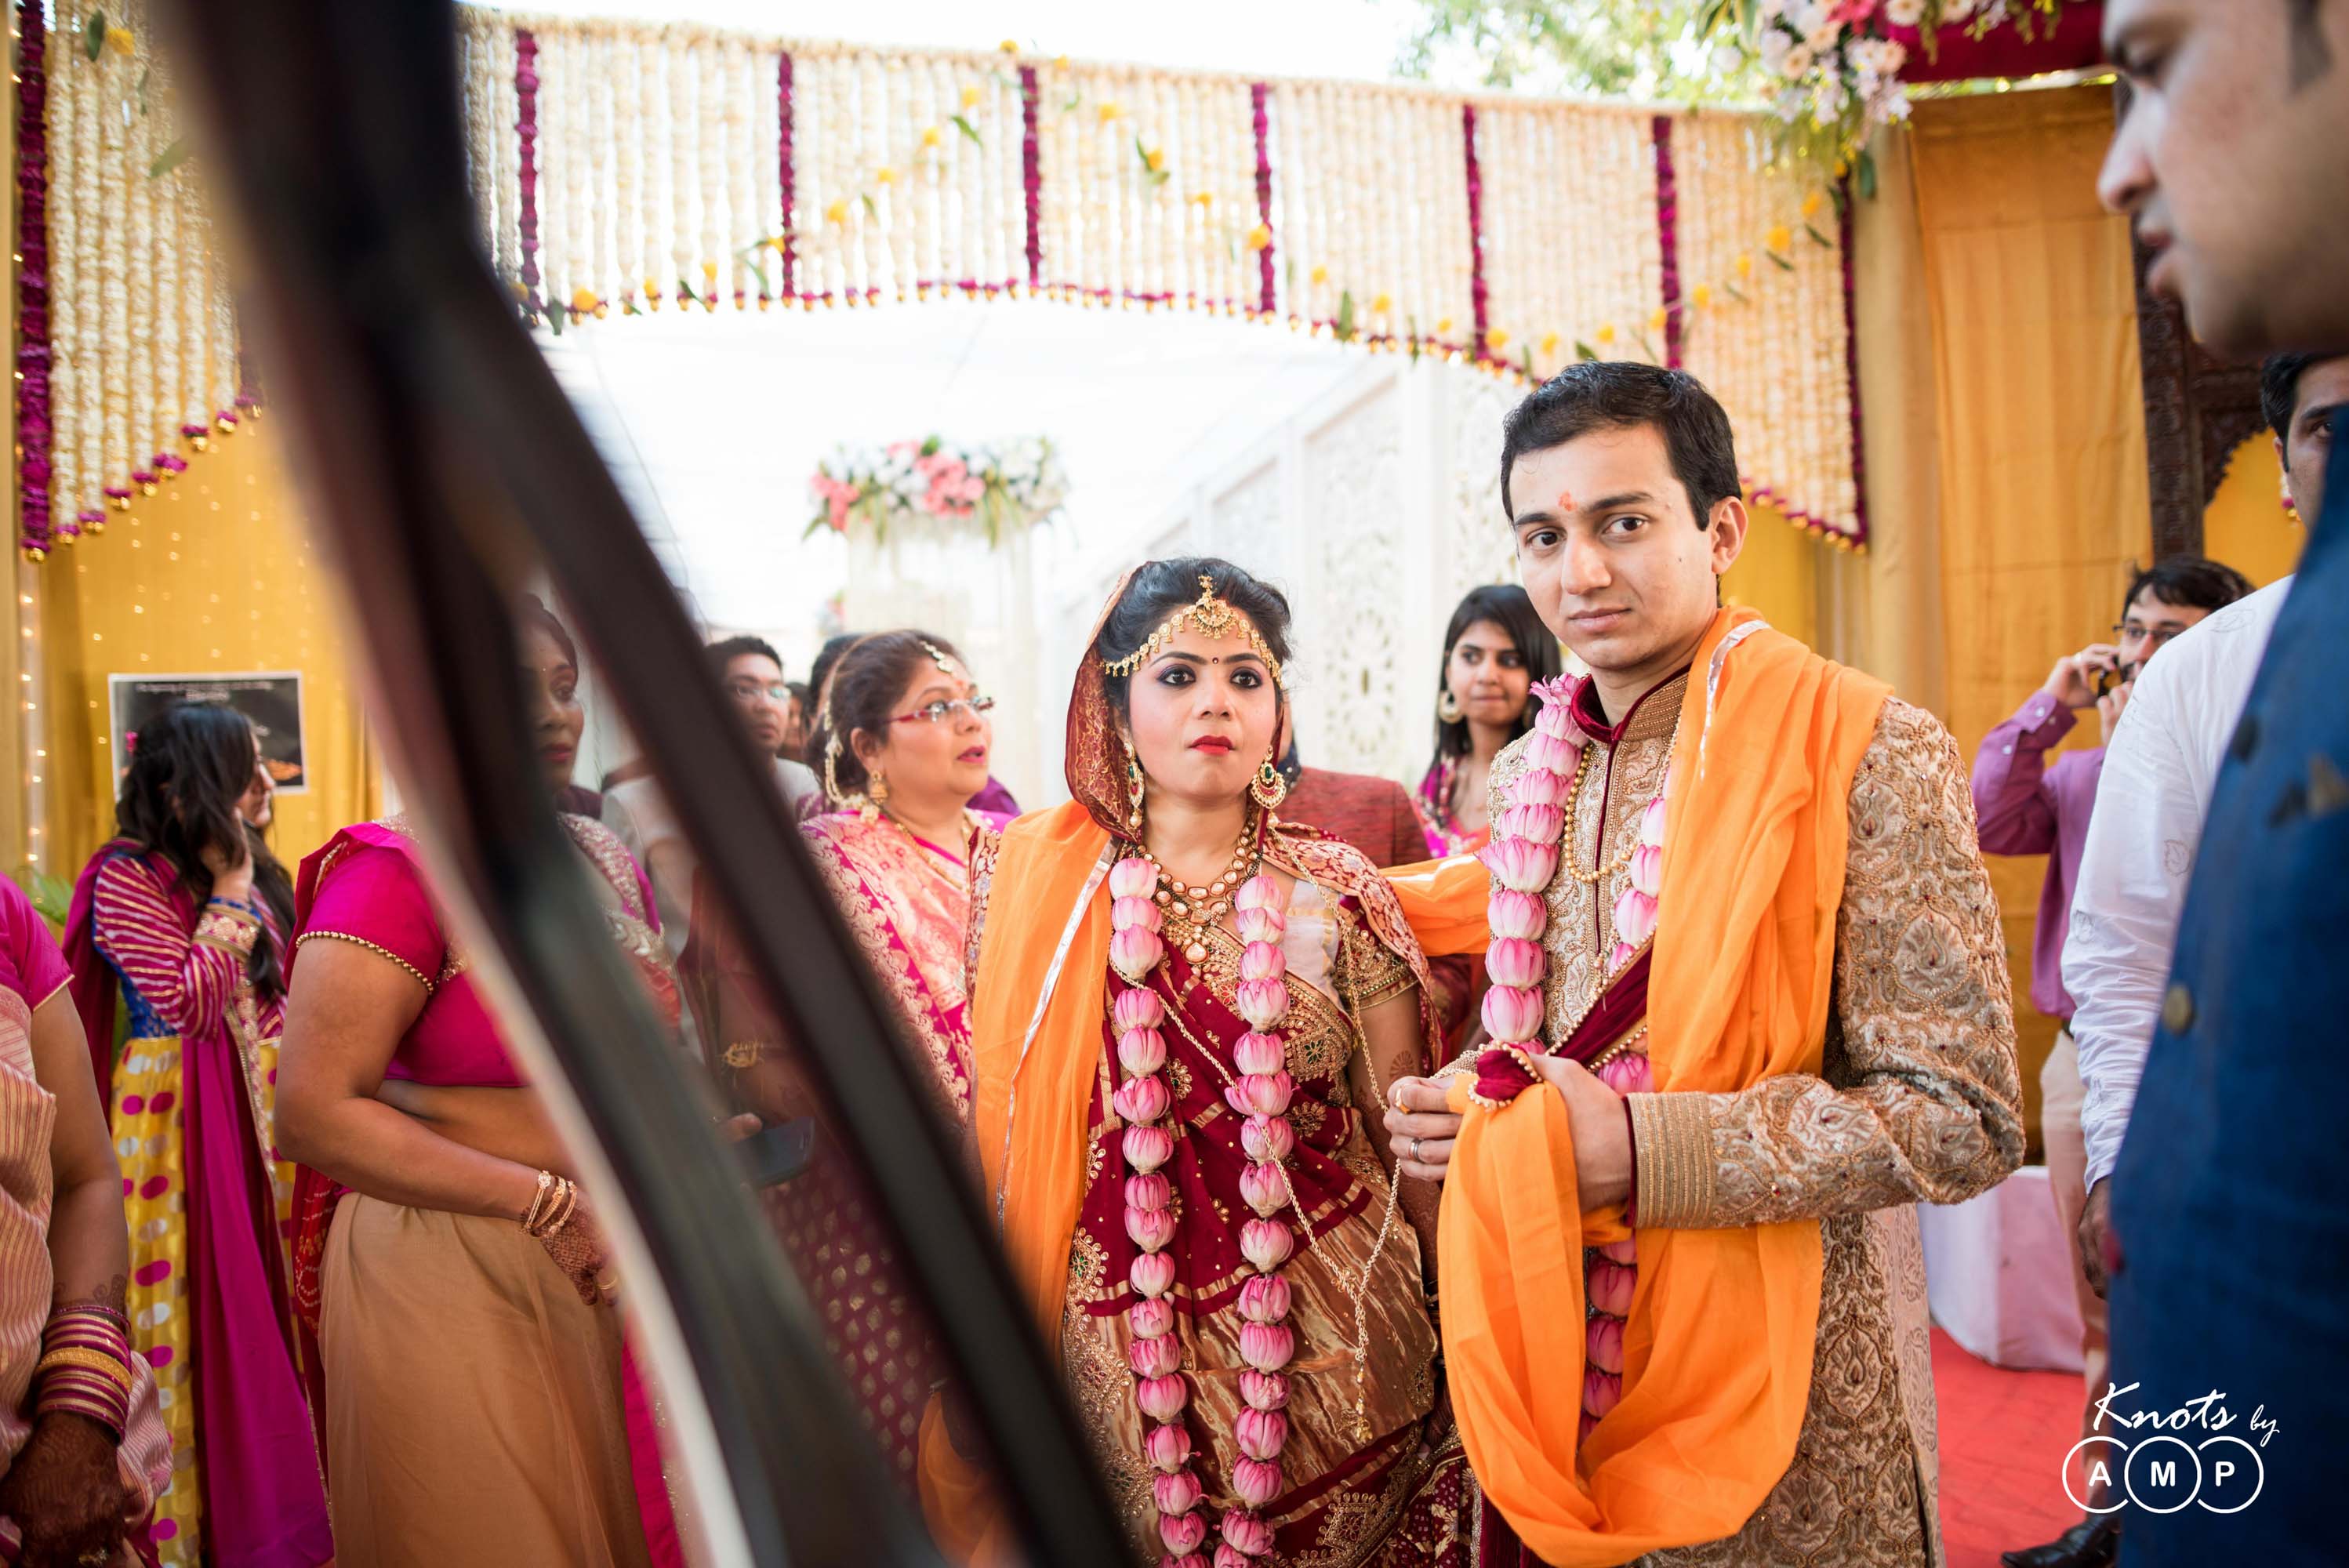
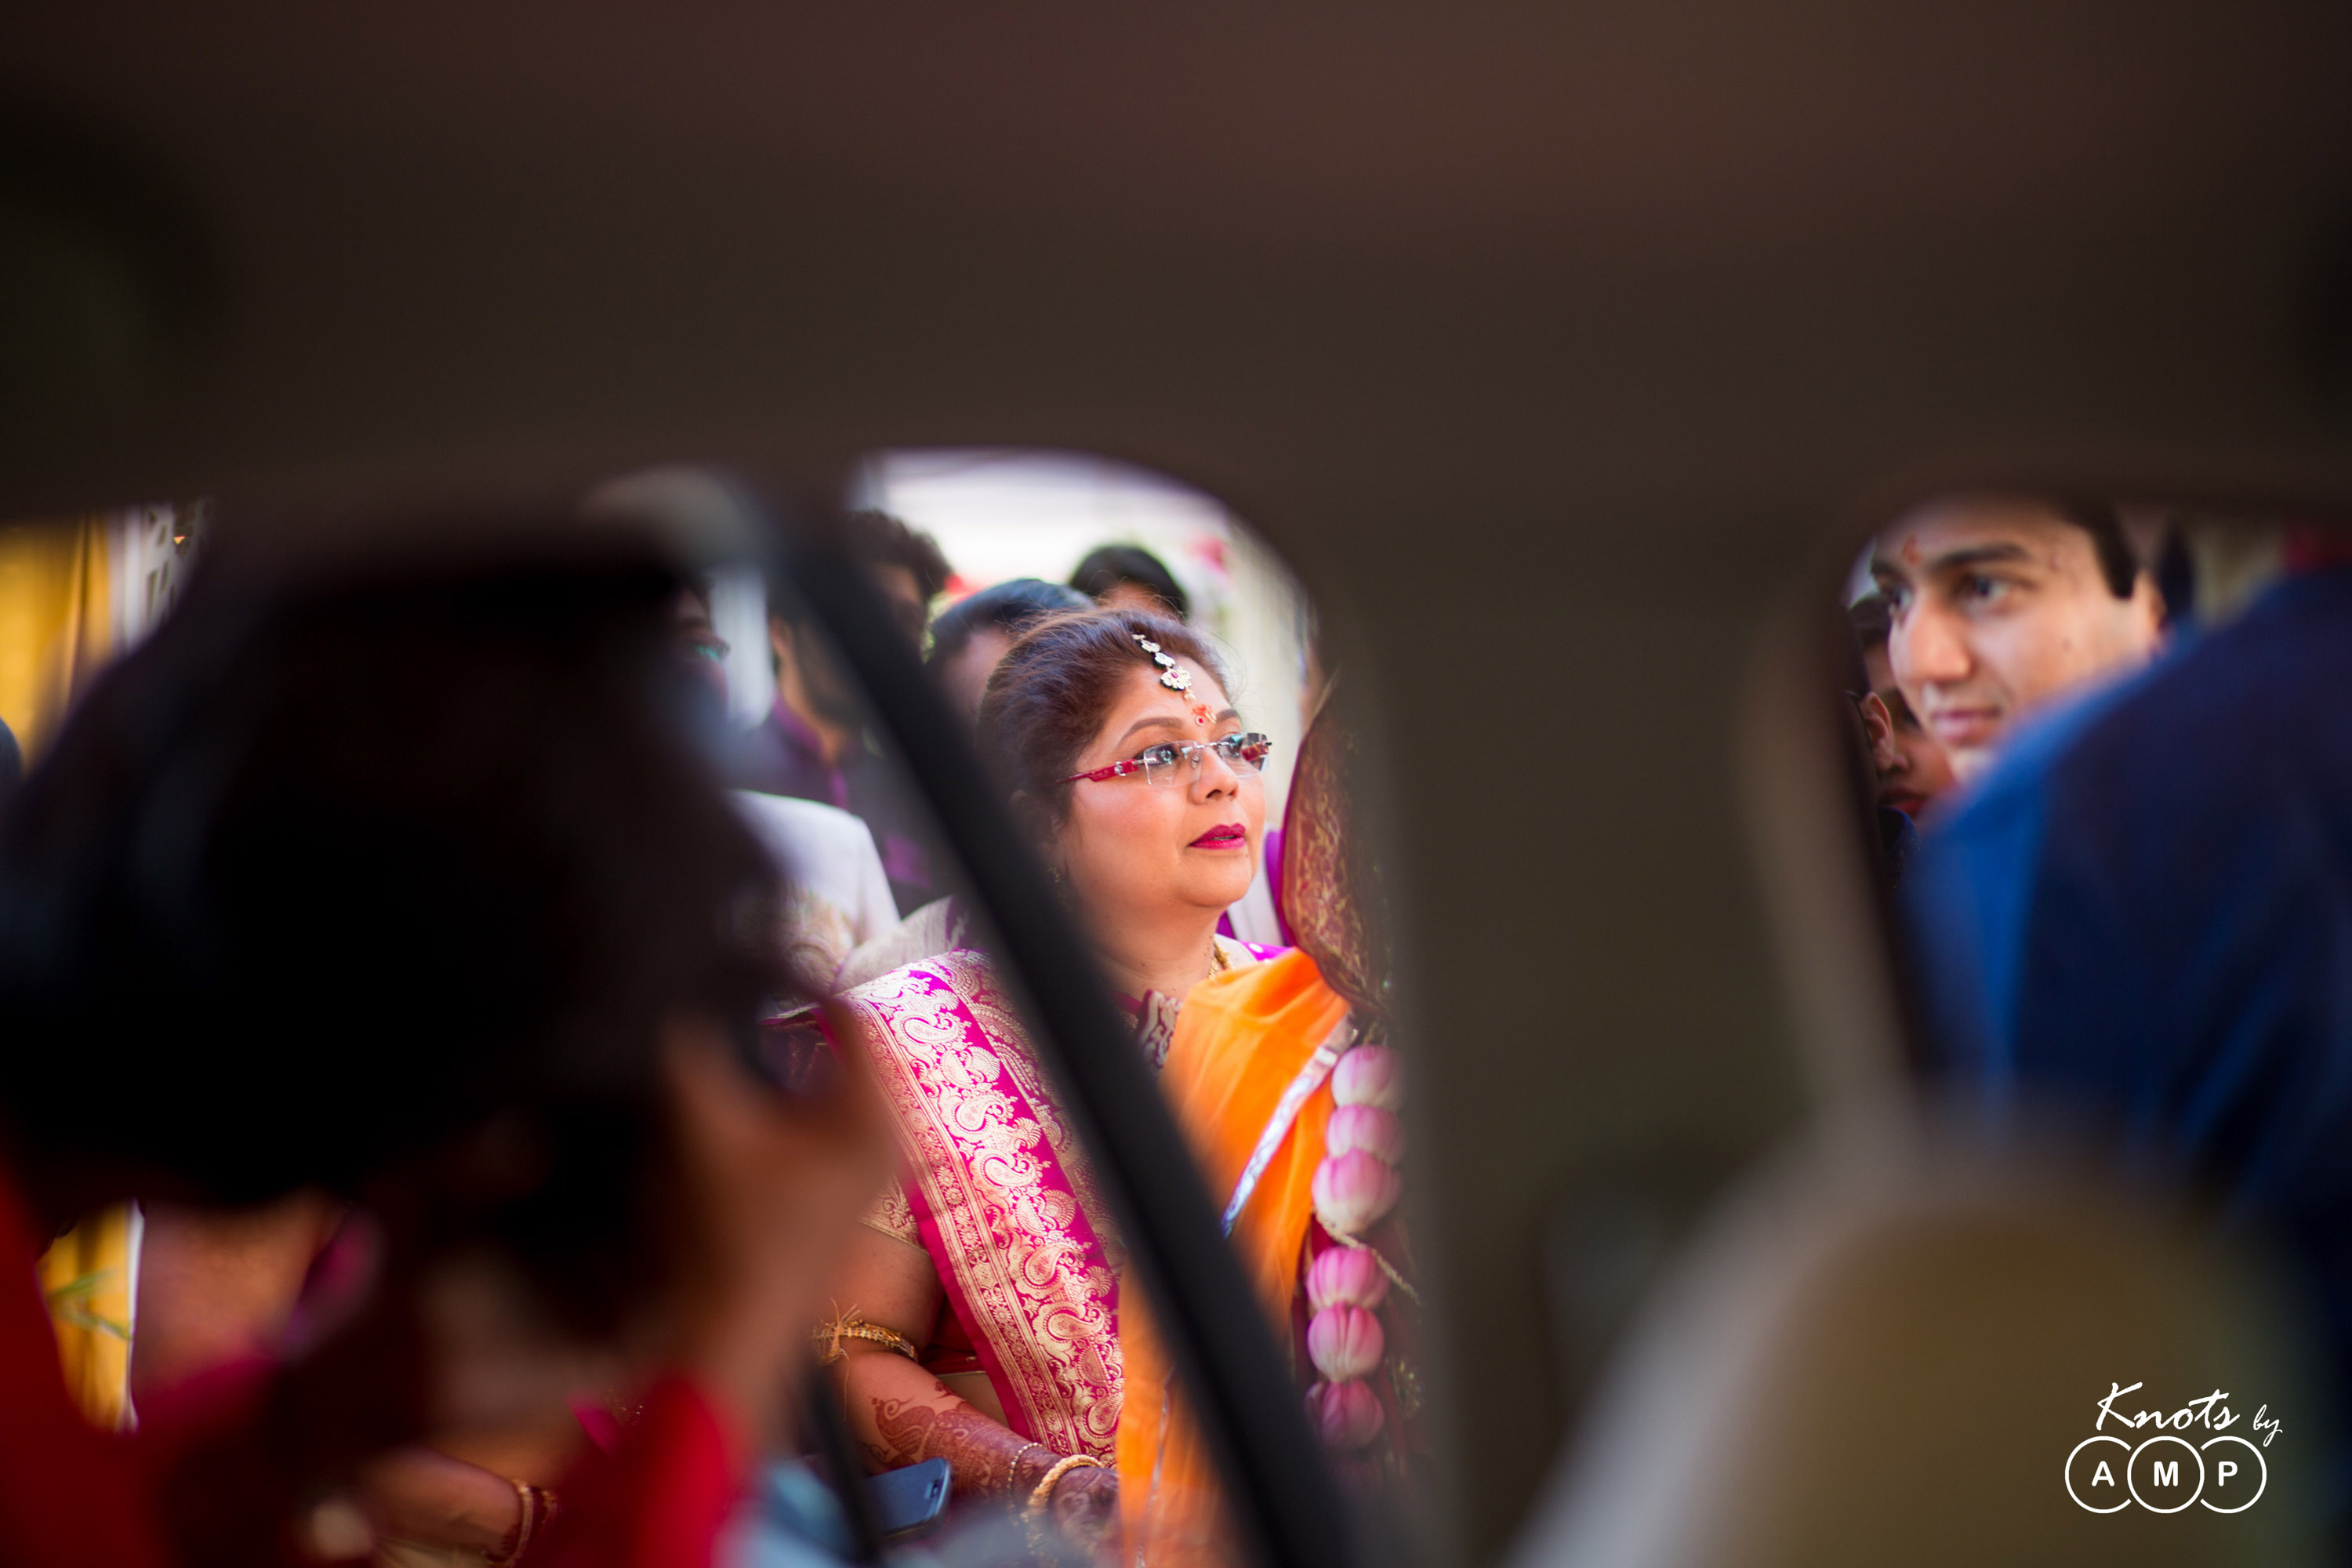
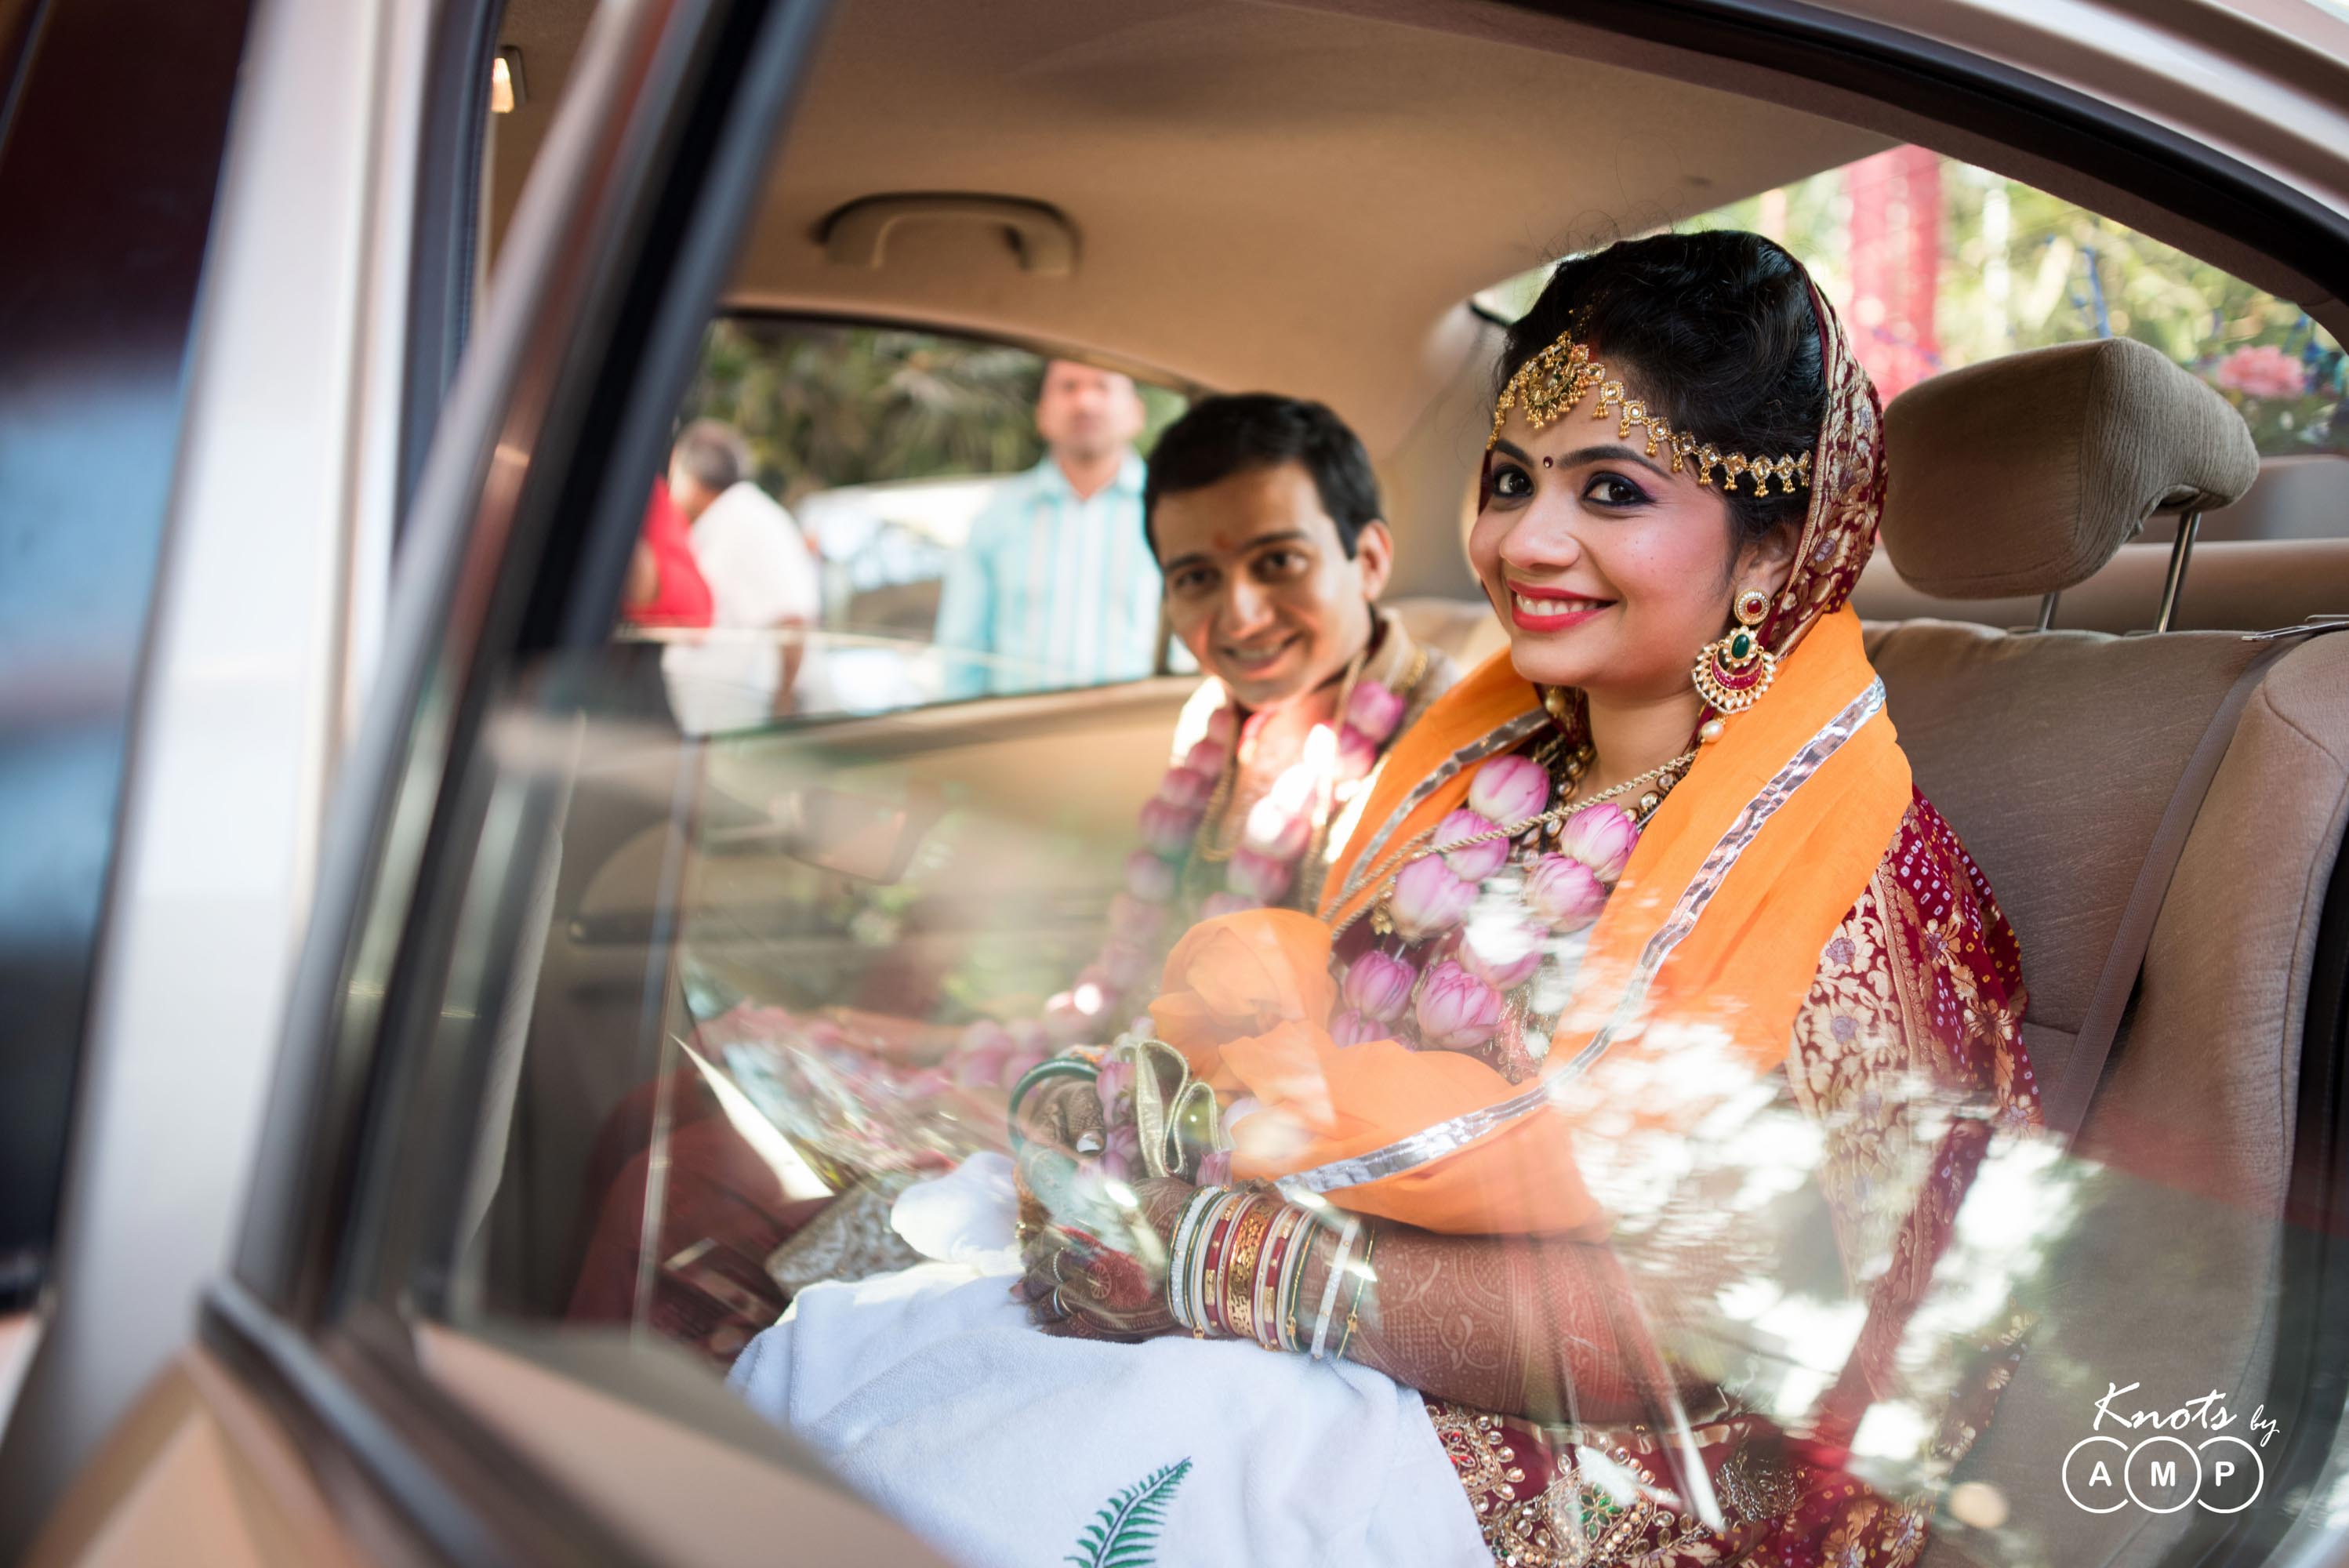
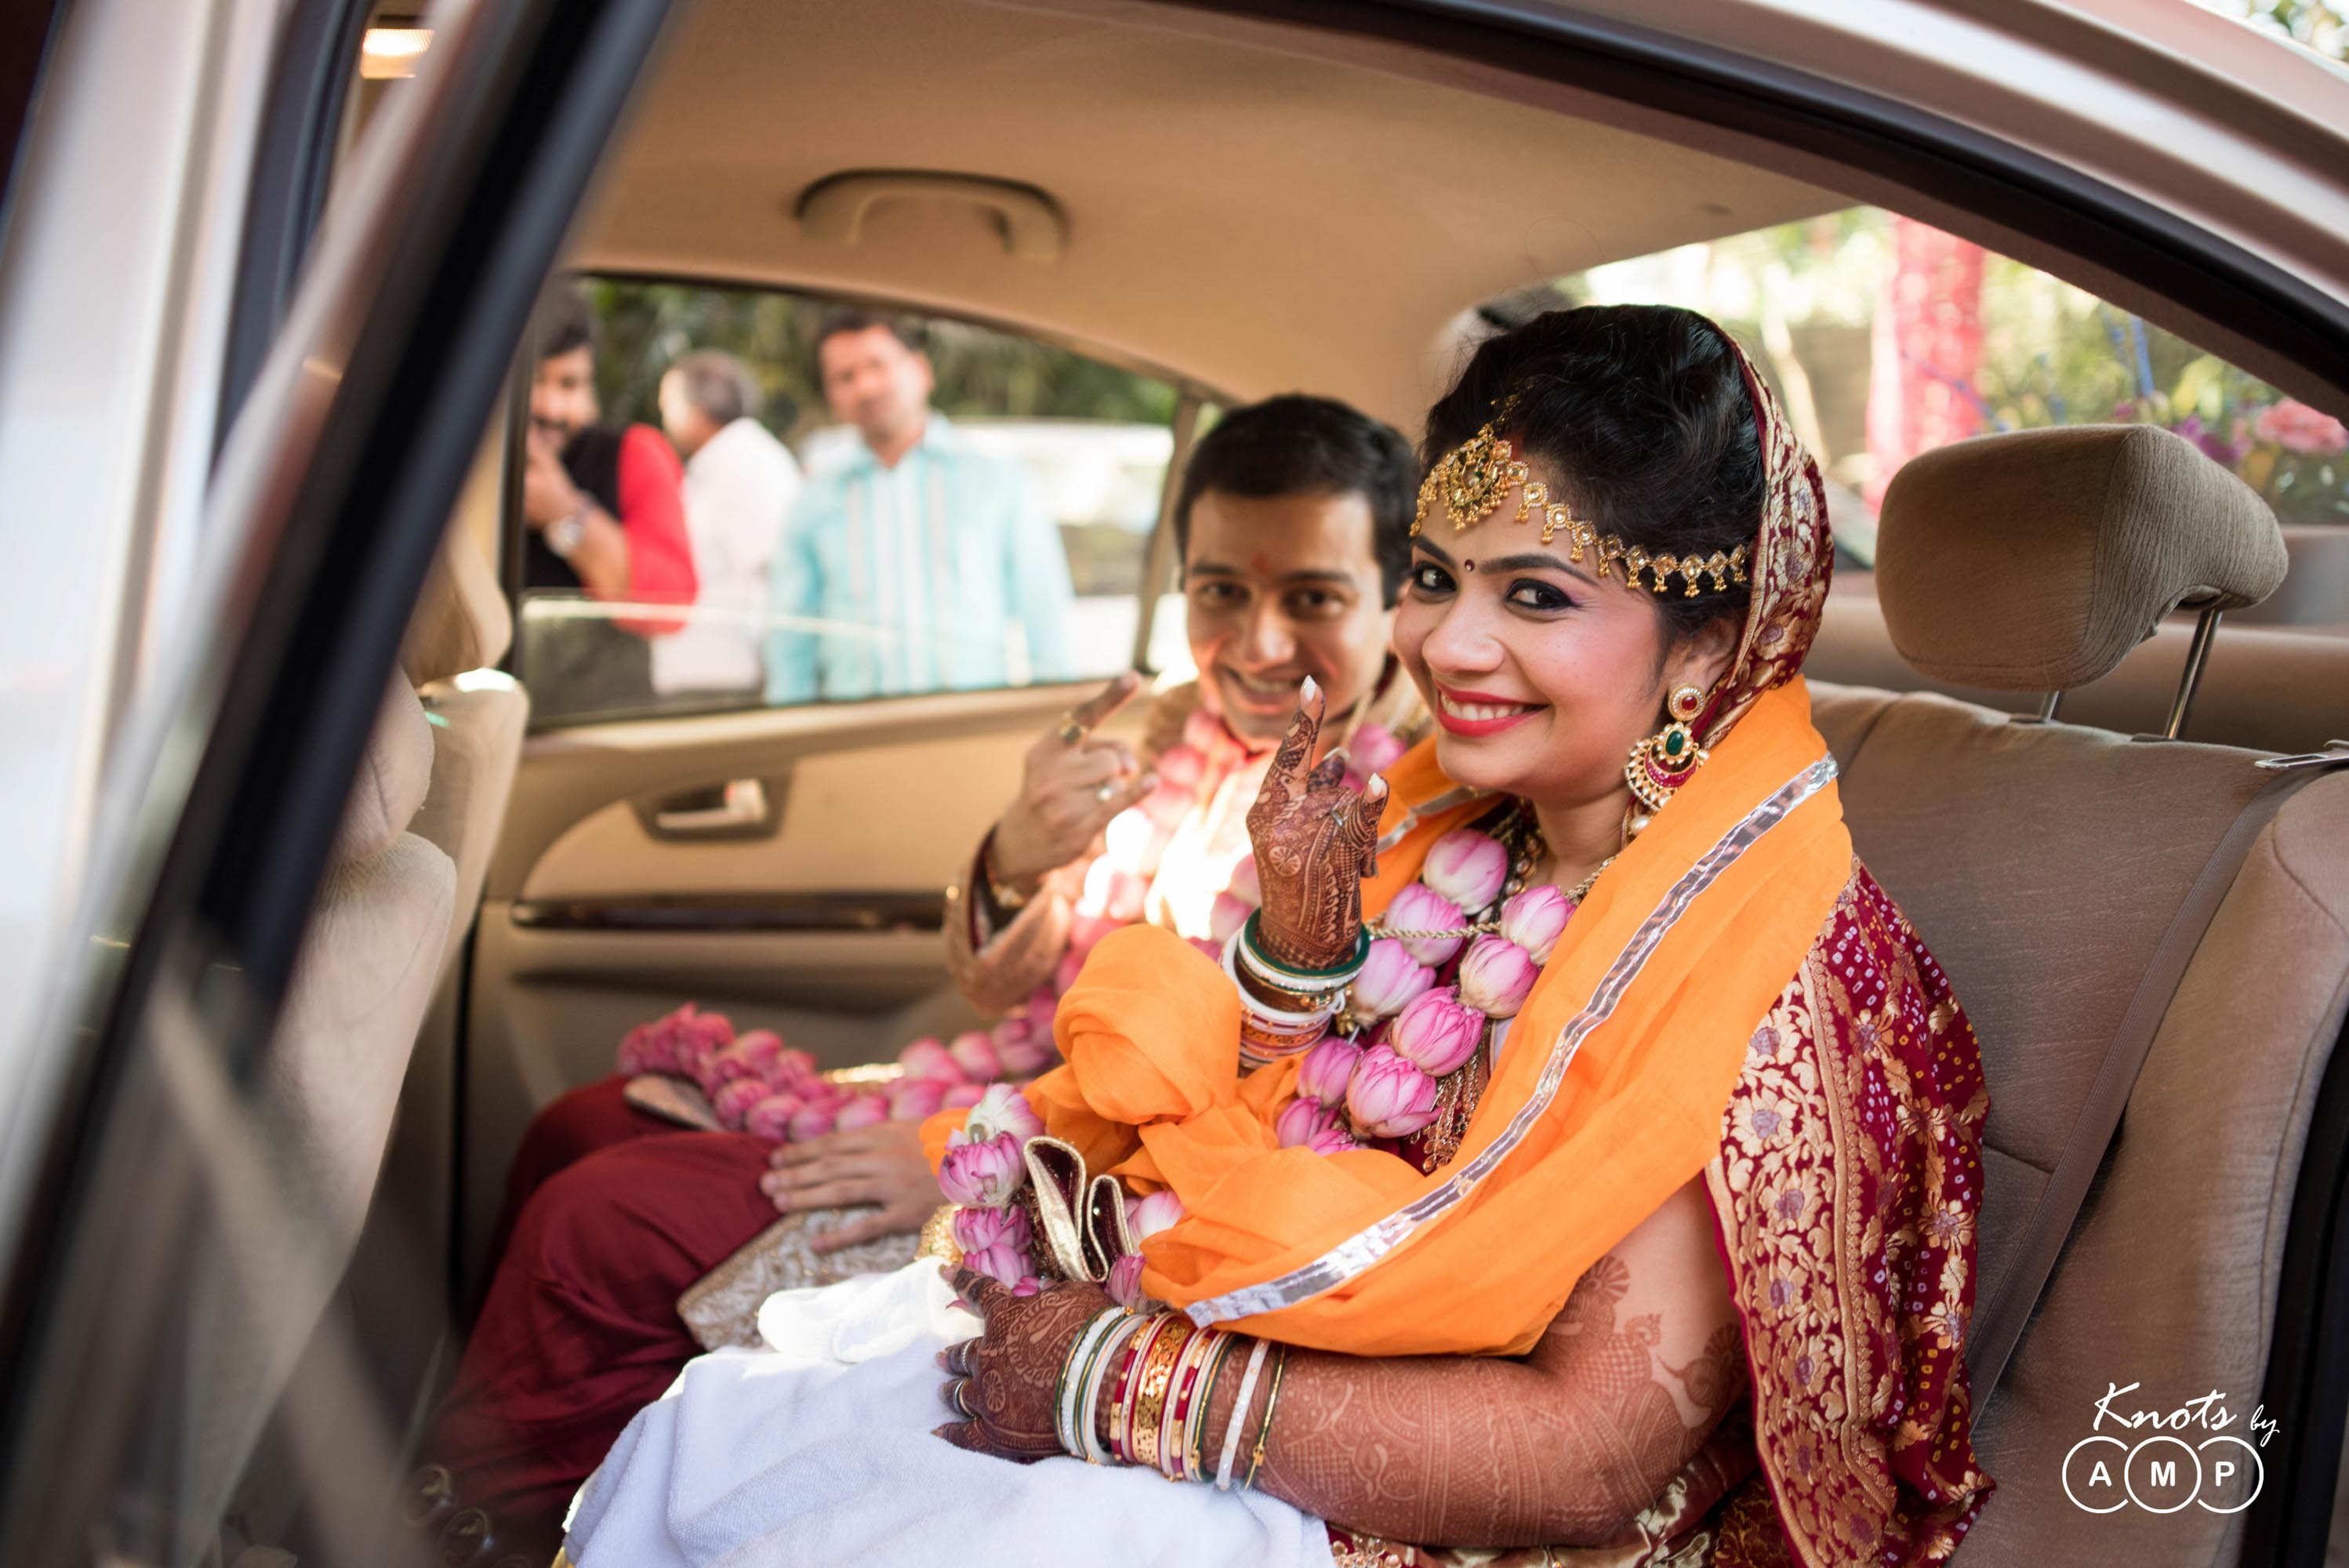
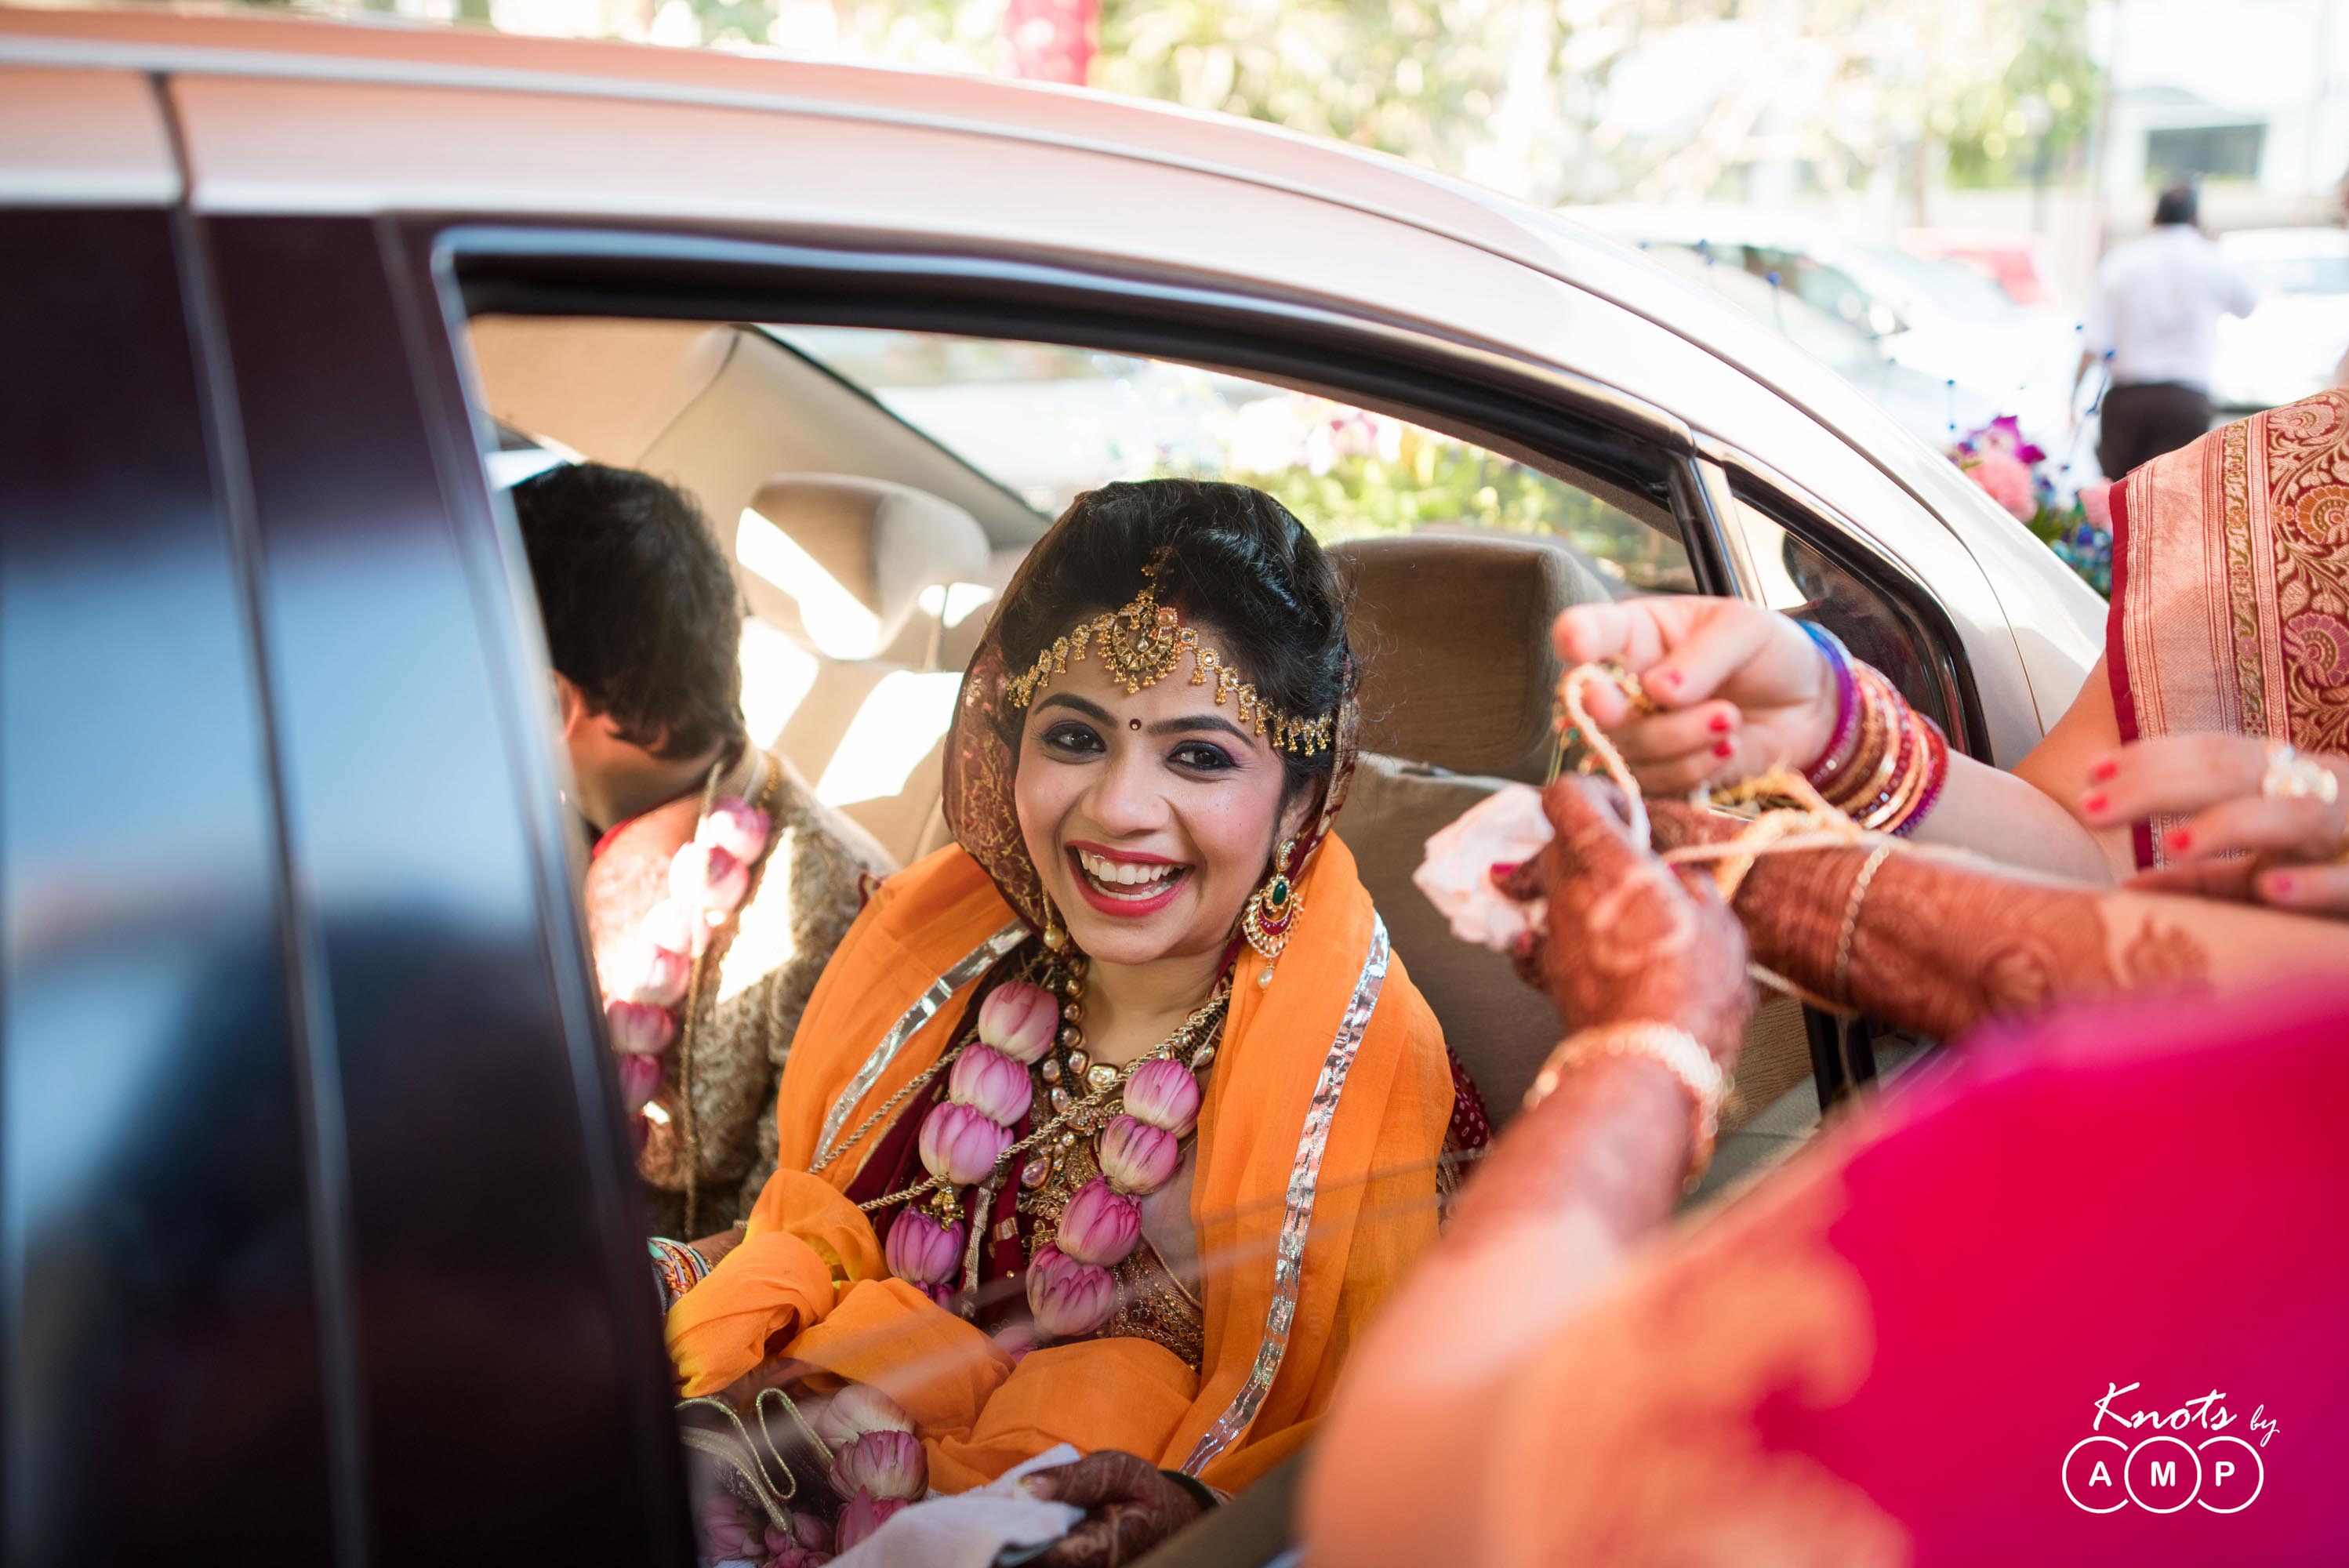
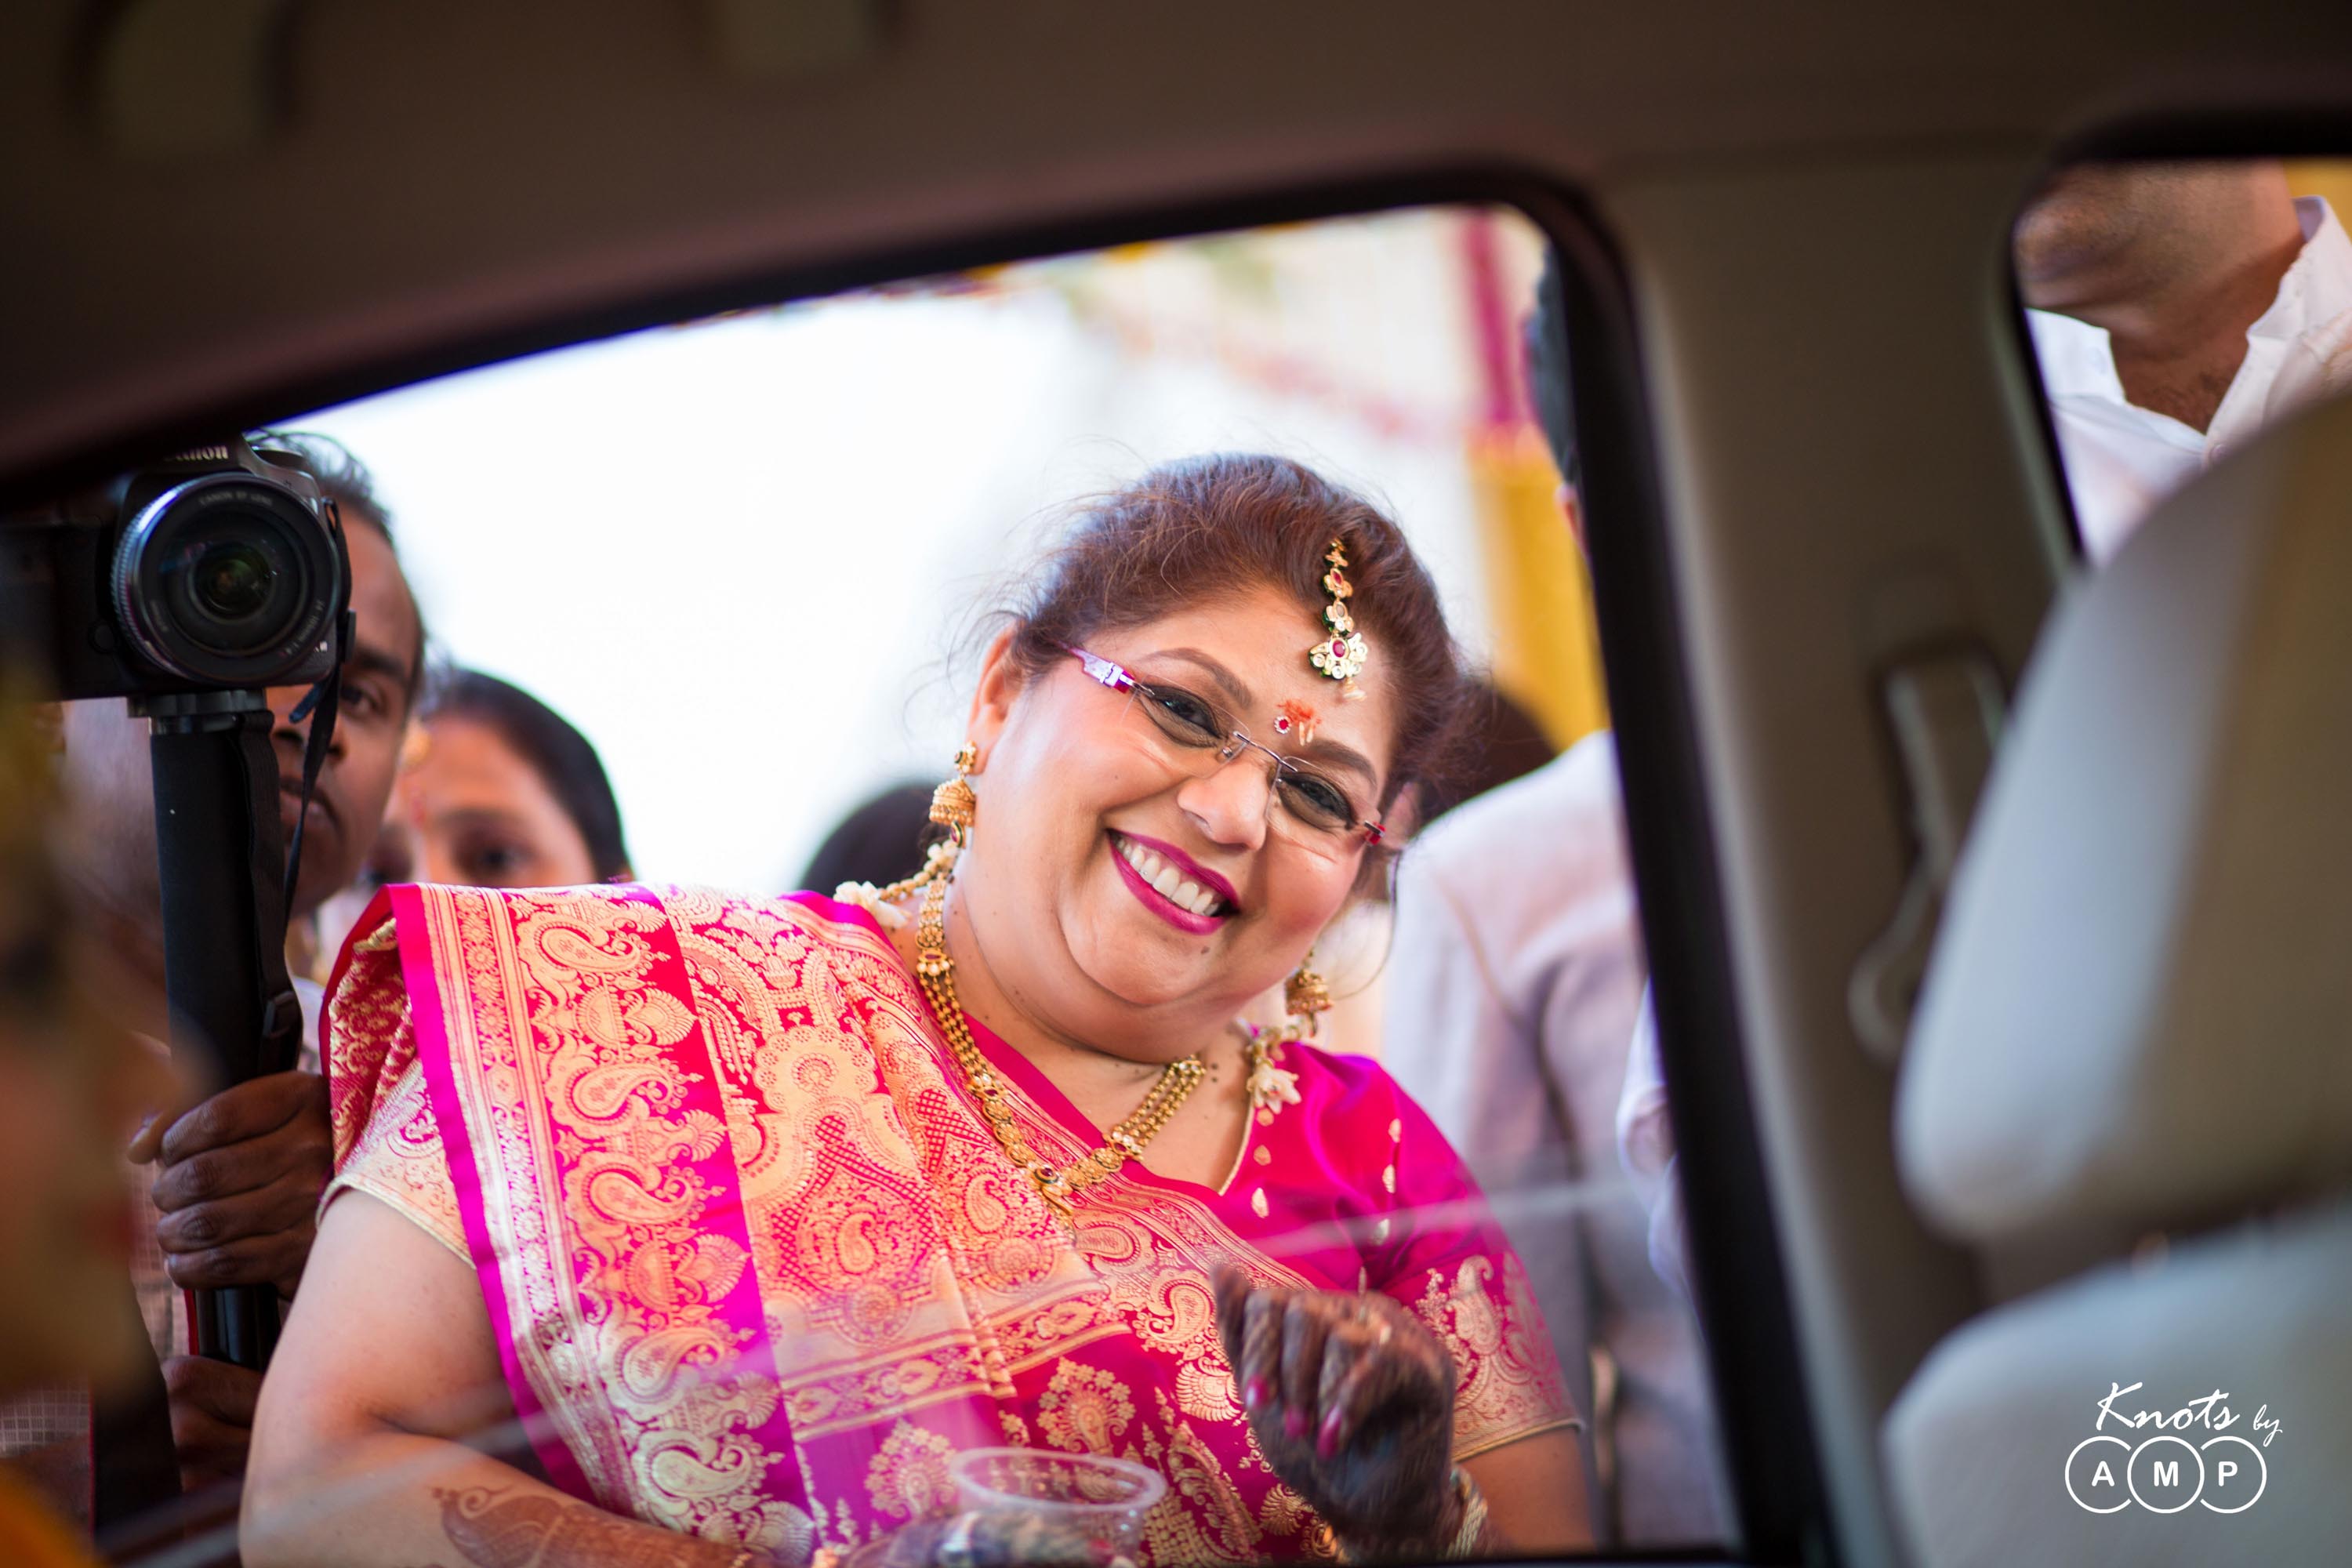
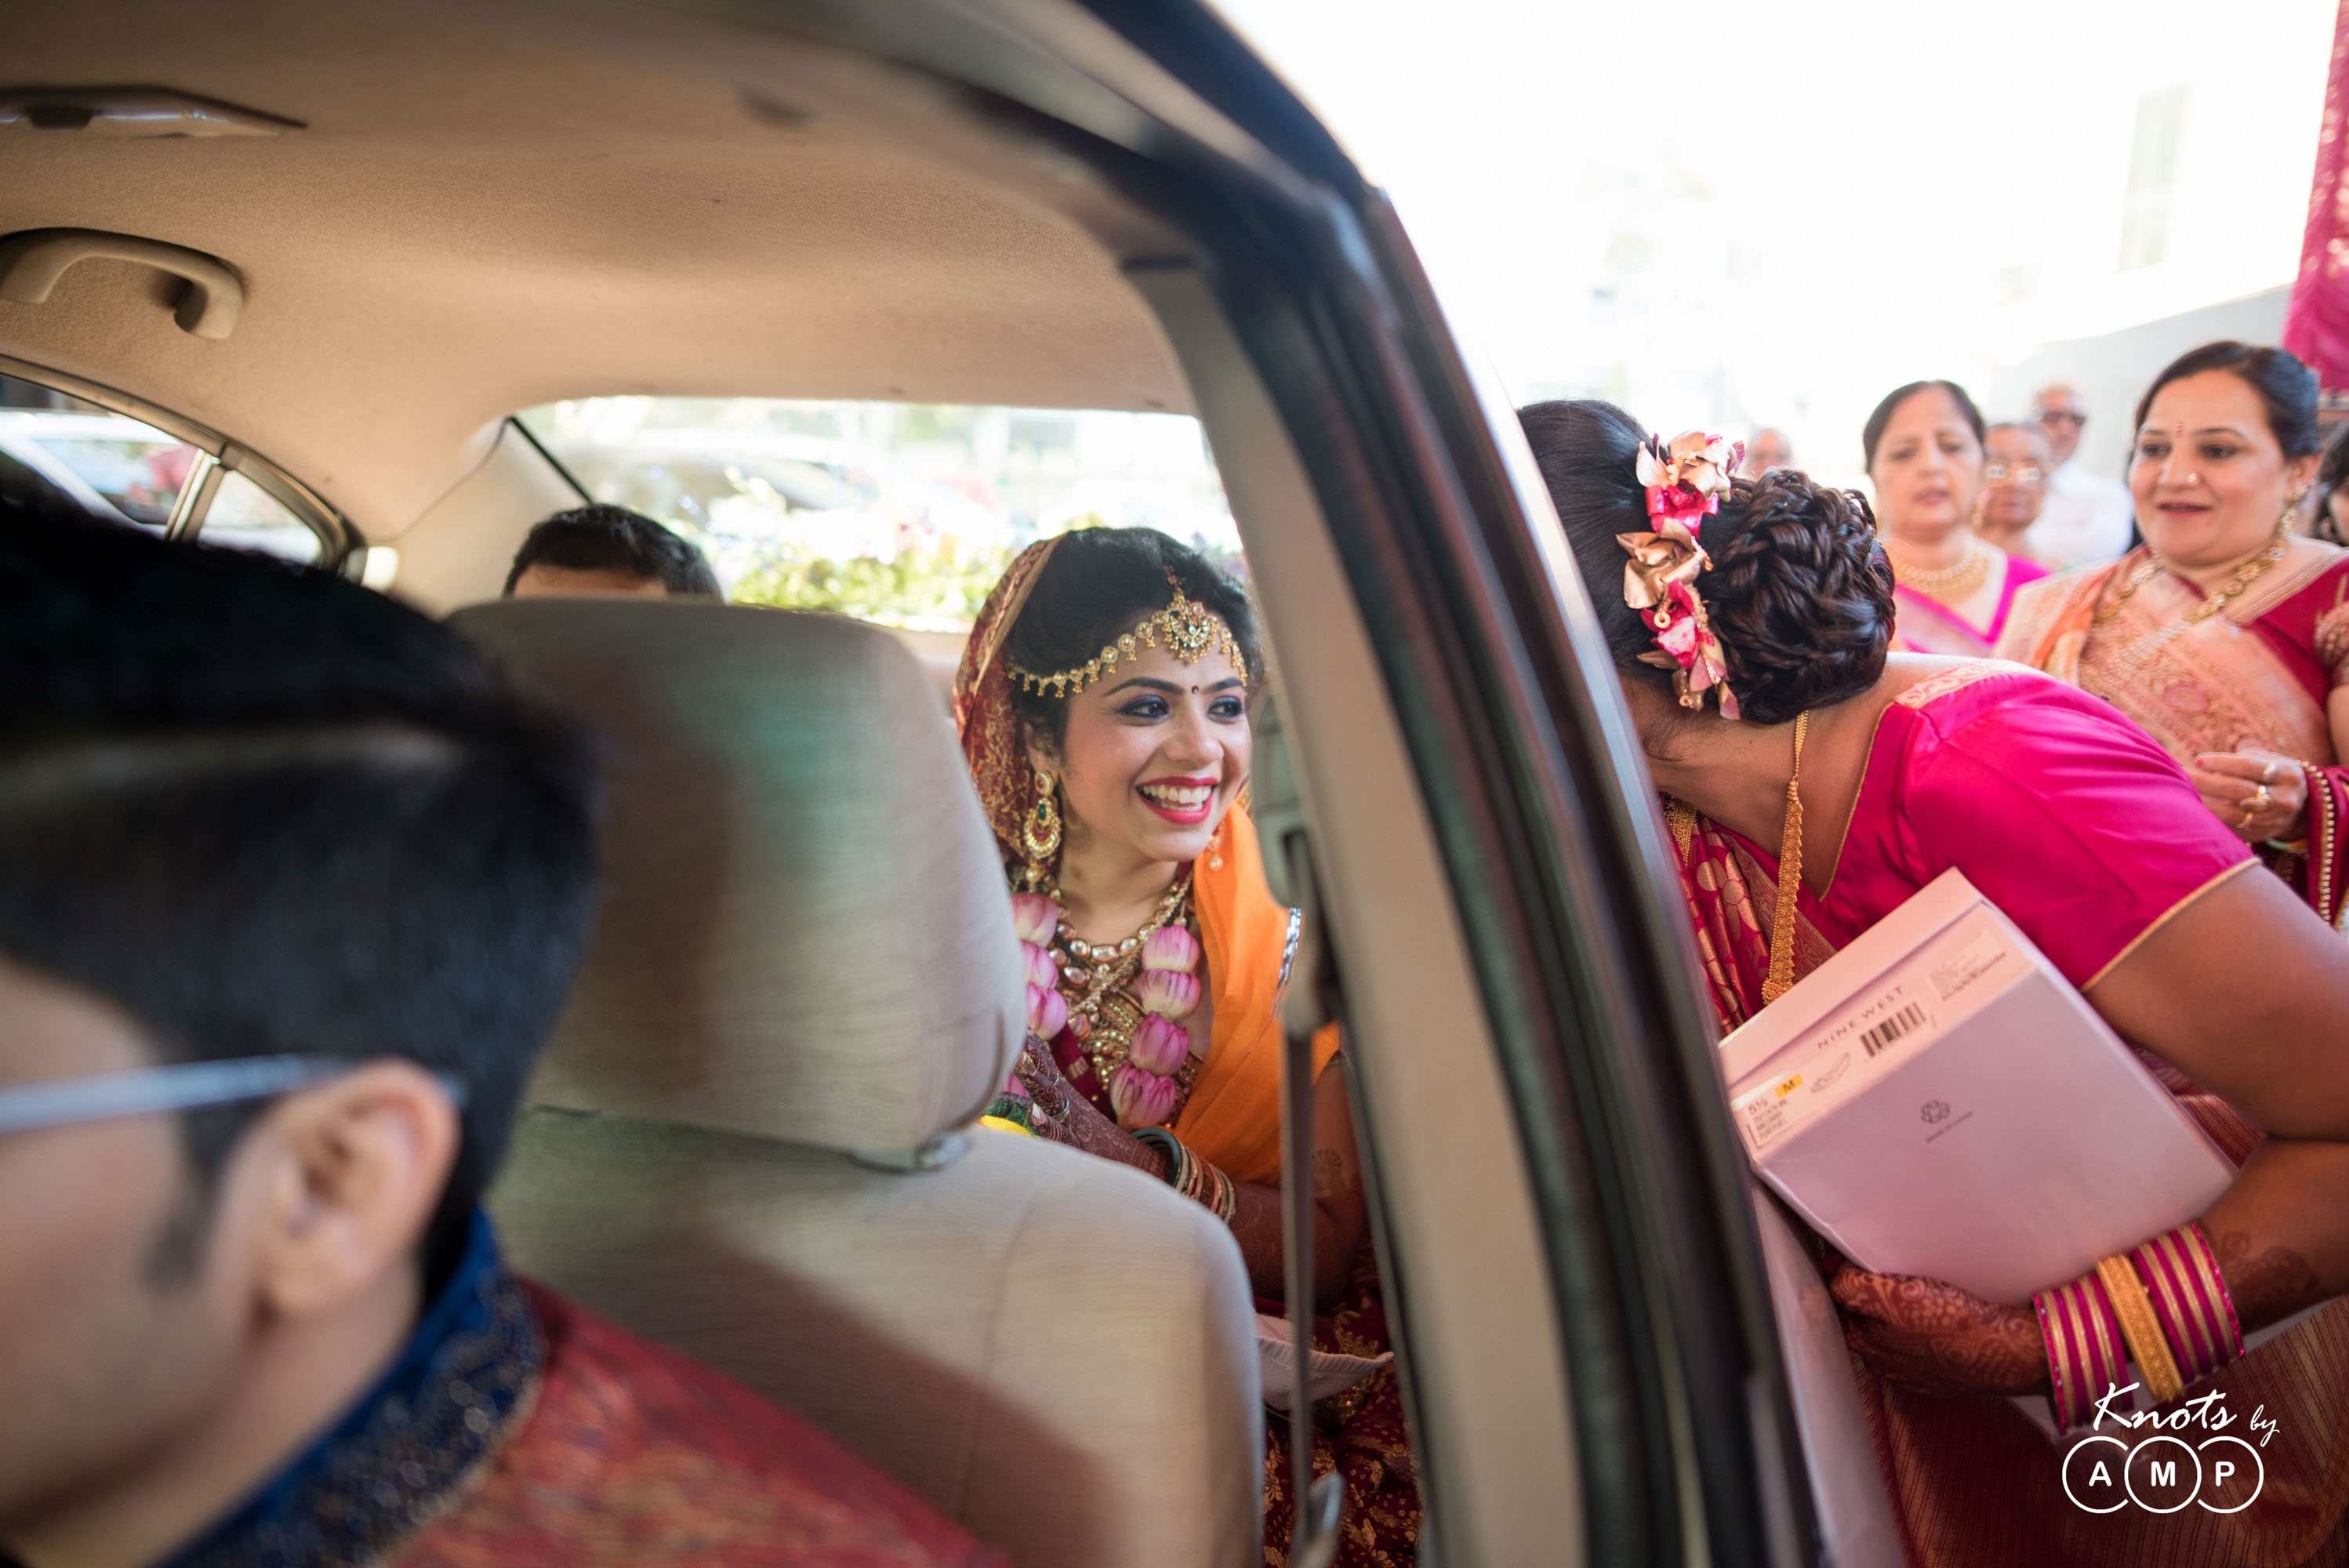
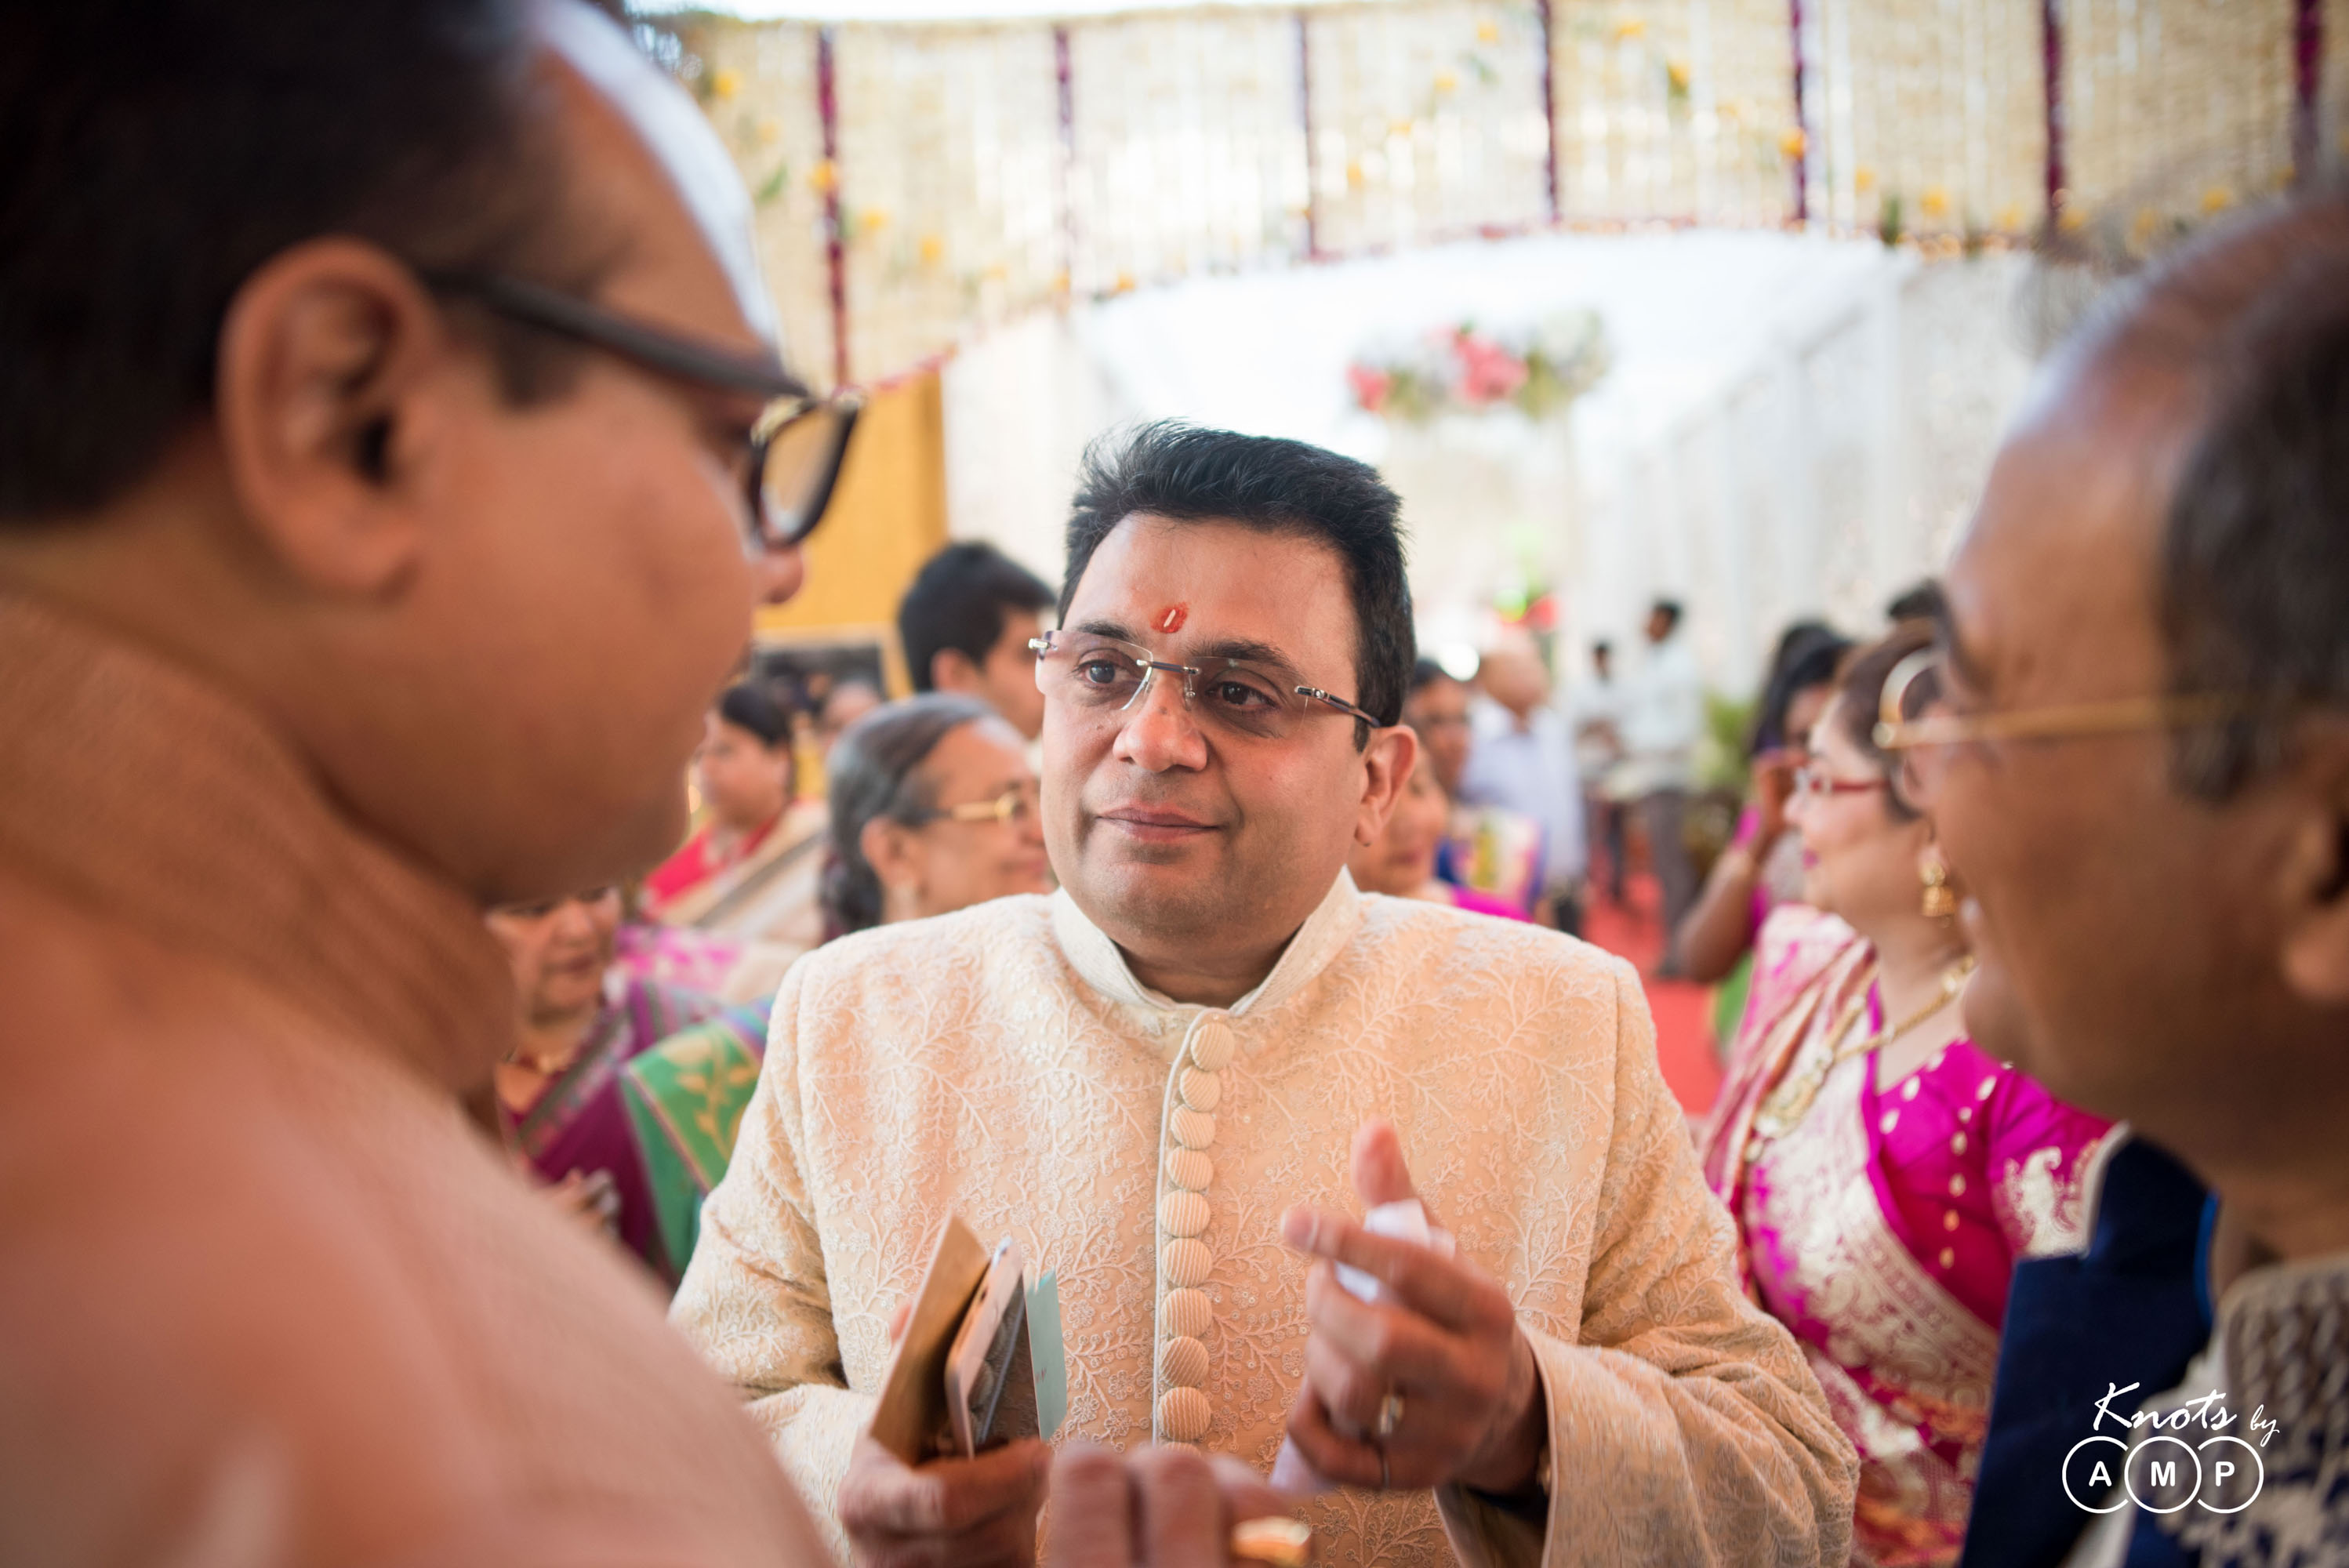
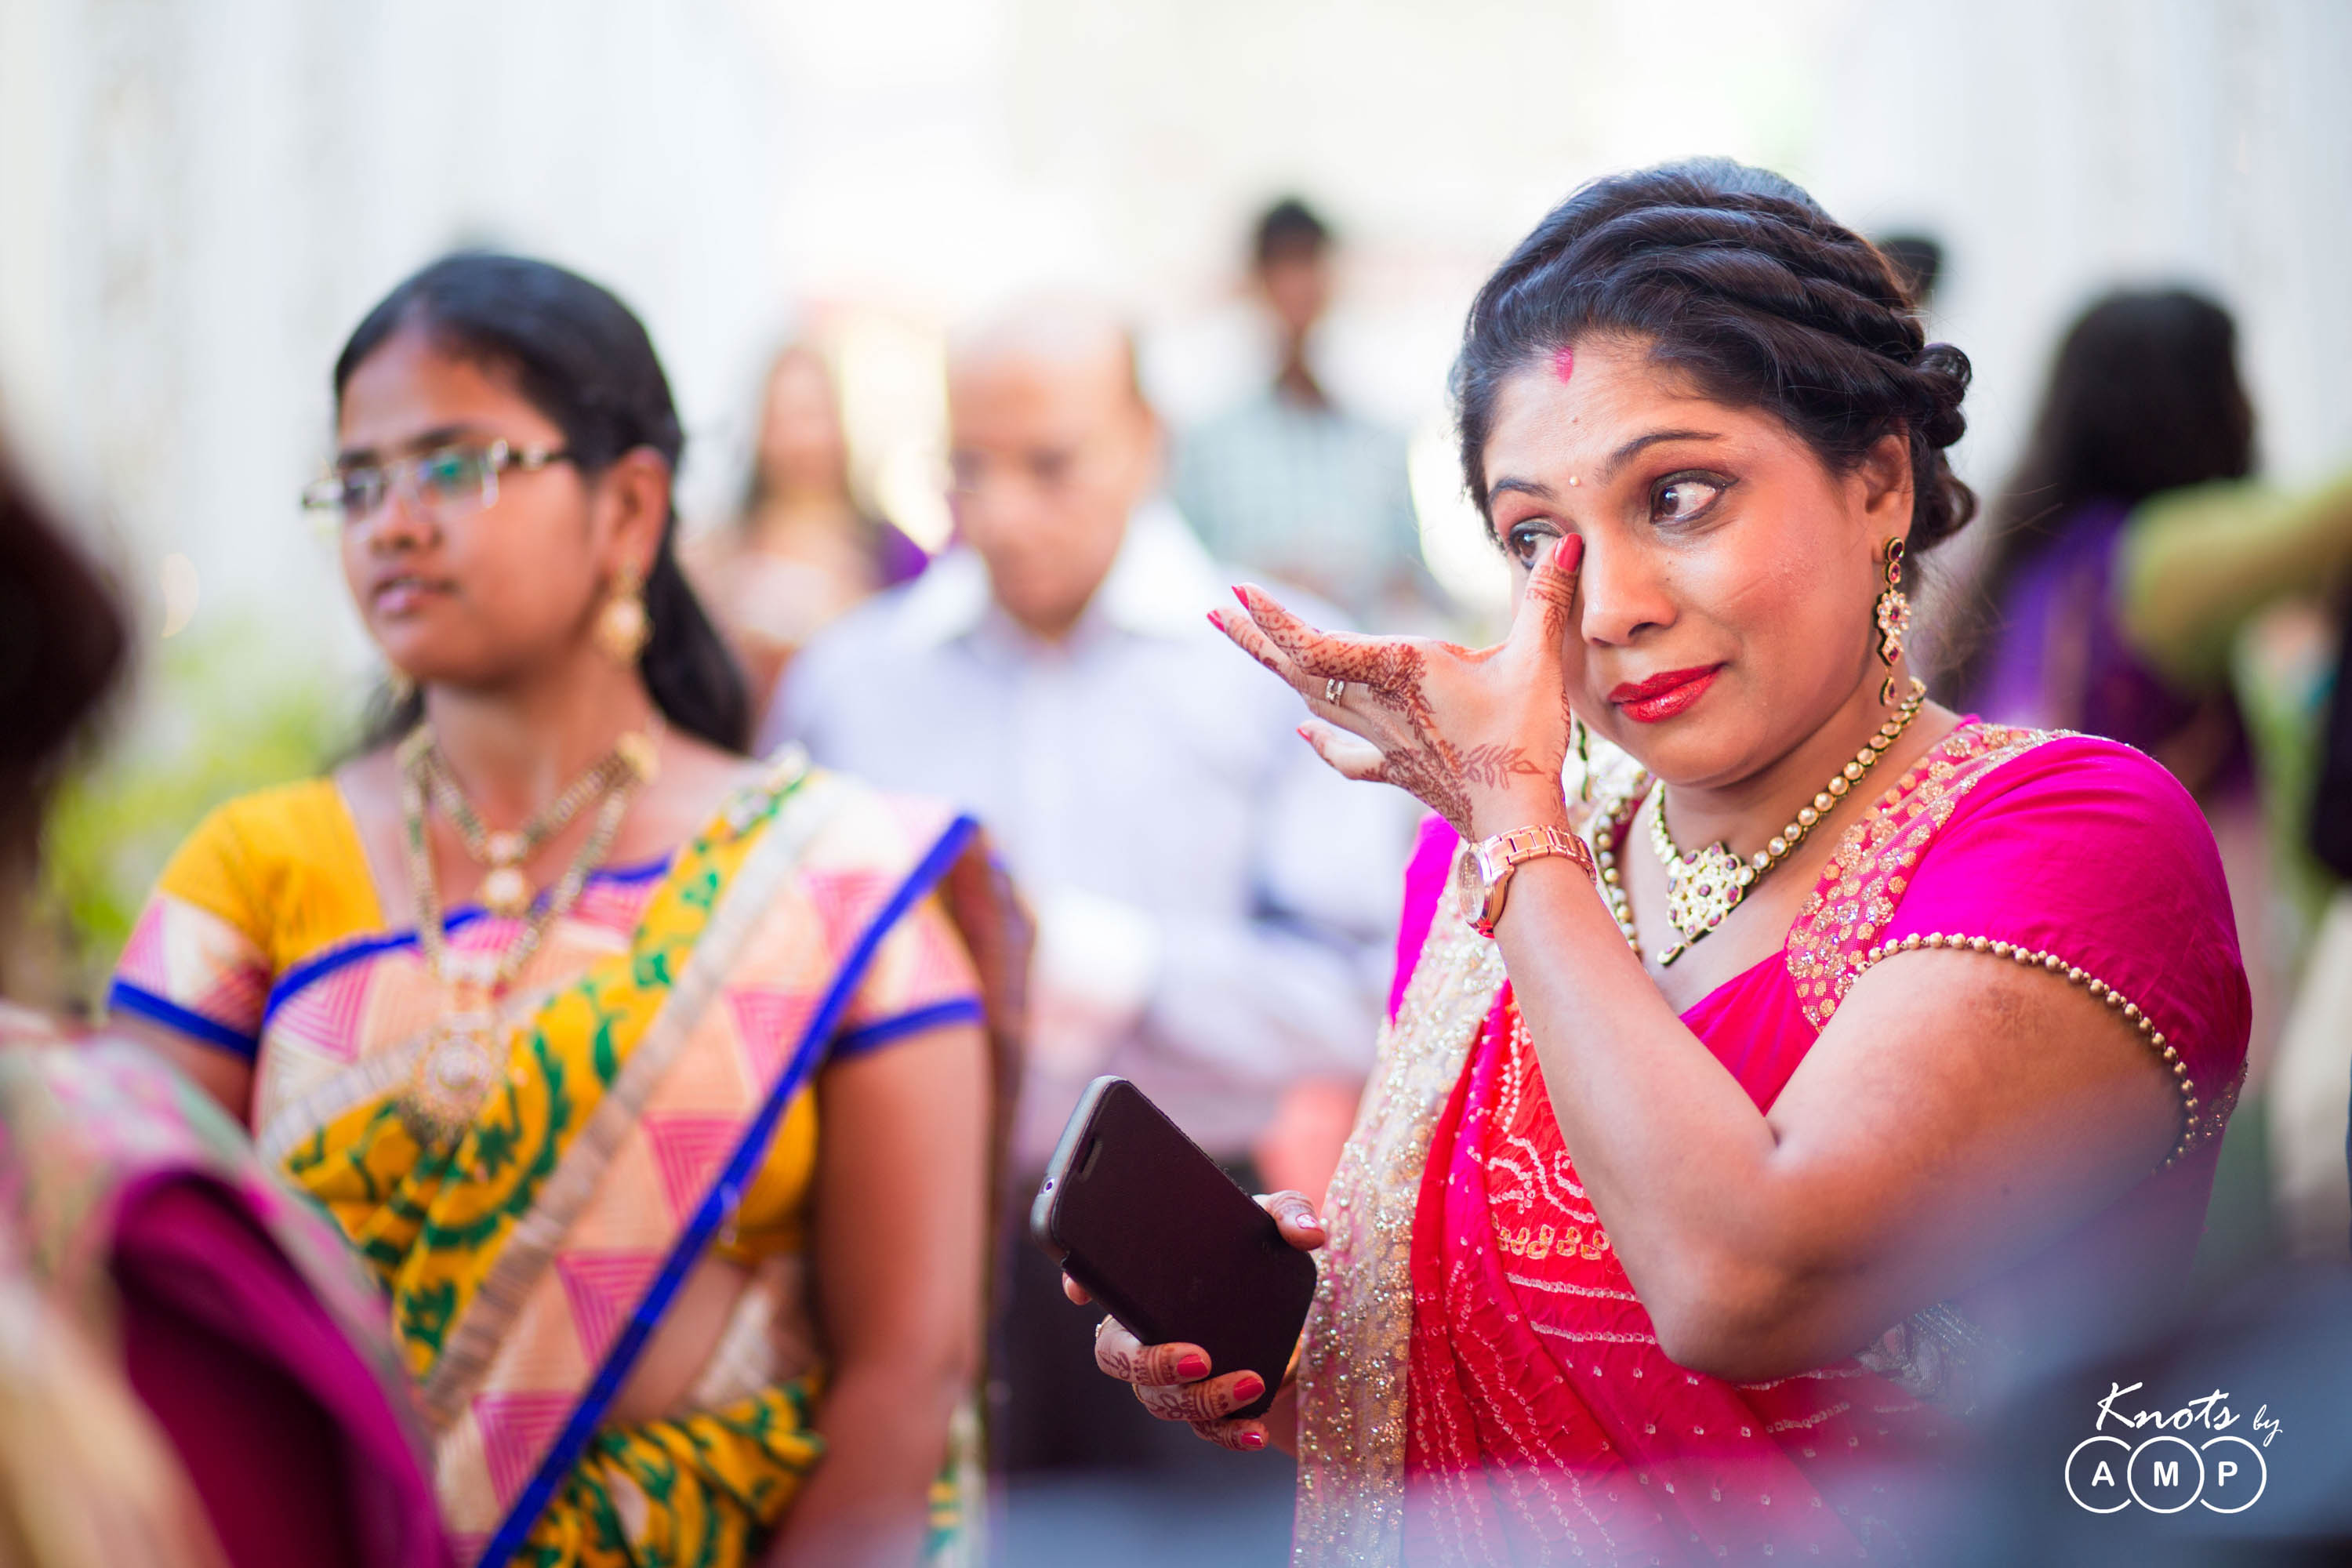
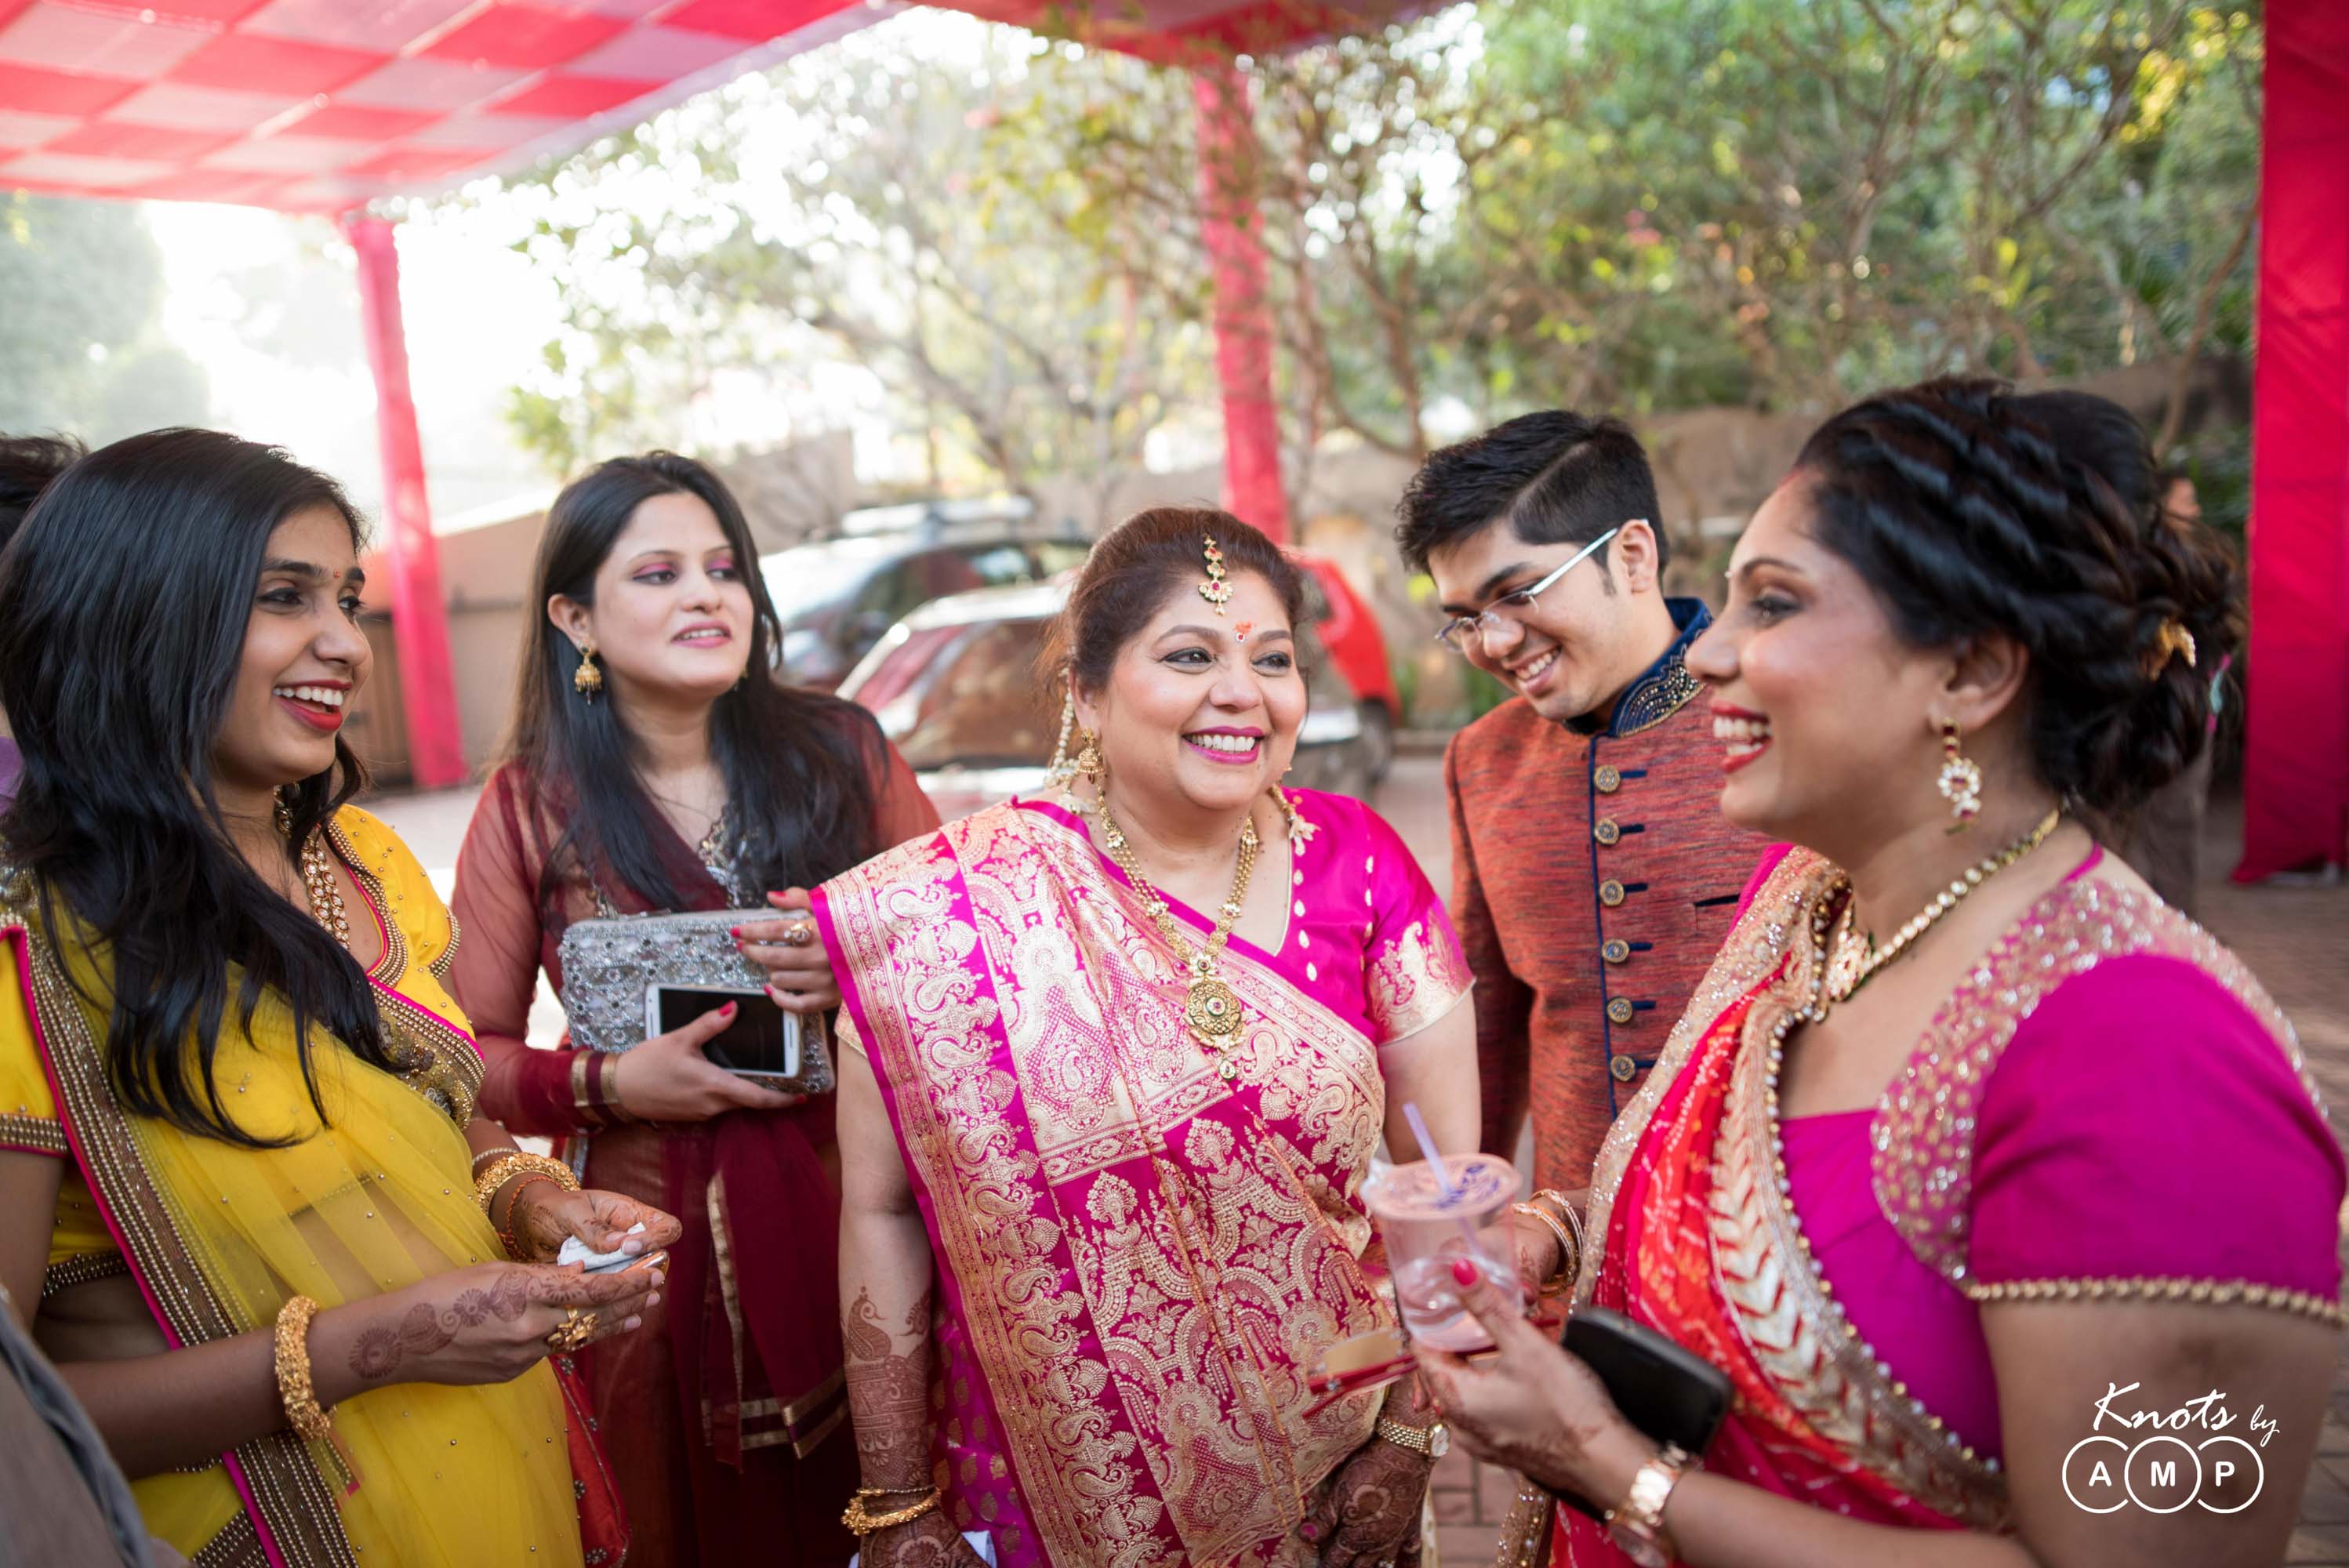
The wedding took place on the 2nd of February at Acres Club in Chembur. The bride’s flawless make-up team made sure that the groom held his breath when he saw her. A bunch of fun-loving people who didn’t miss to take a shot of any side of the bride’s glowing face and were captured in action in several of our pictures. The Baarat arrived at the venue at noon headed by beautiful cousins, energetic friends, charged up relatives and non-stop band-baaja, all moving to the tunes of Garba and celebrating the most joyous moment of the groom’s life. The groom sat in the car with his sister who was carrying a small bell in her hand, which in the Gujarati tradition is said to protect the groom from evil eyes. As the Baraatis entered the venue, the bride and the groom exchanged Varmala, after going through the intense struggle of reaching out to each other at unusual heights. The wedding followed through the other rituals of kanyadaan, pheras and Bidai. The bride’s mother always carried a mixed feeling of joy and remorse, seeing her little princess starting a new life. Often behind her wide smile she hid her tears, which she finally let lose during Bidai. Both the families together created a huge funfair at the wedding where every moment was lived with full energy and enthusiasm.
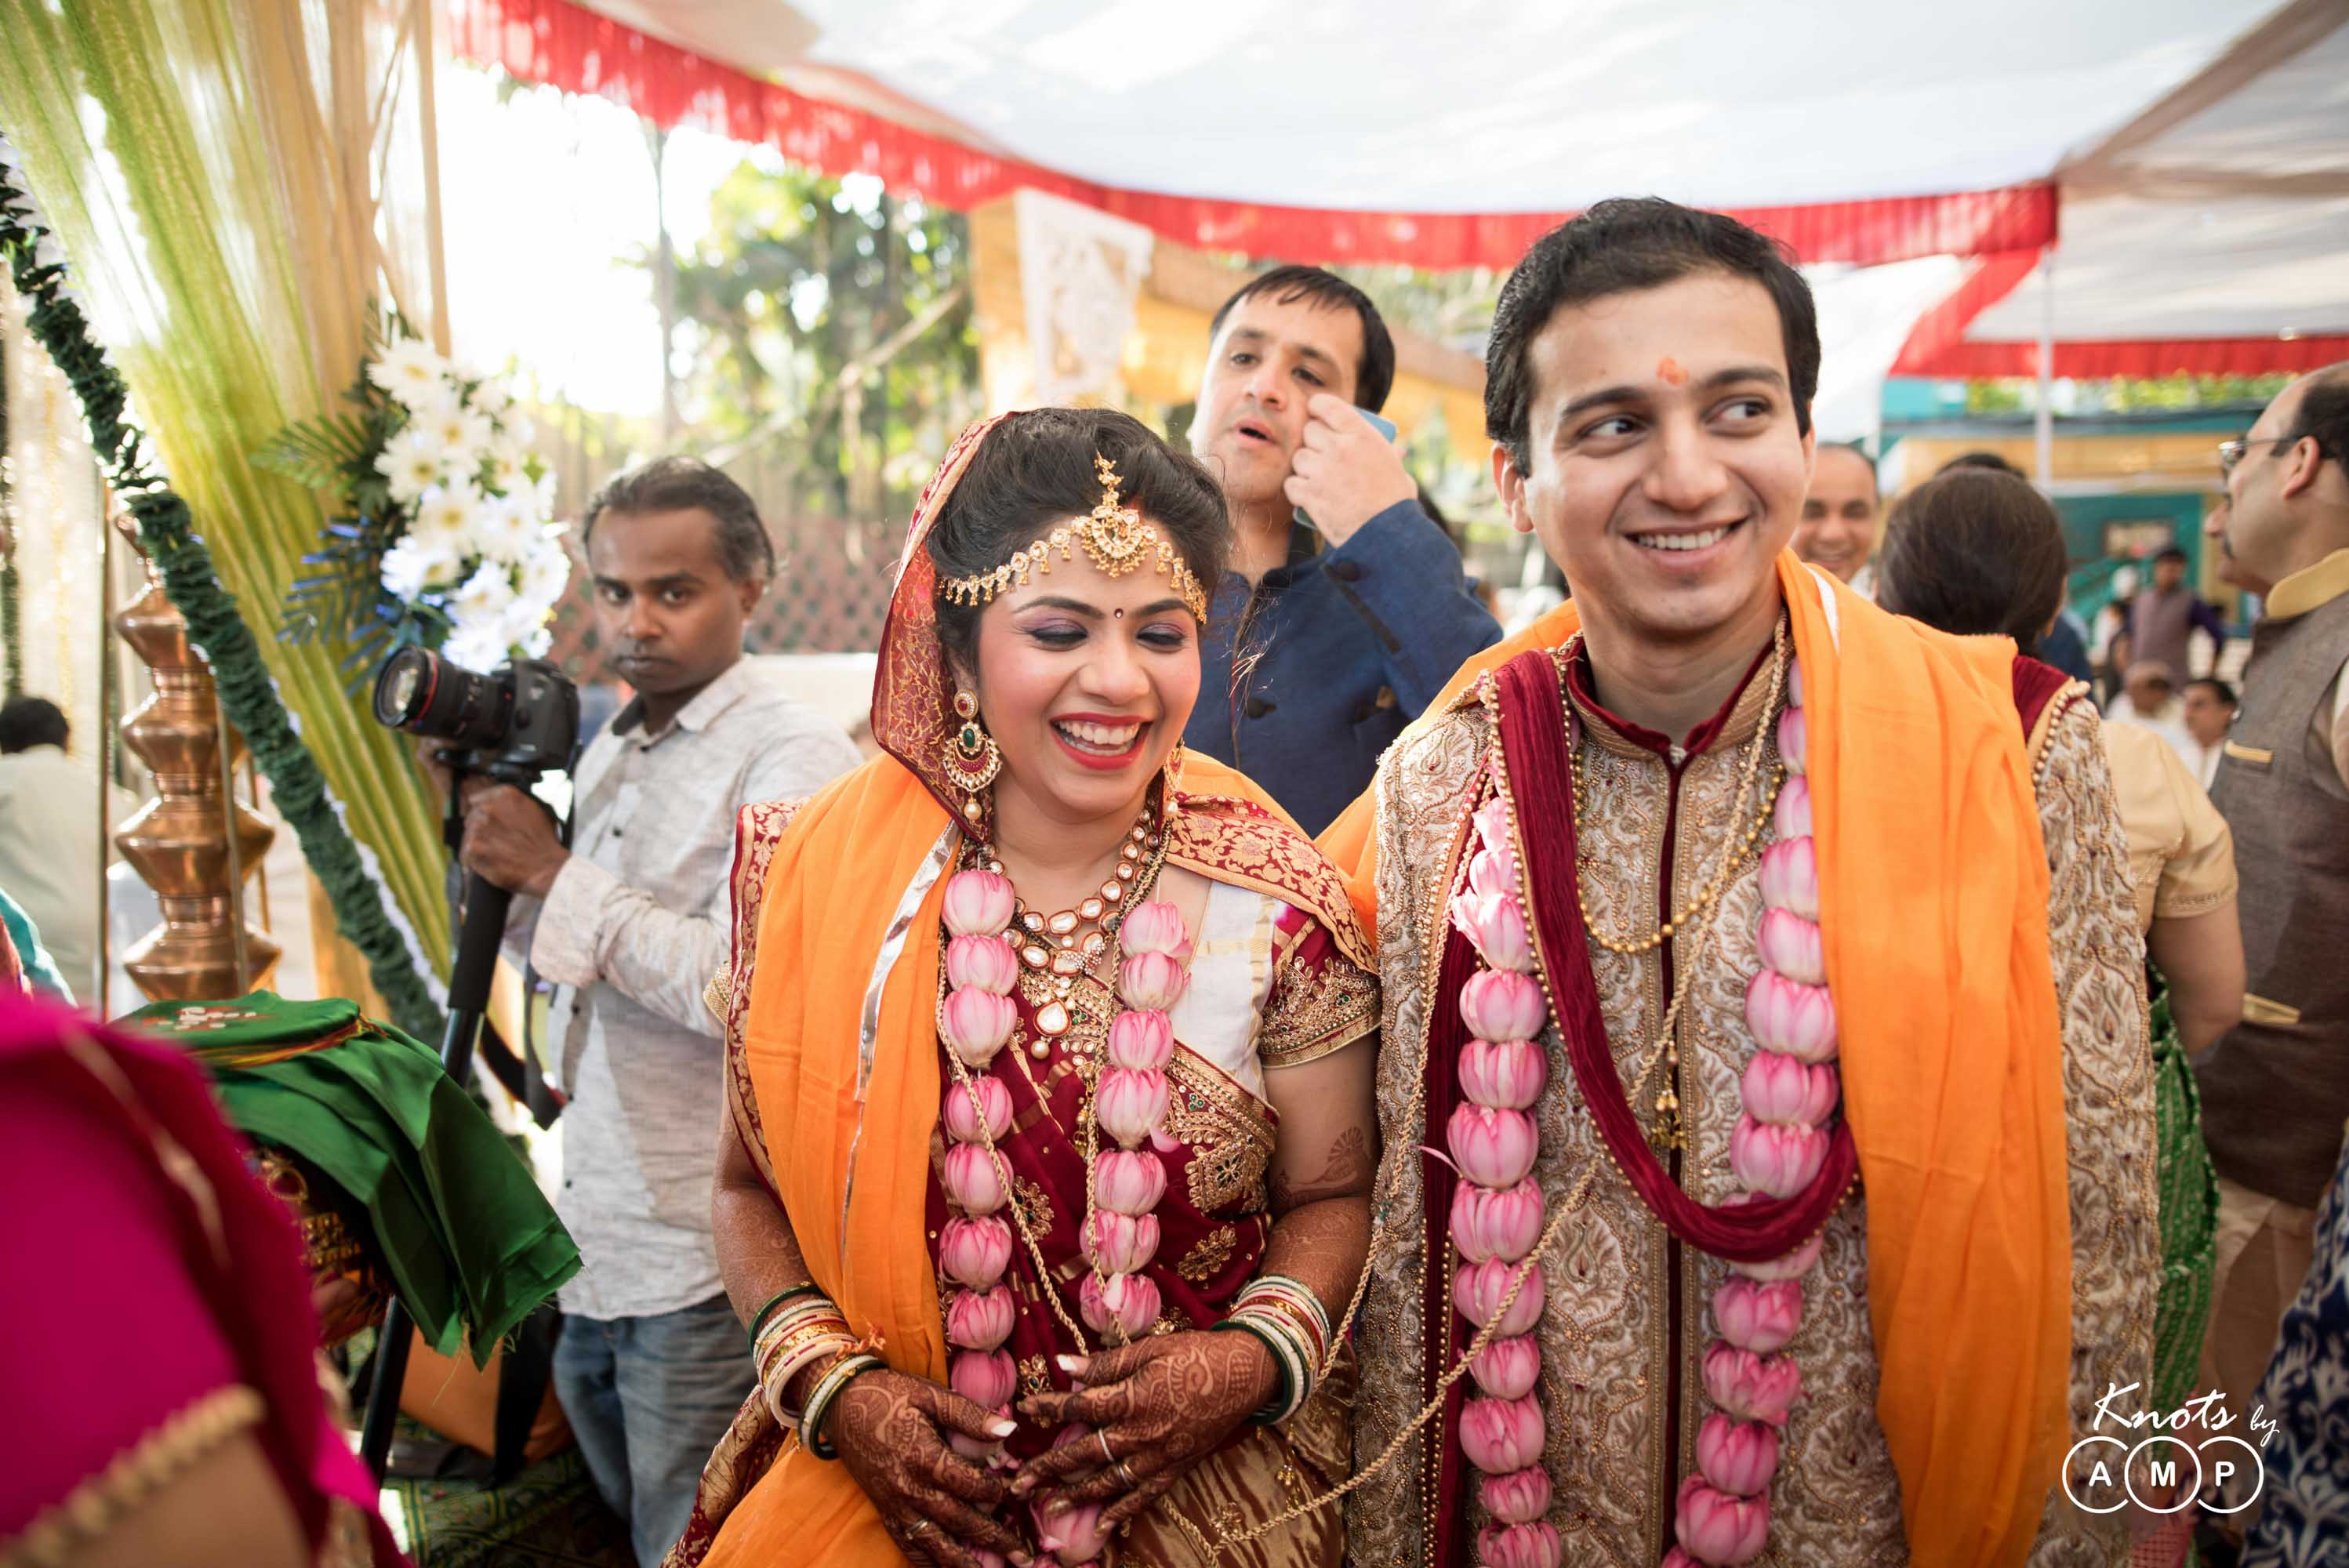
The wedding took place on the 2nd of February at Acres Club in Chembur. The bride’s flawless make-up team made sure that the groom held his breath when he saw her. A bunch of fun-loving people who didn’t miss to take a shot of any side of the bride’s glowing face and were captured in action in several of our pictures. The Baarat arrived at the venue at noon headed by beautiful cousins, energetic friends, charged up relatives and non-stop band-baaja, all moving to the tunes of Garba and celebrating the most joyous moment of the groom’s life. The groom sat in the car with his sister who was carrying a small bell in her hand, which in the Gujarati tradition is said to protect the groom from evil eyes. As the Baraatis entered the venue, the bride and the groom exchanged Varmala, after going through the intense struggle of reaching out to each other at unusual heights. The wedding followed through the other rituals of kanyadaan, pheras and Bidai. The bride’s mother always carried a mixed feeling of joy and remorse, seeing her little princess starting a new life. Often behind her wide smile she hid her tears, which she finally let lose during Bidai. Both the families together created a huge funfair at the wedding where every moment was lived with full energy and enthusiasm.